Sam’s kitchen Gnocchi

Gnocchi 6Gnocchi (little potato clouds)

I made these for the first time many years ago and we all love them, they’re great with a sauce or really plain with olive oil and black pepper. Serve as a starter or main, really versatile and not hard to make. My first attempt, I remember, was all rather messy! But that has never deterred me and I have managed to gain a method that is not quite as messy (making no promises here that you won’t have clearing up to do!) & is delicious. Please note this is my interpretation of gnocchi and may differ to an authentic Italian dish.

Ingredients

Approx 600g of mashed potatoes (peeled, diced, boiled until soft and then mashed)

200g plain flour (plus some extra for dusting)

1 egg beaten

Serves 4-6

Gnocchi 1Once you have mashed the potatoes and banished the lumps, add the flour and about half of the beaten egg.


Mix really well with a wooden spoon until combined. The mixture should all come together like a dough if it looks a little dry (you don’t want it looking like it has cracks) then add a little more egg. By the same token if it’s really sticky it will be really hard to work with, so add a little more flour.


Gnocchi 3

Gnocchi 2


Gnocchi 4

Divide into 4 pieces and roll each one out to a long sausage shape, make sure you have flour on hand to add a light dusting if things are sticky. The diameter should be about 1.5-2 cm. Then using a teaspoon as a knife (I know crazy right?!!) slice into pieces 1.5-2 cm across.


Gnocchi 5Gnocchi 6

Then using a fork, gently press the prongs into the surface of one side of the gnocchi. This will give you that iconic gnocchi look and also will help the sauce adhere to the surface better, so a win, win situation.


Gnocchi 7


I find it best to lay them out on a lightly floured board not touching as they will stick together otherwise.


Gnocchi 8


When you are ready to cook them bring a large saucepan of water to boil. Gently drop the gnocchi in, you can cook in batches, they are cooked in just a few minutes and you know they’re done when they float to the surface. I use a slotted spoon to remove them.


You can smother them in sauce and eat them, or bake them loaded with sauce & mozzarella which is what I usually do with them. My personal favourite is with a drizzle of olive oil, a twist of black pepper and a generous grating of parmesan, perfect! ♥

Baked gnocci

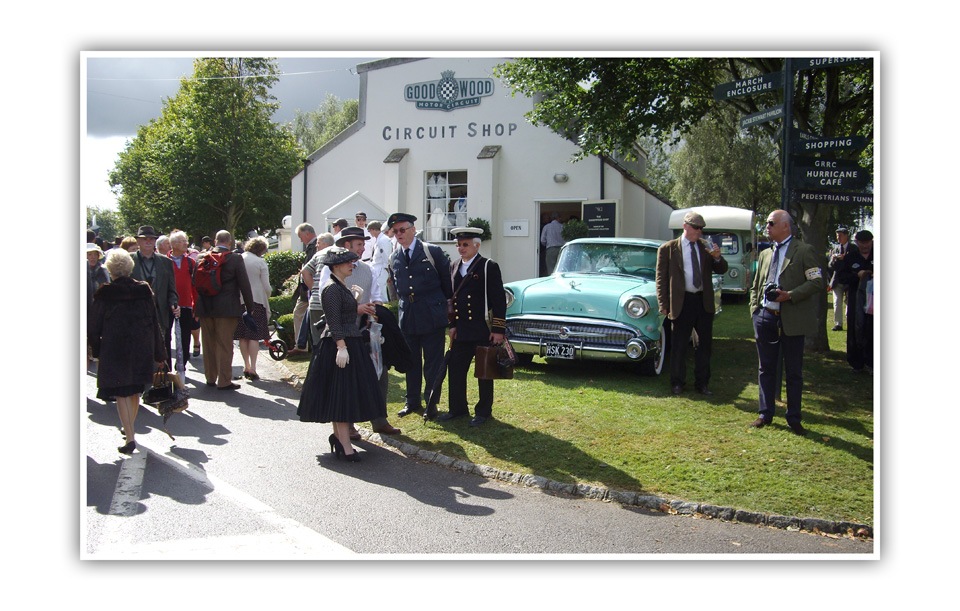
Goodwood Revival 2012

GW19Now, I usually enjoy my work, I am business manager for Gav’s photography business and a food writer so what not to like! Sometimes we get the opportunity to do things that we wouldn’t get the chance to do often or at all and then I LOVE my job even more!

We recently attended this amazing event at Goodwood, West Sussex with the pretext of giving some photography training. The tickets were all arranged for us we just had to be suitably attired and be up with the lark!

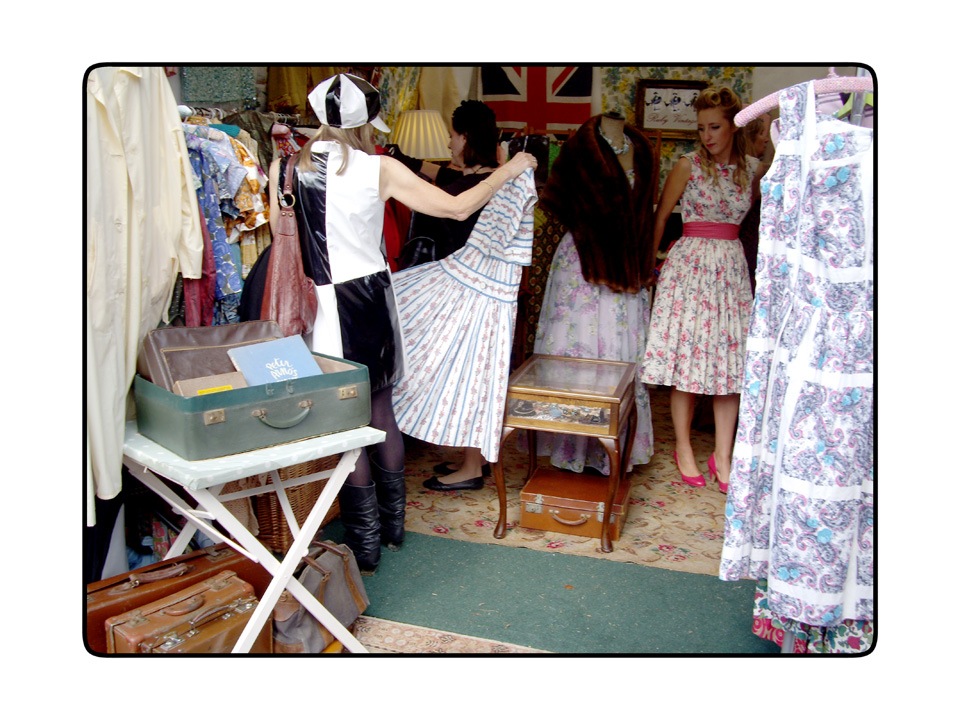
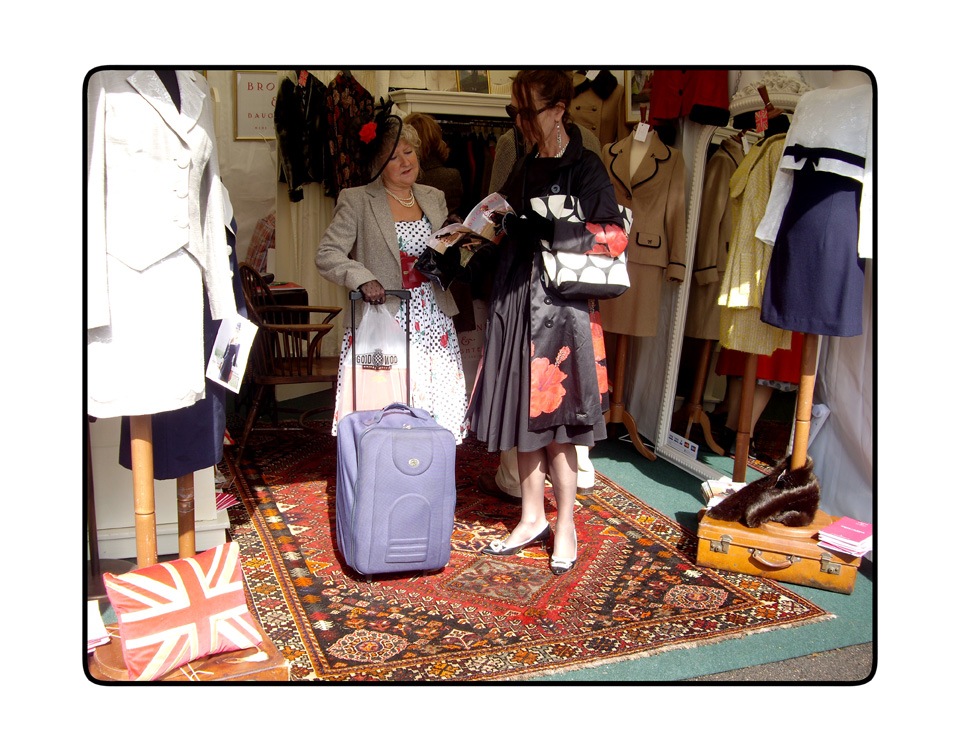
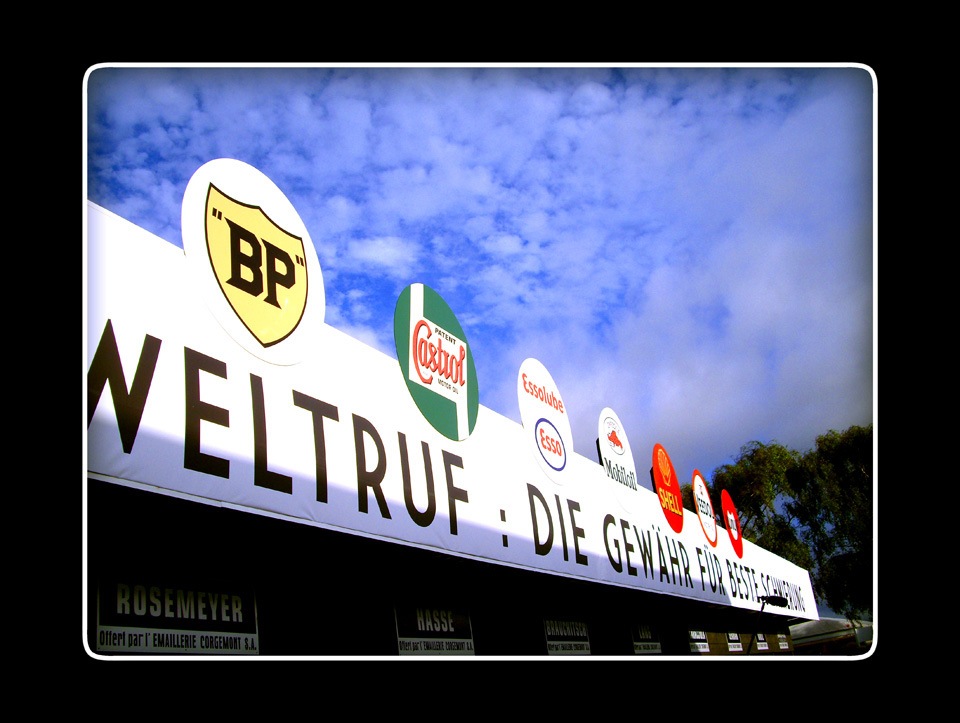
This event is like a magical time travel trip back to the era of the 1940’s/50’s & 60’s with all the glamour and nostalgia that conjures up.

GW7GW8

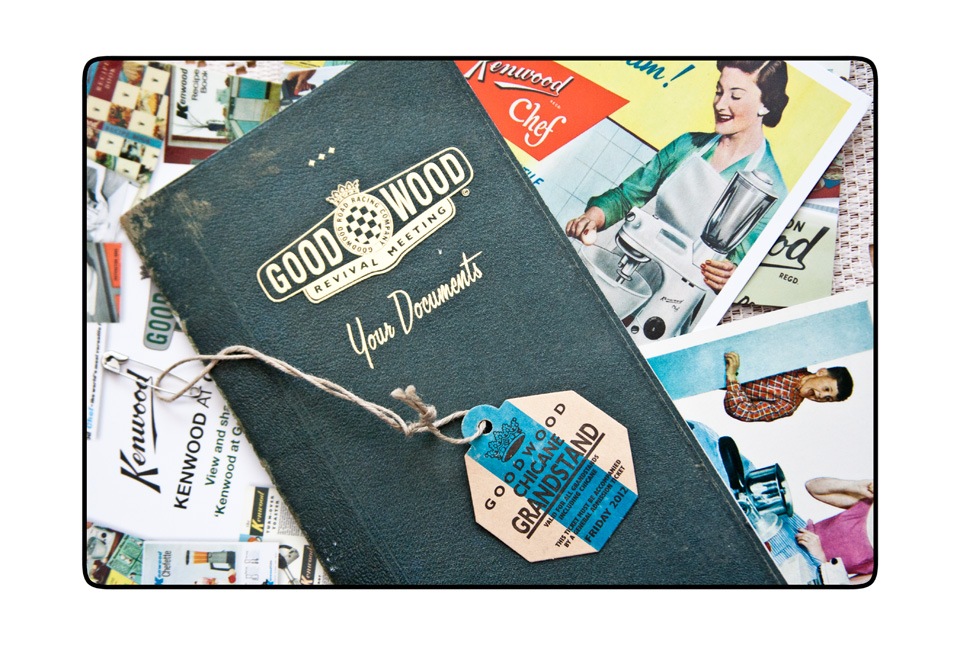
It is the most popular historical race meeting in the world and is totally unique with a superb vintage twist. There emerges a “class system” which allows you into certain areas only with the appropriate pass/ticket, this I enjoyed enormously as I had most of the passes including being able to view up close & personal the priceless cars in the Paddock and also Grandstand seats right on the dicey chicane!

I would love one of these little Triumphs. Glamcabs straight from Carry on Cabby.

IMGP7652GW13

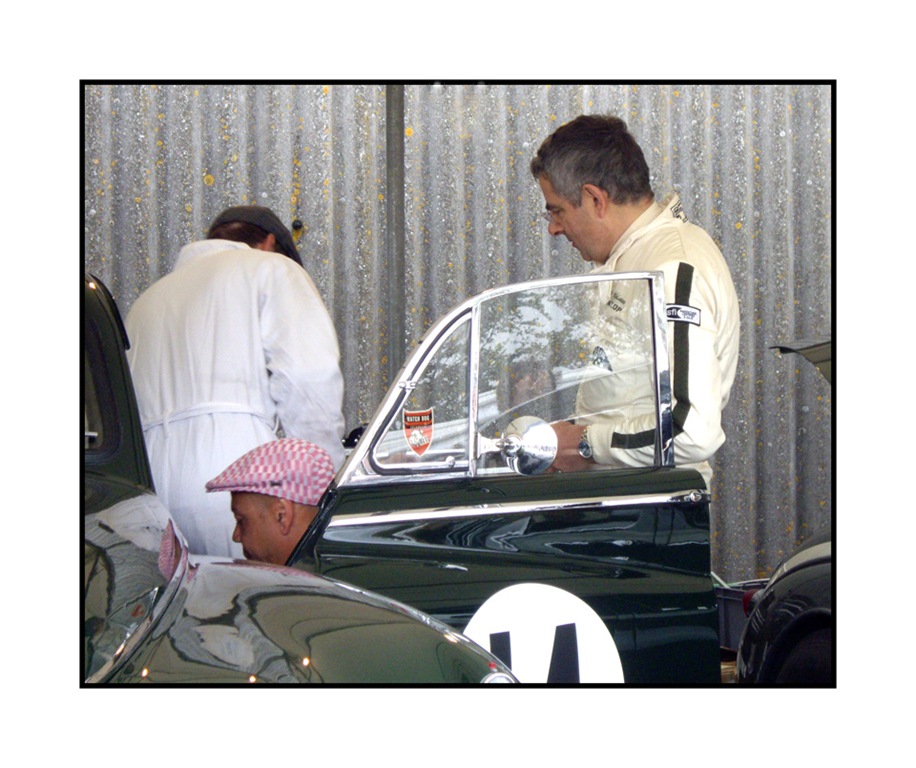
Predominantly cars but also planes and vintage goodies this was a heavenly day out. I even got to meet Rowan Atkinson (aka Mr Bean, Johnny English & Edmond Blackadder) who was racing all over the weekend (see pics below).

GW17GW4

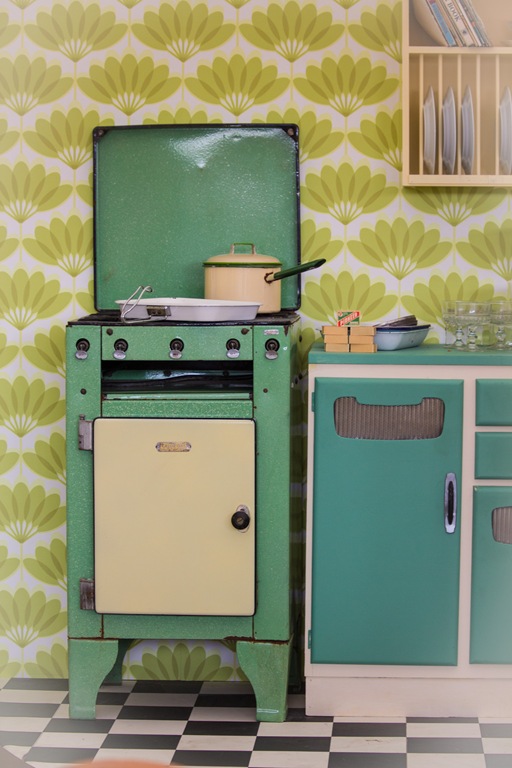
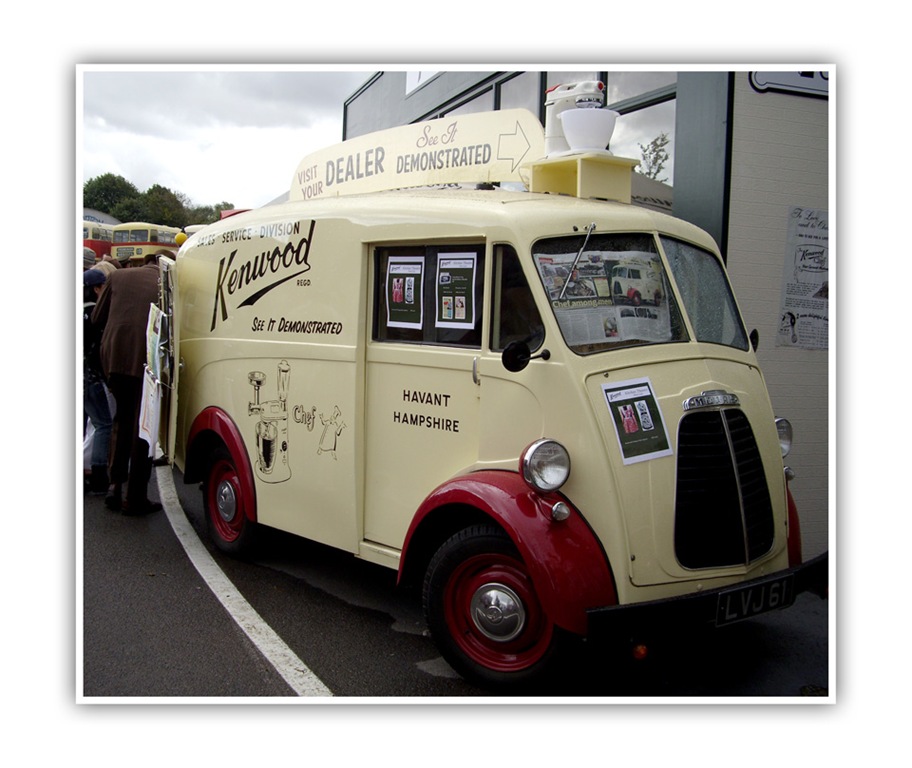
Kenwood were there with a fantastic kitchen layout, giving brilliant demos featuring foods & techniques from the era. I especially loved the kitchen system they used. A 1950’s kitchen which, when a switch was flicked turned around to reveal a 1970’s kitchen. I definitely think that could work for me, even better when the kitchen returns it’s all clean & tidy!

IMG_7791GW20

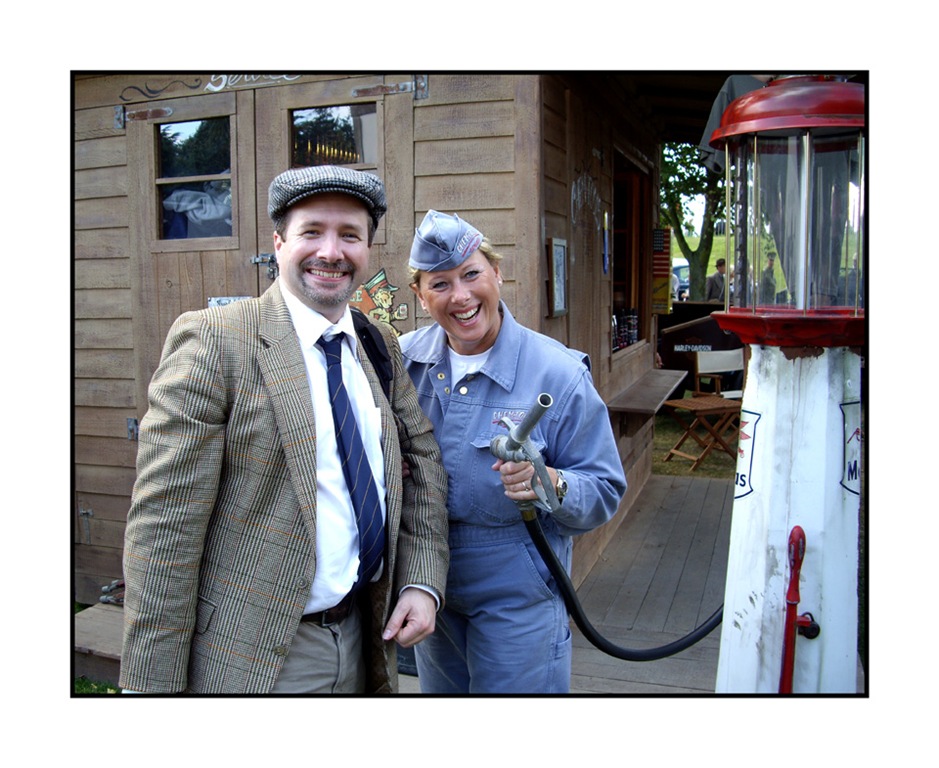
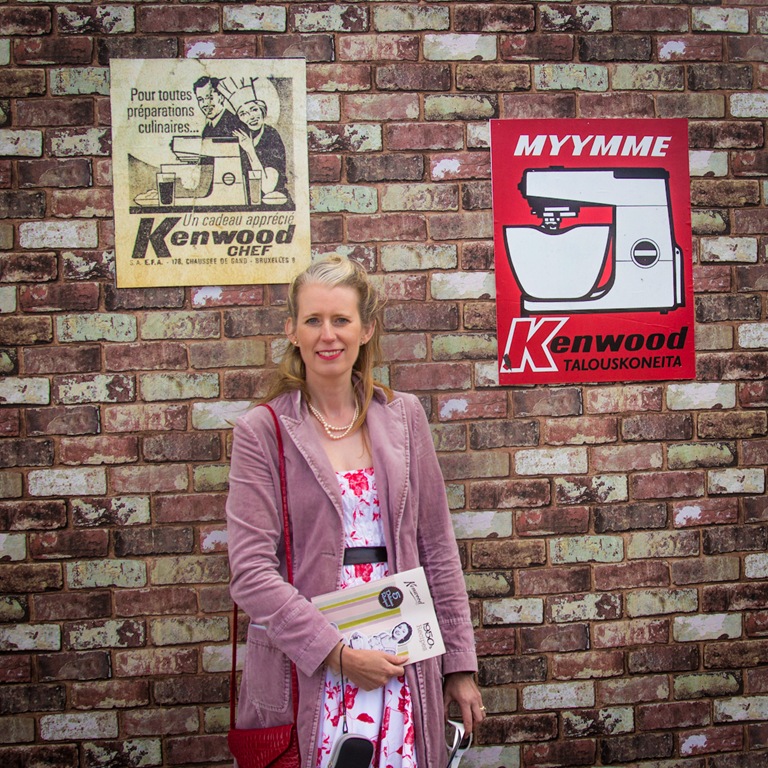
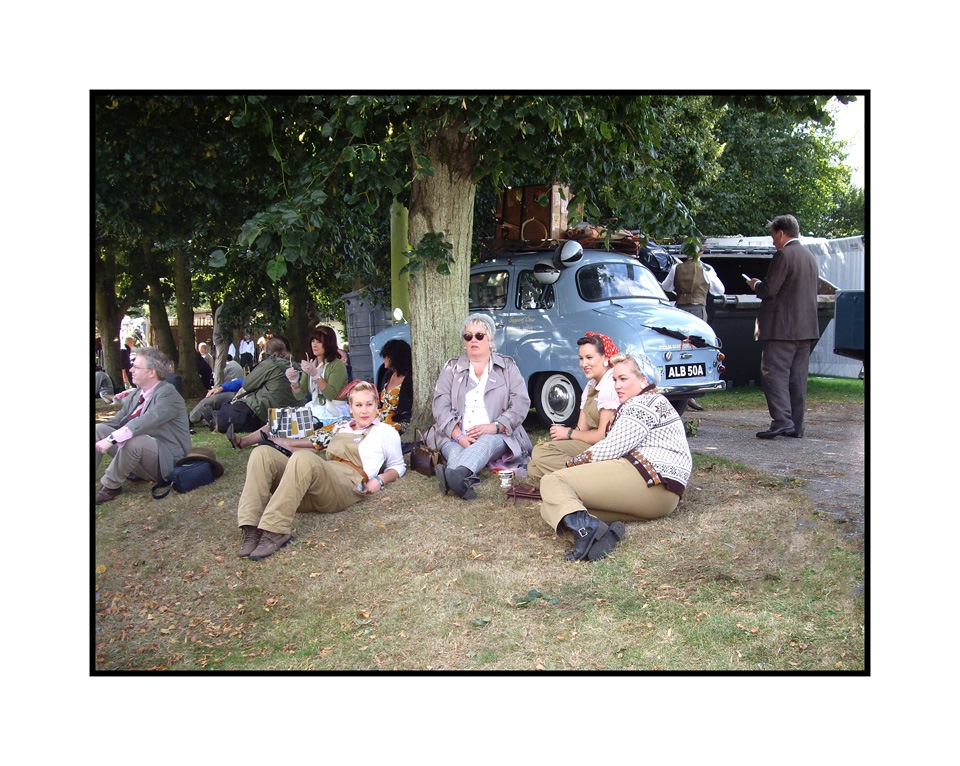
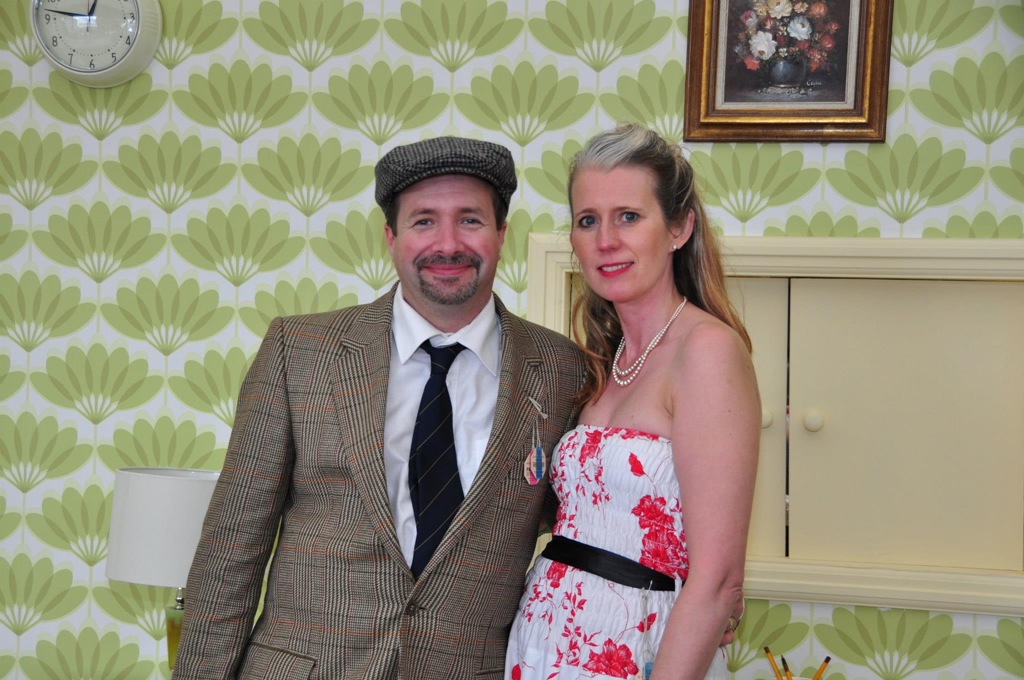
I hope the photos tell the story of the day and will just add that I felt like a “proper lady” from start to finish, really must wear red lippy more often…………….♥

GW1GW2

GW3GW6

GW11IMG_8152

GW15GW16

IMG_7794GW14

GW9GW10

KenwoodGW5

Sams Kitchen Bourbon Biscuits

Bourbons Biscuits

bourbons1jpgI love biscuits, they are the perfect accompaniment with a cuppa, great for a mid afternoon pep and handy for snacks & picnics.

Here’s my take on that fab chocolatey classic, the bourbon. I hope you love it as much as we do.

Download the recipe here

Ingredients

Biscuit bit

125g soft butter

55g soft brown sugar

155g plain flour

25g cocoa

Filling bit

40g soft butter

80g icing sugar

15g cocoa

A little milk

choc biscuit doughFor the biscuits

Cream the butter & sugar until light & fluffy, sieve in the flour & cocoa and mix well until you form a ball of dough. Place the dough in a bag in the fridge for at least 30 minutes.

When you’re ready to shape the biscuits preheat your oven 190°C (fan 170°C) GM 5

Roll out the dough gently on a lightly floured work surface to about 4 mm in thickness. Press out the shapes you would like and place on a greased/lined baking tray. If you’d like to add the little holes to the top then prick these (with a skewer or fork) on half the biscuits before they are baked. I sometimes use my small letter set to add text too.

bourbons2Bake for about 10 minutes so they are evenly baked top & bottom, they will be firm to the touch and a little darker at the edges. Keep a close eye on them as they can burn easily. Remove from the oven, allow to cool for a minute or 2 then transfer to a cooling rack.


For the icing

Place all the ingredients in the bowl of your mixer apart from the milk(or beat by hand) and combine, then beat until light and fluffy, add a little milk to create a spreadable consistency.

Spread on one of the biscuit bottoms and sandwich together with a top.  Will last several days in a tin if they don’t all get eaten straight away! Enjoy ♥

Bourbons & Tea


bourbons2    

T

Millionaire Shortbread

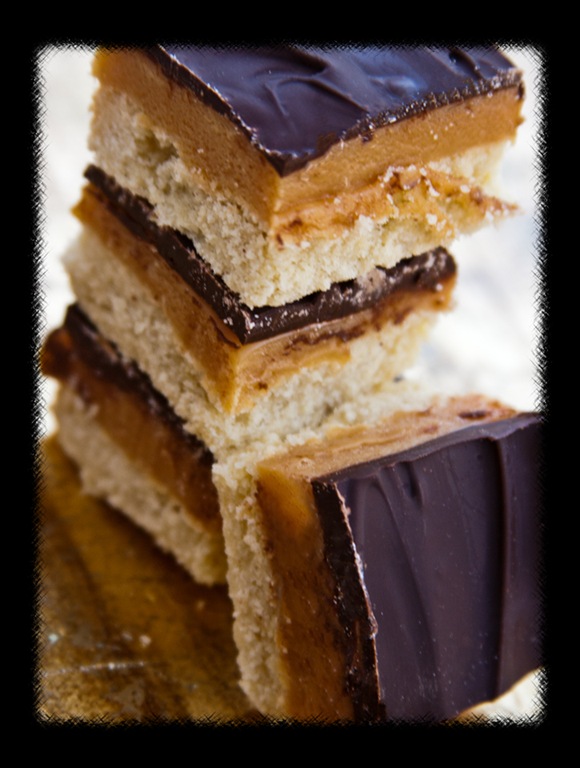
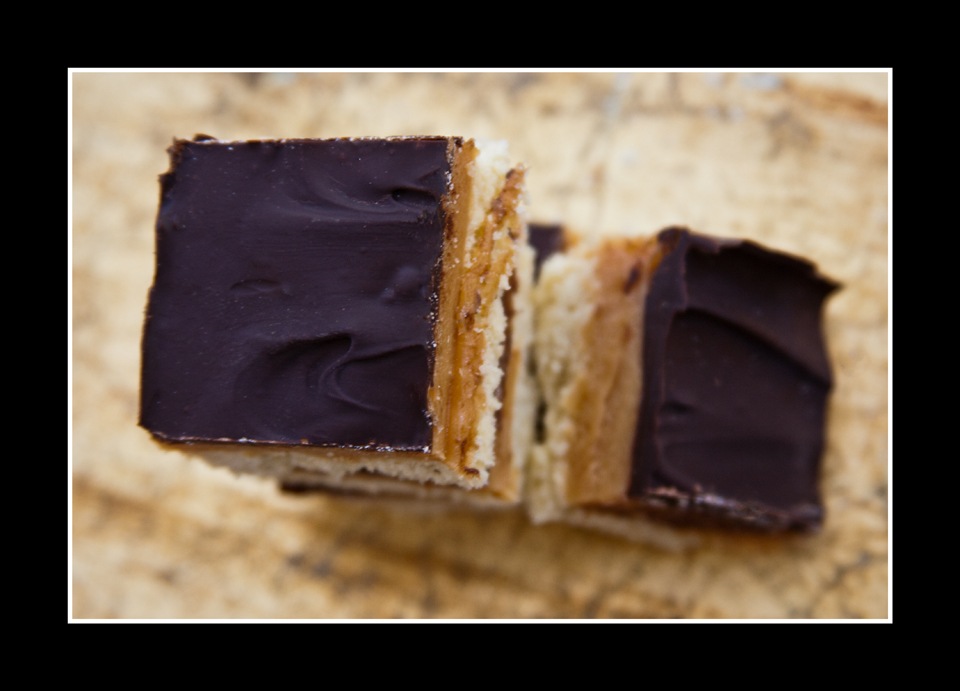
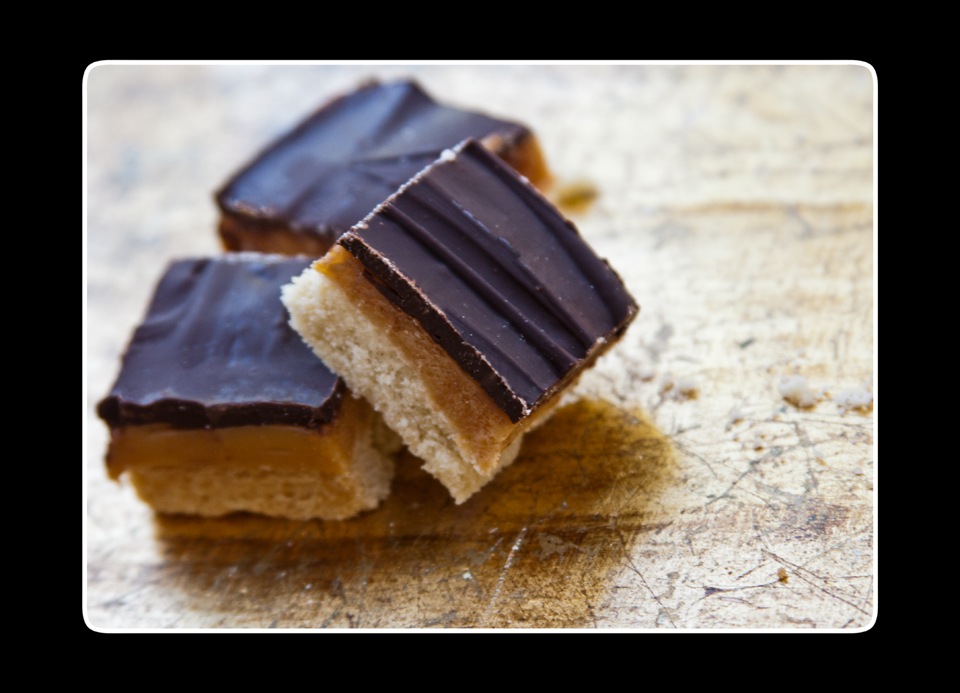
Millionaires shortbread3I absolutely love these, they always disappear double quick at home. They seem perfectly matched with a cuppa for me.

Out of all the photos I put on Facebook these seem to get the most positive response so here’s the recipe I use if you fancy giving them a whirl yourself.

Downloadable recipe here

Millionaires Shortbread (or chocolate caramel fingers)

Base

125g butter, 50g caster sugar, 175g plain flour

Caramel

125g butter, 50g caster sugar, 2tbsp golden syrup, 150ml condensed milk

Topping

150g plain choc

Preheat oven to 180°C (160°C fan)GM4. Makes 25 bite sized pieces or 12 greedy yummy slices!

The Base Bit
Cream butter & sugar until fluffy. Add flour mix well. Knead briefly until smooth. Press evenly into a 20cm square (8”) tin, prick well with a fork. Bake for about 25mins until just light golden. Set aside on a cooling rack.

The Caramel Bit

Millionaires shortbread2Place all ingredients into a saucepan and stir over a low heat until all melted. Bring to the boil slowly, stirring all the time to prevent it “catching” & ending up with burnt patches. Keep on a gentle rolling boil until it starts to darken slightly & thicken usually takes about 15 minutes. Remove from the heat and continue to stir until it’s cooled slightly then spread over the biscuit base.

Topping

Melt choc then spread over the cooling caramel. Leave to set, try to cut into squares before completely set so you have less chance of cracking the chocolate. Will keep in a tin for about a week (apparently!) Enjoy ♥

Millionaires shortbread

Choccywoccydoodah Secret Room Tea party

choccy14

I can’t describe how excited I was to receive the invitation from Christine for the Secret Tea party in the fabulous Choccywoccydoodah’s new London shop, lets just say VERY excited!

Anyone who knows Choccywoccydoodah will know that they are no ordinary chocolate & cake maker, they put a raunchy/eclectic/opulent twist on everything, that’s their unique style.


Check out their website here http://www.choccywoccydoodah.com/

choccy18

On arrival we were greeted and shown upstairs where we were offered a glass of bubbly or a salted caramel milkshake (or both actually!) and a massive slab of cake. I have to say Gav & I could’ve happily bathed in the milkshake, that’s how heavenly it was.

choccy3    choccy17

The café area is amazing inside with fantastic views outside too. We took in the atmosphere and enjoyed being treated like VIPs while we waited to be shown the “Secret Room”, the anticipation was rising…….

choccy4

We were escorted upstairs and were led into a breathtaking scene with lots of “madhatteresque” (yes it’s a word in my head!) touches. Grass (not real obviously, that would be too mad!) on the floor, tables laden with goodies just waiting for us to help ourselves. It’s the sort of place that you could spend ages in and still spot something you hadn’t seen before.

choccy10   choccy11

After a good look round, a go on the swing chair (I want one) and lots of chocolate (including goodie bags to take home) we left the room and finished our bubbly and headed homeward bound.choccy19

Thanks so much to the amazing staff at Choccy for their hospitality and making the thoughts inside Christine’s head become the reality we experienced.

The room is going to be used for intimate wedding parties (holds up to 35) and gatherings. I can see this being a wonderful unique place to host a party with of course food supplied by Choccywoccydoodah.

I feel very privileged that we have been allowed in and of course will keep the secret, well we don’t want everyone to know do we…………………..♥

choccy2    choccy9

There are more photos from the Choccywoccy event below. Click to enlarge.

choccy16choccy7choccy13choccy20jpgchoccy8choccy6

Parmesan & Sundried Tomato Scones

Parmesan & Sundried Tom Scones2I was recently having a little afternoon tea for a family getogether and thought I’d make some savoury scones for a change.

I decided to include some of my favourite things, cheese & tomatoes.

The results tasted absolutely scrummy!

My friend Dor https://www.facebook.com/la.difference.catering suggested spreading them with Philadelphia, well it’s a match made in heaven!

Ingredients

225g self raising flour

Pinch of salt

75g soft butter/spread cut into cubes

40g parmesan grated plus a little extra finely grated to sprinkle on the tops

4 sundried tomatoes chopped (if in oil then dry slightly on kitchen towel)

1 tsp dried herbs (I used basil & oregano)

1 egg beaten

2 tbsp buttermilk plus a little extra to brush the tops

Preheat oven 220°C (fan 200°C)

Grease/line a baking tray.

Makes 9 regular sized scones (2”/5cm) or 15 smaller ones (1.5”/4cm)

Sift the flour into a large bowl. Add the salt and stir through. Add the butter and rub with your fingertips until evenly distributed and like breadcrumbs. Add in the cheese, tomatoes & herbs then mix.

Next you need to add the wet ingredients, the egg & buttermilk. Scone mix is best handled as little as possible so I use a palette knife to cut/mix through and then bring all together with my hands.

Roll out on a lightly floured work surface to about 1” (2.5cm) thickness.

Cut out with your chosen cutter and place on the baking tray. Re-roll the leftovers and repeat until you’ve used all the dough. Brush the tops with buttermilk and sprinkle with cheese.

Parmesan & Sundried Tom Scones


Bake until risen & golden (about 10-12 minutes). Cool on a rack or enjoy warm.


They’ll last a couple of days, you can warm them through in the oven before serving. Enjoy ♥


Parmesan & Sundried Tom Scones3

Recipe Challenge eBook

A few months ago I sent off one of my recipes to the lovely Ruth Clemens http://www.thepinkwhisk.co.uk/ to be put with a collection of delicious recipes from other amazing food bloggers in her eBook for Save the Children who Ruth has been working closely with.


Well, the eBook looks fabulous and is ready to be download for a donation of £2 (or more of course!)

Download from here http://www.savethechildren.org.uk/recipe-challenge-cookbook


recipe-cookbook235

Wonderful recipes, donations all going to a very worthy cause, thanks for your support ♥

raspberry-Almond-mini-macaroons3

Rhubarb Flapjack Slices

rhubarb flapjack slicesI grow a few rhubarb plants in one of my raised beds. Last year the poor things had all their light pinched by my grapevine so we had a very small crop, this year they have fared a lot better albeit a tad later then most!
 

I decided to give them a whirl with a flapjack style bake, well they are scrummy!


The idea was really that they are portable unlike the usual crumbles, ice cream etc I make with rhubarb, as we are out and about a bit this weekend. I have another recipe that is great too, Rhubarb Crumble Muffins, my recipe for those is here http://www.goodtoknow.co.uk/recipes/530429/rhubarb-crumble-muffins


Printable recipe here

Rhubarb Flapjack Slices

Ingredients

375g oats

50g ground almonds

1 tsp ground ginger

250g rhubarb washed, peeled (if needed) & chopped to approx 0.5cm cubed

85g soft brown sugar

150g butter

60g golden syrup

rhubarb flapjack slices2Preheat oven to 190°C (fan 170°C)

Grease a traybake tin, mine was 29cm x 21cm

In a bowl place the oats, almonds & ginger.

Add the butter, sugar, syrup & rhubarb to a large saucepan. Place over a medium heat and stir occasionally, remove from the heat when the butter has melted. Add the oats mix into the butter mix and stir through well.

Place in the traybake tin and press the mix down evenly. Bake for about 20 minutes until golden all over. Place the tray on a cooling rack and mark out where you want to cut the slices with a knife while they still warm. Leave to cool in the tin then enjoy! Will keep for a few days in a tin.


rhubarb flapjack slice

Margarita Puffs

Margarita puffsYou may know I am rather partial to the odd margarita cocktail! Here’s my Margarita Slush recipe if you fancy trying it https://www.samskitchen.net/?p=122

Well, a little while ago I had this idea, making profiteroles with a twist. If you’ve never made choux pastry before it’s probably a lot easier then you think. I filled mine with tequila cream  and had them sitting in the lime infused sugar syrup. They are delicious and dangerously moreish, go on I dare you……..

Margarita Puffs

Puffs bit (makes about 30)

60g plain flour

1 tsp caster sugar

150ml water

50g butter cubed

2 eggs, beaten

Cream filling bit

300ml (or thereabouts)Whipping cream

1 tbsp tequila

1 tbsp icing sugar

Make the syrup ahead of time so it cools. You can make it a few days ahead and keep it in the fridge.

margarita puffs 2

Sugar Syrup bit

200g granulated sugar

Juice of a lime then top up with water so the liquid is 100ml

Place the sugar, water & lime juice in a saucepan and slowly heat through stirring occasionally so the sugar melts. Bring to the boil and then turn the heat down to a slow simmer for 5 minutes stirring occasionally.

Remove from the heat and leave to cool.

To make the puffs

Preheat the oven to 200°C (Fan 180°C)

2 greased baking trays.

I find the best way to get the flour added quickly in one go is to use a large sheet of greaseproof paper which you have folded down the centre then add the sieved flour and the sugar and leave to one side.

Place the water and the butter in a saucepan over a medium heat and stir gently until the butter has melted into the water then bring to the boil. As soon as it starts to boil remove from the heat. Tip all the flour in, down the “shoot” of greaseproof paper and beat really well with a wooden spoon until all combined and smooth and the mix is leaving the sides of the pan.

Next add a little of the egg and beat through and continue until all the egg is used and the mix has a glossy look.

Place teaspoonfuls of the mix onto the tray leaving about 3cm gap to allow for rise. Then bake for 10 minutes, then turn up the heat to 220°C (Fan 200°C) and bake for another 15 minutes or until a nice golden brown. Remove from the oven and pierce the side once (this releases the steam so they don’t go soggy inside) and then transfer to a cooling rack.

margarita puffs plateCream filling bit

Whip the cream until it starts to hold it’s shape then stir through the tequila & sugar. To fill the puffs either slice gently with a knife and fill with a teaspoon or use a piping nozzle in a piping bag (like the ones you fill doughnuts with jam).

Put the syrup in a serving dish/plate and lay the puffs on top, keep in the fridge until you scoff them! Best served on the day of making but will keep a few days in the fridge.

Margarita puff in hand

Vanilla Crumblies

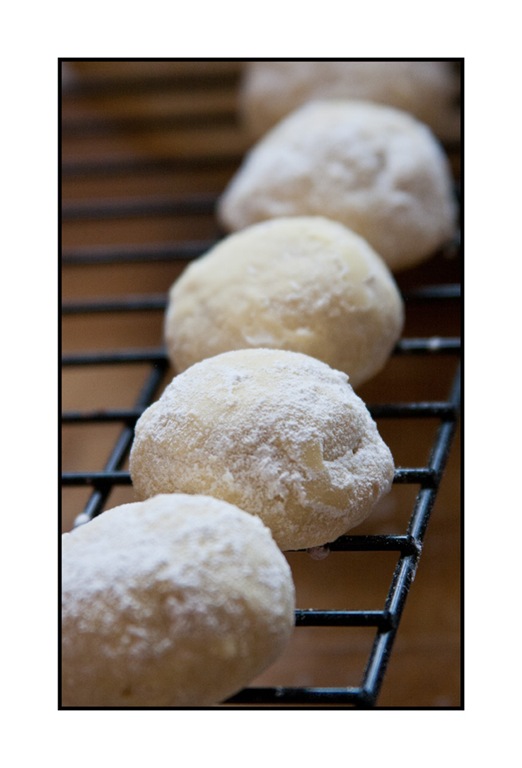
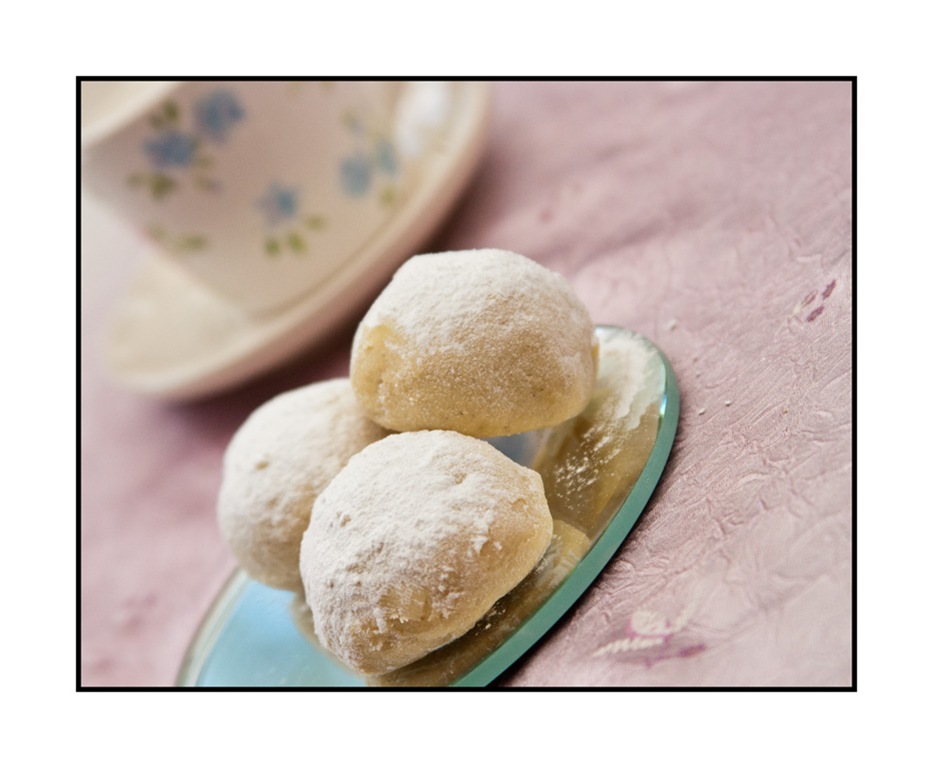
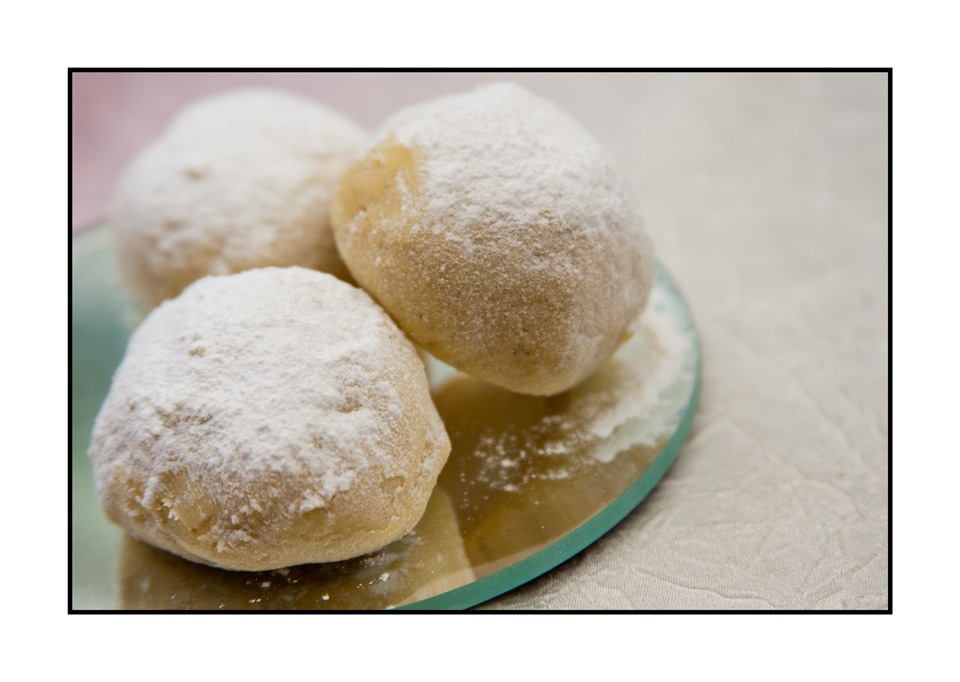
Vanilla Crumblies We are all big vanilla fans at home so I get through a fair amount of the good stuff, either extract or my new love the vanilla bean paste mmmmmmmm.

A few months back I made pinenut cookies (pignoli) and I loved them but Gav & Frey were not so keen so I thought I’d make a similar thing but with vanilla.


Vanilla Crumblies overviewThey are so delicious and really easy to make. The vanilla content is up to you but I like things real vanillary, so just adjust according to your taste. The texture is like a fine shortbread biscuit so I felt this name was appropriate!

Vanilla Crumblies

225g soft butter/spread

65g icing sugar

1-1.5 tbsp vanilla extract/bean paste (Depends how vanillary you want them)

320g plain flour sieved

A small bowl with icing sugar for dusting after baking

Makes about 40

Vanilla crumblies Dough


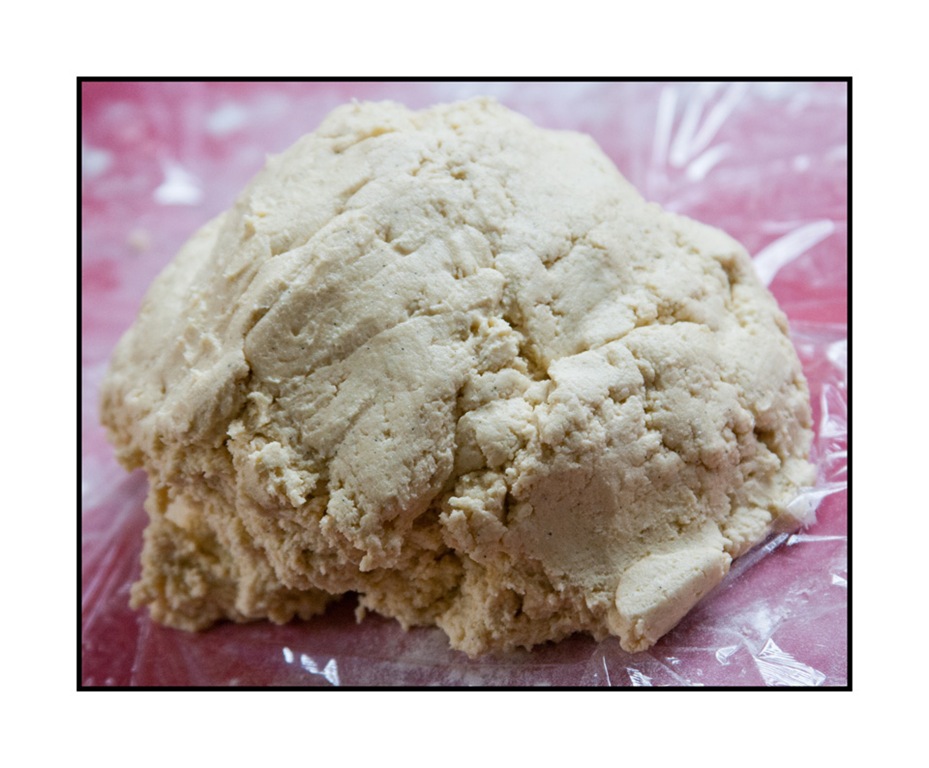
Cream the butter & sugar together until light & fluffy. Add in the rest of the ingredients (but not the bowl of icing sugar for dusting later) and mix until well combined. Bring together in one big ball of dough and wrap in clingfilm and place in the fridge for at least 30 minutes. You can make this a few days ahead then bake as needed.


Vanilla crumblies dustingWhen you are ready to bake preheat the oven 180°C(fan 160°C). Grease or line baking trays. Roll small piece of dough into a ball (mine were about 1.5 heaped teaspoons) and place on the baking tray, they only spread a little so 12 on a standard size tray is fine. Bake for 15-20 minutes.


Vanilla Crumblies row


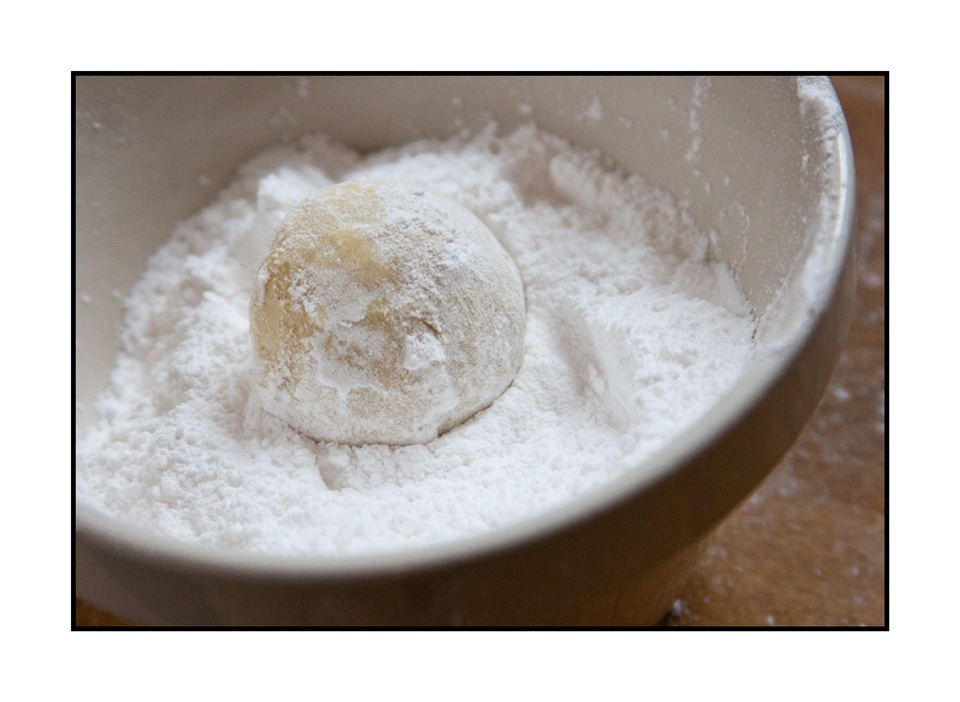
The tops will be pale but the bottoms should be a nice golden brown. Place the whole tray on a cooling rack for 5-10 minutes then roll each cookie in icing sugar and place on the cooling rack.

They will keep in a tin for a few days, if they last that long! Enjoy ♥


Vanilla crumblies 1

Passionate love of baking & eating.