Category Archives: Cakes

Toblerone Tiffin

We still have an enormous Toblerone to eat, so here’s another recipe! You can, of course, use whatever chocolate you have available. Also your choice of biscuits will make it unique too. I used what we had in the cupboard, along with dried fruits too.

Toblerone Tiffin

125g Toblerone, chopped

125g biscuits, crushed (I used digestives, crunch creams and Biscoff)

75g butter

45g dried fruit, chopped if large (I used dates and cranberries)

25g soft brown sugar

1 tbsp. golden syrup


Make 16 small squares

Line a container with baking paper, I used a metal tin approximately 15 cm square. You could use a loaf tin or something similar.

In a large bowl place the crushed biscuits and dried fruit. I made sure I had a mix of crumbs and chunks when I crushed the biscuits.

In a small/medium saucepan, very gently melt the chocolate, butter, sugar, golden syrupToblerone Tiffin and butter. Make sure you stir regularly to ensure it all melts evenly and doesn’t catch. You could do this in a bain marie if you prefer. Once it’s melted pour in the mixing bowl with the dry ingredients and mix together.

Place the mix in the prepared container, spread until fairly even but don’t completely crush it down, it’s nice to have chunky bits. Place in the fridge to set, use a sharp knife to portion. Enjoy ♥

Bakewell Puddings Old Style

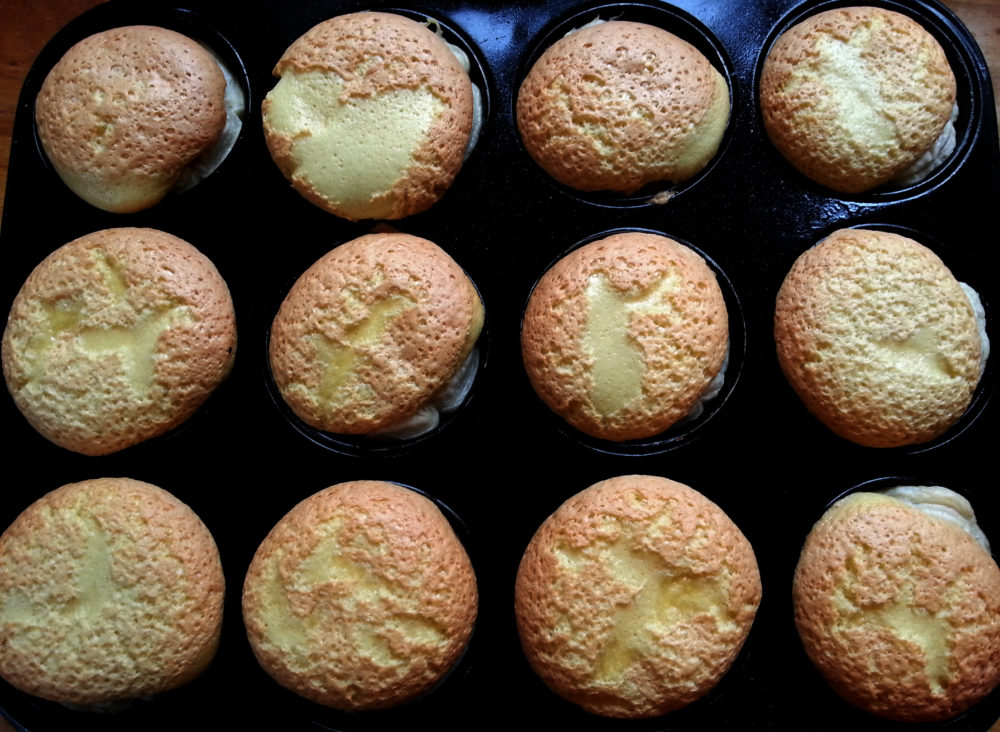
They may not look pretty but they taste great! Combining the flavours of the Bakewell Tart we know with the look and texture of a custard tart. They are my take on the original Bakewell Pudding, from Derbyshire and still being made in vast quantities there.
I decided individual puddings were how I wanted to go with these and buying puff pastry just makes sense too. They puff right up in the oven then deflate once out looking like rather sad Yorkshire puddings, don’t worry they’re supposed to be like that.
Perfect with a cup of tea and great for sharing. I hope you get chance to try them.

Bakewell pudding3

Bakewell puddings Old Style (click title to print recipe)

Ingredients

One sheet of ready rolled puff pastry (375g)

2 eggs plus another 2 yolks

115g melted butter

50g caster sugar

50g soft brown sugar

50g ground almonds

A few drops of almond flavouring (optional)

75-100g jam, strawberry, raspberry, blackcurrant, cherry or whatever you have

Preheat oven to 180C° C 160°C Fan GM4

Makes 12-15

Bakewell tray 1Grease the holes in a muffin/cupcake tray

  1. Cut out pastry with a circle cutter about 9cm in diameter. Place in each of the holes in the muffin tin. Press down so it’s a snug fit to the bottom. The sheet of pastry I used just made 12 rounds, I used the off-cuts to patchwork another 3 in another greased muffin tin. Spread a little jam in each, about a teaspoon.

2. Whisk the eggs, including the 2 extra yolks, on a med/high speed until fluffy and light. This takes about 3 minutes. Then whisk in both the sugars, ground almonds and almond flavouring if using. Whisk to combine. Still whisking on slow/medium add the melted butter, gradually pouring in.

Bakewell Tray 23. Pour in to the pastry cases, until almost to the top. Bake until puffed up, firm to the touch and golden brown. About 20 minutes. Place the muffin tins on a cooling rack and leave to cool. They’re easier to remove from the tin once cold but they are also delicious still a little warm, what a dilemma! Enjoy ♥


Bakewell Tray 3

Bakewell pudding1

Bakewell pudding2


Ricciarelli Hearts

I made my version of these 4 or 5 years ago doing research for a magazine article. They are delicious and very moreish. Originally a macaroon style biscuit form Siena in Italy and often given as Christmas gifts. As I have a love of most things Italian they are a staple on my baking list!


ricciarelli-rice-paperI decided to change the tradition shape from a lozenge to heart shaped and to use some lovely coloured rice paper (wafer paper) sheets I bought from Squires Kitchen earlier in the year.

Download the recipe here: ricciarelli-hearts

Ingredients 

200g ground almonds
200g icing sugar
1/2 tsp baking powder
2 egg whites
1 tsp vanilla extract
Grated zest of 1 lemon
1 tbsp runny honey
2-3 large rice paper sheets (approx 28 x 18 cm each) coloured if you can get them
A little icing sugar to dust with

ricciarelli-shapedMakes 20

Oven preheat 180°C (160°C Fan) GM4

Sieve the icing sugar in to a large mixing bowl, add the ground almonds and baking powder and stir.

Add in the vanilla, lemon zest and honey and briefly stir through, it will be crumbly and uneven in texture at this stage. It will all come together later when you add the egg whites.

hearts


In a very clean bowl whisk the egg whites until they form stiff peaks. Add the whisked egg whites to the bowl with the other ingredients and mix well until you have a lump of sticky dough. Wrap the dough in clingfilm and place in the fridge for at least 6 hours, preferably overnight.

When you are nearly ready to bake them, preheat the oven. Prepare the rice paper by cutting out some heart shapes. Use the template to help you or make your own measuring about 6cm at the widest across, and about 6 cm from the dip at the top to the point at the bottom. You’ll need 20 of these.

Download the A4 sized template from www.samskitchen.net/wp-content/uploads/2016/12/hearts.jpg

Divide the dough mixture in to 20 fairly equal sizes (I weigh mine to get it equal), then using your hands shape them into a rough heart shape to fit on the rice paper , so they are just inside by a few millimetres all round (they expand over this when baked). Repeat with them all. Place them on the baking trays making sure you leave a gap around each. Dust with icing sugar.

Bake for about 10 minutes until golden. Leave to firm up for a few minutes on the baking tray then transfer to a cooling rack. They keep well in a tin and actually taste even better the day after baking. Enjoy ♥

   ricciarelli-above ricciarelli-baked ricciarelli-3


Food Photography Lighting Ideas


Although I love using natural light for a lot of my food photography, sometimes it’s just not an option. The UK has many days when the sun does not appear and when it does it’s not for long enough! So I have a few lights at hand to make sure I’m not limited.

aimg_1788

The Pixapro Glowpad 350 works really well for me and also means I can control where the light is used and how much light. It’s amazing how much difference moving the light makes to the end result.

aimg_1776

Check out my video to how see how I created the images.


Coffee Drizzle Cake


coffee-drizzle-cake-above

I do love a coffee cake but don’t make them often as I’m the only one here that likes them, which means I end up eating most (by most I mean all) of it!

I decided a cake crossed with a sugary drizzle topping could be worth experimenting with. It was lovely and I did share it with a few visitors and my Dad, honest I shared 🙂

coffee-drizzle-3

coffee-drizzle-loaf-cake

Ingredients

175g soft spread/butter

175g soft light brown sugar

3 eggs, lightly beaten

175g self raising flour

1 tsp baking powder

2 tbsp. instant coffee

4 tbsp. boiling water

100g granulated sugar

The loaf tin I used measured 11 cm x 22 cm at the widest and 6 cm deep, line the base and grease the sides.

Preheat oven to 180°C 160°C fan GM4

coffee-drizzle-above

  1. Mix the coffee and boiling water together, set aside and allow to cool completely before making the cake.
  2. Beat the soft spread/butter with the soft brown sugar until light and fluffy. Add the egg in 3 additions mixing well, if it looks like it’s curdling add a tbsp. or 2 of the flour. Mix briefly on med/high speed to combine until smooth.
  3. Sieve in the flour and baking powder, also add 2 tbsp. of the cooled coffee mixture. Beat until all combined and smooth. Spoon into the prepared loaf tin and bake until firm to the touch and a skewer comes out clean when inserted in to the centre 30-40 minutes.
  4. Place the cake, still in the loaf tin, on a cooling rack. Mix the remaining coffee mixture with the granulated sugar. Use a skewer to make holes across the cake top then, whilst it’s still hot, spoon the drizzle mix over. Leave to cool completely in the tin. To remove loose the sides and gently tip on to a plate and then place a plate on the bottom and turn over, this way the crunchy sugar is on the top. Enjoy ♥
    coffee-drizle-above-2
    coffee-drizzle-5
    coffee-drizzle-3

Malt Loaf

Malt Loaf sliced close

Malt Loaf

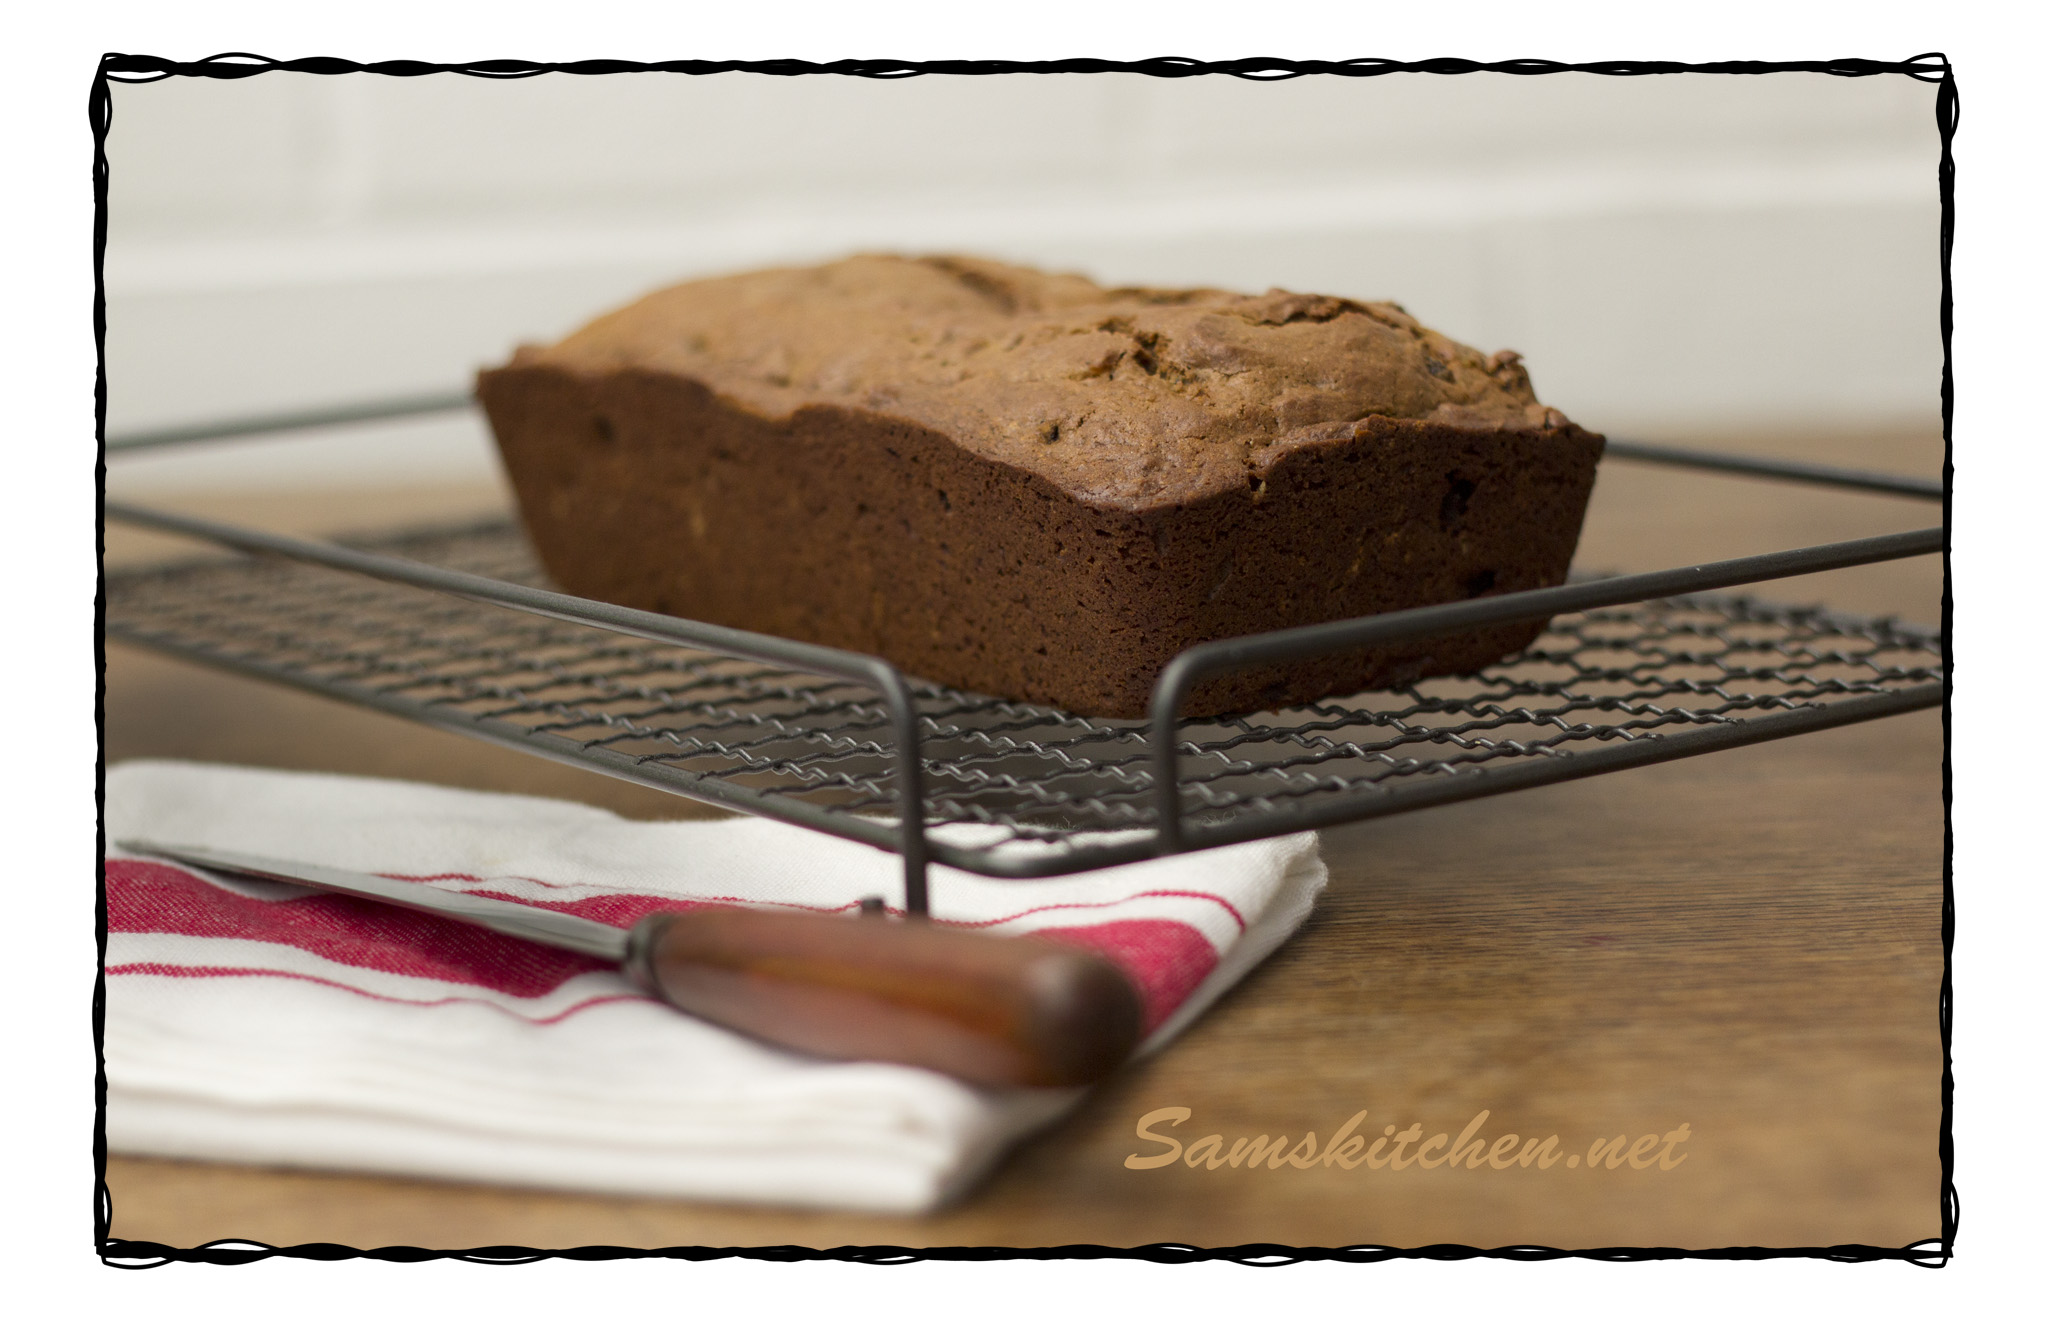
One of our favourites here, but not too squidgy like the shop bought ones. Lasts several days (well if it doesn’t get eaten), I think the flavour deepens after a day or so. Delicious spread with butter and a cup of tea.

Malt Loaf buttered

Print recipe Malt Loaf

Ingredients

225g plain flour sieved

50g soft brown sugar

1/4 tsp bicarbonate of soda

1 tsp baking powder

½ tsp mixed spice (optional)

Pinch of salt

75g butter, cut into lumps

110g mixed dried fruit

1 large egg beaten

2 tbsp milk

75g malt extract

75g black treacle

3 tbsp boiling water


Preheat oven 160°C (Fan 140°C) GM 3


Grease the sides and line the base of a loaf tin, mine is 10cm x 20cm (7cm deep) so something about that size will be good.

Place the flour, sugar, salt, bicarbonate of soda, baking powder and mixed spice in a mixing bowl, stir. Add the butter and rub in with your fingertips until the mixture resembles breadcrumbs. Stir through the mixed dried fruit.


Place the black treacle and malt extract in a small mixing bowl. Add the boiling water and mix gently together. Make a well in the centre of the dry ingredients and pour in the sticky treacle mix, the egg and milk. Stir together well with a wooden spoon.Malt Loaf mix 1

Malt Loaf Mix 2


Pour the mixture into the loaf tin and bake for about 45 minutes. The loaf will feel firm and a skewer will come out clear from the centre when it’s cooked. Place the loaf, still in the tin, on a cooling rack and leave for 10 minutes. Gently turn out after that time and allow to cool completely. Or enjoy warm sliced with butter! ♥

Malt Loaf cooling

Malt loaf sliced


Chocolate Carrot Cupcakes

Choc carrot cupcakes 10I really like carrot cake and I like chocolate so to combine the two has to be a win win!

I made these in cupcake cases then remembered I had the little silicon plant pots which suit them perfectly!

My lovely daughter made the carrots and actually didn’t scoff all the marzipan for a change!

The mix is more muffin then cupcake and is moist and delicious.

Print recipe

Chocolate Carrot Cupcakes

Cake bit

175g soft brown sugar

3 eggs, lightly beaten

175g sunflower or vegetable oil

125g self raising flour

50g cocoa

½ tsp baking powder

1 tsp cinnamon

1 tsp vanilla extract or bean paste

Grating of nutmeg

175g grated carrot

Finely grated zest of ½ orange

Choc carrot cupcakes 4 Choc carrot cupcakes 3


Icing bit

265g icing sugar

35g cocoa

150g soft butter

100g cream cheese (full fat)

1 tsp vanilla extract or bean paste

50-100g marzipan or sugar paste to make the carrots

Orange food colour gel

Parsley sprigs or green lace jelly sweets to make the carrot tops

Makes 12

Preheat oven to 170°C 150°C Fan GM3

Line a muffin tray with baking cases

Cake bitChoc carrot cupcakes 5

  1. Place soft brown sugar, oil, eggs and vanilla together in a bowl and whisk to combine.
  2. Sieve in baking powder, cinnamon, cocoa and flour. Add the zest, nutmeg and grated carrot. Fold through, quickly and firmly until mixed. It’s important not to overmix as the texture will become dense.
  3. Divide between cases and bake for 20-25 until firm to the touch and a skewer comes out clear when inserted in the centre. Allow to cool for 5 minutes in the muffin tray then transfer to a cooling rack to cool completely.

CarrotsChoc carrot cupcakes 6

  1. Colour the marzipan or icing with a little orange/peach colour food gel. Roll a little in to a ball then a cone shape. Make a hole in the large end to thread the green top in to. Use a knife to make marks around to make it look more carrot like. Repeat.

Icing bit

  1. Beat the butter until really soft. Sieve in the icing sugar and add the vanilla and slowly beat to combine. Sieve in the cocoa and add the cream cheese. Beat until creamy and smooth.
    Choc carrot cupcakes 7
  2. Once the cakes are cool scoop out some of the middle (set this aside). Use a small spatula or knife to spread icing across the top of each cake. The great thing about this cake is that it doesn’t have to be perfectly iced, in fact it looks better not! Add some to the hole in the middle too and then place a carrot in so some is still sticking proud (you may need to cut some off the bottom and eat that to make it fit properly!)
  3. Take the reserved cake ‘holes’ and either crumble with your fingers or blitz in a processor. This will be the ‘dirt’ and can be sprinkled on the icing. Add your carrot top green sprigs and you’re done. ♥


Choc carrot cupcakes 8Choc carrot cupcakes 2


Choc carrot cupcakes 10Choc carrot cupcakes 1

Lemon and White Chocolate ‘Brownies’

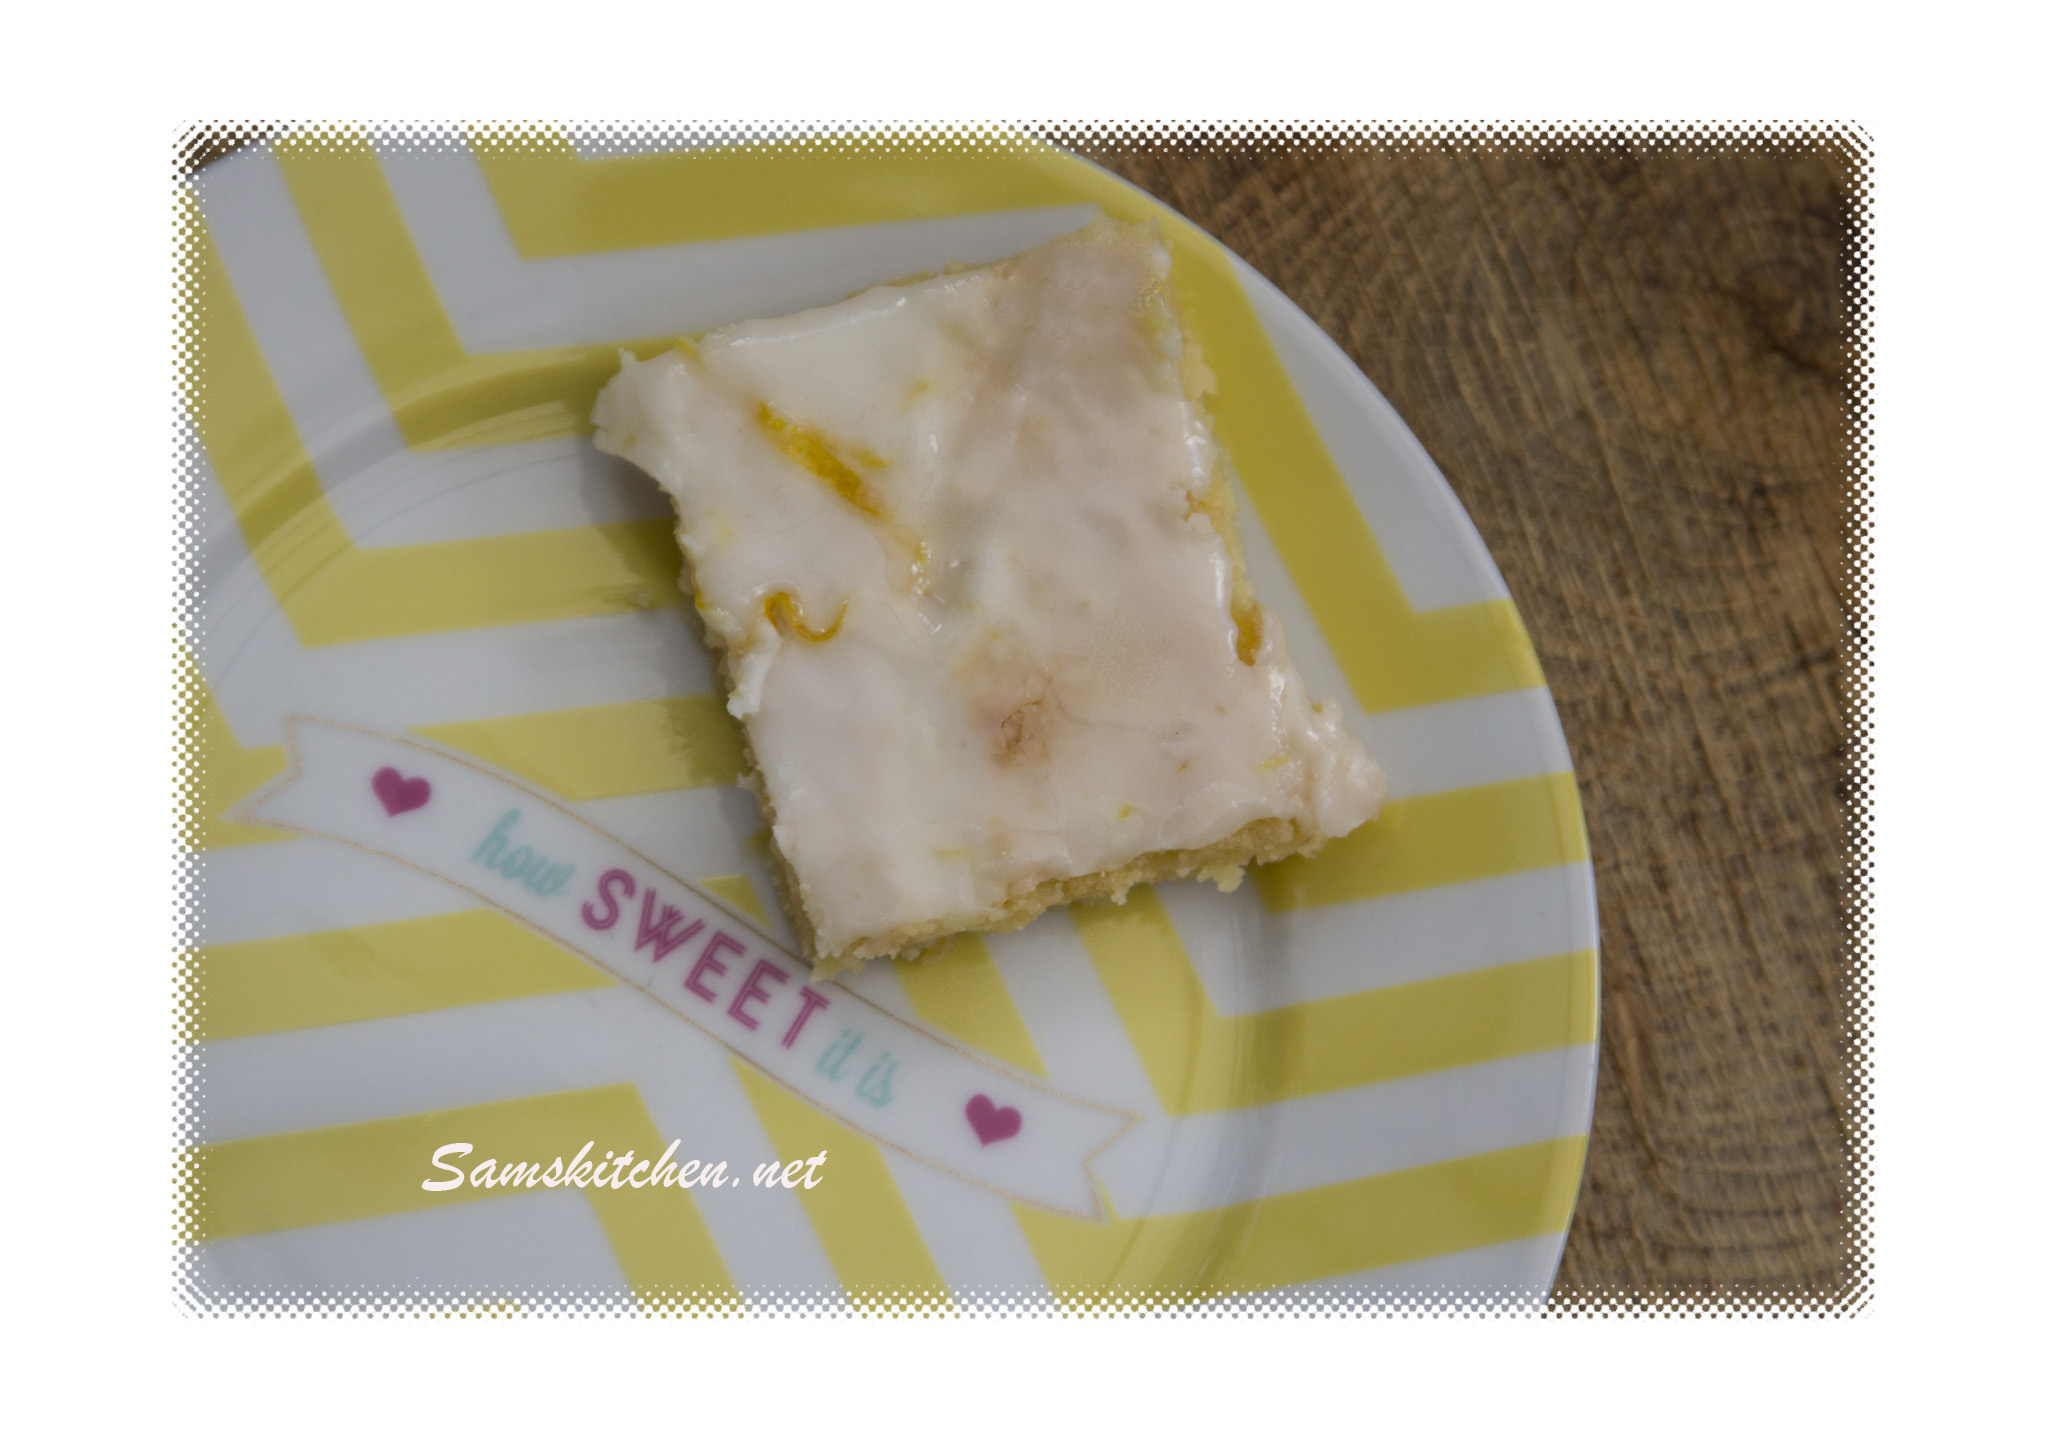
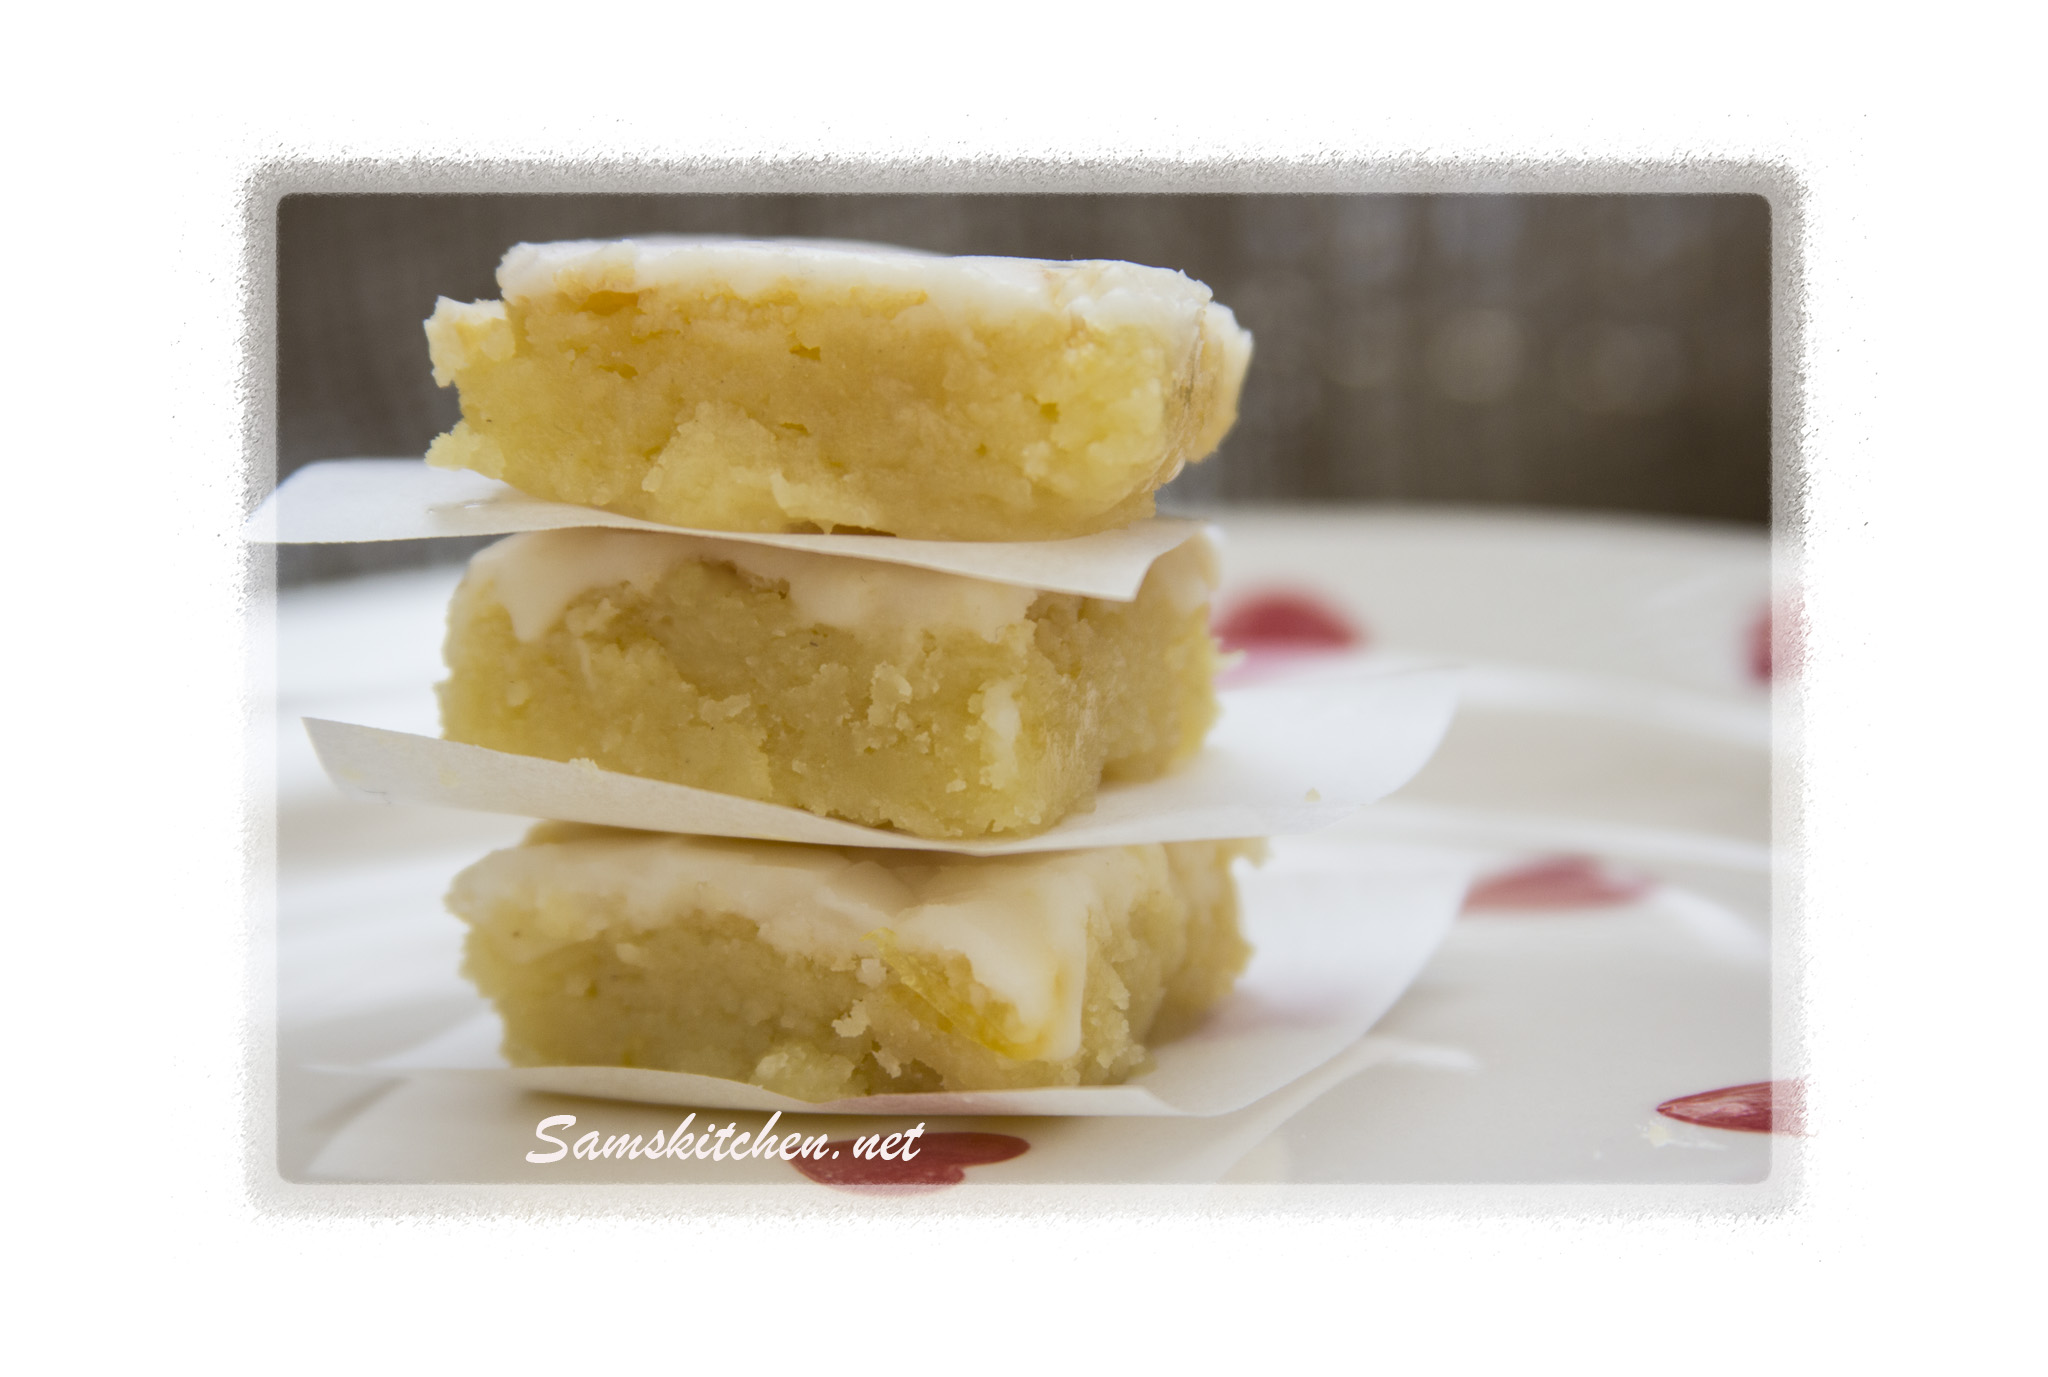
lemon white choc brownieWe are a brownie loving household, something we all enjoy. I thought I’d try something along the same lines, you know, rich and squidgy, but use lemon and white chocolate instead of plain or milk chocolate.

The result was lovely, rather sweet and indulgent and perfect with a cup of tea!

Print the recipe Lemon and White Chocolate Brownies

Lemon and White Chocolate ‘Brownies’

Ingredients

275g caster sugar

250g soft butter/spread

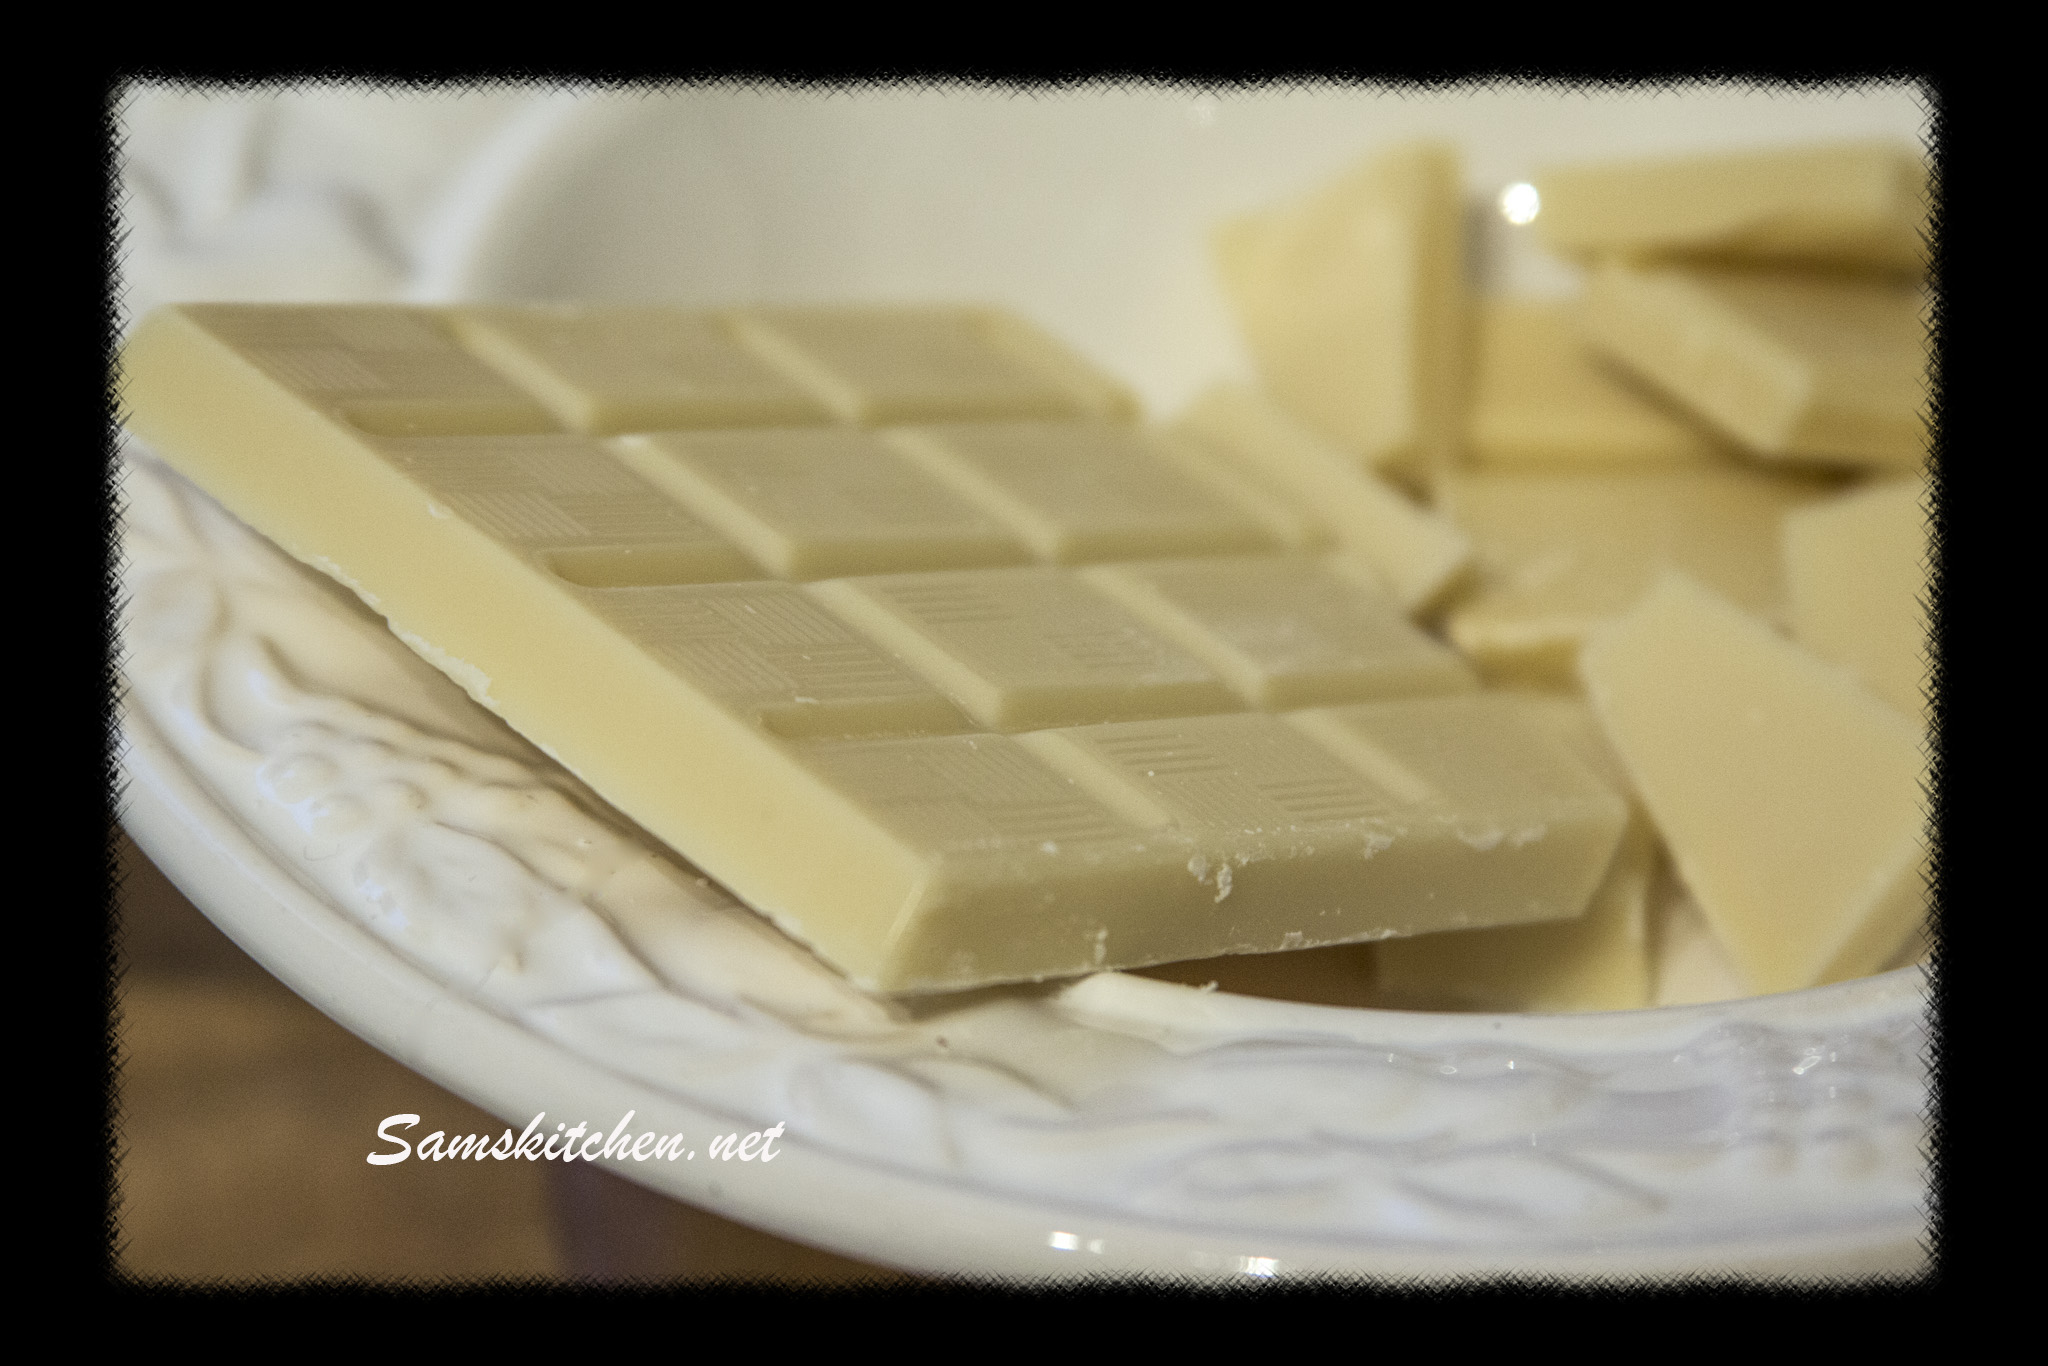
200g melted white chocolate, cooled slightly

3 eggs, lightly beaten

125g plain flour

1 tsp baking powder

Grated zest of 2 lemons

Juice of 1 lemon

LemonsIcing glaze

150g icing sugar

3-4 tbsp lemon juice

Zest of ½-1 lemon

white choc

Preheat oven to  180°C 160°C Fan GM4

Line base and grease sides of a brownie tin approximately 30 cm x 23 cm

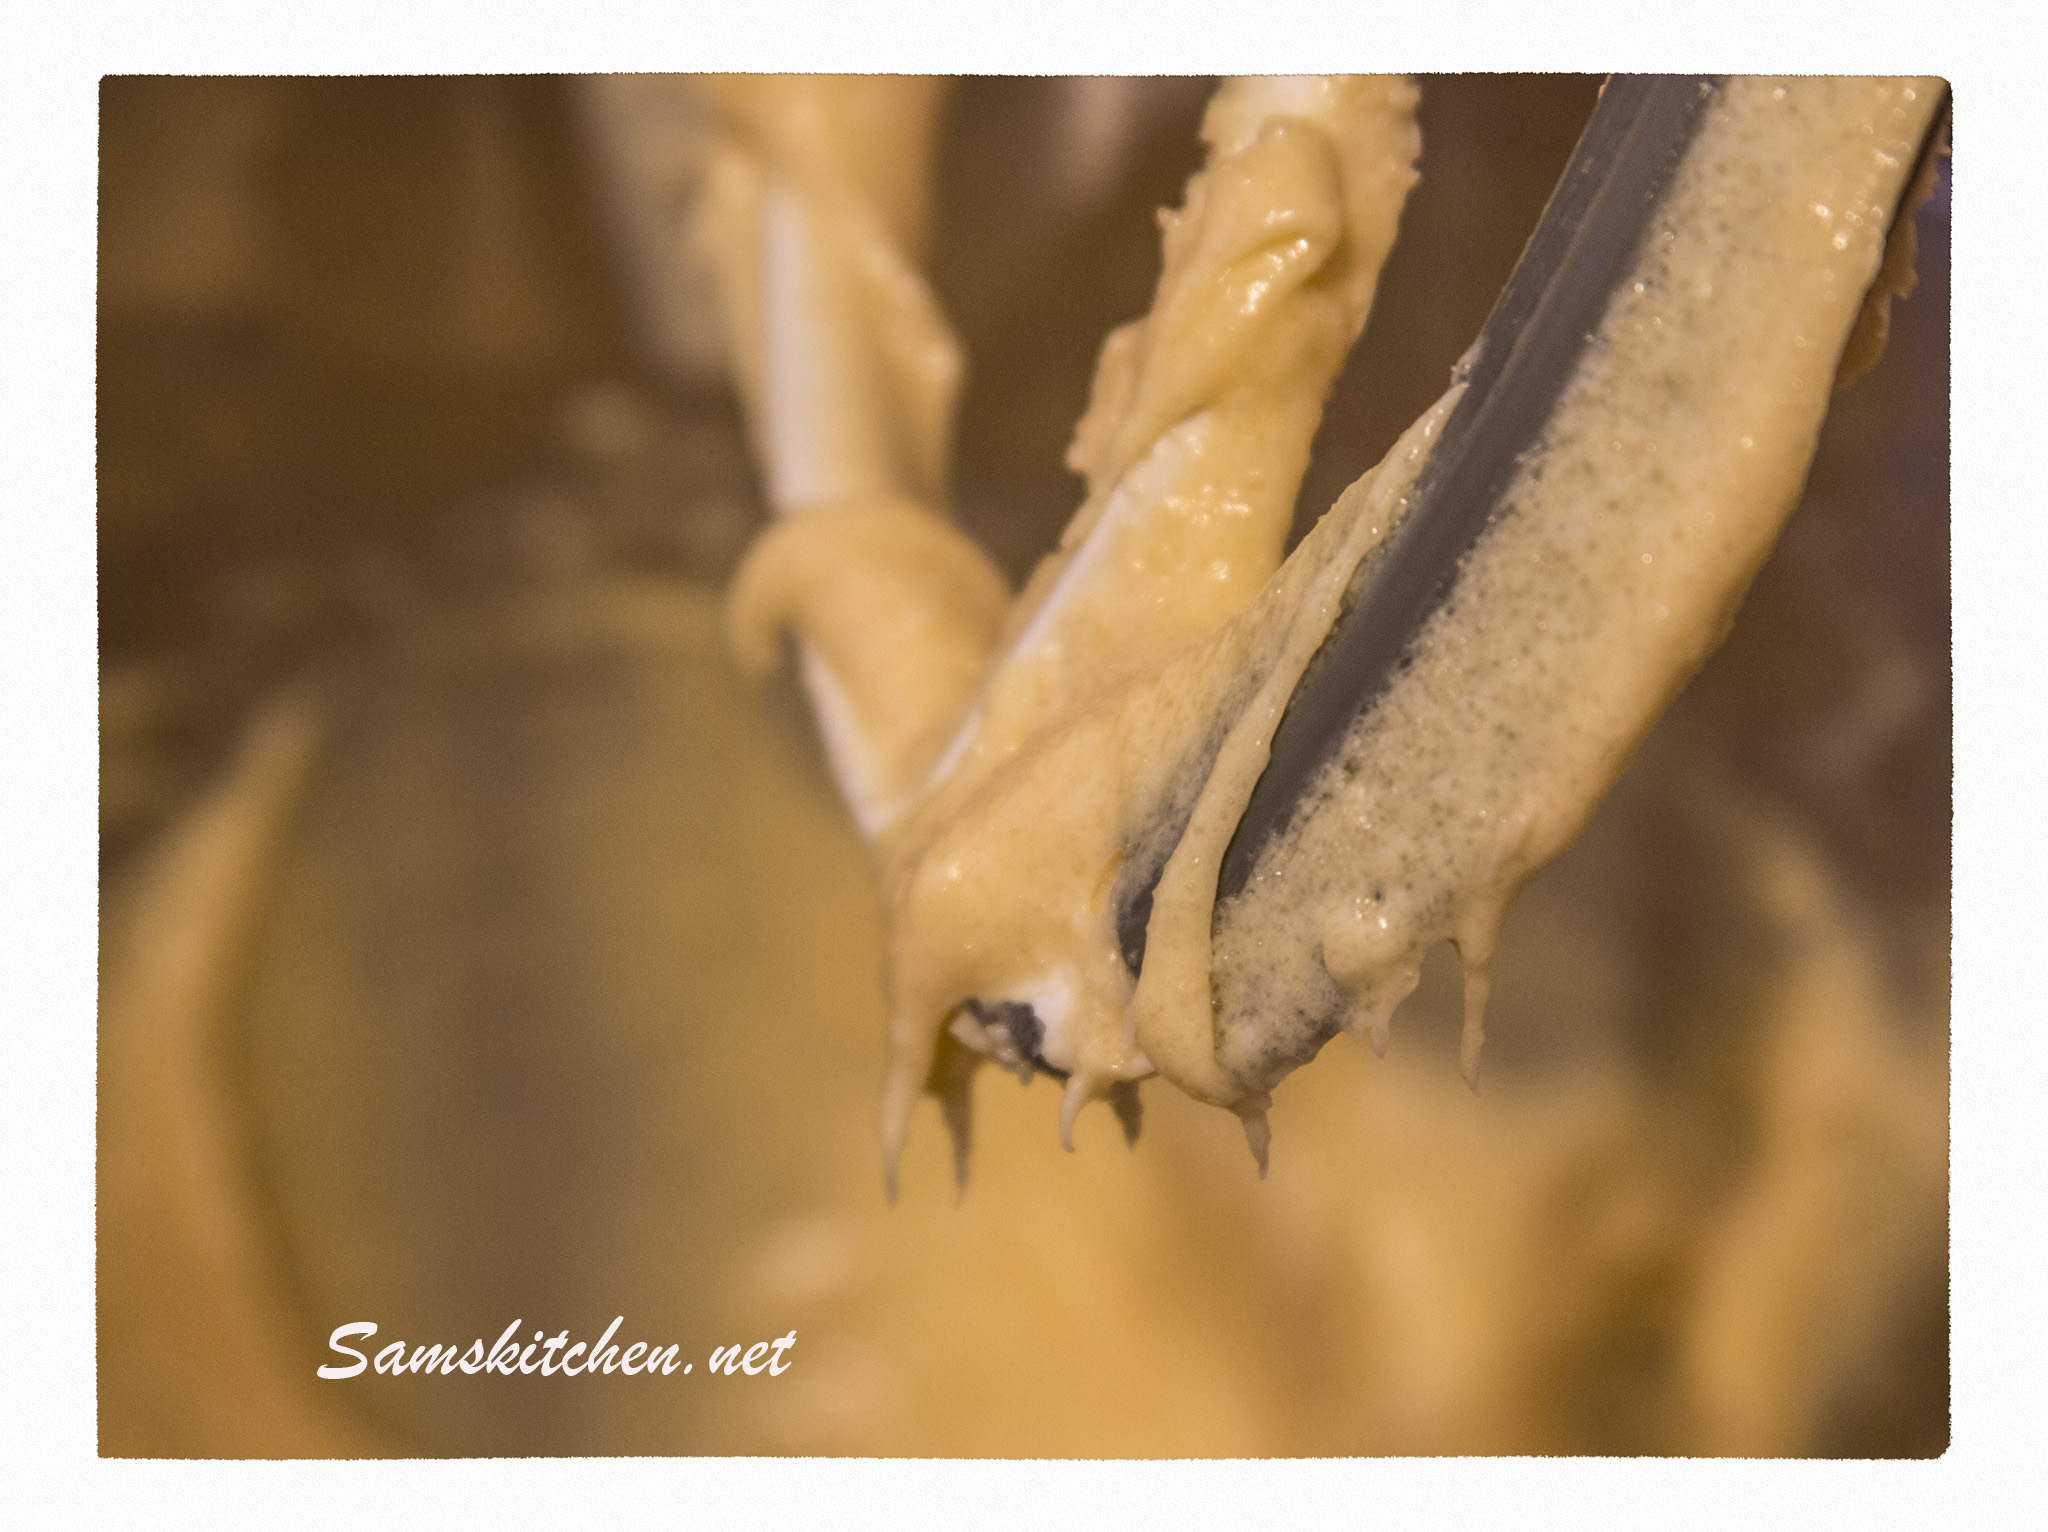
Beat butter and caster sugar together until soft and fluffy. Beat in the eggs until combined. Beat in the melted white chocolate and lemon juice and zest.
Lemon Brownies mixer
Fold through the flour and baking powder with a large metal spoon.

Pour the cake batter in to your prepared baking tin and bake for 25-30 minutes until starting to colour golden on the top but the centre still has a slight wobble. Allow to cool completely in the tin.

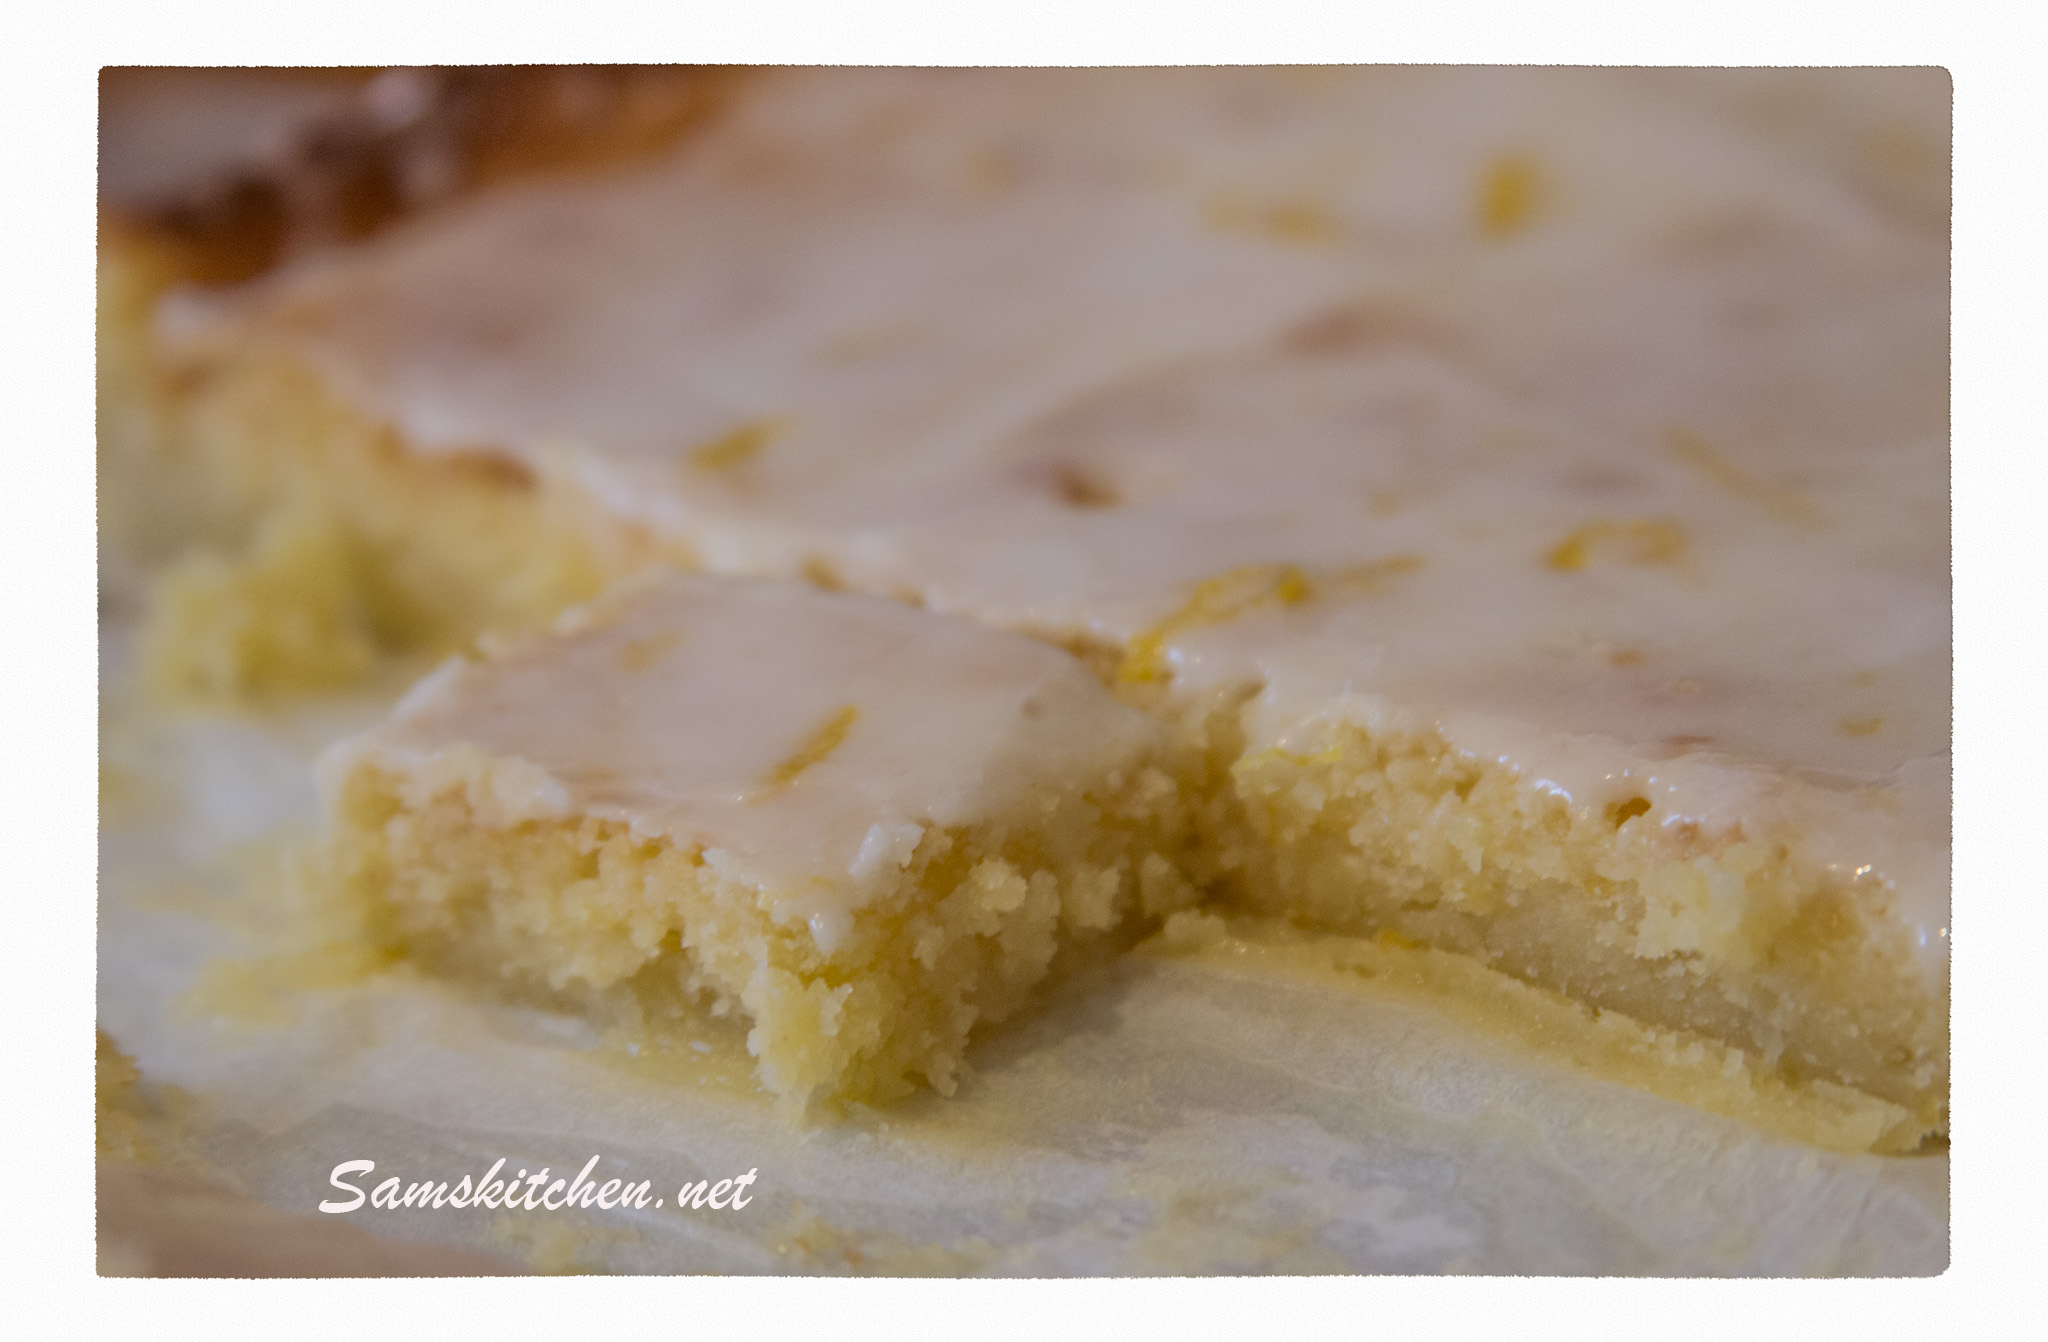
Sieve the icing sugar in to a small bowl and add enough lemon juice to make a drizzling consistency and spoon this on the top of the cooked lemon brownie , use a knife to carefully spread across.

Lemon brownie tray

Allow to set slightly. These are lovely straight from the fridge. Sticky, sweet and lemony ♥

Lemon brownie stack


Snowy Pie

I recently made a Mississippi Mud Pie for a magazine commission, it was total heaven on a plate (if a little calorific!!!) I decided a white chocolate version would be worth a try, let’s just say it was!

Snowy Pie slicePrint recipe Snowy Pie

Biscuit base

150g digestive biscuits, crushed (Grahams crackers)

150g custard creams biscuits, crushed

125g melted butter

Filling

75g white chocolate

75g butter

2 eggs

65g caster sugar

100ml double cream

Chocolate Sauce

125g white chocolate

50ml double cream

25ml milk

25g butter

1 tbsp. golden syrup

Cream top

150 ml double cream

½ tbsp. icing sugar

25g white chocolate, grated


20” round (8”) deep cake tin with a loose bottom, greased

Oven preheat 180°C,  160°C Fan,  GM4Snowy pie base

Biscuit base

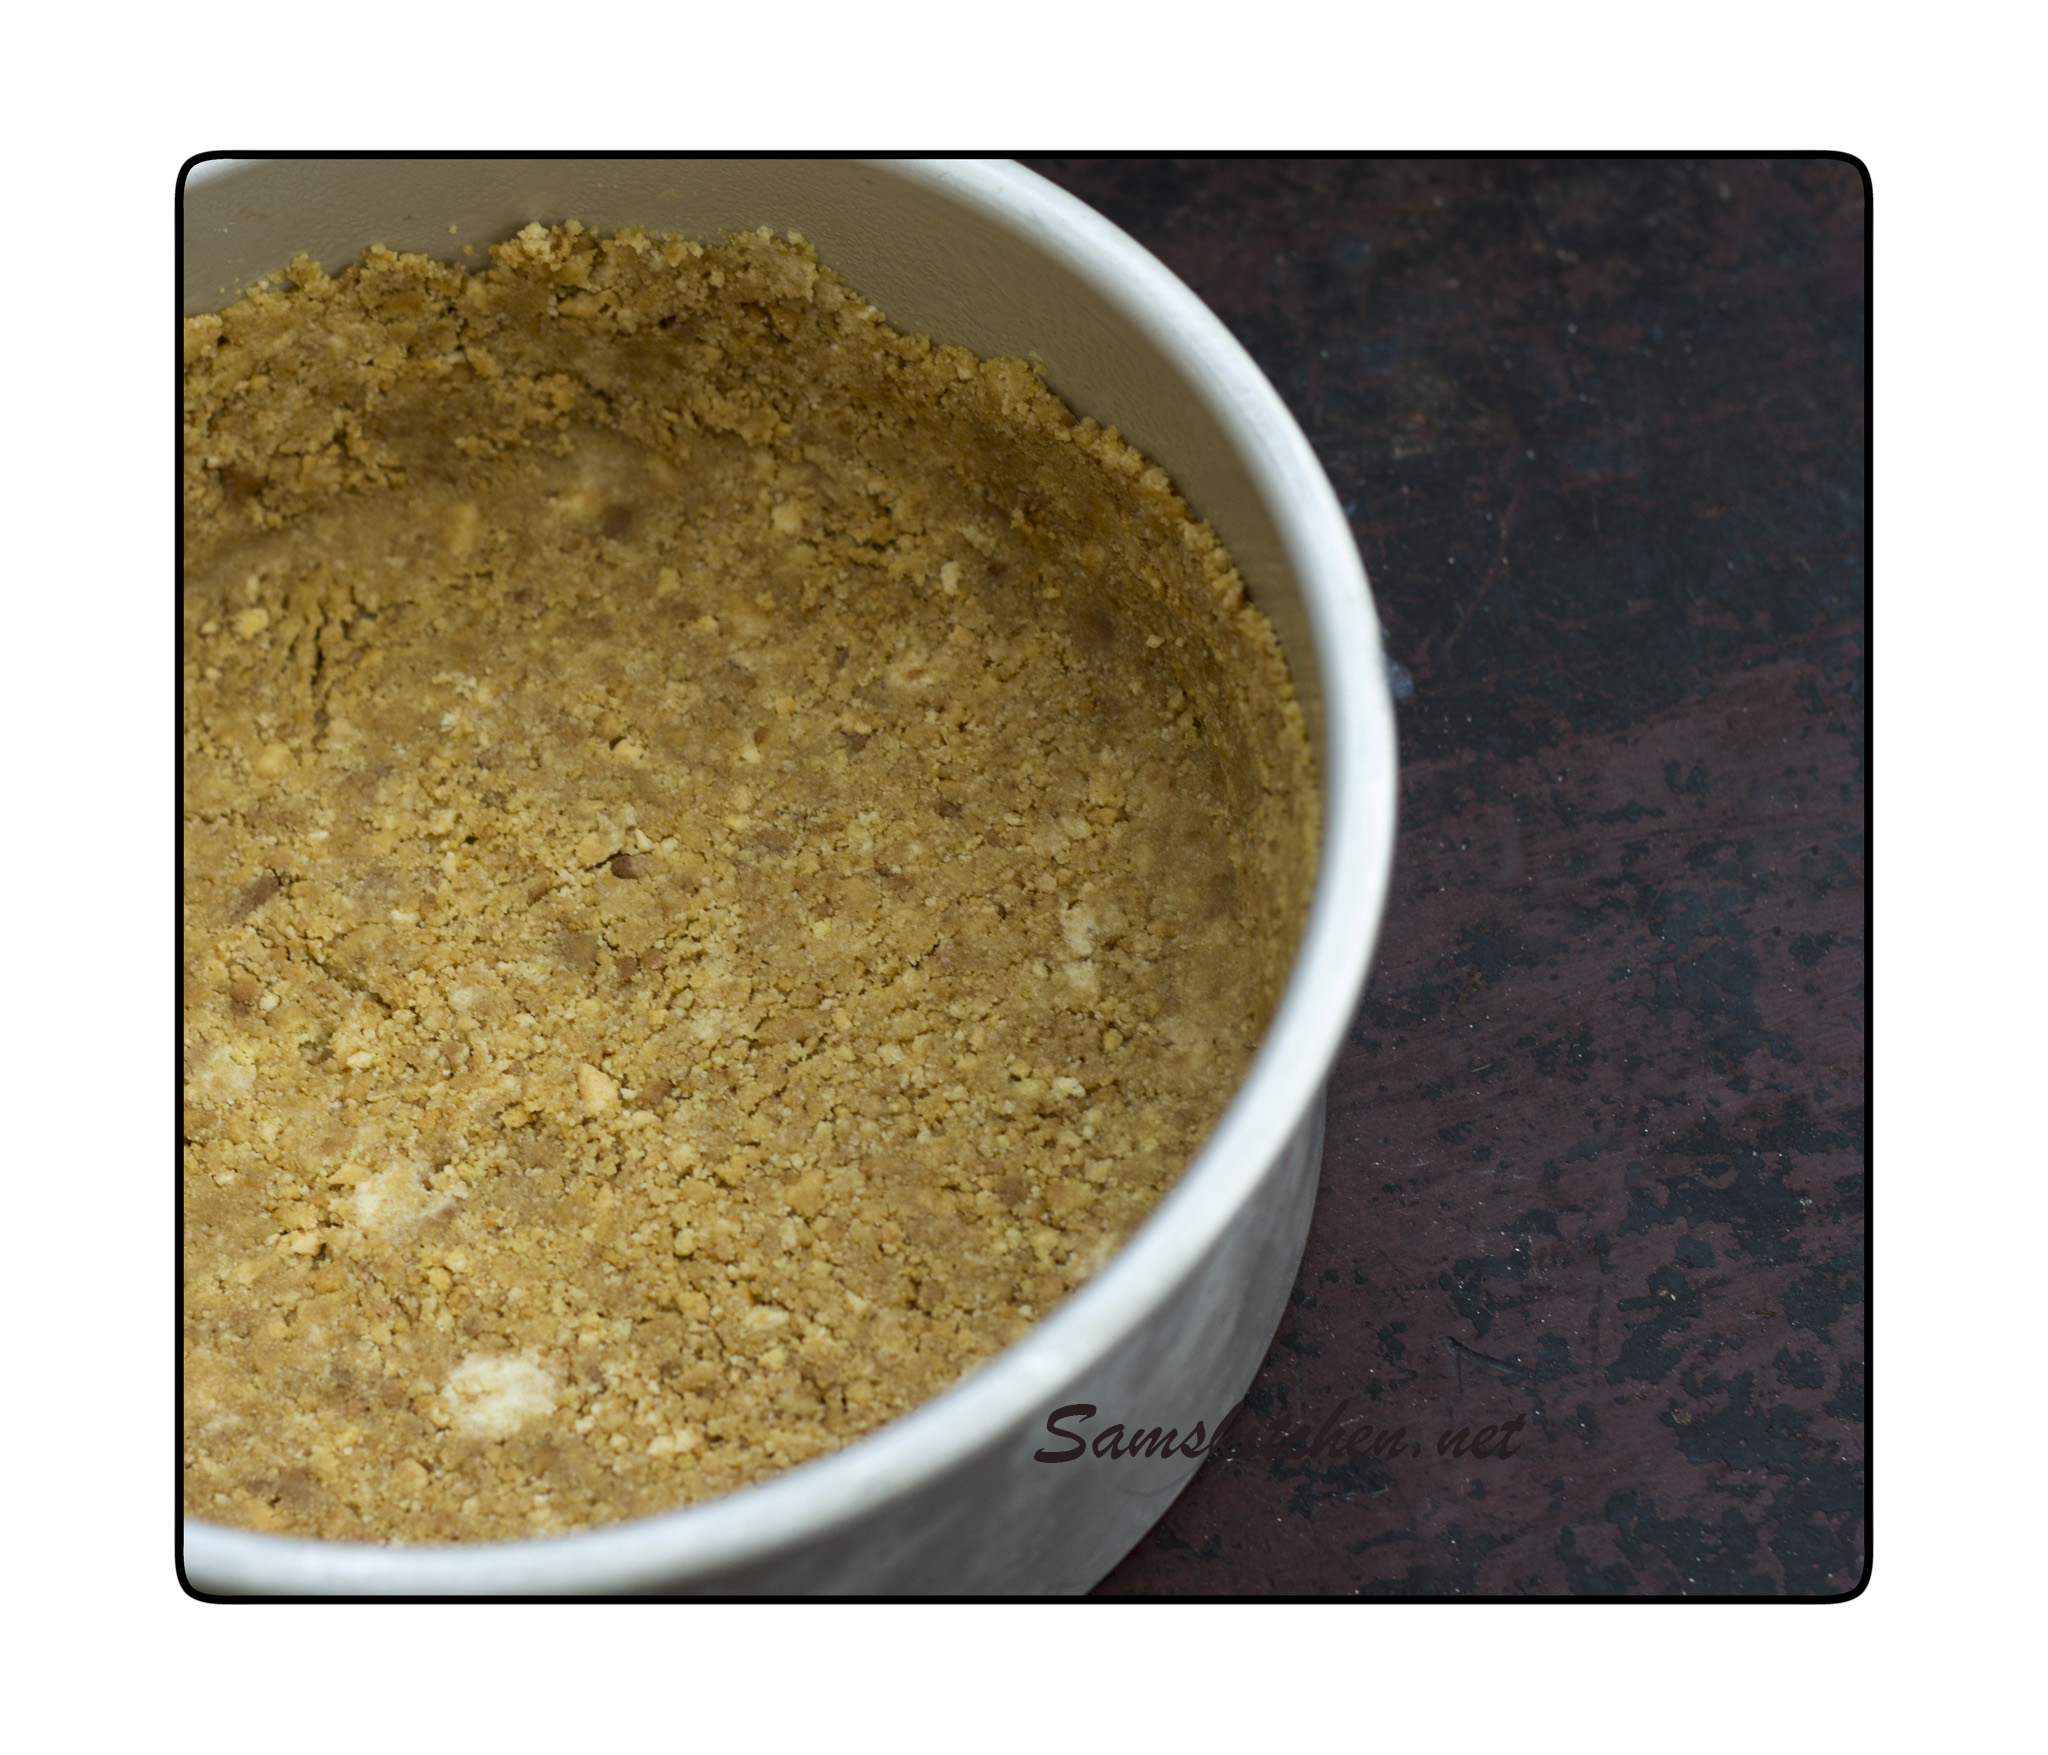
  1. Place the crushed biscuits in a large bowl, add the melted butter and mix to combine. Tip into the prepared cake tin and press in to the base and up the sides (about 2.5 cm/1” up) use a metal spoon to help do this. Place in the fridge for 30 minutes to set.Snowy pie filling

Filling

  1. Gently melt the butter and chocolate together in a saucepan. Once melted remove from the heat. Don’t worry if the mixture is separated and doesn’t look very appealing!
  2. Whisk the eggs and caster sugar together in your mixer for about 5 minutes, after that time the volume would have doubled and the mixture will be creamy. Leave the mixer running on low and slowly pour in the melted chocolate mixture, then pour in the cream. Whisk to combine, then pour onto the chilled biscuit base and bake for 25-30 minutes. It’s cooked when the mix is set and doesn’t wobble any more. Ideally check on it at about 20 minutes, if there is still a wobble and the top is starting to darken in colour, cover lightly with a piece of foil and continue to bake.
  3. Remove from the oven and allow to cool for 10 minutes in the tin on a cooling rack. Then carefully remove the tin and cool completely.

Chocolate Sauce

  1. Place all of the sauce ingredients in to a small saucepan and heat on medium until all melted, stir to combine as it heats. Remove from the heat and allow to stand for a few minutes, then pour over the top of the cooled filling. Cool completely, then chill in the fridge.Snowy Pie

Cream top

  1. Place the double cream and icing sugar in your mixer and whisk until it forms stiff peaks that hold their shape, spoon on top of the sauce and sprinkle with grated chocolate. Chill for at least an hour before serving

Snowy pie1Snowypie slice2

Amaretto and Dark Chocolate Baked Cheesecake

I love cheesecake, baked or no bake, all flavours, whether it’s fruity or sweet and spicy!Amaretto cheesecake above

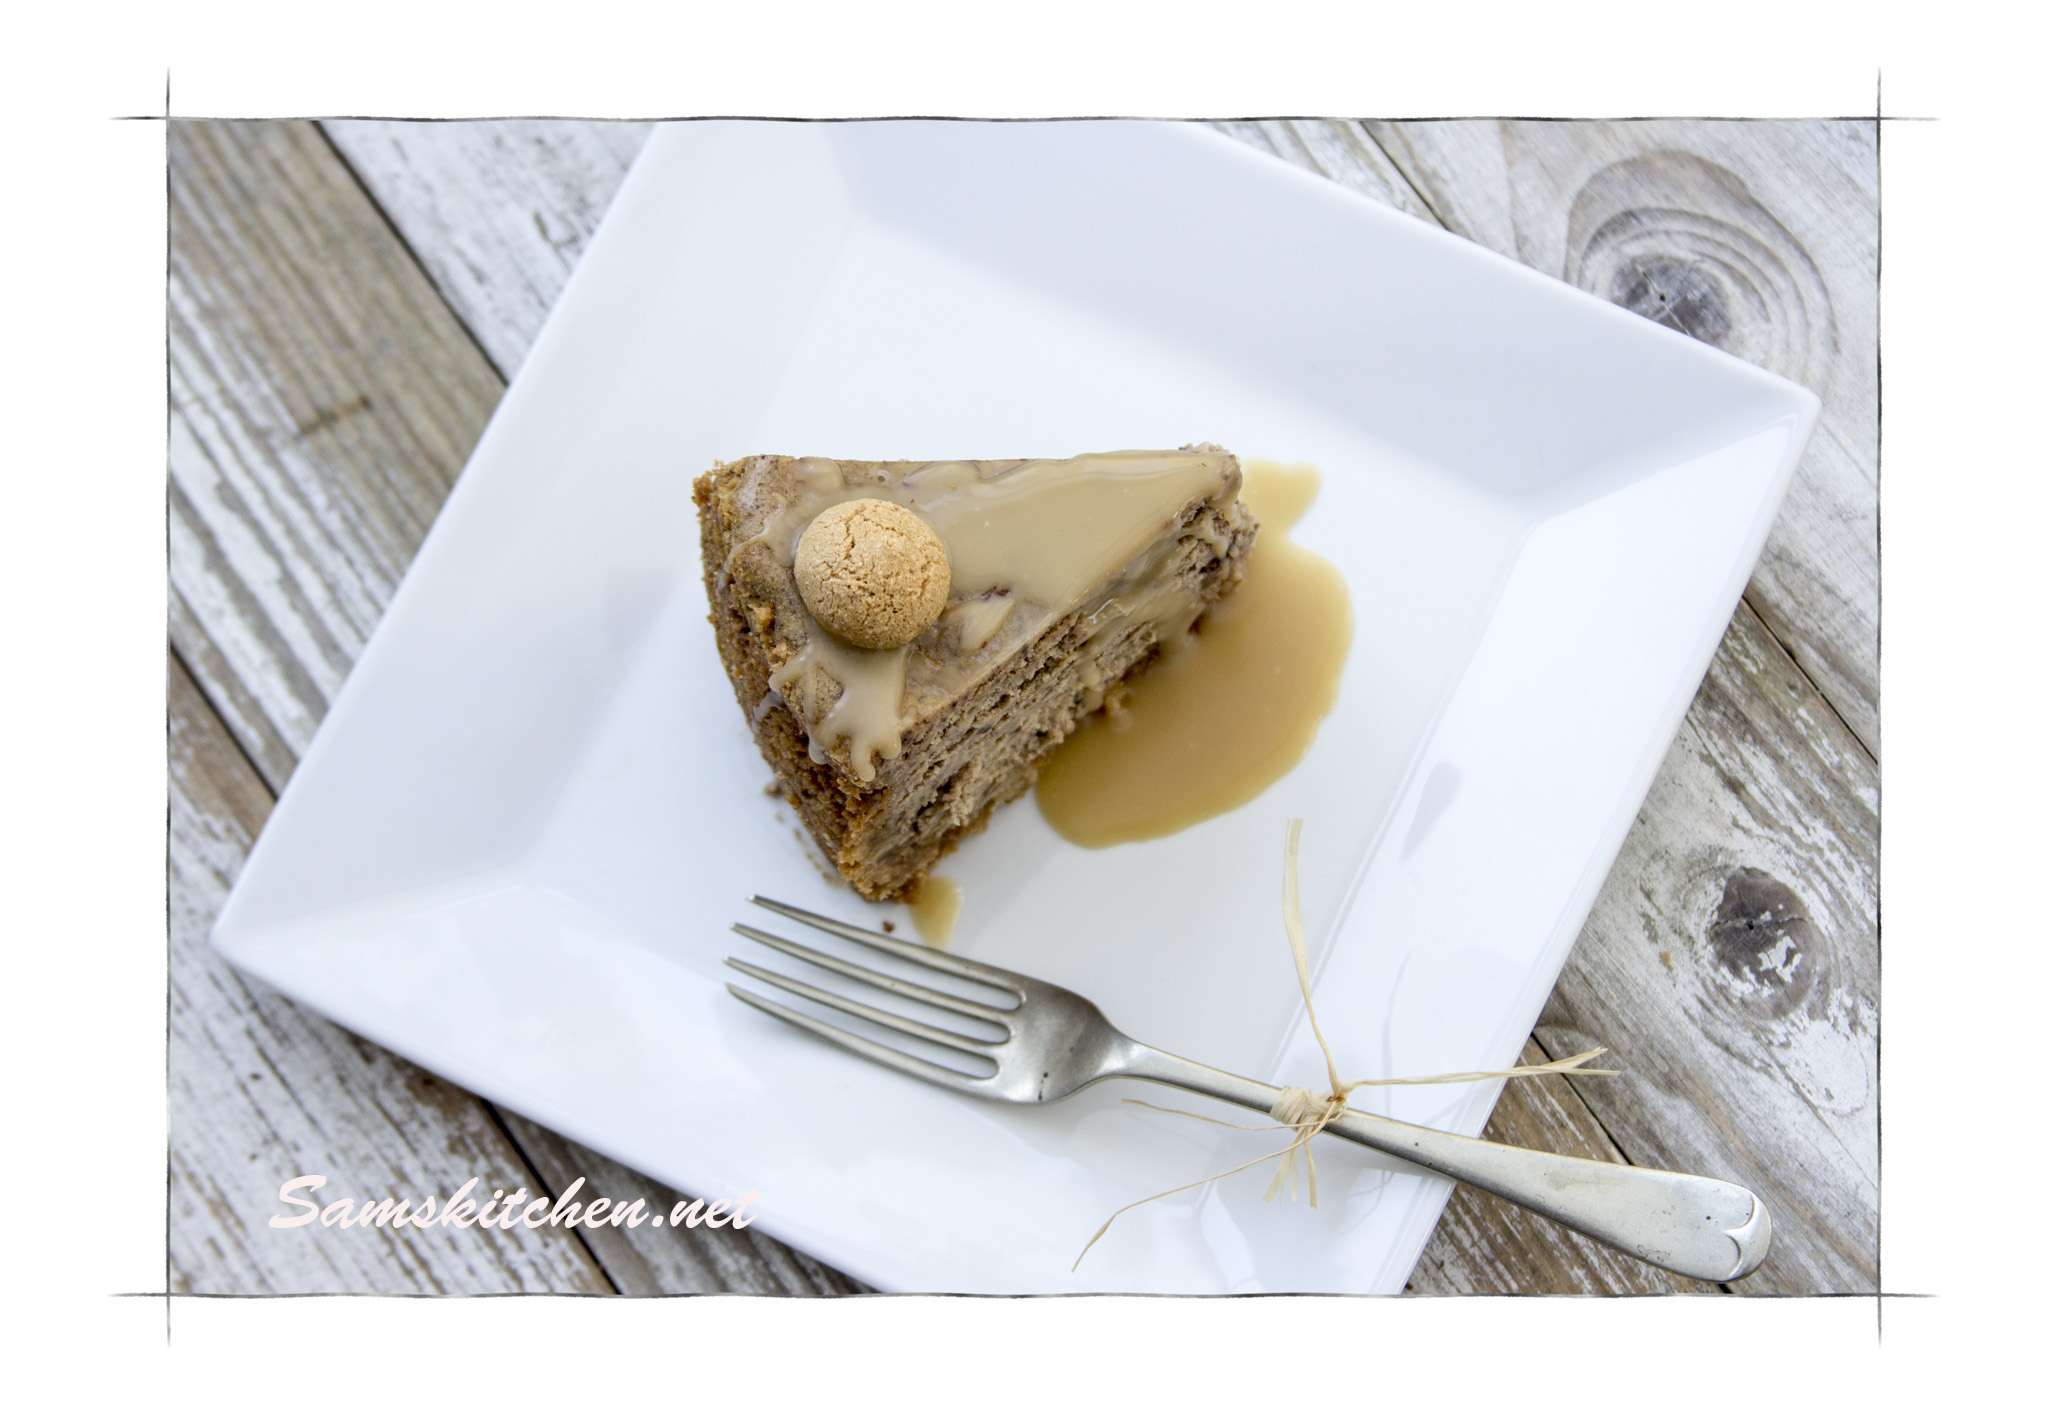
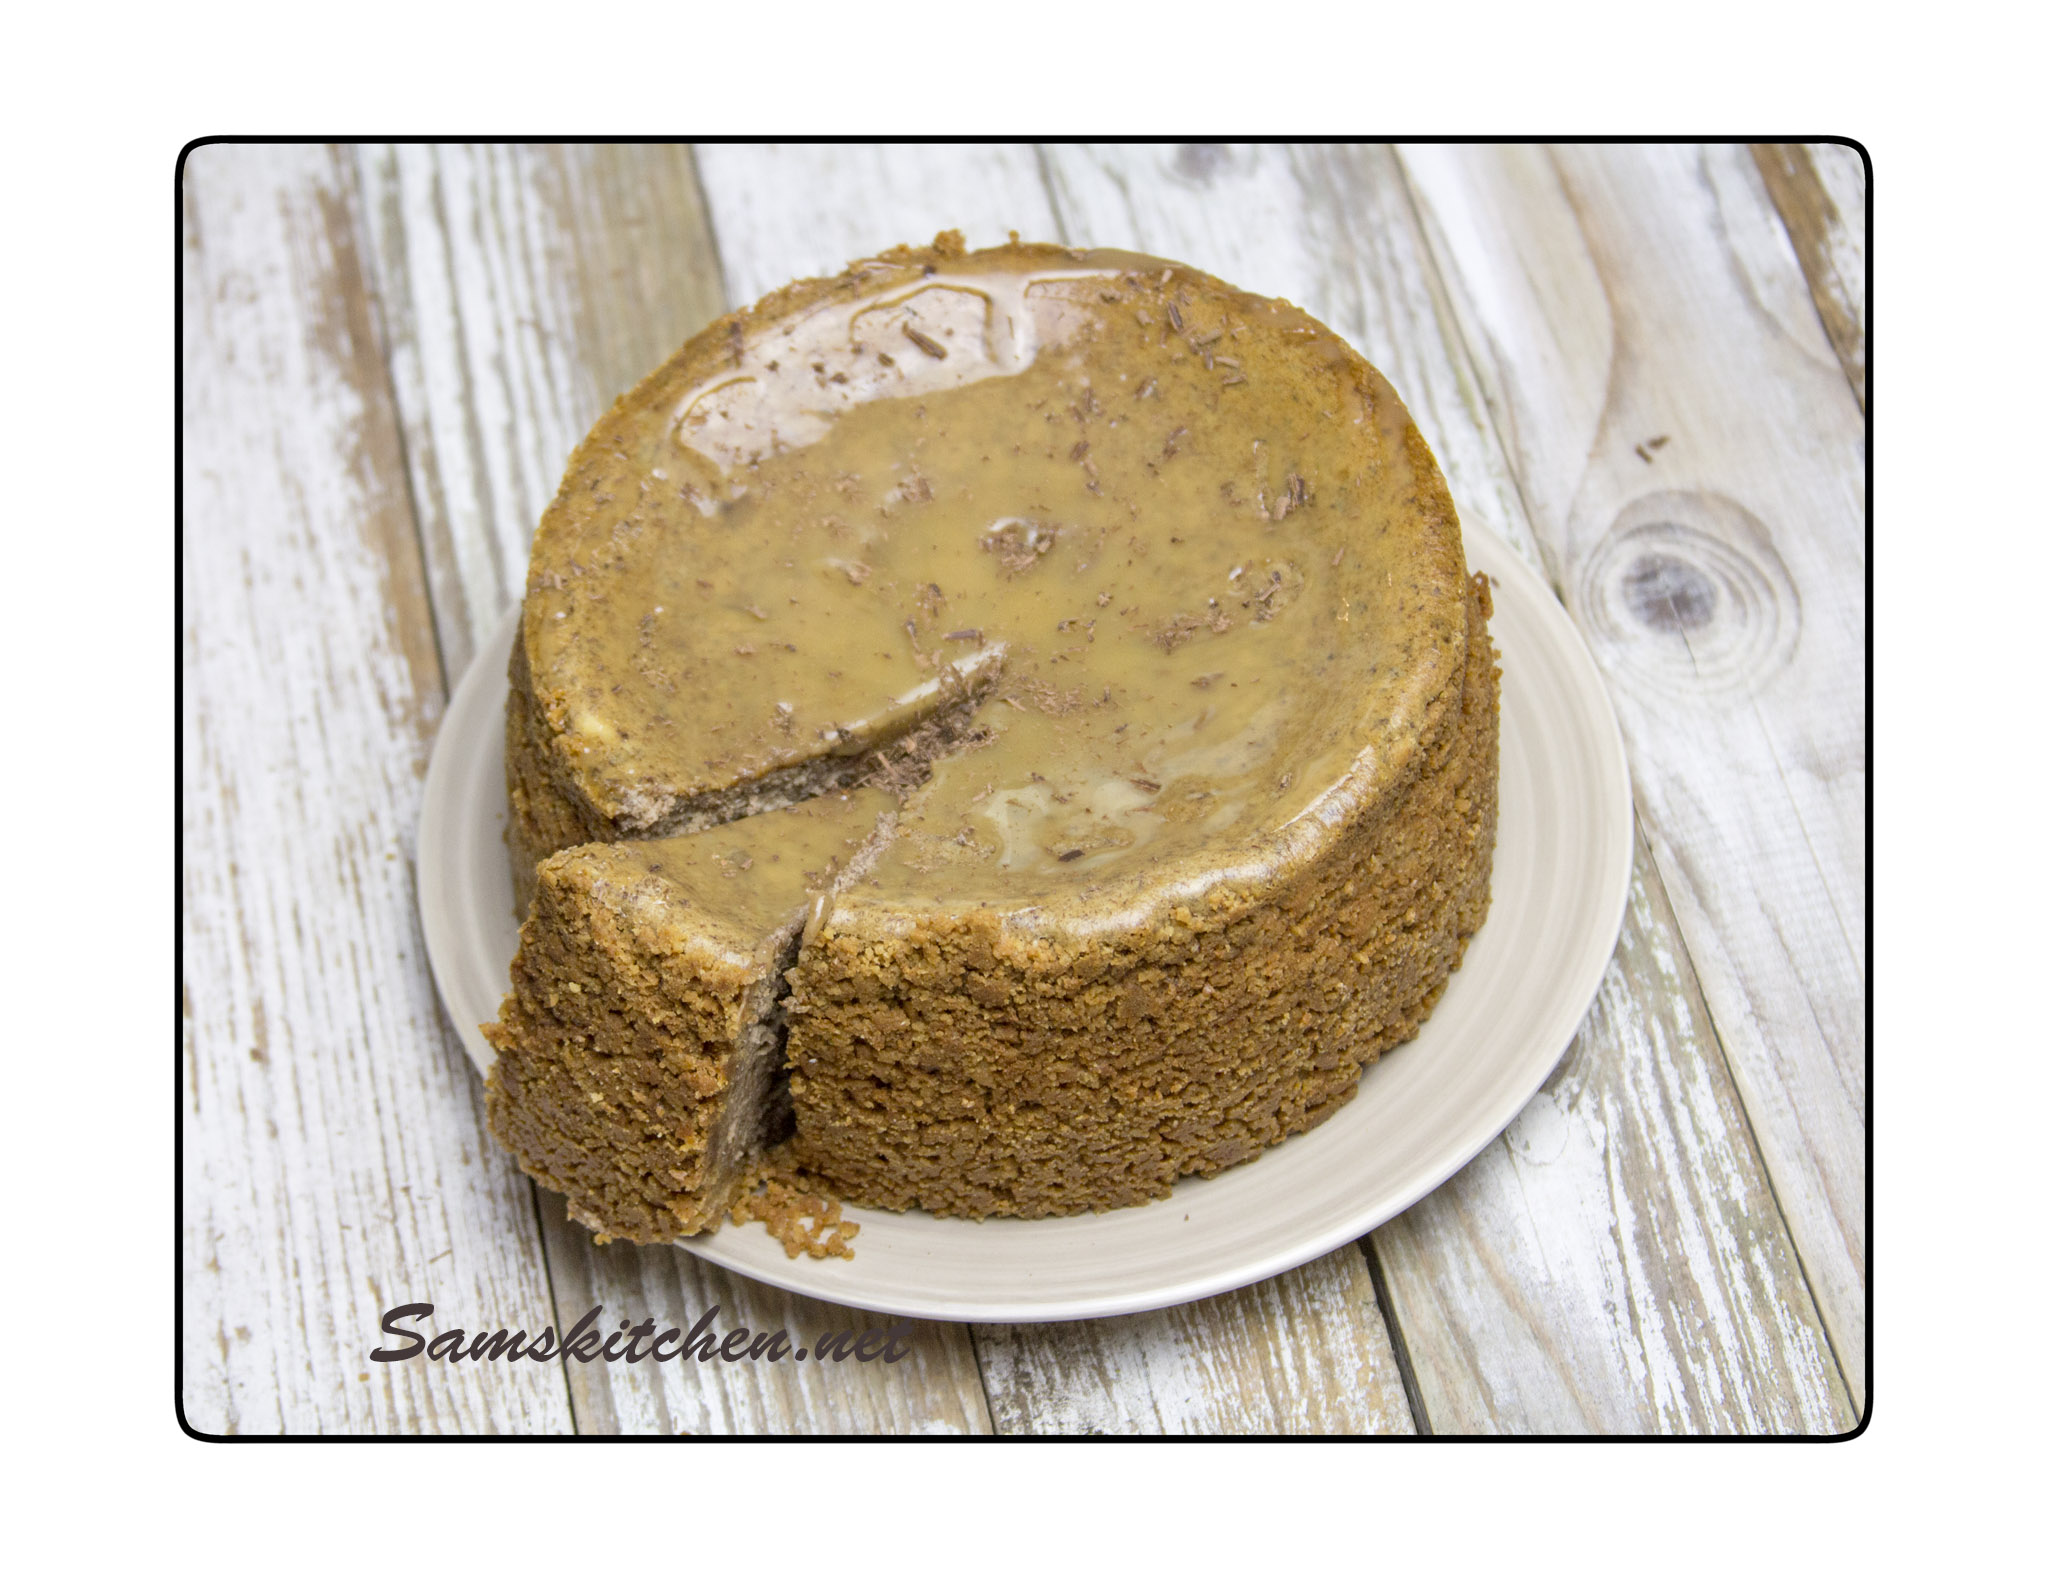
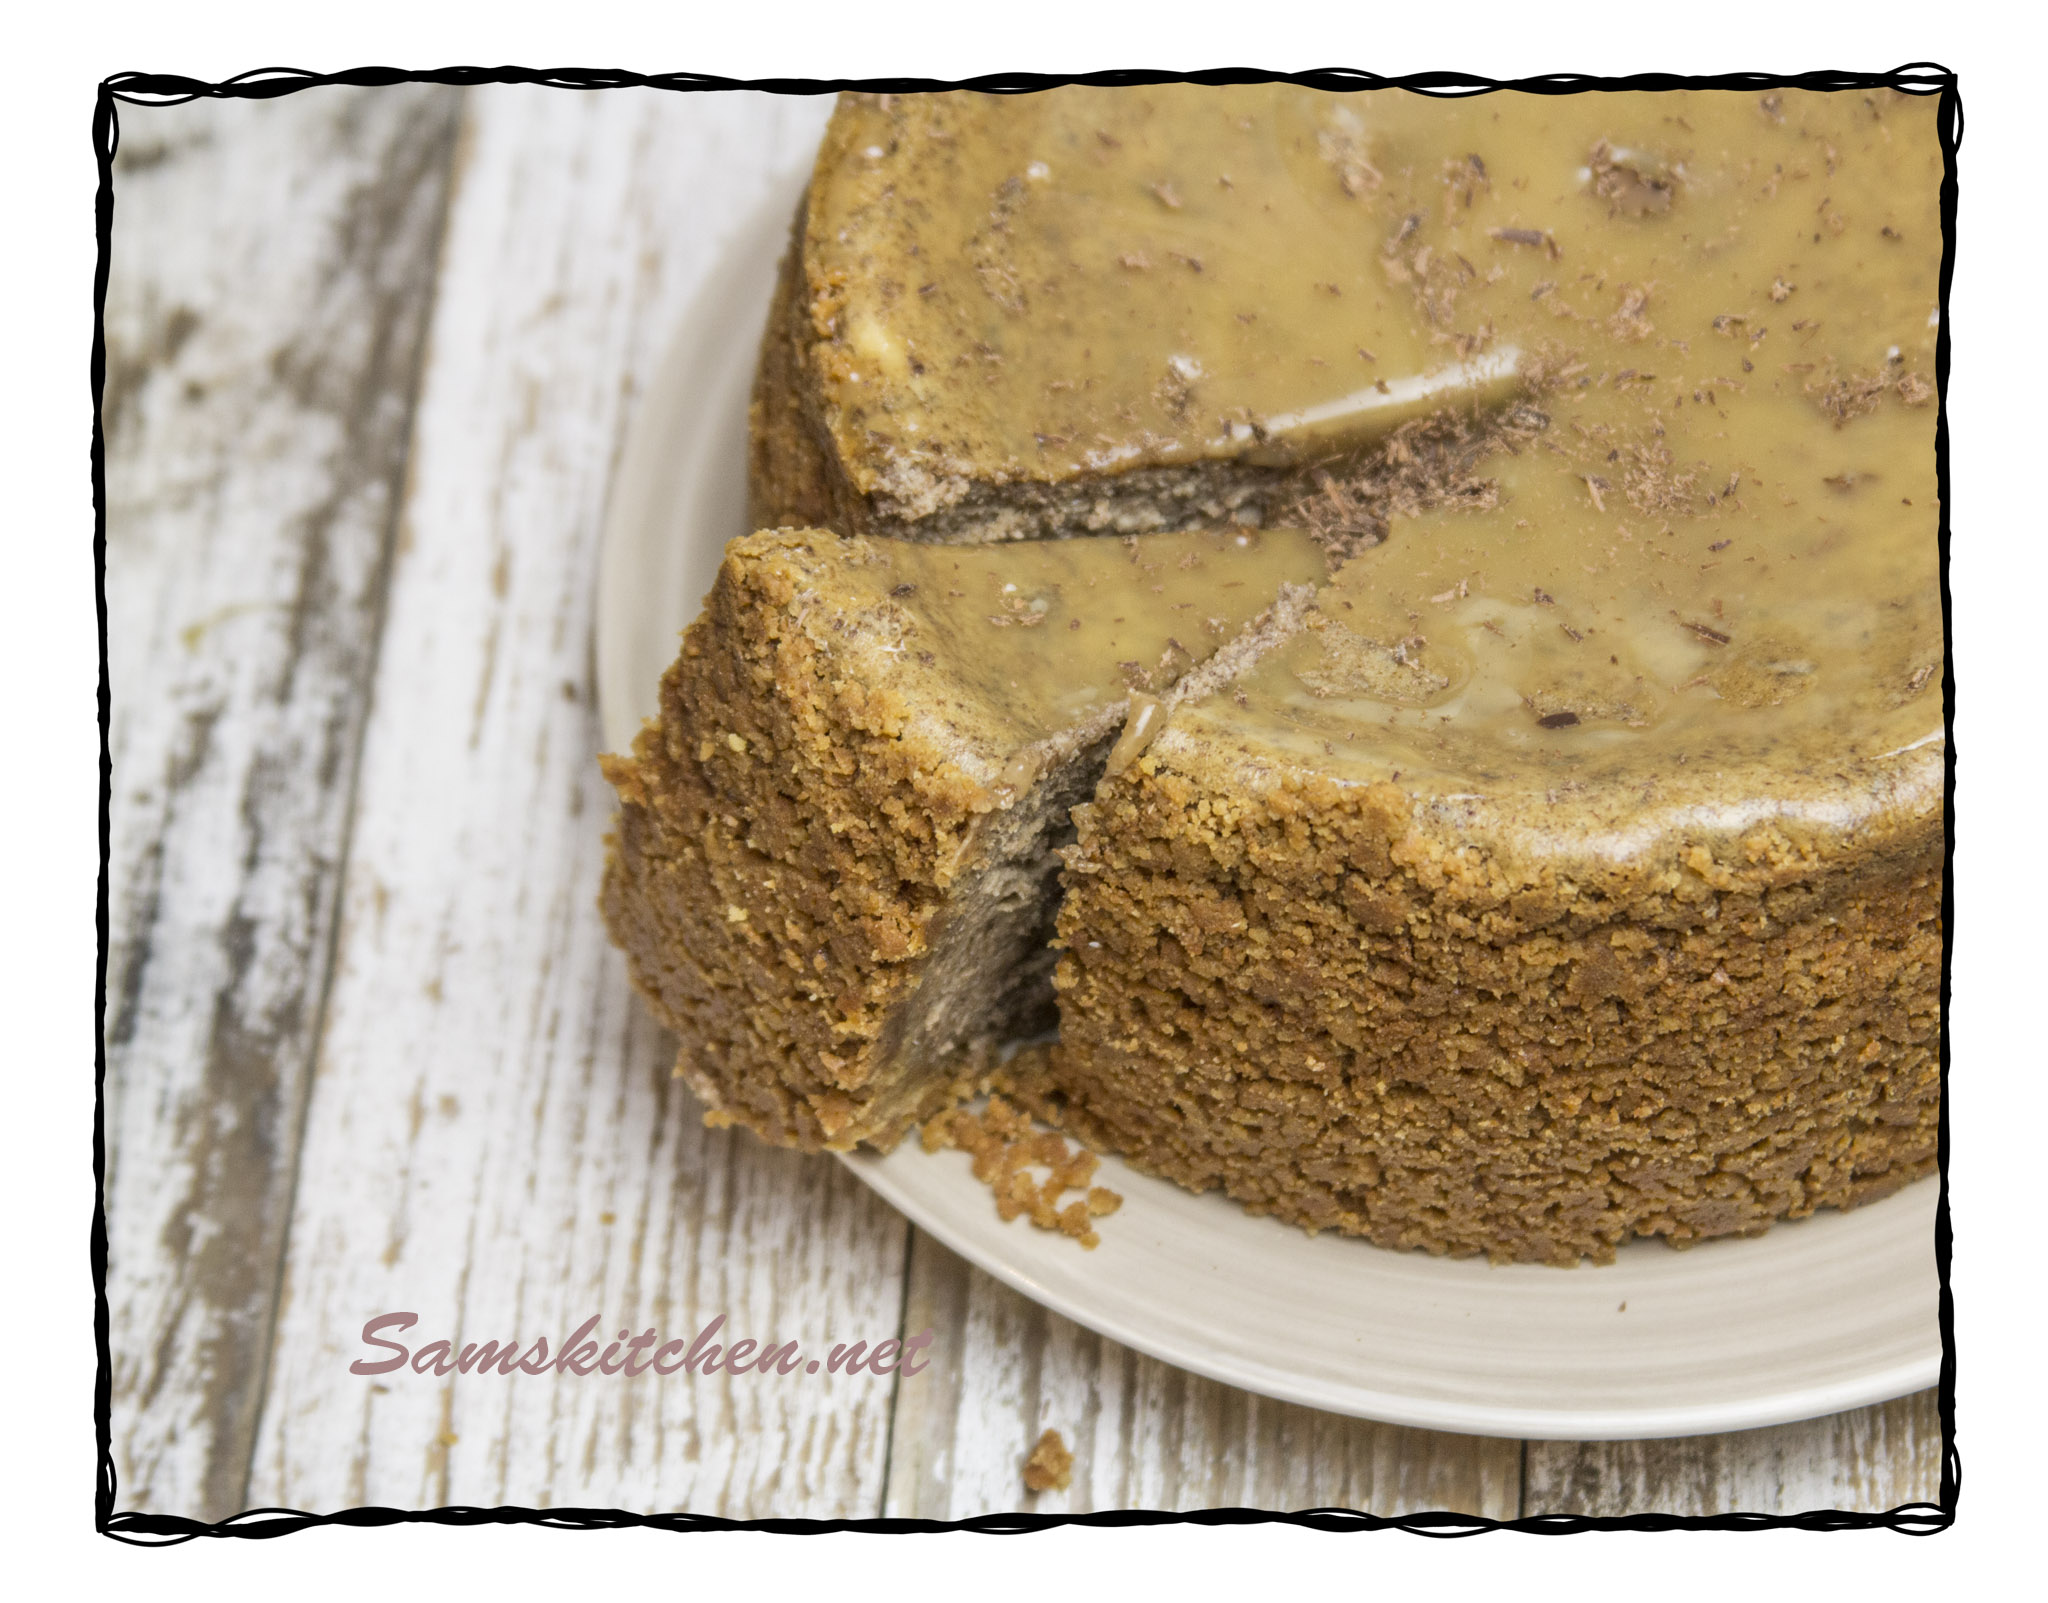
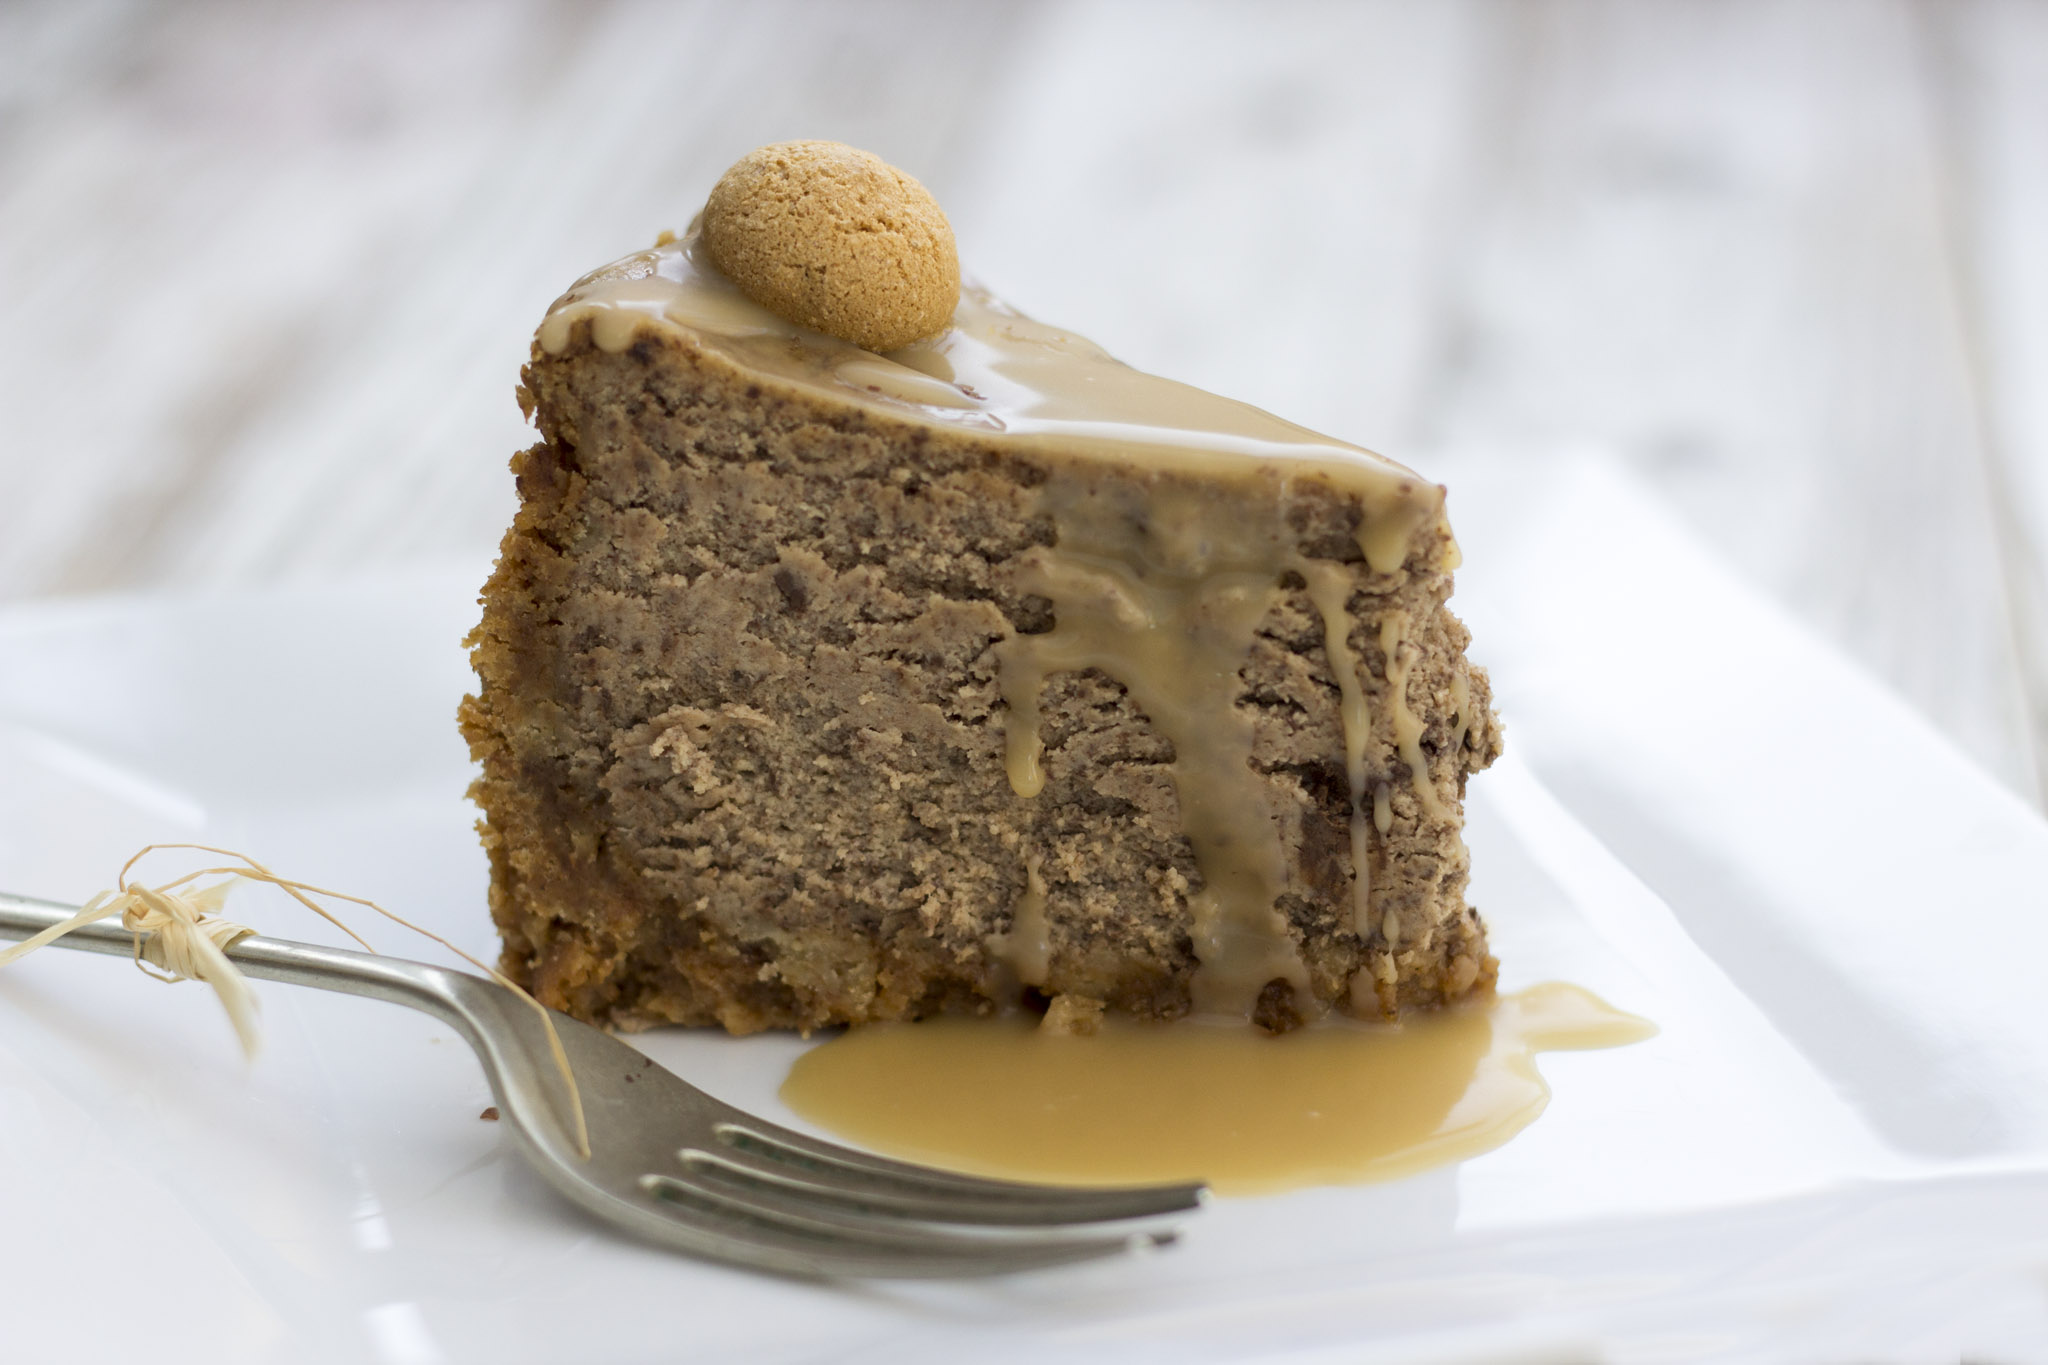
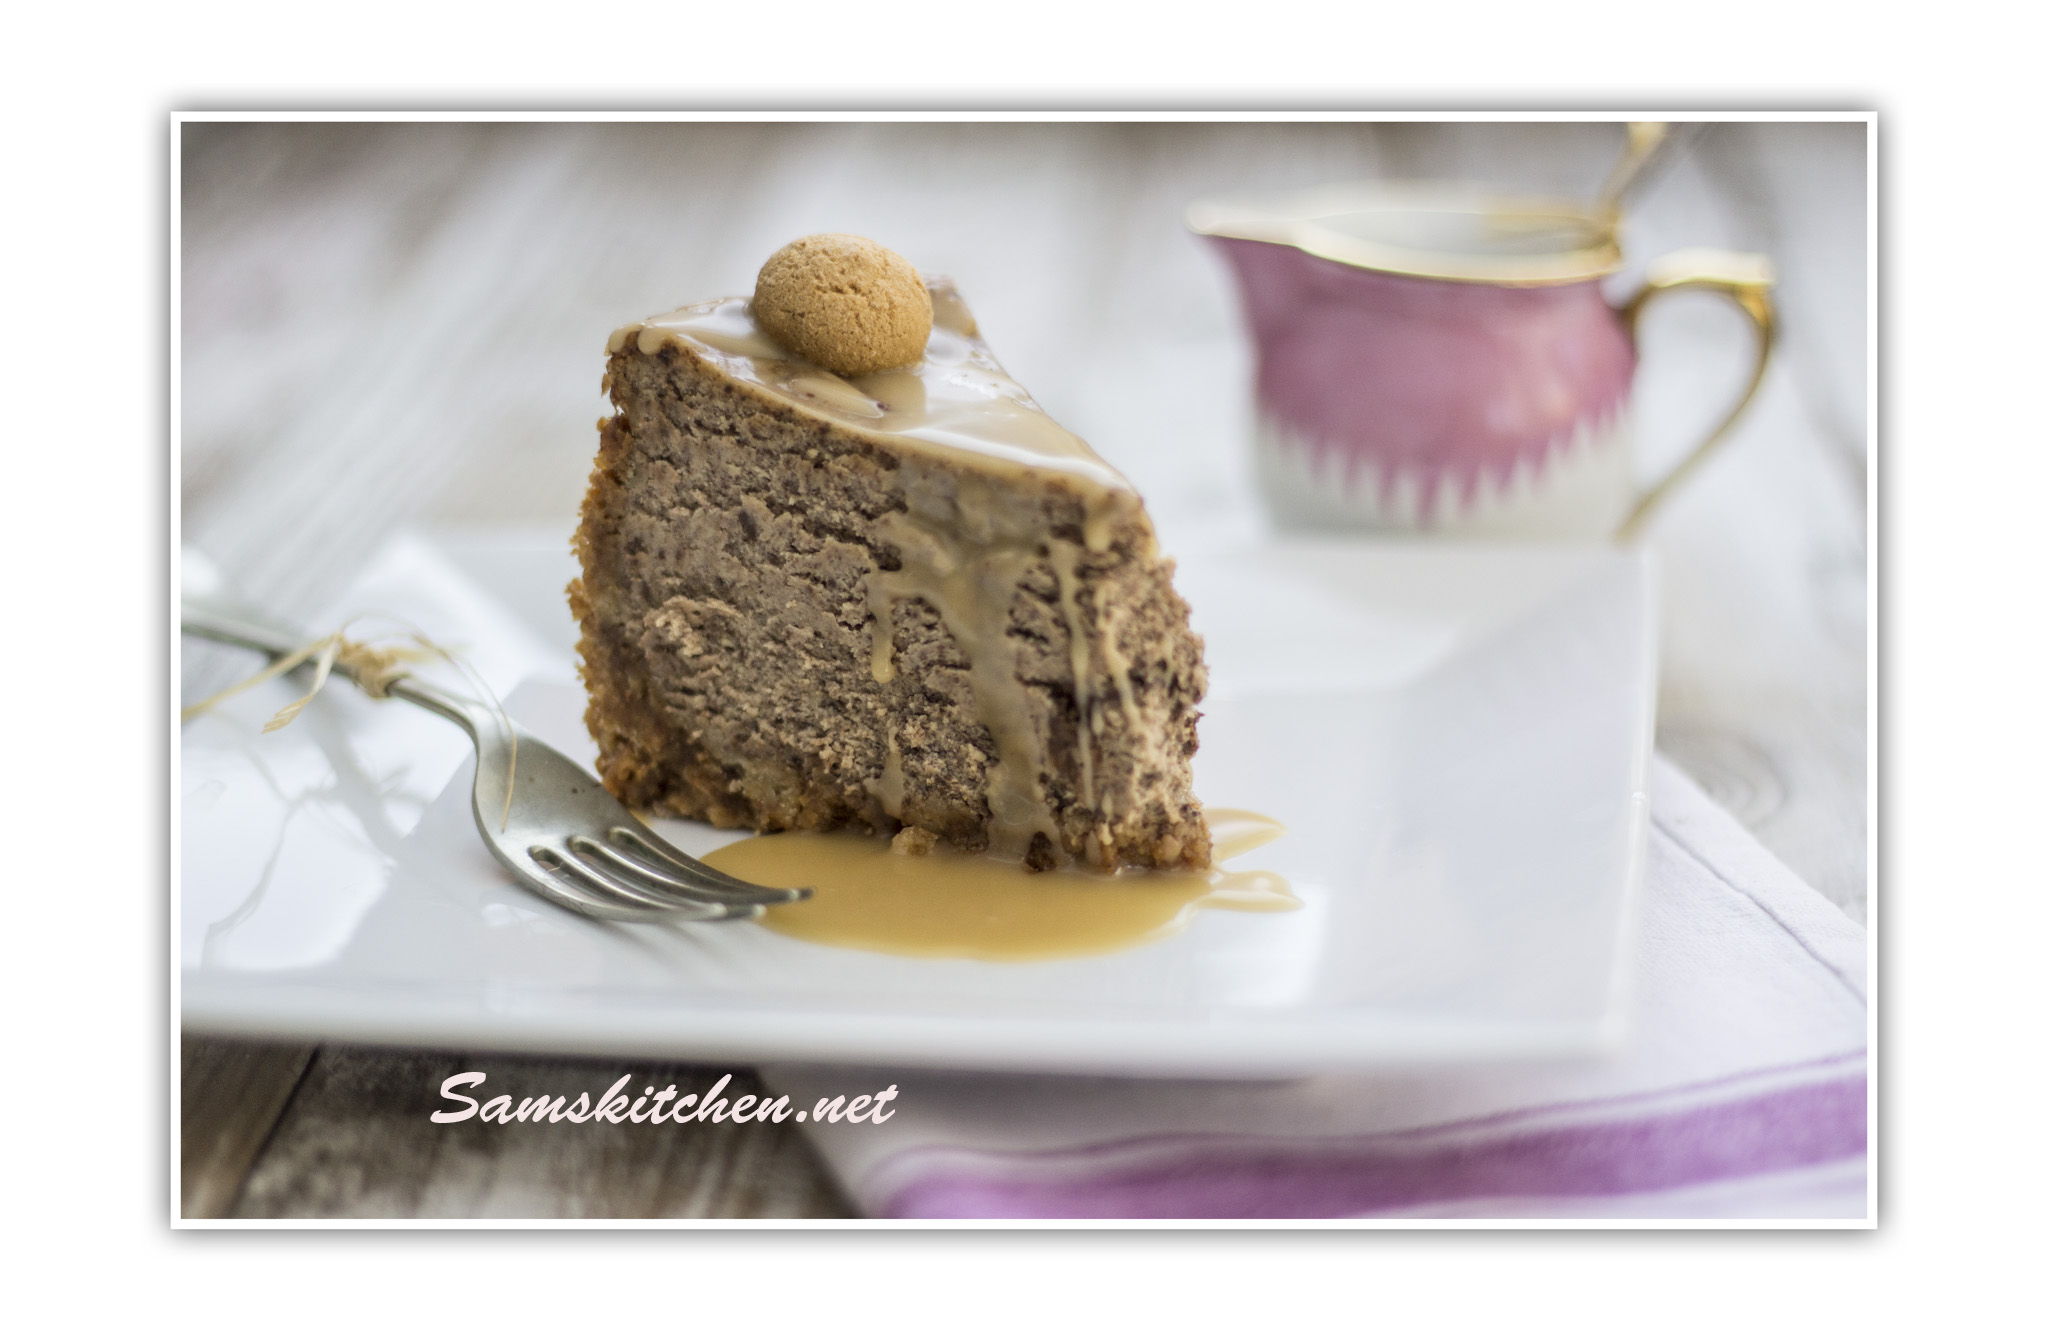
I reckoned an Amaretto flavour  (a sweet, almond-flavoured, Italian liqueur) would work well, so decided to pair it with dark chocolate too. With amaretti biscuits in the base and a sticky toffee sauce this was lush! The filling was so light and delicious, rather like a mousse in texture. Definitely on my all time fav’s list.

Amaretto and dark choc1

Print recipe Amaretto and Dark Chocolate Baked Cheesecake 

Amaretto and Dark Chocolate Baked Cheesecake

Ingredients

Base

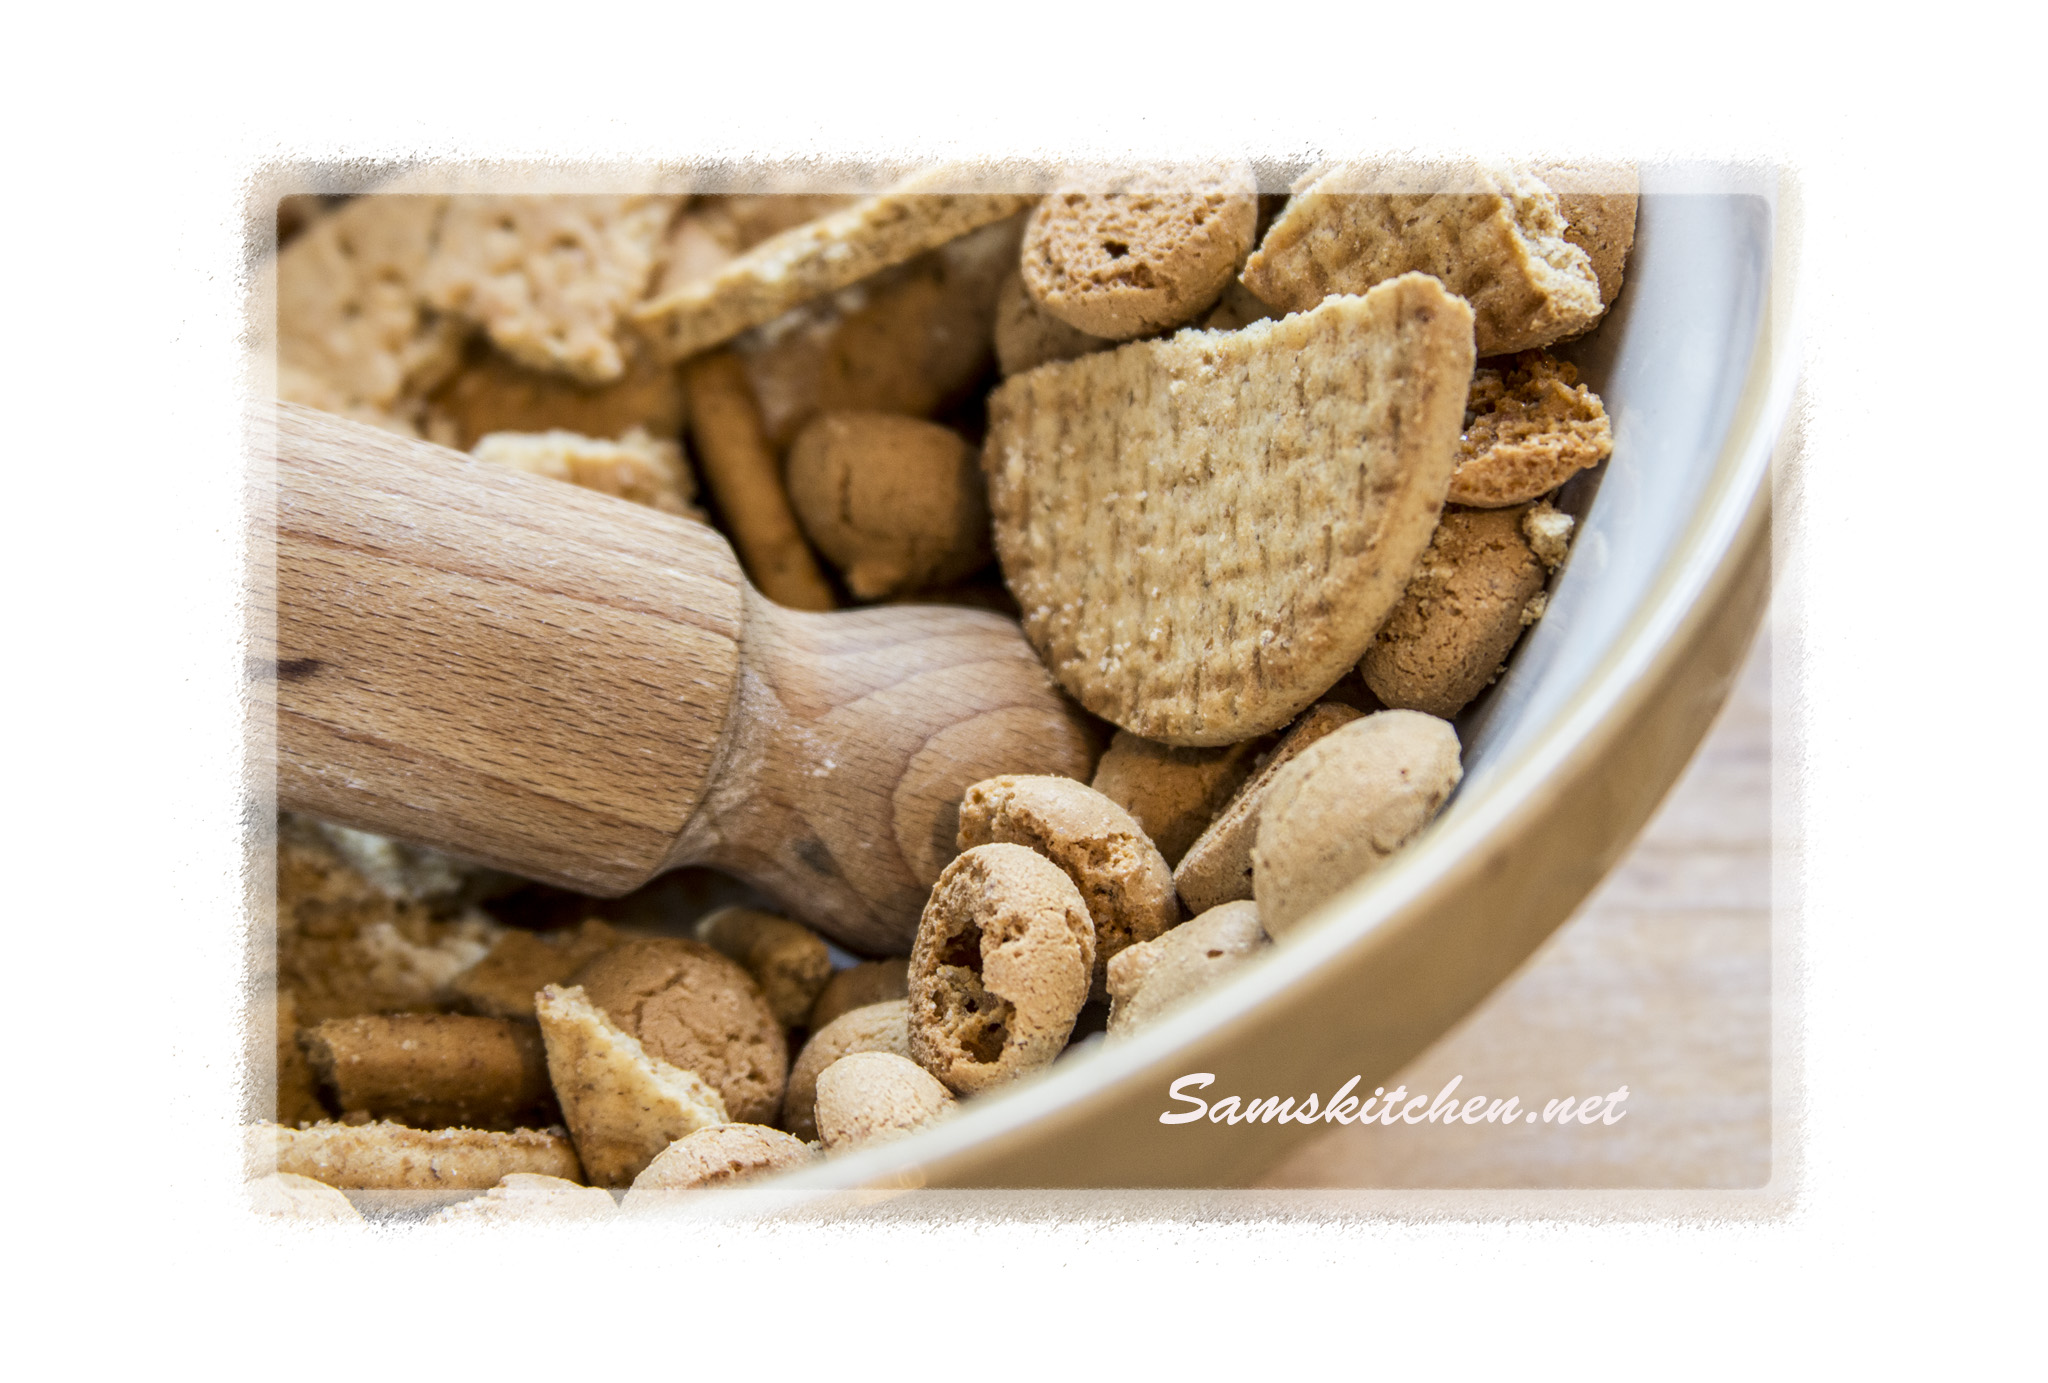
275g crushed biscuits, I used a mix of amaretti and digestives

140g melted butter


Filling

300g cream cheese (full fat)

250g mascarpone (full fat)

100g dark chocolate, melted but slightly cooled

100g soft brown sugar

2 tbsp Amaretto

3 eggs, beaten

25g plain flour


AmarettoToffee Sauce

50g soft brown sugar

50g butter

3 tbsp double cream

3 tbsp Amaretto


18cm/7″ round, deep (mine is 8cm deep) loose bottom pan lightly greased

Preheat oven 150°C (Fan 130°C) GM 3

Amaretto cheesecake biscuits

Base

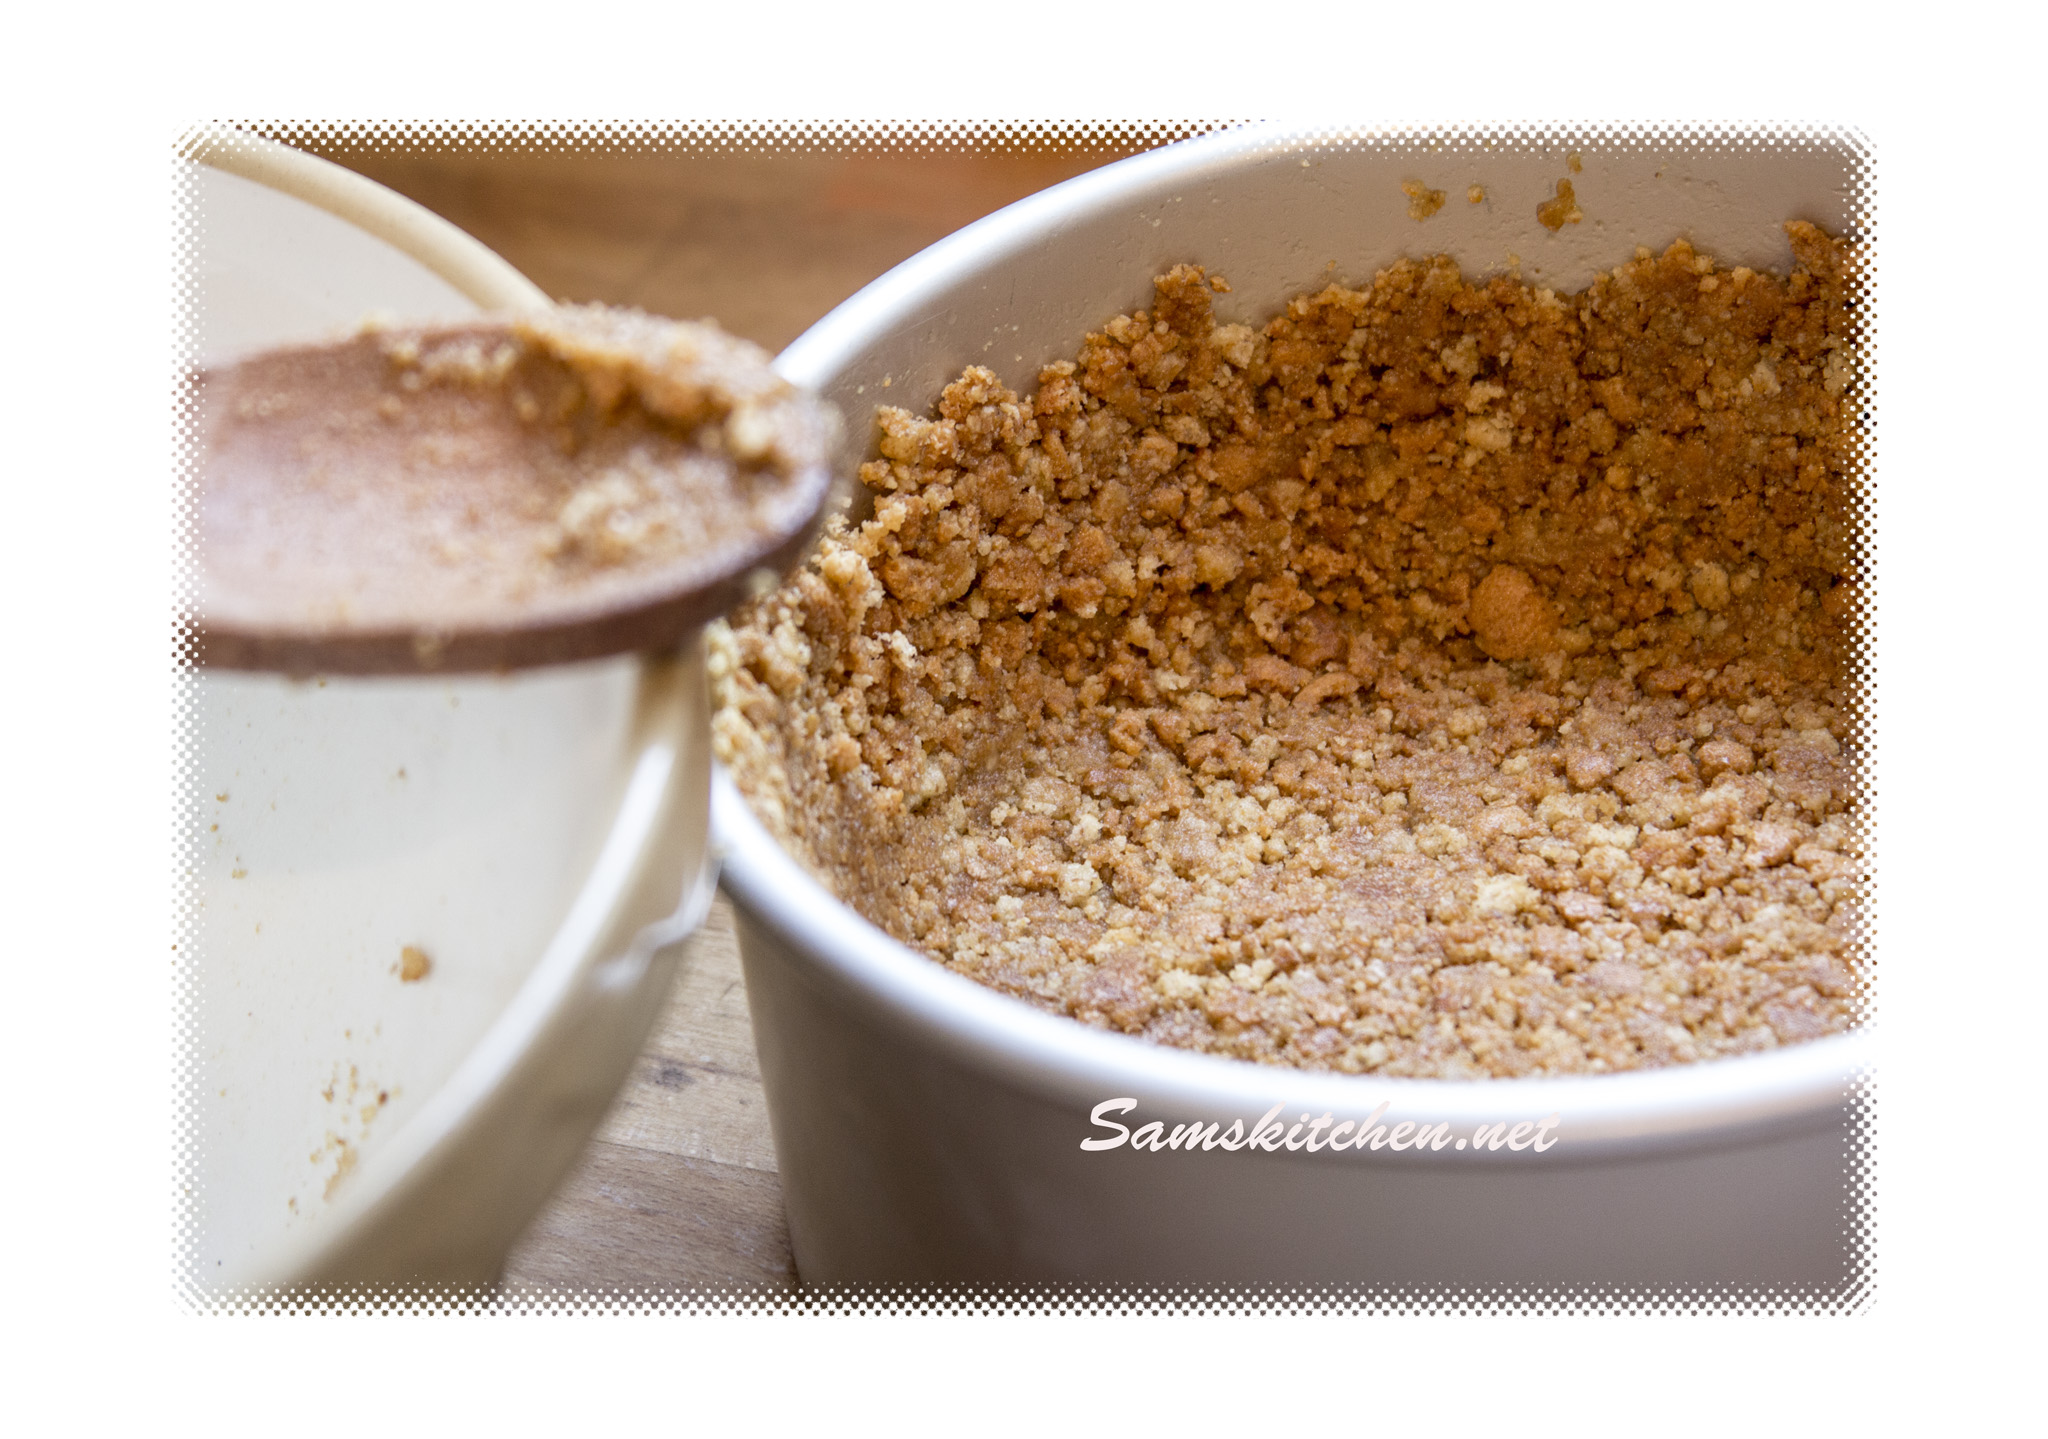
  1. Place the crushed biscuits in a mixing bowl, add the melted butter and mix well. Tip the mix into the prepared tin, press down and even out using the back of a metal spoon, take the mixture carefully up the sides of the pan as well as across the base.
  1. Place this in the fridge to firm up for at least 30 minutes.

Amaretto cheesecake base

Filling


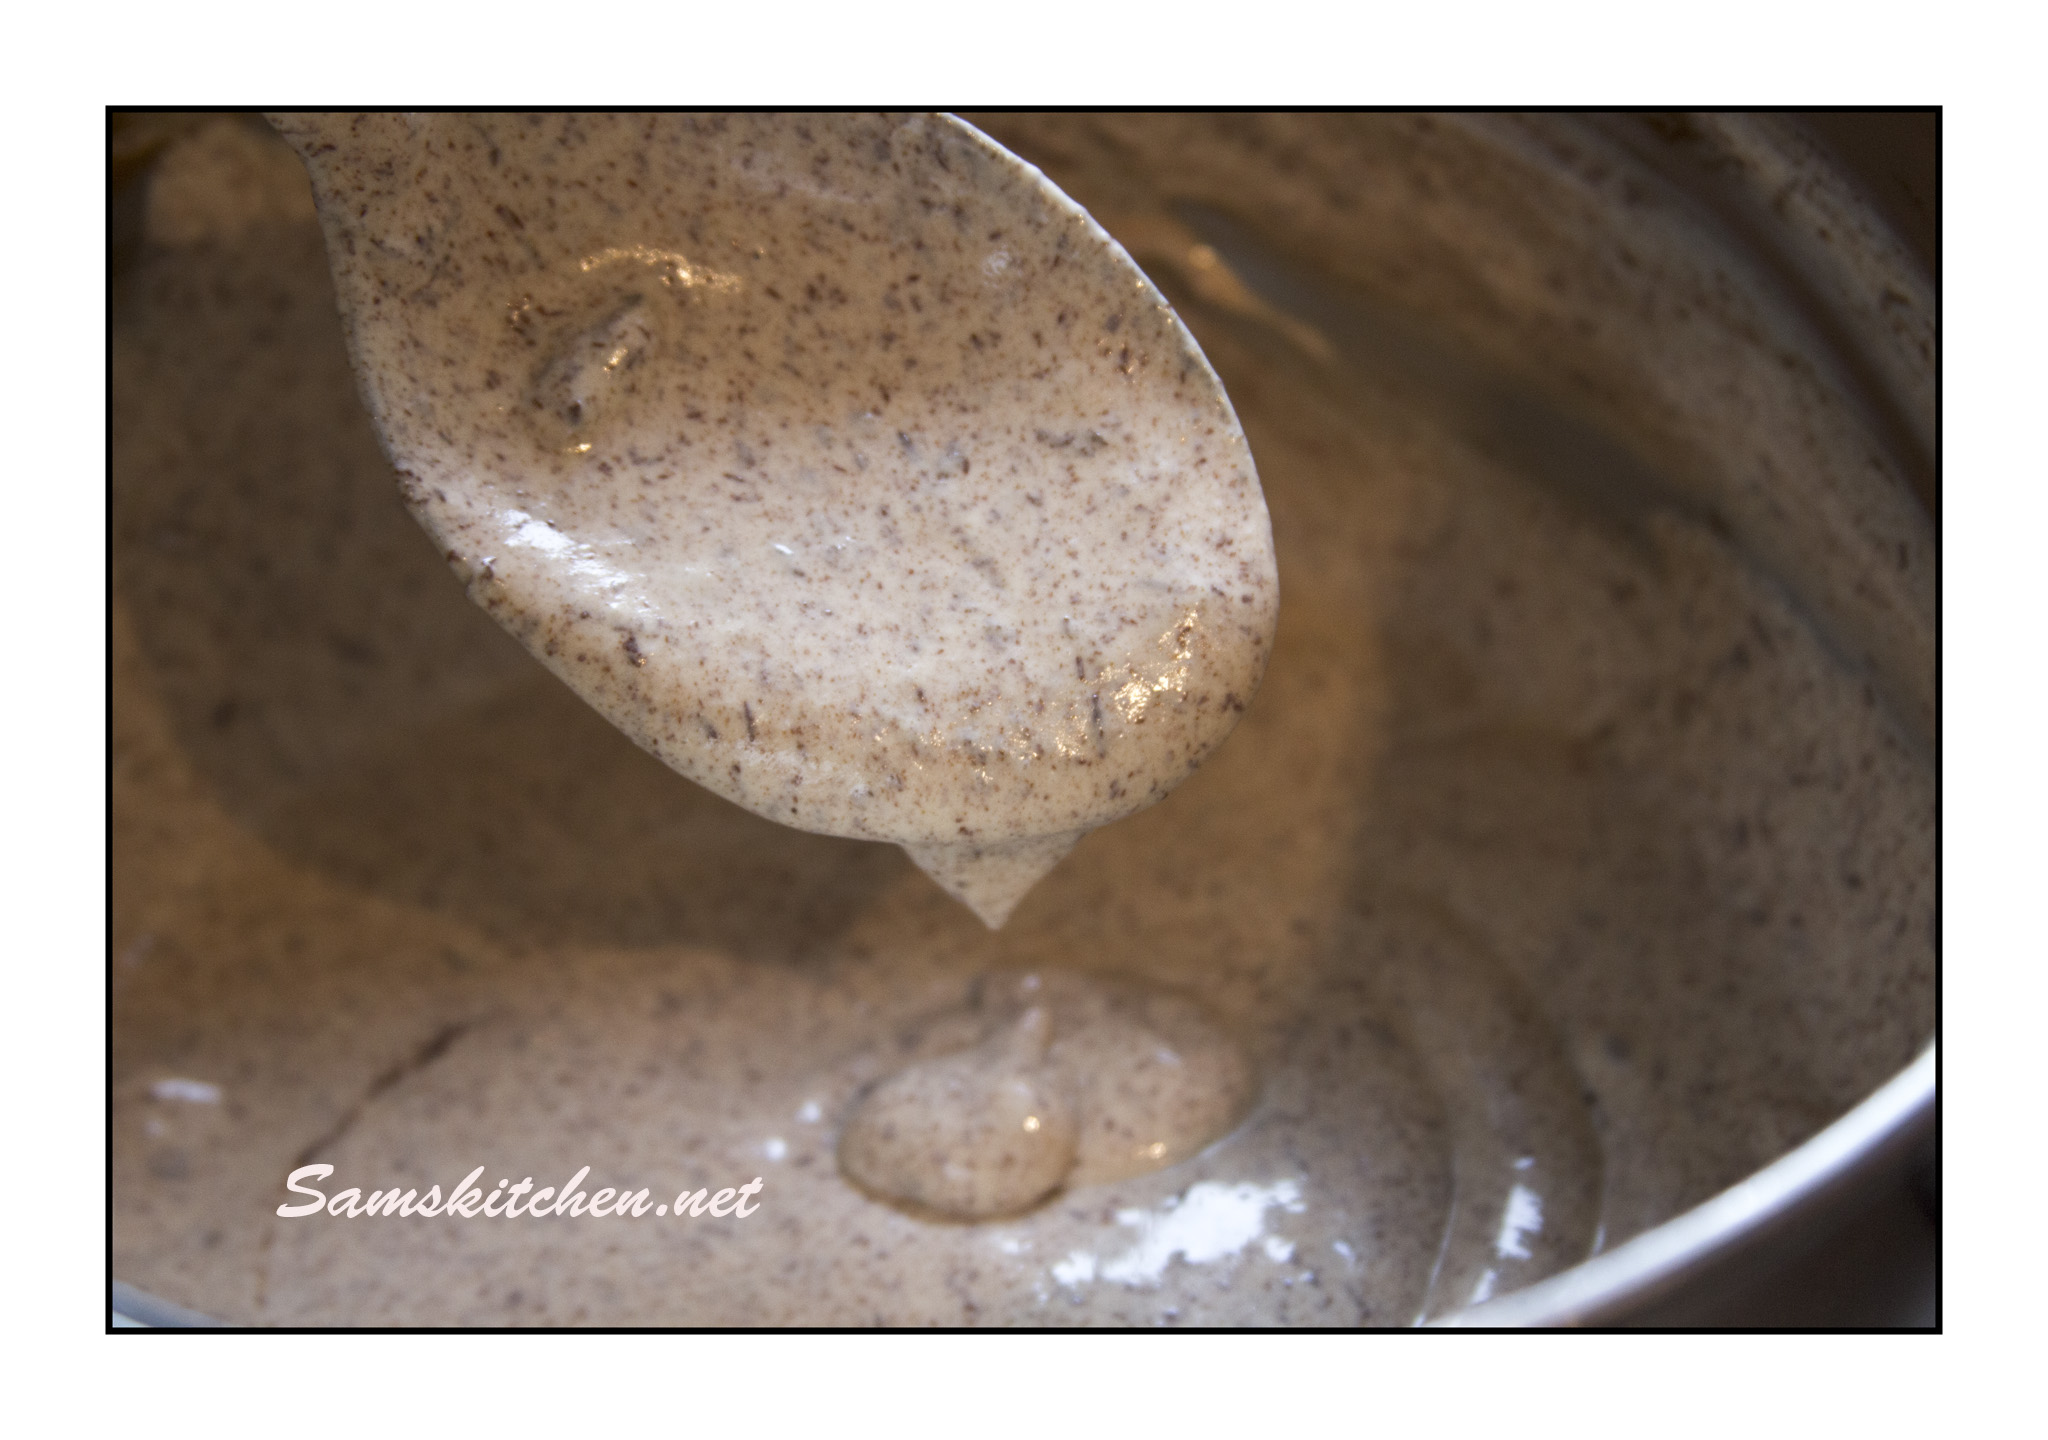
  1. In the bowl of your mixer or a mixing bowl, place the cream cheese, mascarpone, sugar, sieved flour, & Amaretto. Mix until everything has combined well. Add the eggs in 3 additions, mixing between each. The mixture can look a bit lumpy at this stage, don’t worry just keep beating and it will go lovely and smooth and creamy.
    Amaretto cheesecake filling
  2.  Fold in the melted dark chocolate with a large metal spoon. It will have a speckly appearance. Spoon this mixture on top of the biscuit base and spread it out evenly, it almost completely filled my cake tin. Place the tin onto a baking tray and bake for 1 hour -1 hour 20 minutes. It’s cooked when the top is firm but there’s still a slight “wobble” in the middle.


  1. Remove from the oven when it’s cooked and allow it to cool completely in the tin. Place the cheesecake (still in the tin) in the fridge and chill for at least 2 hours. It will shrink away slightly from the sides, this makes it easier to remove from the tin.

Amaretto and dark choc

Sauce


  1. While the cheesecake is chilling you can make the sauce. In a small saucepan place the butter and sugar, heat it gently. Stir it constantly until it’s all melted and the sugar is no longer grainy, a small balloon whisk is very handy for this. Turn up the heat to bring the sauce to a gentle boil for about 2 minutes, it will start to thicken slightly.


  1. Remove it from the heat and keep stirring, add the cream and Amaretto then stir it through. Set the sauce aside to cool, it will thicken as it cools and can be used warm or cold with the cheesecake.


Decoration


  1. When you are ready to serve, carefully remove the cheesecake from the tin. Drizzle with some of the sauce and put the rest of the sauce in a jug to be added later if you want more. Add grated chocolate or amaretti biscuits to decorate. ♥

Amaretto & Dark Choc


The sauce is also fabulous with ice cream and waffles and over cake, so making double the quantity is always a good idea! It will keep for a week or so in the fridge.

Amaretto cheesecake sauce jug