Tag Archives: vanilla

Homemade Daim Ice Cream

I love a Daim bar, I don’t eat chocolate that often but when I do it has to be a favourite.

I decided to make some ice cream with a couple of the bars from a 3 pack I’d recently bought.

It’s deliciously sweet, creamy and with bits of Daim, what’s not to love? The recipe makes 6 decent sized scoops.

*The recipe uses an ice cream maker, if you don’t have one just follow the instructions at the bottom of the recipe for the freezing process.


Homemade Daim Ice Cream 

165 ml semi skimmed or full fat milk

50 g caster sugar

2 large egg yolks

2 Daim bars

170 ml single cream

½ tsp vanilla extract

1. Place a crushed Daim bar in a heatproof bowl. Place the bowl on a saucepan with a little hot water in. Place on a medium heat until the water starts to simmer, turn the heat to low. The chocolate will melt and the crunch caramel inside will start to melt too, remove from the heat once most of the Daim has melted.

2. Heat the milk in a saucepan slowly to boiling. Place the yolks and sugar in a heatproof bowl, whisk together briefly until combined and creamy.

3. Slowly pour the hot milk over the egg yolk mixture, whisking to mix together. Pour the mixture back in to the saucepan, over a medium heat, stir with a wooden spoon until it starts to thicken slightly, coating the back of the spoon. Remove from the heat. Stir the melted Daim through and set aside to cool, then place in the fridge in a covered bowl or container. Leave for at least a few hours until very chilled.

4. Stir the single cream and vanilla through the cooled mixture and pour in to your ice cream machine bowl (according to the instructions) until thickened and freezing. Meanwhile, break the other Daim bar in to small pieces (I bashed mine gently, still in the wrapper, with a rolling pin) Stir half through the ice cream mixture. Place in a container, sprinkle over the rest of the Daim pieces, cover, and pop it in the freezer.

*If you’re not using an ice cream machine you can place the chilled mixture in a container and freeze. Remove from the freezer every hour or so and beat to break up the ice crystals. This will help get a smoother creamy texture. Continue until set.

Delicious on its own or in a wafer cone. Use within a week. Enjoy ♥

Daim Ice Cream
Daim Ice Cream
Daim Ice Cream

Melting Chocolate Moments

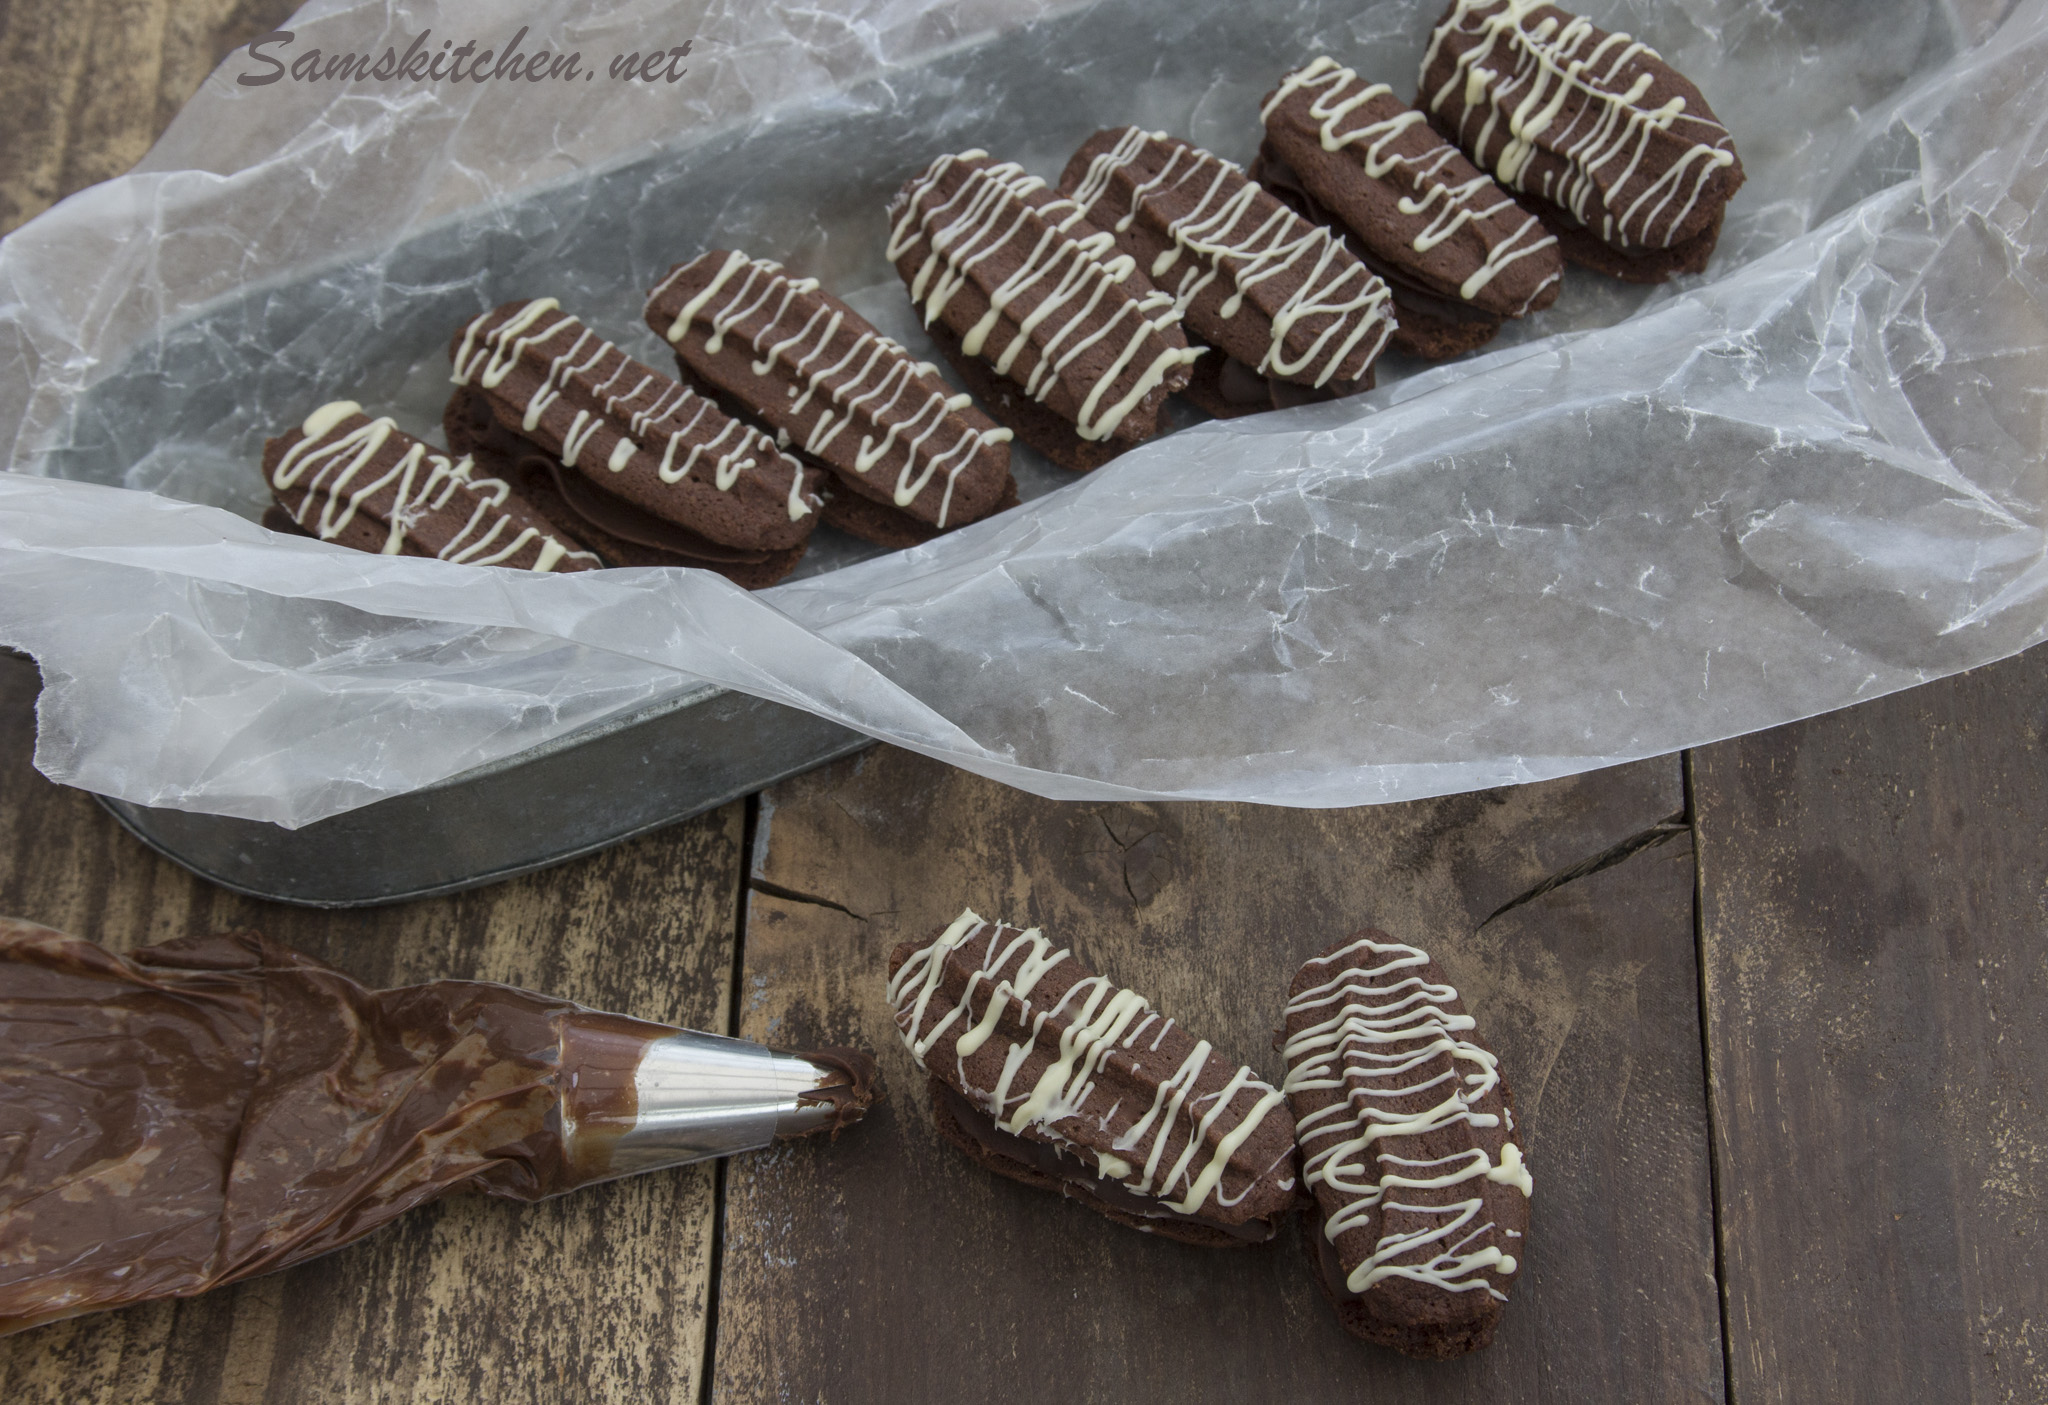
These are like Viennese fingers or whirls but all chocolate! Very crumbly melt in the mouth biscuits sandwiched together with dark chocolate ganache. I use fairly reasonably priced chocolate from the supermarket for most of my baking, saving the good stuff for eating straight 🙂


Melting Chocolate Moments

Cookies

175g soft butter

55g icing sugar

1 tsp vanilla bean paste

150g self raising flour

25g cocoa powder

Ganache filling

200g dark chocolate, chopped

150ml double cream

15g butter

25g melted white chocolate to drizzle (optional)

Makes about 15 large or 30+ small complete cookiesmelting-choc-2

  1. Make the ganache first so it has time to cool and firm up a bit. Heat the cream in a small saucepan to boiling point. Remove from the heat and add the chopped chocolate and butter. Stir through until all melted together. If there’s still a few lumps place over a low heat and stir until all gone. Set aside to cool. Place in the fridge in a container until ready to use as filling.
  2. melting-choc-1Preheat the oven 180°C 160°C (fan) GM4. Beat the butter until soft and creamy. Add the sieved icing sugar and vanilla bean paste, beat together until combined and smooth. Add in sieved cocoa and flour and bring together, either by beating briefly with your mixer or by wooden spoon or spatula. Make sure it’s an even colour and there’s no lighter streaks.
  3. Prepare a piping bag, for the larger ones I used an Ateco 866 pastry nozzle and the smaller ones a Wilton 1M. You’ll get a different look if you use other nozzles so try a few. Place some of the cookie mix in the piping bag. Pipe lengths of about 5-6 cm onto a lined/greased baking tray. The piping is hard work as the mixture is quite stiff, ensure your piping bag is strong and the butter is really soft at the start, this will help. Make sure you give them room to expand in the oven. Bake until just starting to colour at the ends about 10-12 minutes for the larger ones a few minutes less for the smaller ones. They will be firm to the touch, be careful not to over bake them, they burn quickly and it’s not easy to tell as they’re already brown!
  4. melting-choc-aboveLeave to cool completely on the trays. The cookies are very fragile, especially so while still warm. Once cooled use a small spatula or knife to move them. Pair them up so they’re roughly in pairs of the same size and shape. Turn over one half of the pair, if you’re using the white chocolate drizzle across the tops now, or wait until you’ve assembled them, either works. I used a piping bag with a small snip at the end or use a spoon.

5. Fill another piping bag with the cooled ganache filling, it needs to be a soft spreadable and pipeable consistency. If it’s too sloppy place in the fridge for a little while, if it’s too stiff heat very briefly in the microwave and stir, repeat until you are happy. Place some in the piping bag and fill the upturned cookie with a line of luscious filling, pop the top on and leave until the white chocolate is set. Enjoy ♥

melting-chocolate-momentsmelting-choc-4

White Chocolate and Cherry Fudge

White Chocolate and Cherry Fudge
White choc & Cherry fudge close

I love fudge, it makes a great gift and will keep well. Here’s a variation I tried recently which went down well.

White Chocolate and Cherry Fudge

Makes 50-60 bite sized pieces

Ingredients
350g caster sugar
300ml semi skimmed or full fat milk
100g butter, chopped in to chunks
100g white chocolate, chopped
100g glacé cherries, chopped roughly in to quarters
1 tsp vanilla extract or bean paste

Line an 18cm (7”) square tin with parchment or baking paper. Put a plastic cup of water in the freezer to chill for later if using.  Place the sugar, milk and butter in a large saucepan. Heat on low, stirring regularly, until melted together.

Increase the heat to bring to a rolling boil, stir occasionally to stop any areas on the bottom ‘catching’. Ideally use a sugar thermometer to measure 118°C (softball)* to double check it’s the right consistency you can drop a little mixture in to the chilled cup of water, remove from the water with a spoon,  if it balls up rather than dispersing it’s ready.

*I have many sugar thermometers and find that they can vary readings by several degrees, very frustrating when on many sugar/sweet recipes this reading is crucial. To be sure use the dropping in to cold water method.

Remove from the heat and stir through the vanilla. Add the chopped white chocolate and about ¾ of the chopped cherries and stir well. The chocolate will melt in as you stir.

Beat vigorously for a few minutes, you can use your mixer or by hand, it will thicken slightly and you’ll notice that any mixture on the sides is starting to set. Pour in to the square tin and even out then dot the remaining chopped cherry pieces on the top and leave to cool completely.

White choc & Cherry fudge above

White Chocolate and Cherry Fudge 1

Once completely cooled remove from the tin. Cut in to cubes using a sharp knife. If it’s still a little soft and squishy leave out to harden for a few hours, just loosely cover with a clean teatowel or kitchen paper. Then place in an airtight container. ♥

White choc & Cherry fudge sliced above

Chocolate Sandwich Biscuits with Vanilla Mallow Filling

Choc mallow 7

Perfect with a cuppa and friends or an afternoon treat to keep you focused, these are lovely! The mallow filling is so lush and squidgy (you will get messy), also amazing on and in big cakes and sublime on cupcakes. Best eaten within a couple of days, they probably won’t last long anyway, unless you hide them of course (just a suggestion!).

Chocolate Sandwich Biscuits with Vanilla Mallow Filling

Biscuits

100g soft butter

40g caster sugar

1 egg yolk

150g plain flour

25g cocoa

¼ tsp vanilla extract

Vanilla Mallow Filling

2 egg whites

110g granulated sugar

½ tsp vanilla extract

Makes 15 complete biscuits

Biscuits

  1. Beat the butter and caster sugar together until creamy add the yolk and vanilla and beat again, sieve in the flour and cocoa and bring together as a dough. Wrap in clingfilm and chill for 30-60 minutes.
  2. Preheat the oven 160°C Fan 180°C 350°F GM4. Grease or line baking trays ready. Roll out the dough to 3-4 mm thickness. Cut out rounds with a cookie cutter (I used a 4.5 cm cutter). Place on the baking tray, they just need a little space around as they don’t spread much. Bake for 8-10 minutes until firm to the touch. Allow to cool for 5 minutes on the baking tray and then transfer to a cooling rack to cool completely.
    Choc mallow biscuits 1

Vanilla Mallow Filling

  1. Place the egg whites and granulated sugar in a heatproof bowl over a pan of just simmering water. Use a small balloon whisk to constantly stir. It’s ready when the mixture is no longer grainy, it will get be fairly hot to the touch. Transfer to the bowl of your mixer (or a mixing bowl) add the vanilla and whisk on high speed. It will take 3-5 minutes to become fluffy and lush. It will form peaks that hold when pulled up.
    Choc mallow piping 4Choc mallow piping 3
  2. Spoon the mallow in to a piping bag (I used a 1 cm round nozzle but it doesn’t really matter what you use) pipe a generous amount on one cookie and sandwich together with another. Enjoy ♥
    Choc mallow 6Choc mallow 5