Category Archives: Pudding

Toblerone Tiffin

We still have an enormous Toblerone to eat, so here’s another recipe! You can, of course, use whatever chocolate you have available. Also your choice of biscuits will make it unique too. I used what we had in the cupboard, along with dried fruits too.

Toblerone Tiffin

125g Toblerone, chopped

125g biscuits, crushed (I used digestives, crunch creams and Biscoff)

75g butter

45g dried fruit, chopped if large (I used dates and cranberries)

25g soft brown sugar

1 tbsp. golden syrup


Make 16 small squares

Line a container with baking paper, I used a metal tin approximately 15 cm square. You could use a loaf tin or something similar.

In a large bowl place the crushed biscuits and dried fruit. I made sure I had a mix of crumbs and chunks when I crushed the biscuits.

In a small/medium saucepan, very gently melt the chocolate, butter, sugar, golden syrupToblerone Tiffin and butter. Make sure you stir regularly to ensure it all melts evenly and doesn’t catch. You could do this in a bain marie if you prefer. Once it’s melted pour in the mixing bowl with the dry ingredients and mix together.

Place the mix in the prepared container, spread until fairly even but don’t completely crush it down, it’s nice to have chunky bits. Place in the fridge to set, use a sharp knife to portion. Enjoy ♥

Toblerone Mousse Pots

This recipe came about as we have a huge Toblerone, I mean really HUGE! But as this is during COVID-19 lockdown, limited other food resources. The buttery biscuit base is optional, we had biscuits so felt the need to use them. Other biscuits would be great too, shortbread, amaretti, Hobnobs etc.

The pots I used here were from a mini break trip to Barcelona last year. We were eating breakfast on a rooftop terrace of our rented apartment, these were from the yogurts. Too pretty and useful to leave behind. ♥


Toblerone Mousse Puds

Serves 4

Biscuit base (optional)

Crushed digestive biscuits, about 4 or 65g, I used 2 plain and 2 dark choc

20g melted butter

Mousse

65g Toblerone, melted

2 eggs, separated

2-3 tsp sugar

  1. Make the base by mixing the melted butter and crushed biscuits. Divide between 4 small pots/glasses. Set aside while you make the mousse.
  2. Add the egg yolks to the slightly cooled melted chocolate and stir well.
  3. Place the egg whites in a large clean bowl with the sugar. 2 teaspoons of sugar or add another if you have a very sweet tooth. Whisk until increased in volume and holding its shape well.
  4. Add one heaped tablespoon of whisked whites to the chocolate mixture. Stir through, this will loosen the mix and make it easier to add the rest.
  5. Gently spoon the rest of the whites on top of the choc mixture. Fold in with a large metal spoon. You want it to be all the same depth of colour, but also keep as much air as you can in to give a light mousse texture.
  6. Pour or spoon in to your serving pots/glasses, so it goes on top of the crushed biscuit mix. Chill for at least couple of hours. Sprinkle the top with a little grated/chopped Toblerone or crushed biscuit to serve. Enjoy ♥

Tip: make sure your bowl for whisking the egg whites is very clean, otherwise your whites won’t attain a good volume. I usually wipe the bowl down with a little lemon juice before starting.

Homemade Daim Ice Cream

I love a Daim bar, I don’t eat chocolate that often but when I do it has to be a favourite.

I decided to make some ice cream with a couple of the bars from a 3 pack I’d recently bought.

It’s deliciously sweet, creamy and with bits of Daim, what’s not to love? The recipe makes 6 decent sized scoops.

*The recipe uses an ice cream maker, if you don’t have one just follow the instructions at the bottom of the recipe for the freezing process.


Homemade Daim Ice Cream 

165 ml semi skimmed or full fat milk

50 g caster sugar

2 large egg yolks

2 Daim bars

170 ml single cream

½ tsp vanilla extract

1. Place a crushed Daim bar in a heatproof bowl. Place the bowl on a saucepan with a little hot water in. Place on a medium heat until the water starts to simmer, turn the heat to low. The chocolate will melt and the crunch caramel inside will start to melt too, remove from the heat once most of the Daim has melted.

2. Heat the milk in a saucepan slowly to boiling. Place the yolks and sugar in a heatproof bowl, whisk together briefly until combined and creamy.

3. Slowly pour the hot milk over the egg yolk mixture, whisking to mix together. Pour the mixture back in to the saucepan, over a medium heat, stir with a wooden spoon until it starts to thicken slightly, coating the back of the spoon. Remove from the heat. Stir the melted Daim through and set aside to cool, then place in the fridge in a covered bowl or container. Leave for at least a few hours until very chilled.

4. Stir the single cream and vanilla through the cooled mixture and pour in to your ice cream machine bowl (according to the instructions) until thickened and freezing. Meanwhile, break the other Daim bar in to small pieces (I bashed mine gently, still in the wrapper, with a rolling pin) Stir half through the ice cream mixture. Place in a container, sprinkle over the rest of the Daim pieces, cover, and pop it in the freezer.

*If you’re not using an ice cream machine you can place the chilled mixture in a container and freeze. Remove from the freezer every hour or so and beat to break up the ice crystals. This will help get a smoother creamy texture. Continue until set.

Delicious on its own or in a wafer cone. Use within a week. Enjoy ♥

Daim Ice Cream
Daim Ice Cream
Daim Ice Cream

Bakewell Puddings Old Style

They may not look pretty but they taste great! Combining the flavours of the Bakewell Tart we know with the look and texture of a custard tart. They are my take on the original Bakewell Pudding, from Derbyshire and still being made in vast quantities there.
I decided individual puddings were how I wanted to go with these and buying puff pastry just makes sense too. They puff right up in the oven then deflate once out looking like rather sad Yorkshire puddings, don’t worry they’re supposed to be like that.
Perfect with a cup of tea and great for sharing. I hope you get chance to try them.

Bakewell pudding3

Bakewell puddings Old Style (click title to print recipe)

Ingredients

One sheet of ready rolled puff pastry (375g)

2 eggs plus another 2 yolks

115g melted butter

50g caster sugar

50g soft brown sugar

50g ground almonds

A few drops of almond flavouring (optional)

75-100g jam, strawberry, raspberry, blackcurrant, cherry or whatever you have

Preheat oven to 180C° C 160°C Fan GM4

Makes 12-15

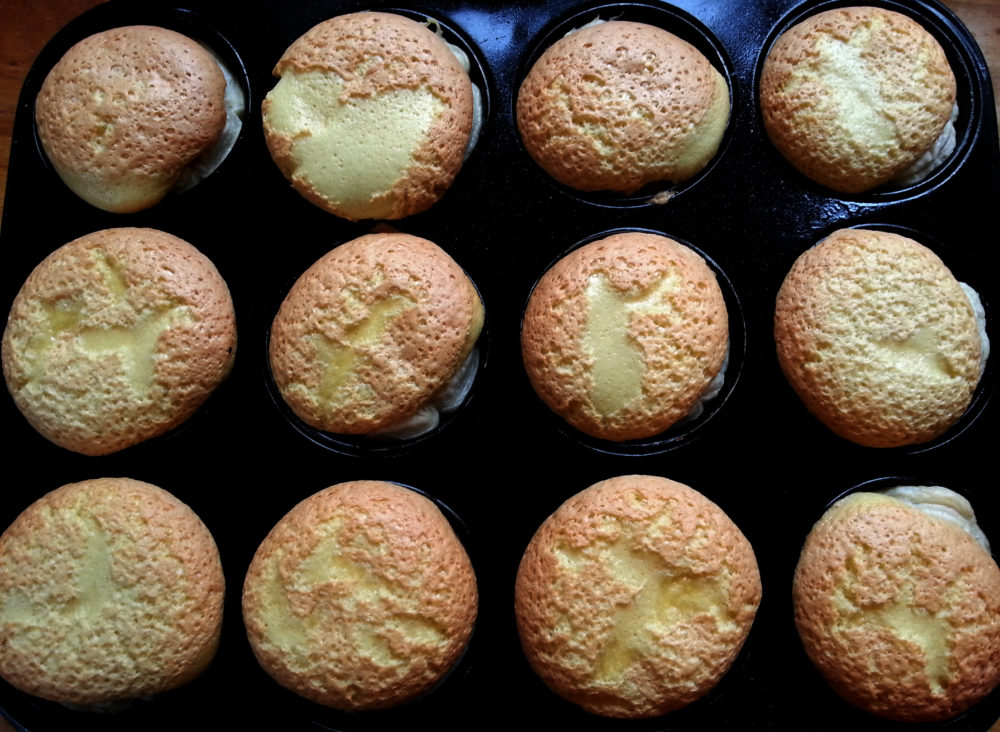
Bakewell tray 1Grease the holes in a muffin/cupcake tray

  1. Cut out pastry with a circle cutter about 9cm in diameter. Place in each of the holes in the muffin tin. Press down so it’s a snug fit to the bottom. The sheet of pastry I used just made 12 rounds, I used the off-cuts to patchwork another 3 in another greased muffin tin. Spread a little jam in each, about a teaspoon.

2. Whisk the eggs, including the 2 extra yolks, on a med/high speed until fluffy and light. This takes about 3 minutes. Then whisk in both the sugars, ground almonds and almond flavouring if using. Whisk to combine. Still whisking on slow/medium add the melted butter, gradually pouring in.

Bakewell Tray 23. Pour in to the pastry cases, until almost to the top. Bake until puffed up, firm to the touch and golden brown. About 20 minutes. Place the muffin tins on a cooling rack and leave to cool. They’re easier to remove from the tin once cold but they are also delicious still a little warm, what a dilemma! Enjoy ♥


Bakewell Tray 3

Bakewell pudding1

Bakewell pudding2


Pookies, Apple Pie Cookies

apple-pie-cookies-pookies-4

We recently had a wonderful couple of nights away, we stayed in a lovely B&B and when we left they gave us loads of Bramley cooking apples. I’ve made a few things with them and shared them with friends too. Then I decided I would make a cookie that was like a pie and here’s the result.

apple-pie-cookies-pookies-2
Wonderful for the autumnal days we are now having. They taste amazing still warm from the oven. Great cold the next day, although not as crisp, of course, there’s apple sauce in there!  I think they look pretty cute too 🙂

apple-pie-cookies-pookies

apple-pie-cookies-or-pookies

Ingredients

Filling

200g of Bramley apples (cooking apples) peeled, cored and chopped (approx. 2 medium sized apples)

1 tbsp. caster sugar

½ tbsp. lemon juice

½ tbsp. water

Cookie dough

40g caster sugar

100g soft butter

1 tsp vanilla bean paste (or extract)

1 egg yolk

175g plain flour

For the tops

1 egg white

A little caster sugar

A little cinnamon


Makes about 15


Filling (make first and allow to cool)

  1. Place all the filling ingredients in to a small saucepan and heat gently, stirring occasionally until the apple is softening. I had a nice mixture of sauce and apple chunks. Set aside to cool.

Cookie dough

  1. Beat the soft butter and caster sugar together until light and fluffy. Add the egg yolk and vanilla and beat again until combined. Sieve in the flour and bring together to form a ball of dough. Wrap in cling film and chill for 30 minutes.
  2. Preheat the oven 180°C 160°C fan GM 4. Lightly grease a cupcake tin/muffin tray. I used a shallow version I have which gave the look I wanted. Roll the cookie dough out on a floured surface until 3-4 mm thickness. For the bottom of the pookie I used a 6.5 cm fluted round cutter. Place this in the prepared cupcake tin. Add about a teaspoon of apple filling. For the lattice top, cut out a 6 cm circle of cookie dough and slice it in to strips and place across the top.apple-pie-cookies-pookies-before-bake
  3. Brush carefully with a little egg white, sprinkle with a little caster sugar and a little cinnamon. Bake until turning golden, 15-20 minutes. Allow to cool for 5-10 minutes in the tin then carefully transfer to a cooling rack. They are delicious warm or cold. Enjoy ♥apple-pie-cookies-pookies-1apple-pookies

Daim Mousse Shots

I had an idea this would be rather fabulous if it worked……and it did! I wasn’t convinced the Daim (well they used to be Dime in the UK back in the day, apparently that changed in 2005!) would melt, of course the chocolate bit would but would the crunchy toffee bit? Well the answer is yes or yes and no, you can leave some bits in or melt completely either is delicious.

Daim Mousse Shots

Daim Mousse Shots

Ingredients

4 Daim bars (28g each) plus an extra bar if you decorate the tops

4 tbsp. milk (full fat or semi)

200ml double cream

Makes  8 ‘shots’.


Crush the 4 Daim bars in to small pieces and place in a bowl set over a small saucepan of barely simmering water. Add the milk and stir occasionally to mix.

The chocolate will melt and so will most of the crunchy toffee. I left some pieces in mine but you could melt it all if you prefer. Set aside to cool then place in the fridge for about 30 minutes until cold.

Whisk the double cream until it forms stiff peaks that hold shape when pulled up. Fold the cream in to the chocolate mixture until combined. Then spoon or pipe the mixture in to shot glasses or small cups. Decorate with crushed Daim and shards and pop in the fridge for at least an hour to firm up. Just a note the crushed Daim decoration on top will go a bit soggy if left a while, so if you want to keep the crunch add it just before serving. Enjoy ♥
Easy Banoffee Pavlova

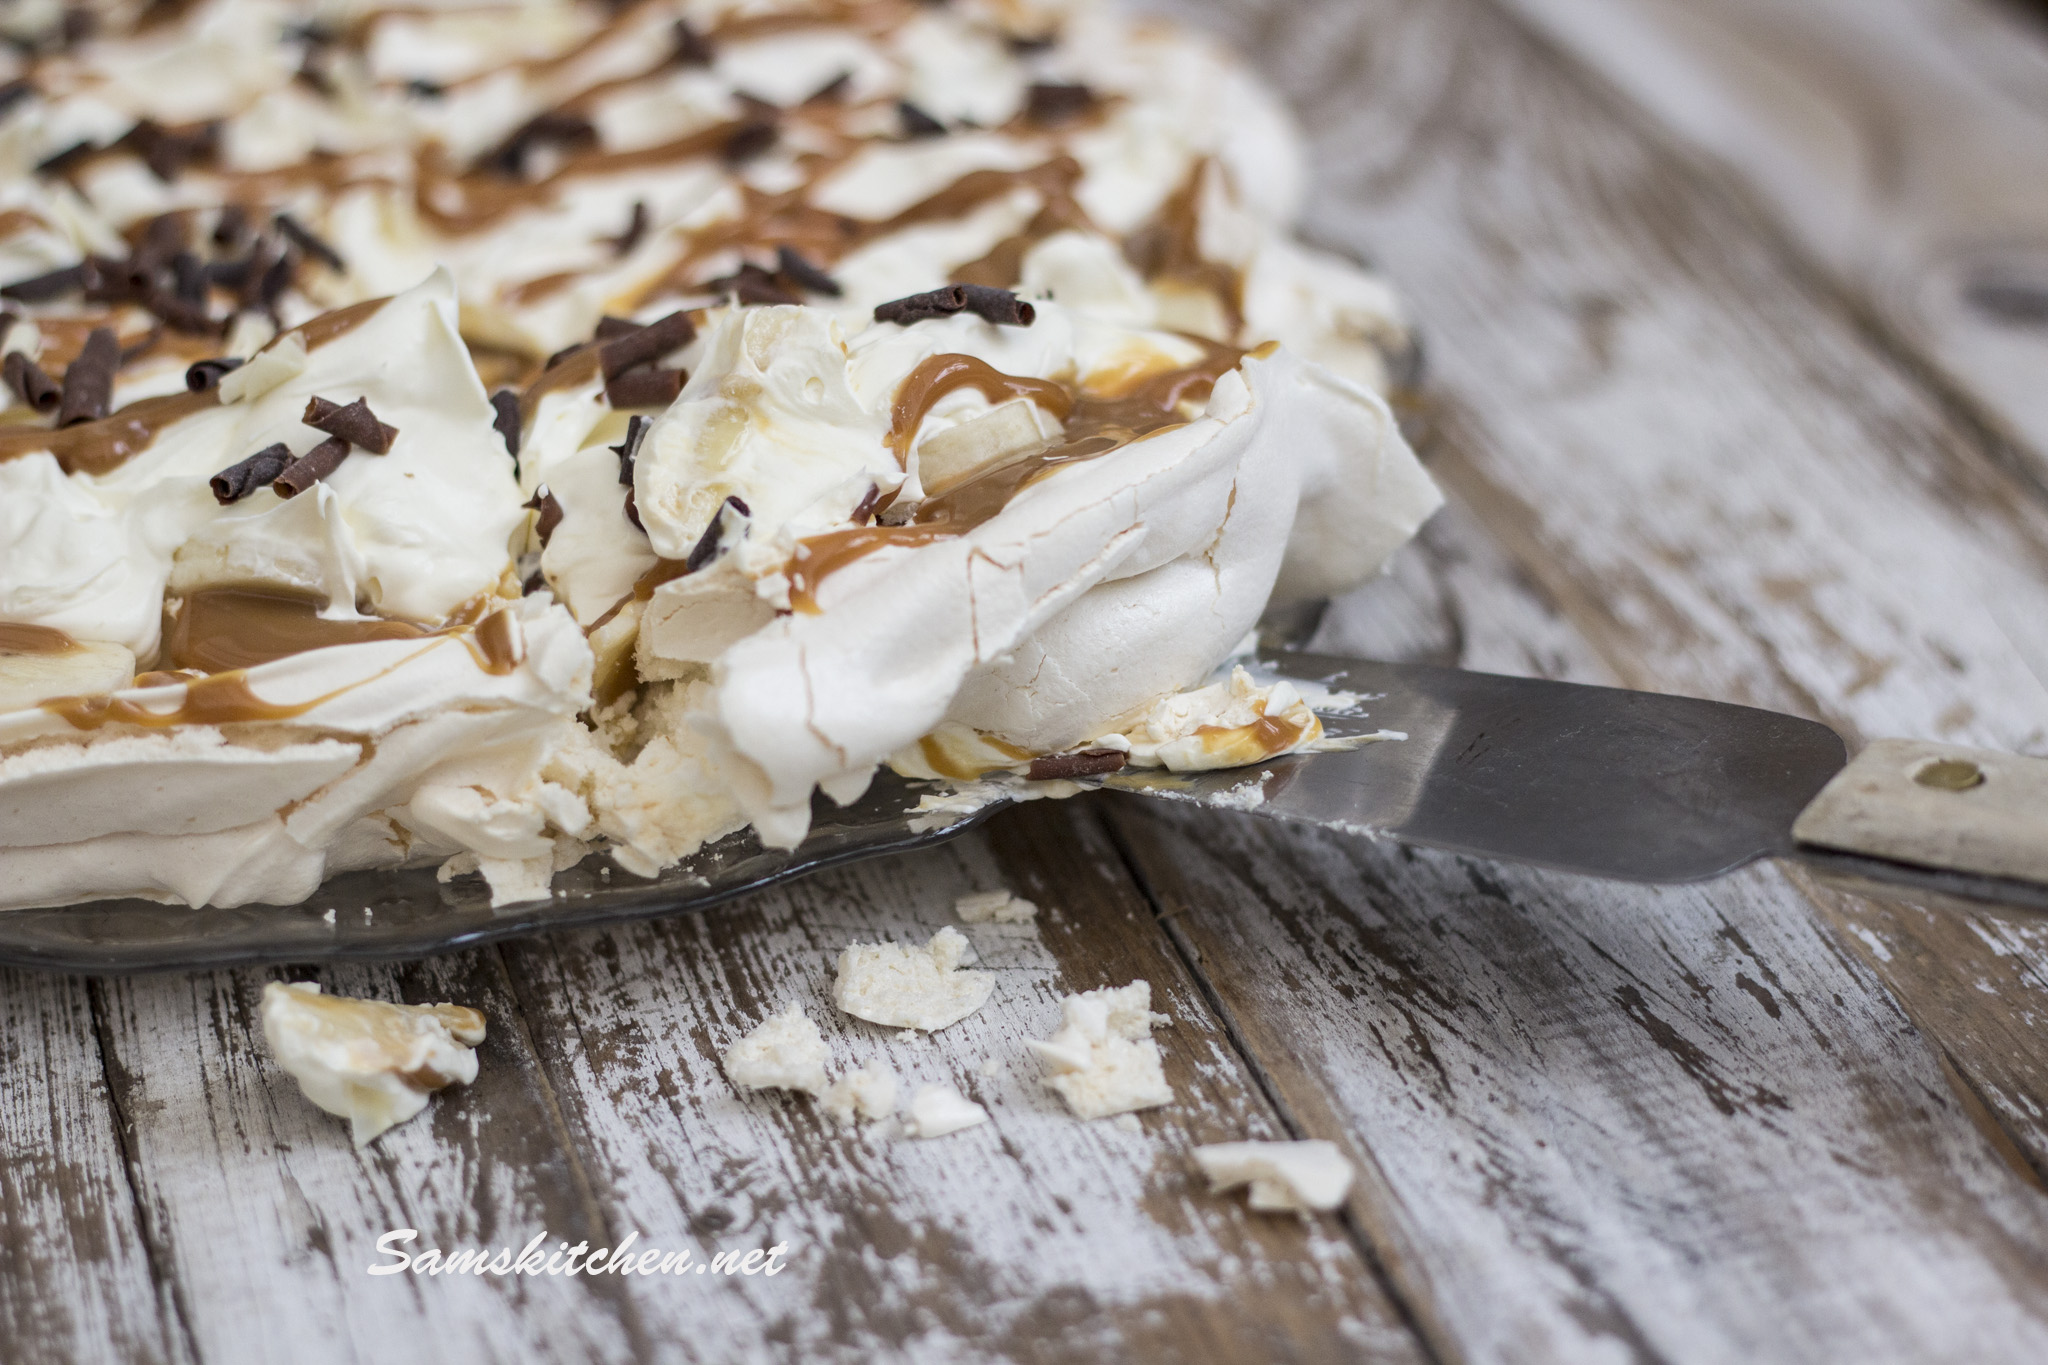
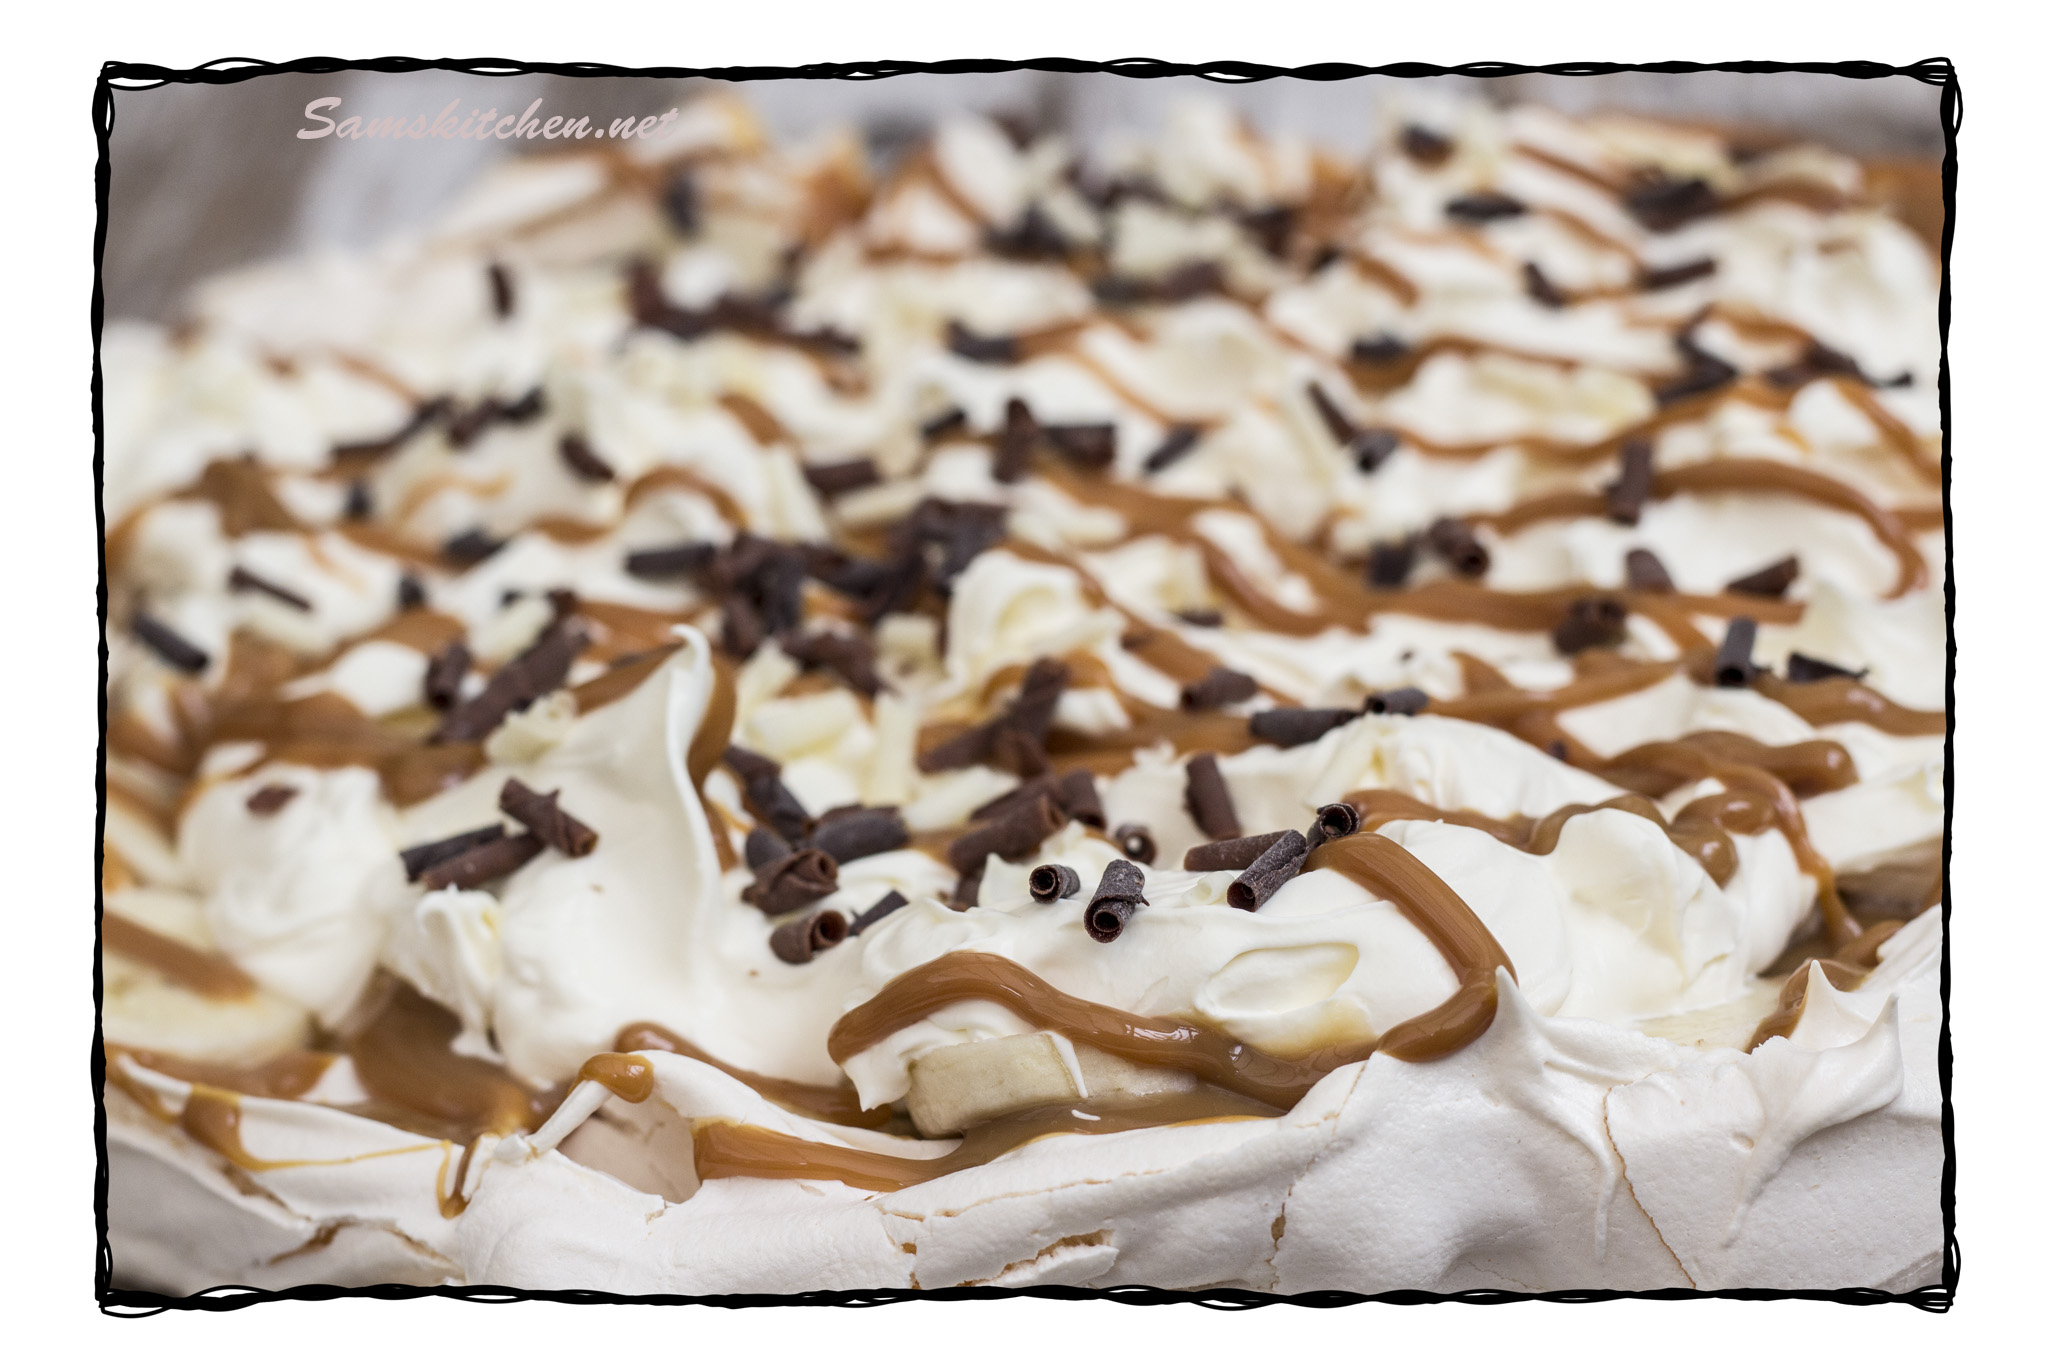
Banoffee pavlova close

An easy pudding to satisfy that sweet tooth! I usually have a can or jar of caramel in the cupboard as well as double cream in the fridge and having chickens means eggs are always on hand too. Perfect, add bananas and we’re on our way! 🙂

Banoffee Pavlova (print)

Ingredients

Meringue

3 egg whites (at room temperature)

165g caster sugar

Topping and decoration

300ml double cream

1 can or jar of dulce de leche or caramel

1-2 bananas

25g grated dark chocolate or some chocolate curls or sprinkles to decorate

Preheat the oven to 140°C, 120°C Fan, GM1

Line a baking tray with parchment or a magic reuseable liner

Meringue

Place the egg whites in to the bowl of your mixer. Whisk the egg whites until fluffy and increased in volume. They should hold their shape.  Set the mixer running on medium and add the sugar about a tablespoon at a time, making sure it all gets well mixed. Once it’s all in the bowl give a faster whisk until it’s all light and fluffy. Don’t over beat as the mixture will split and go runny.

Spoon the meringue mixture on to a baking tray lined with a magic liner or parchment paper. Make a rough circle shape approximately 20 cm in diameter (8”). You can make it have peaks by lifting the spoon if you wish or make the outer edge deeper to create a dip for more filling in the centre. Bake for about an hour. I prefer to place mine on a lower level in the oven as my oven temperature varies, you want it to dry out rather then cook, so you end with a crunchy outer and chewy centre. The meringue surface will be crisp and just starting to colour. Once it’s cooked turn the oven off and leave the meringue inside until the oven is completely cool. You can make a few days ahead and store in an airtight container.

Topping and decoration

Place the meringue on a serving plate or tray. Whip the double cream until thick. Spread about ¾ of the caramel across the surface, you can drizzle or pipe if you find it is cracking the meringue by spreading it. Slice the banana and dot across the top. Then dollop cream on top of this. Drizzle with more caramel and sprinkle with chocolate to decorate. Slice and enjoy!  Best assembled on the day of serving.

banoffee pavlova

To help get a lovely fluffy result with your egg whites make sure your bowl is very clean by wiping it with a little lemon juice before starting, this will help remove any grease or detergent left behind.

Banoffee pavlova slice

Snowy Pie

I recently made a Mississippi Mud Pie for a magazine commission, it was total heaven on a plate (if a little calorific!!!) I decided a white chocolate version would be worth a try, let’s just say it was!

Snowy Pie slicePrint recipe Snowy Pie

Biscuit base

150g digestive biscuits, crushed (Grahams crackers)

150g custard creams biscuits, crushed

125g melted butter

Filling

75g white chocolate

75g butter

2 eggs

65g caster sugar

100ml double cream

Chocolate Sauce

125g white chocolate

50ml double cream

25ml milk

25g butter

1 tbsp. golden syrup

Cream top

150 ml double cream

½ tbsp. icing sugar

25g white chocolate, grated


20” round (8”) deep cake tin with a loose bottom, greased

Oven preheat 180°C,  160°C Fan,  GM4Snowy pie base

Biscuit base

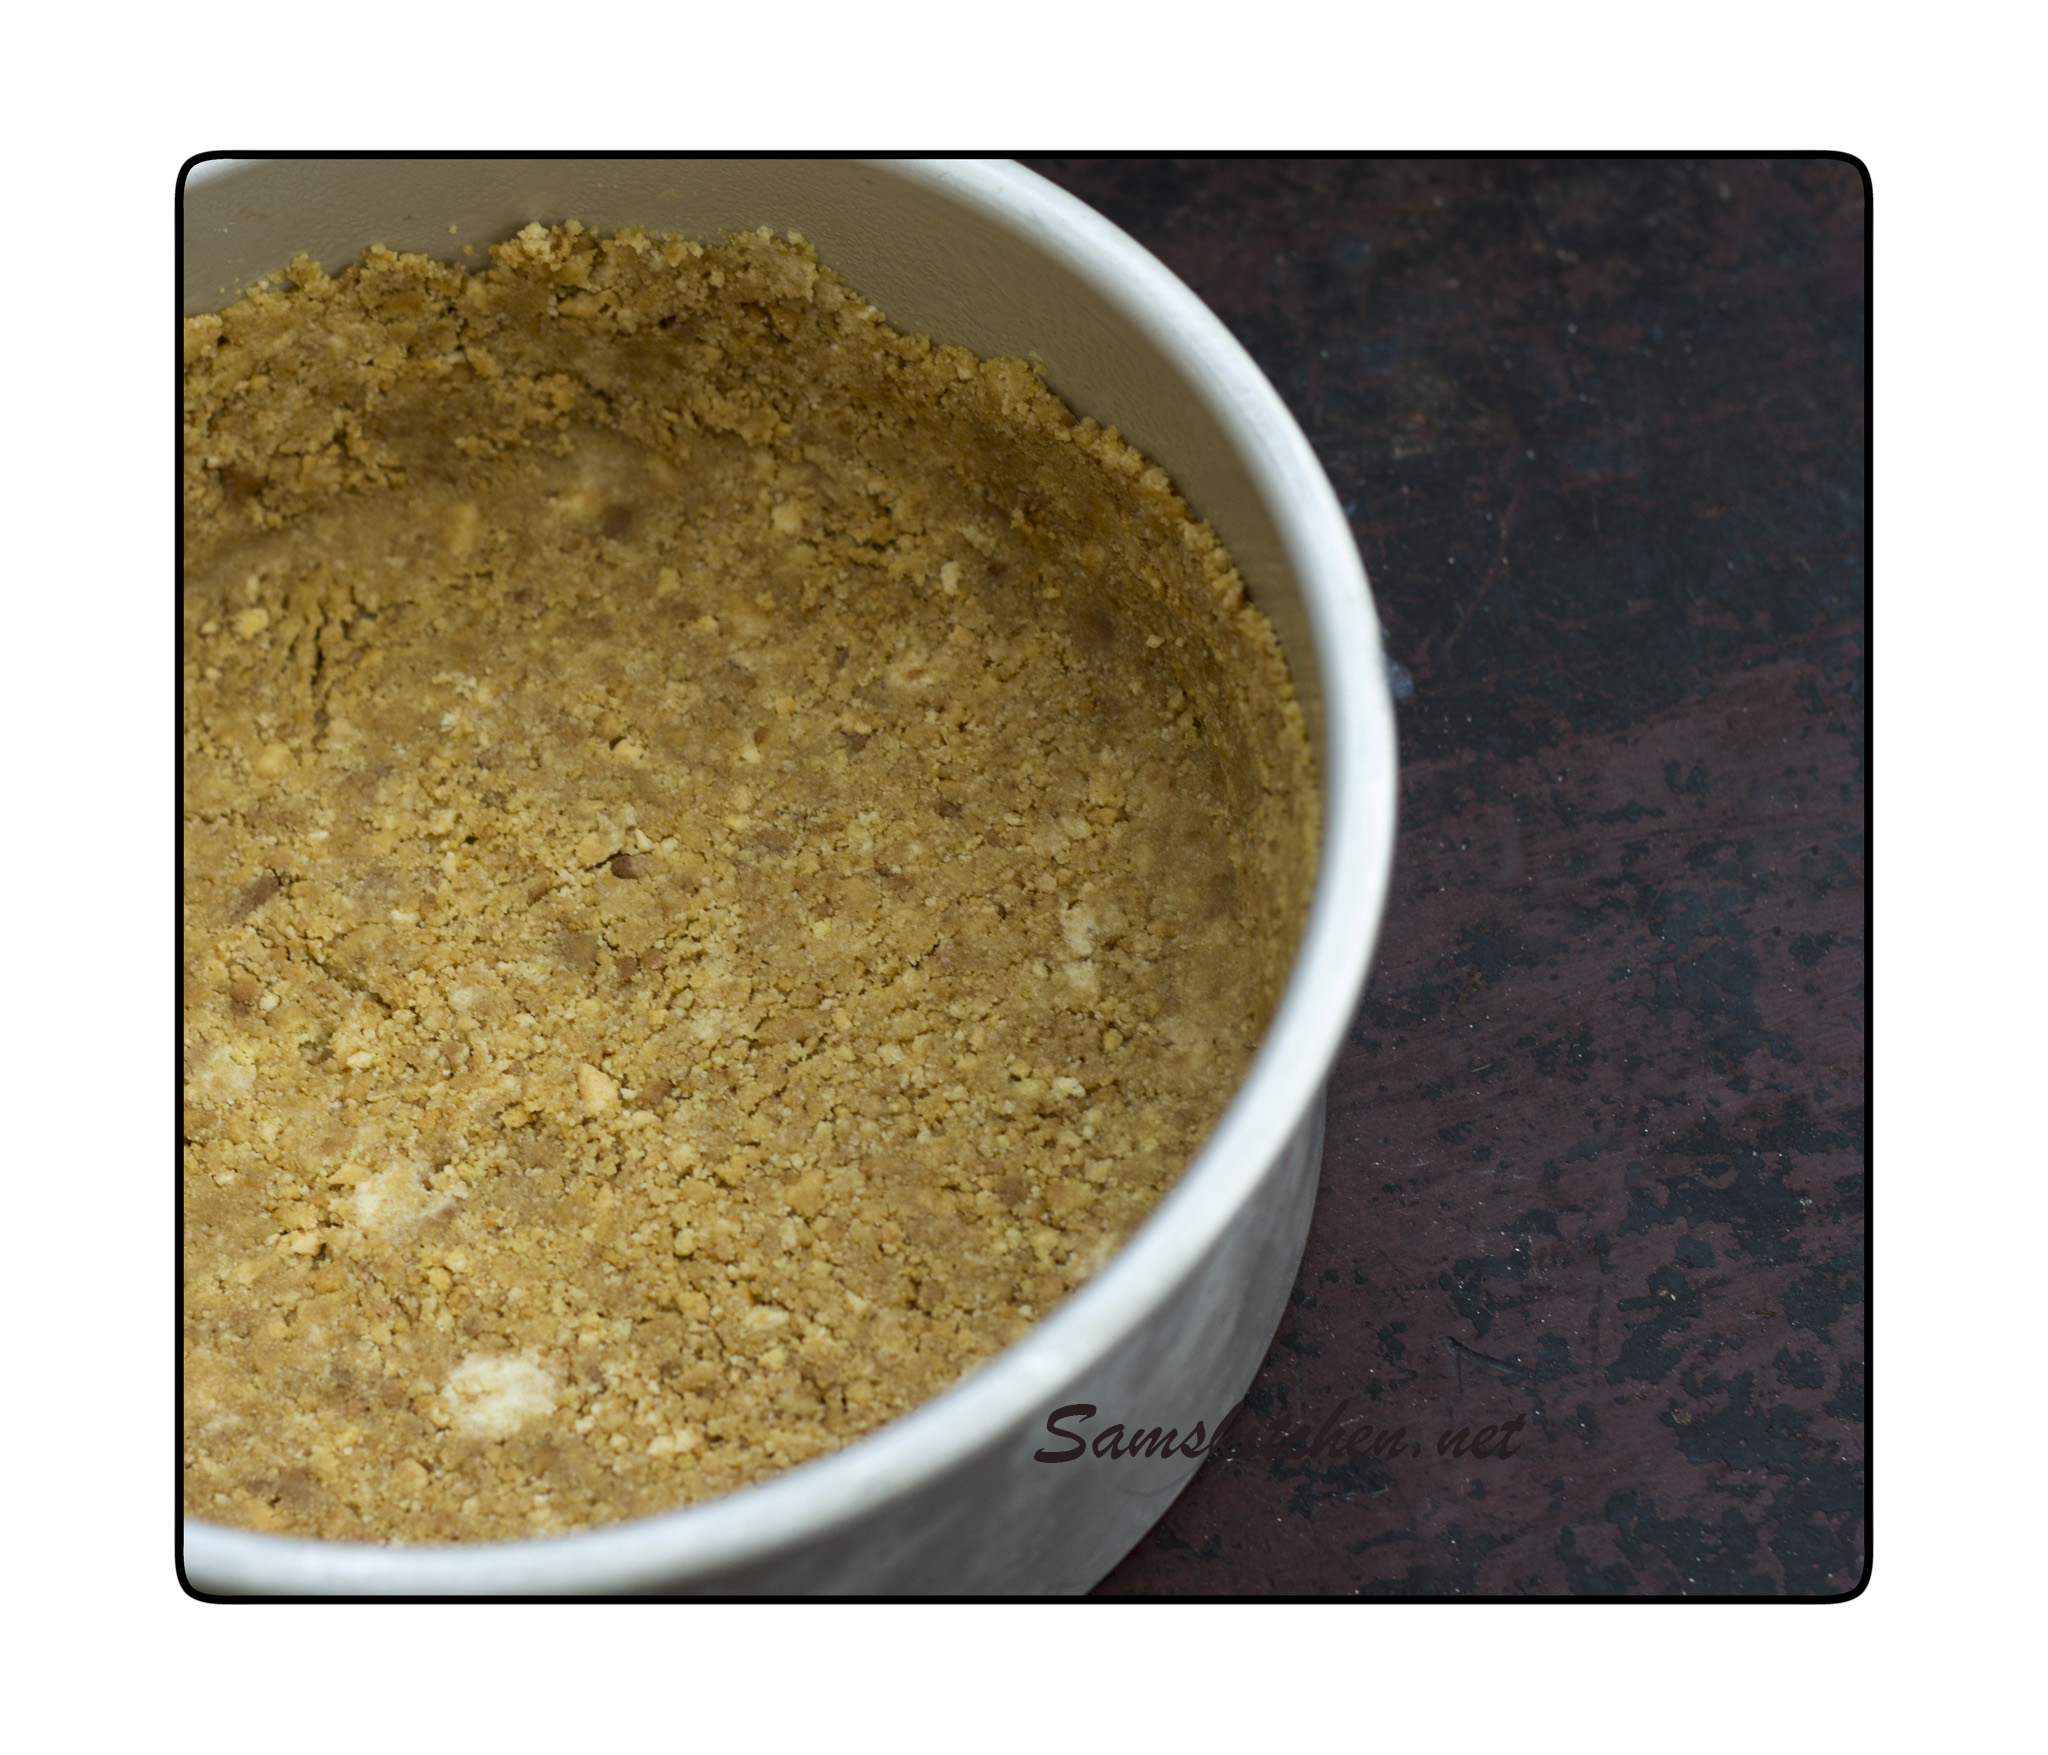
  1. Place the crushed biscuits in a large bowl, add the melted butter and mix to combine. Tip into the prepared cake tin and press in to the base and up the sides (about 2.5 cm/1” up) use a metal spoon to help do this. Place in the fridge for 30 minutes to set.Snowy pie filling

Filling

  1. Gently melt the butter and chocolate together in a saucepan. Once melted remove from the heat. Don’t worry if the mixture is separated and doesn’t look very appealing!
  2. Whisk the eggs and caster sugar together in your mixer for about 5 minutes, after that time the volume would have doubled and the mixture will be creamy. Leave the mixer running on low and slowly pour in the melted chocolate mixture, then pour in the cream. Whisk to combine, then pour onto the chilled biscuit base and bake for 25-30 minutes. It’s cooked when the mix is set and doesn’t wobble any more. Ideally check on it at about 20 minutes, if there is still a wobble and the top is starting to darken in colour, cover lightly with a piece of foil and continue to bake.
  3. Remove from the oven and allow to cool for 10 minutes in the tin on a cooling rack. Then carefully remove the tin and cool completely.

Chocolate Sauce

  1. Place all of the sauce ingredients in to a small saucepan and heat on medium until all melted, stir to combine as it heats. Remove from the heat and allow to stand for a few minutes, then pour over the top of the cooled filling. Cool completely, then chill in the fridge.Snowy Pie

Cream top

  1. Place the double cream and icing sugar in your mixer and whisk until it forms stiff peaks that hold their shape, spoon on top of the sauce and sprinkle with grated chocolate. Chill for at least an hour before serving

Snowy pie1Snowypie slice2

Amaretto and Dark Chocolate Baked Cheesecake

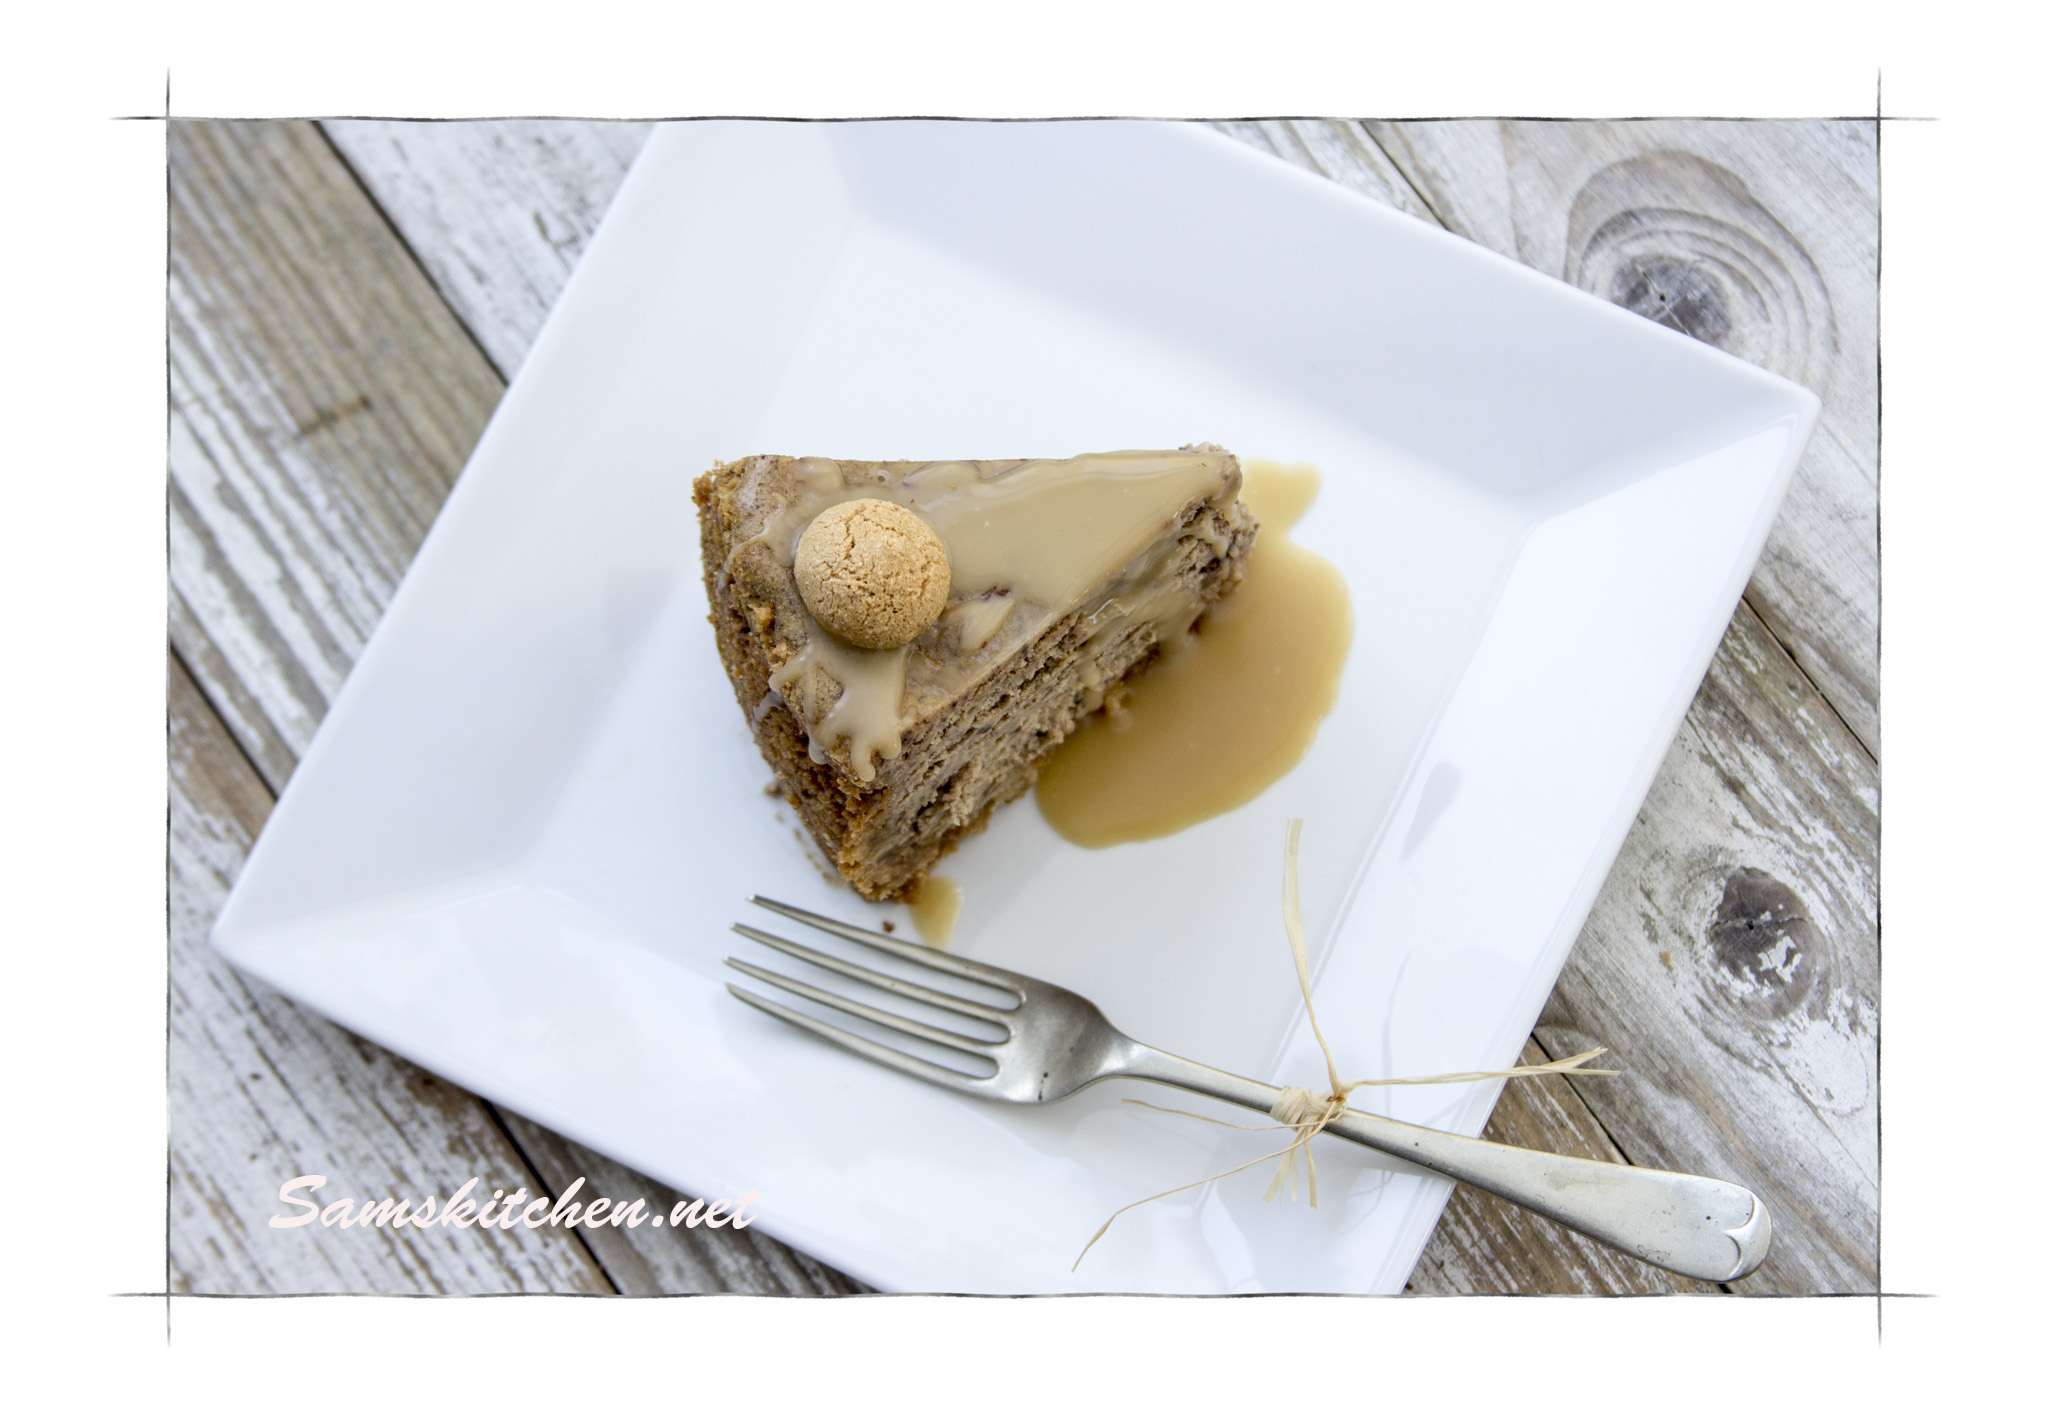
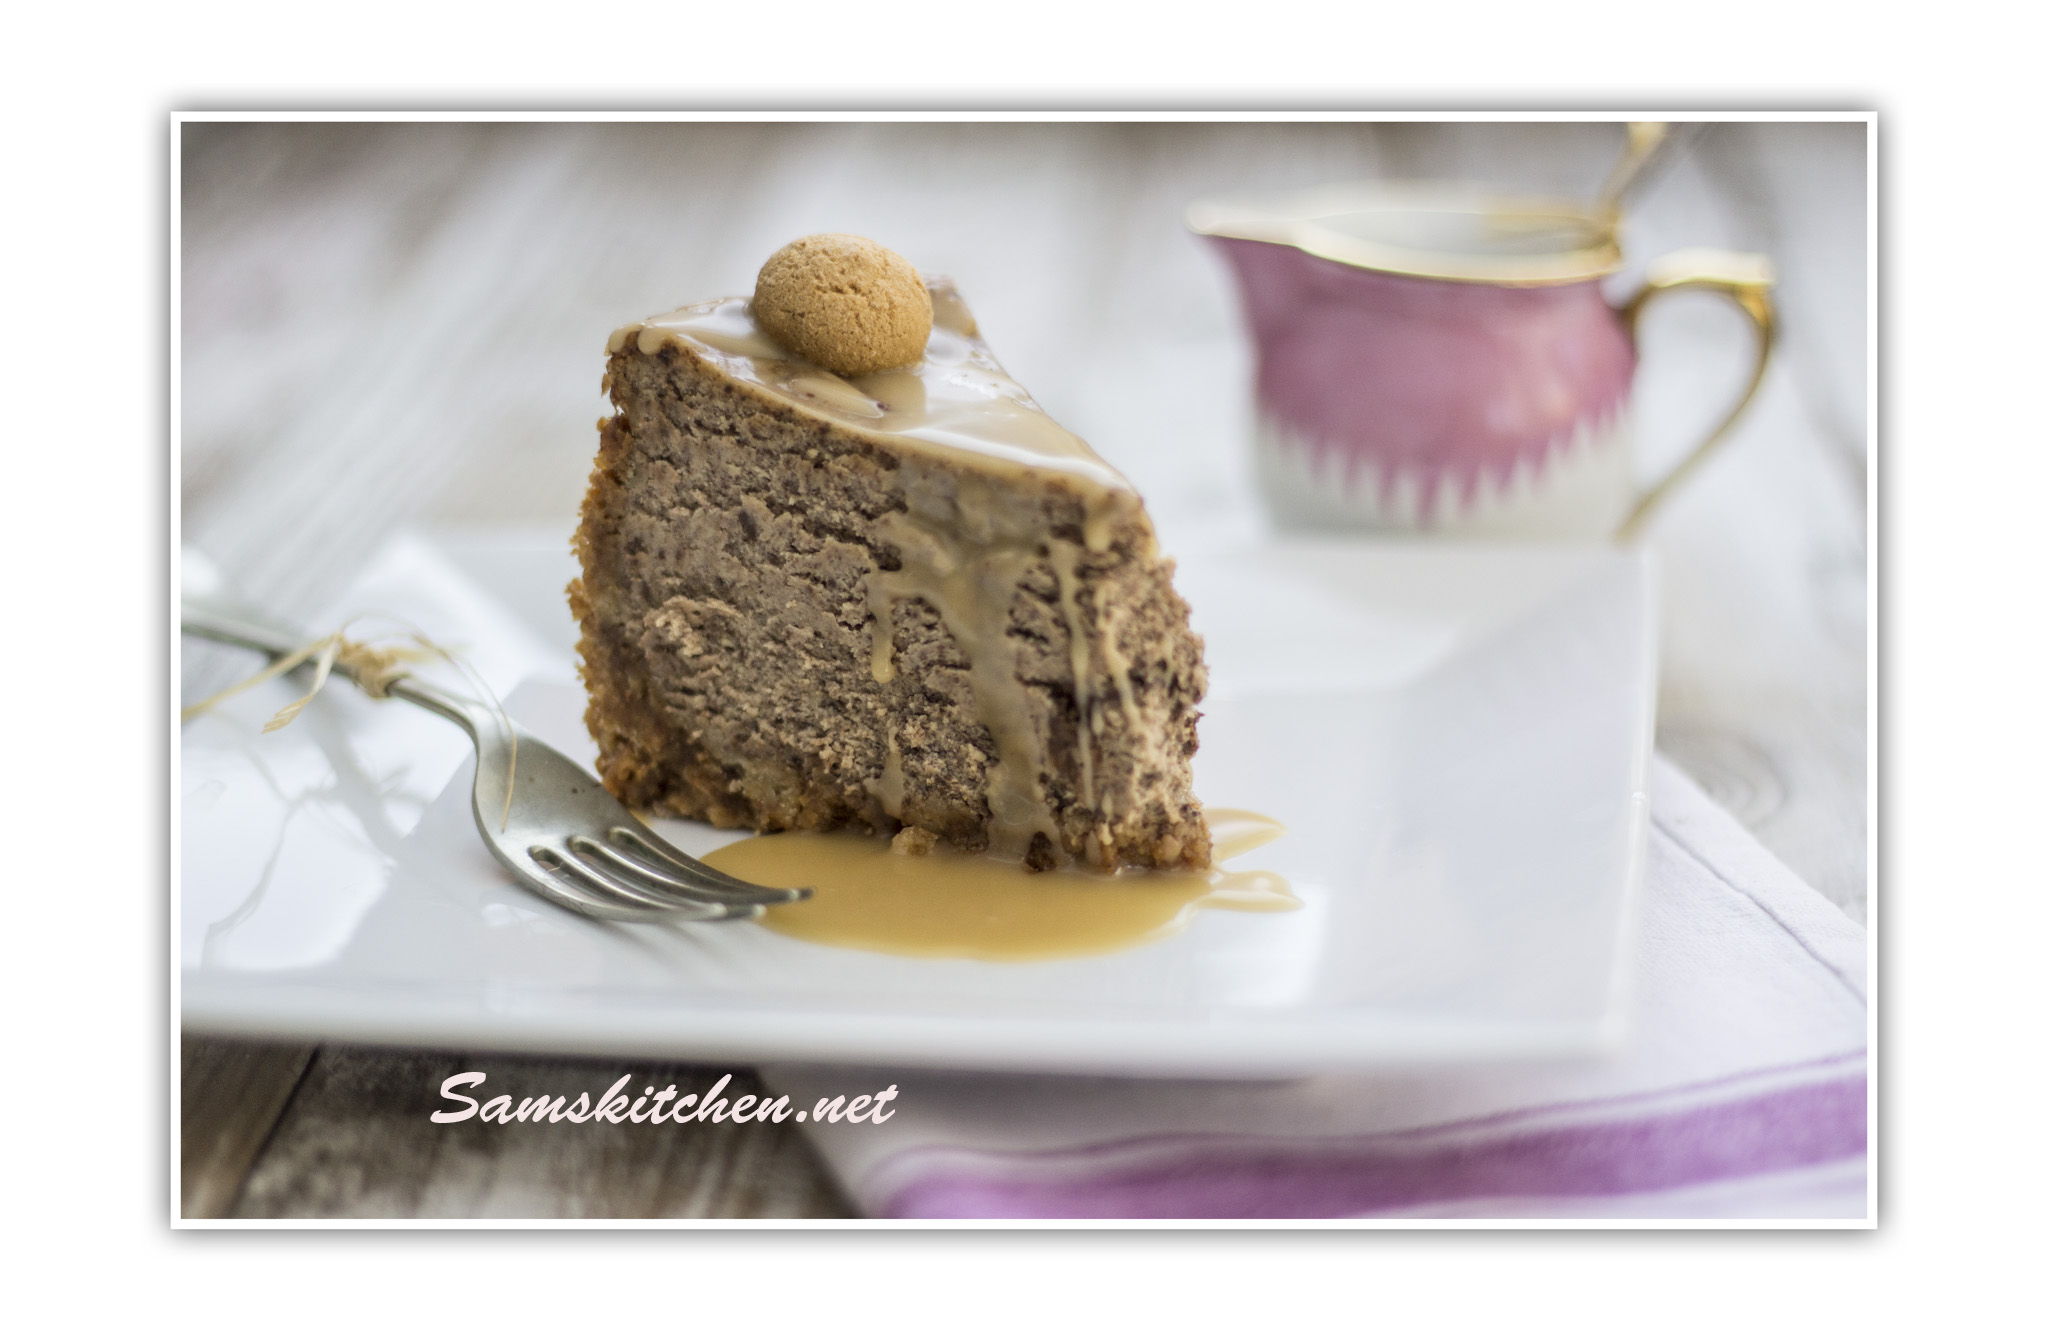
I love cheesecake, baked or no bake, all flavours, whether it’s fruity or sweet and spicy!Amaretto cheesecake above

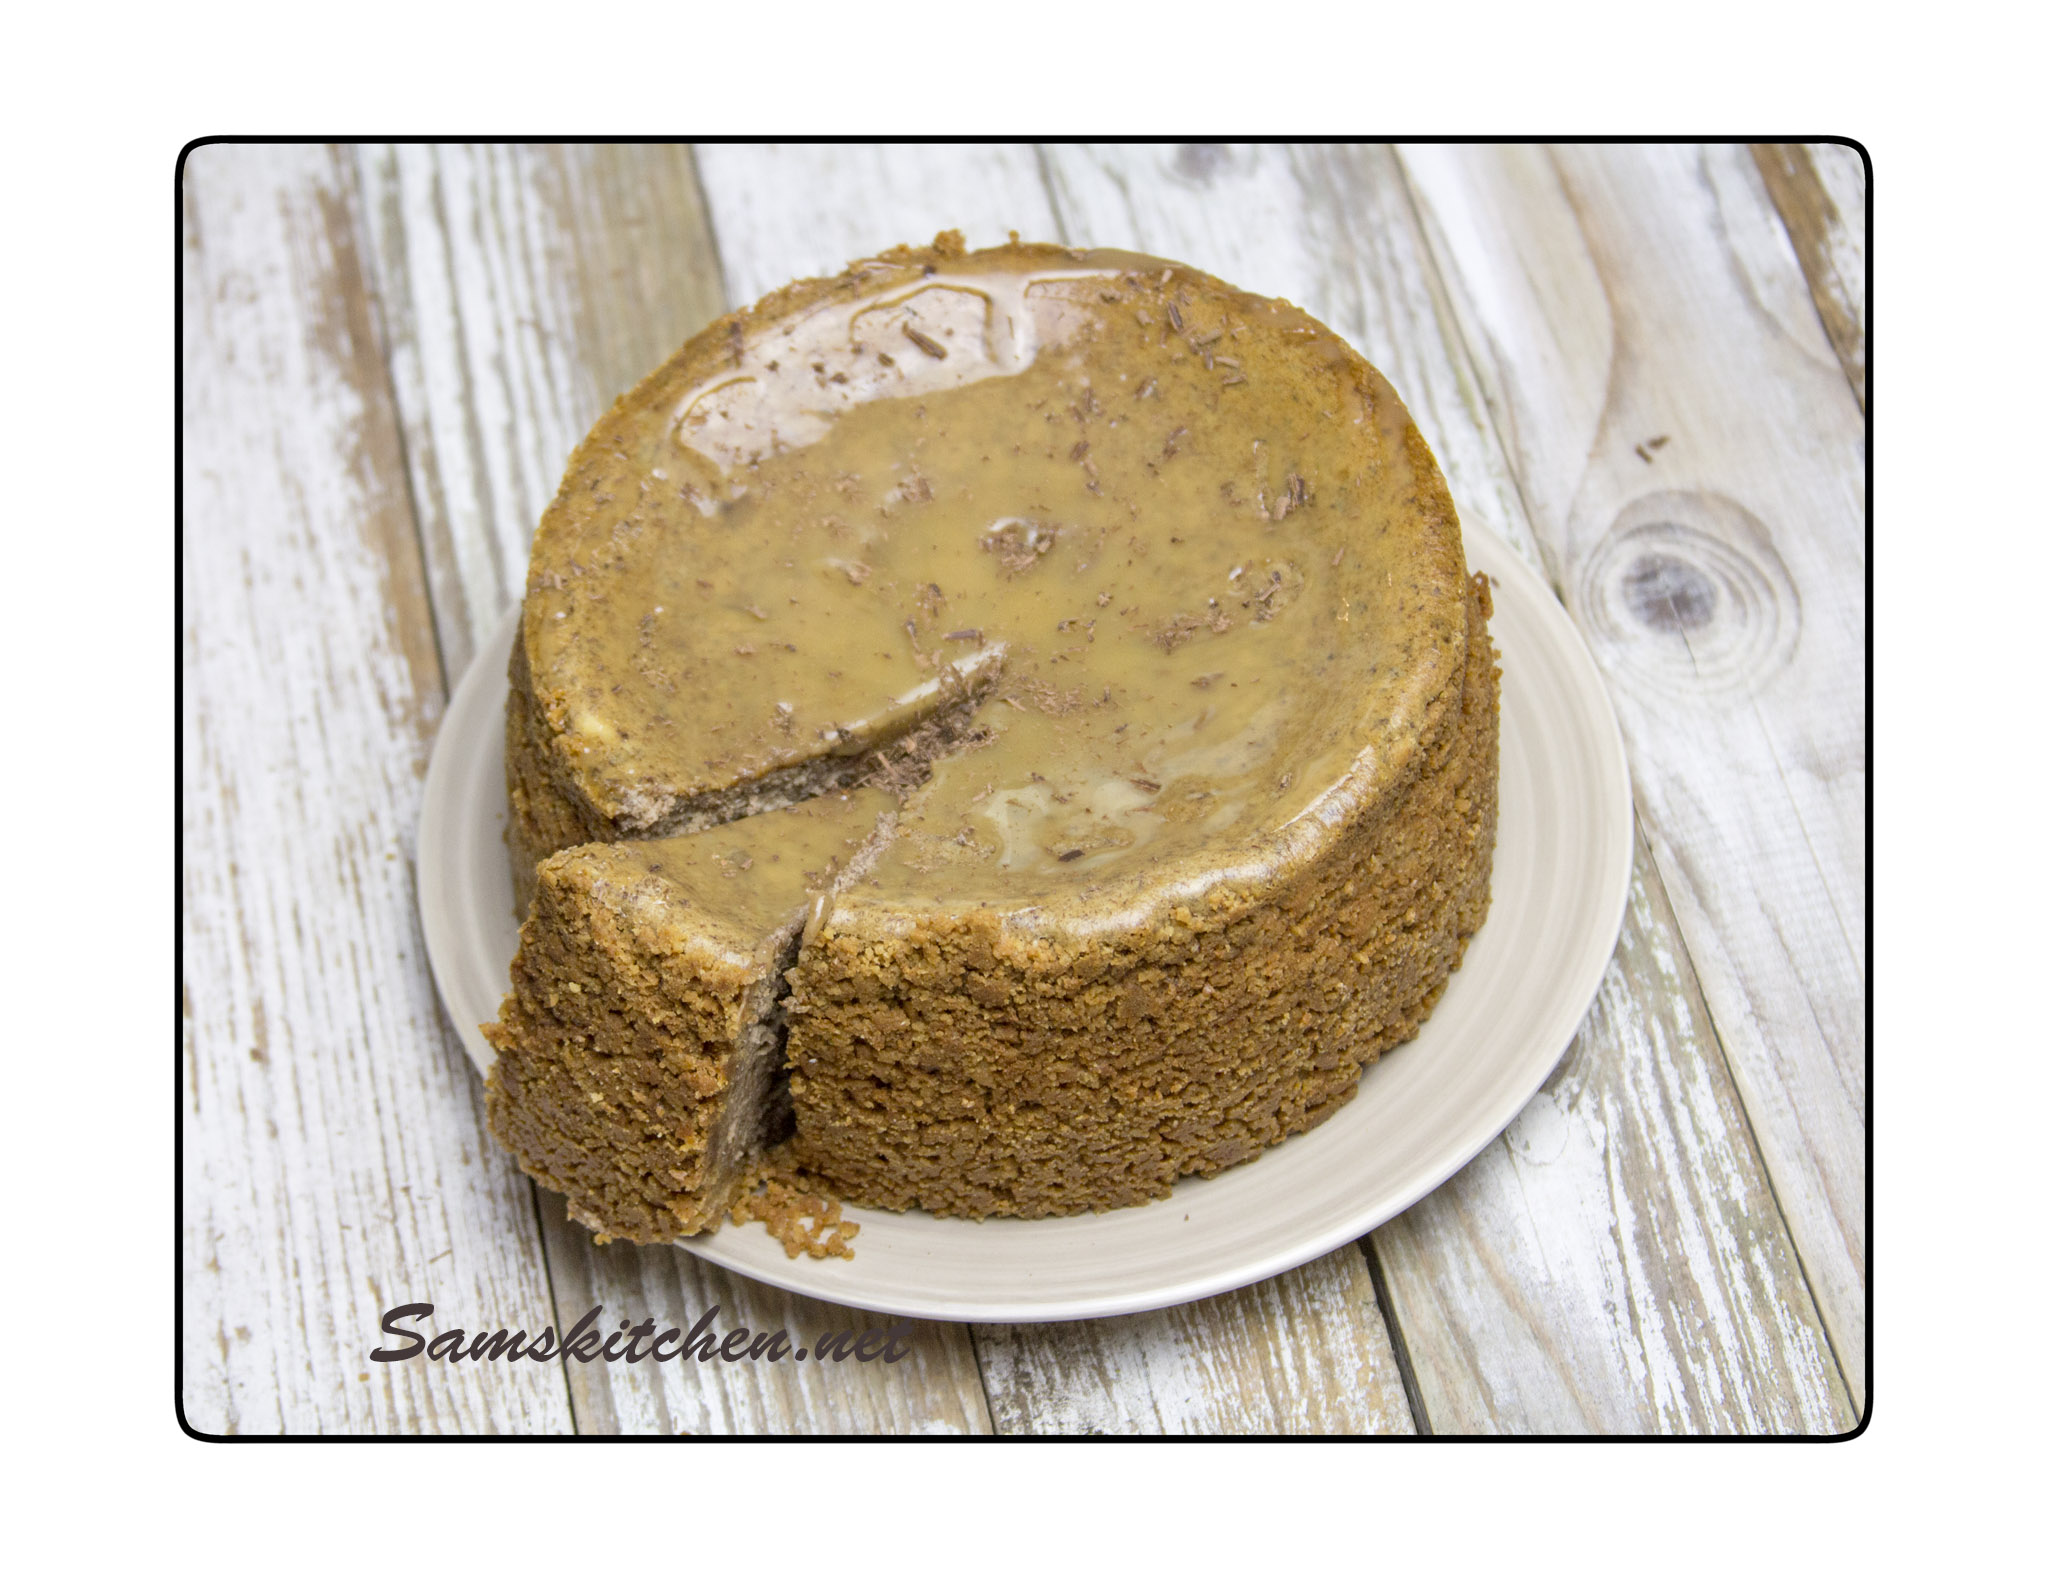
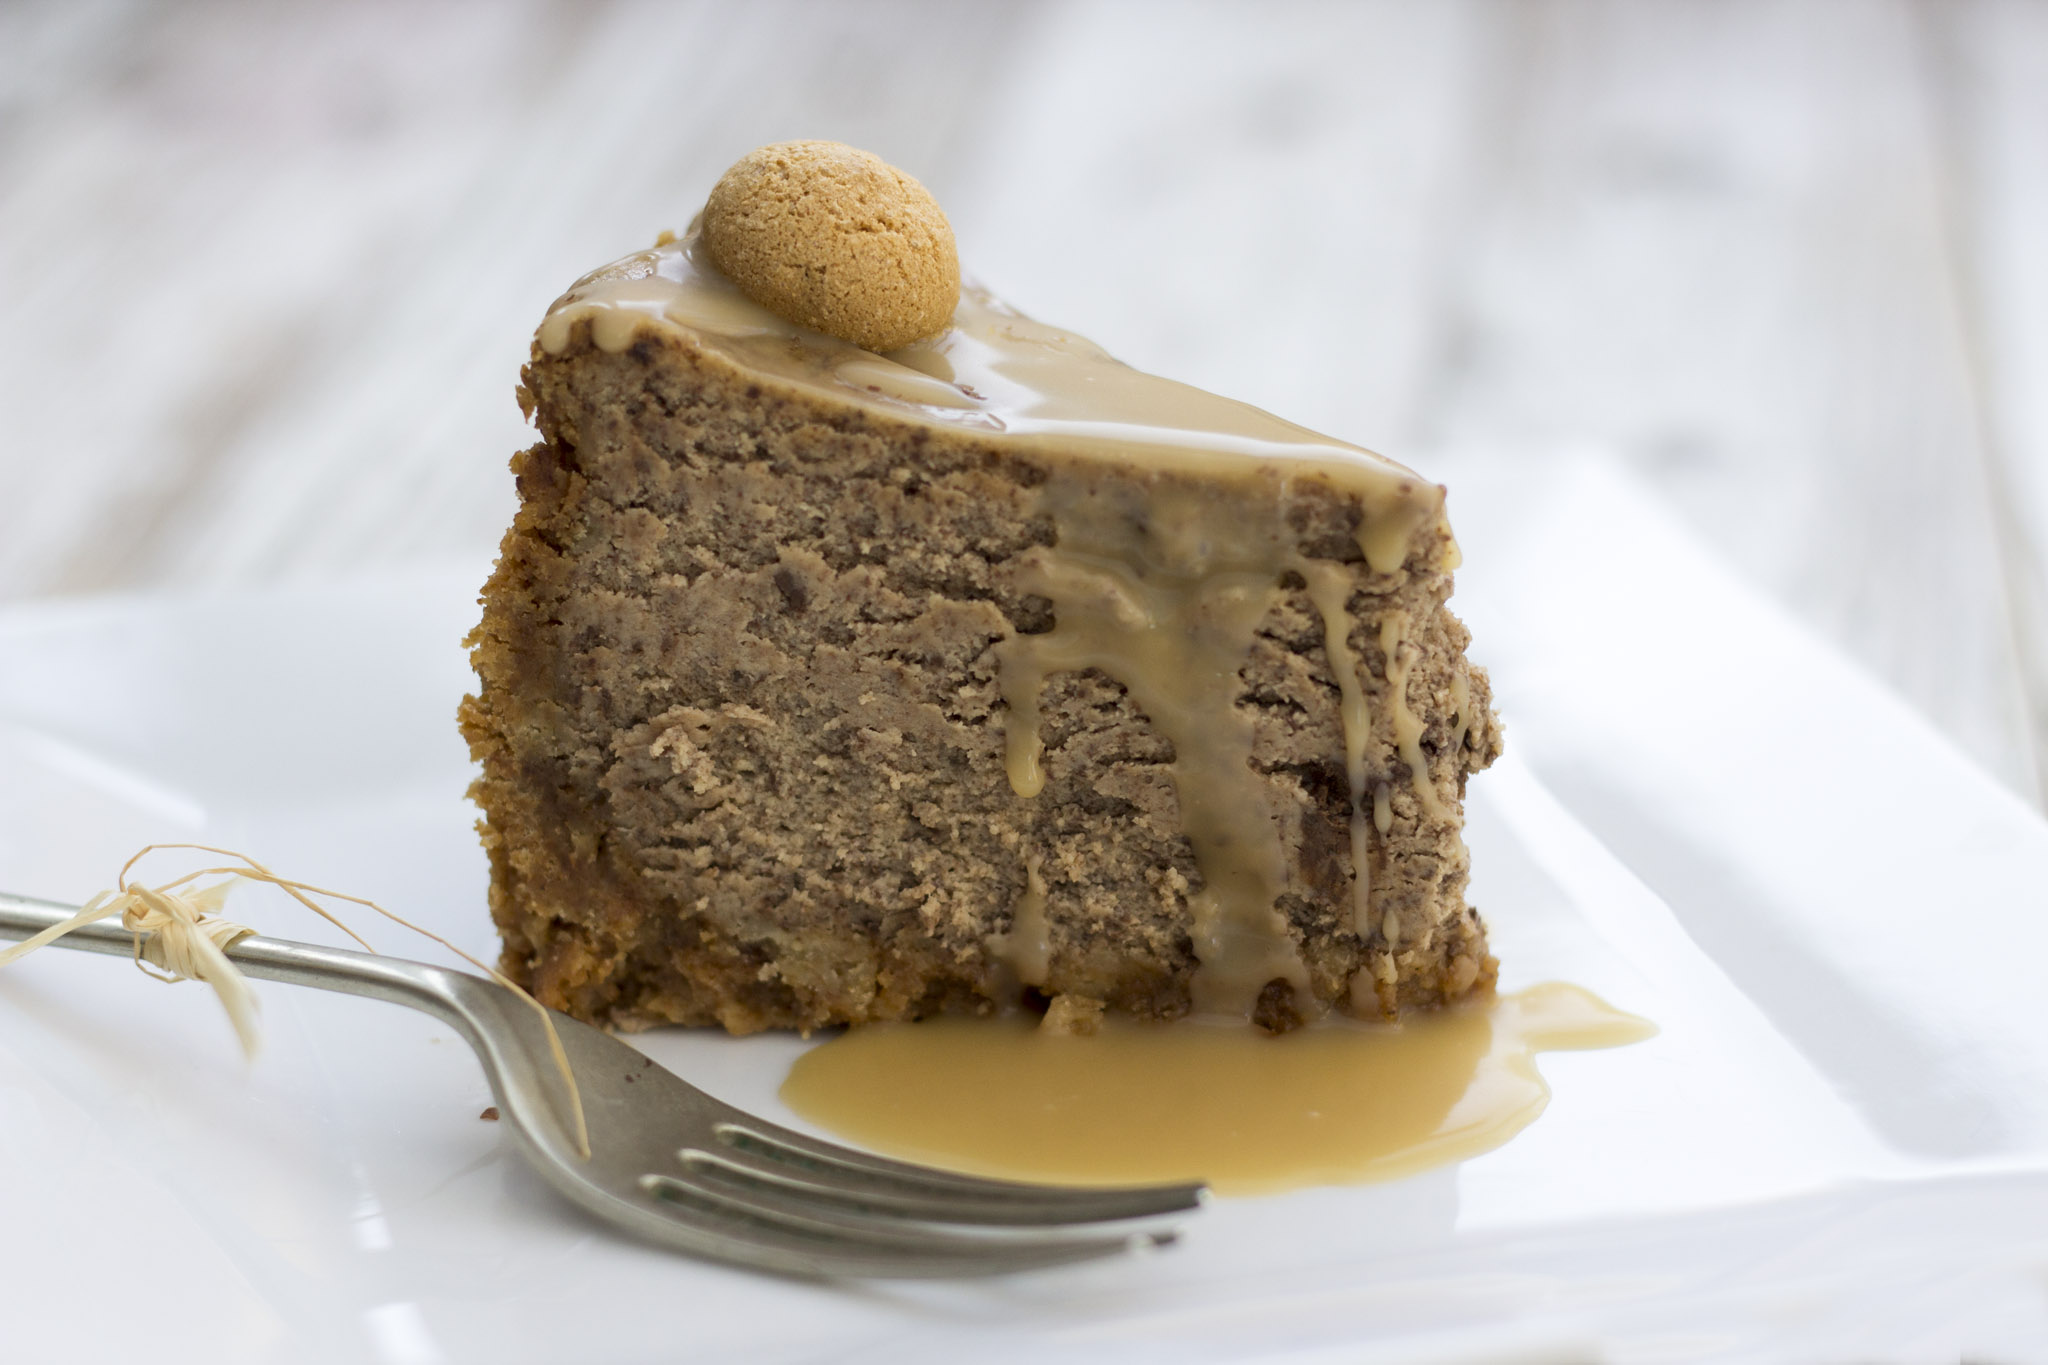
I reckoned an Amaretto flavour  (a sweet, almond-flavoured, Italian liqueur) would work well, so decided to pair it with dark chocolate too. With amaretti biscuits in the base and a sticky toffee sauce this was lush! The filling was so light and delicious, rather like a mousse in texture. Definitely on my all time fav’s list.

Amaretto and dark choc1

Print recipe Amaretto and Dark Chocolate Baked Cheesecake 

Amaretto and Dark Chocolate Baked Cheesecake

Ingredients

Base

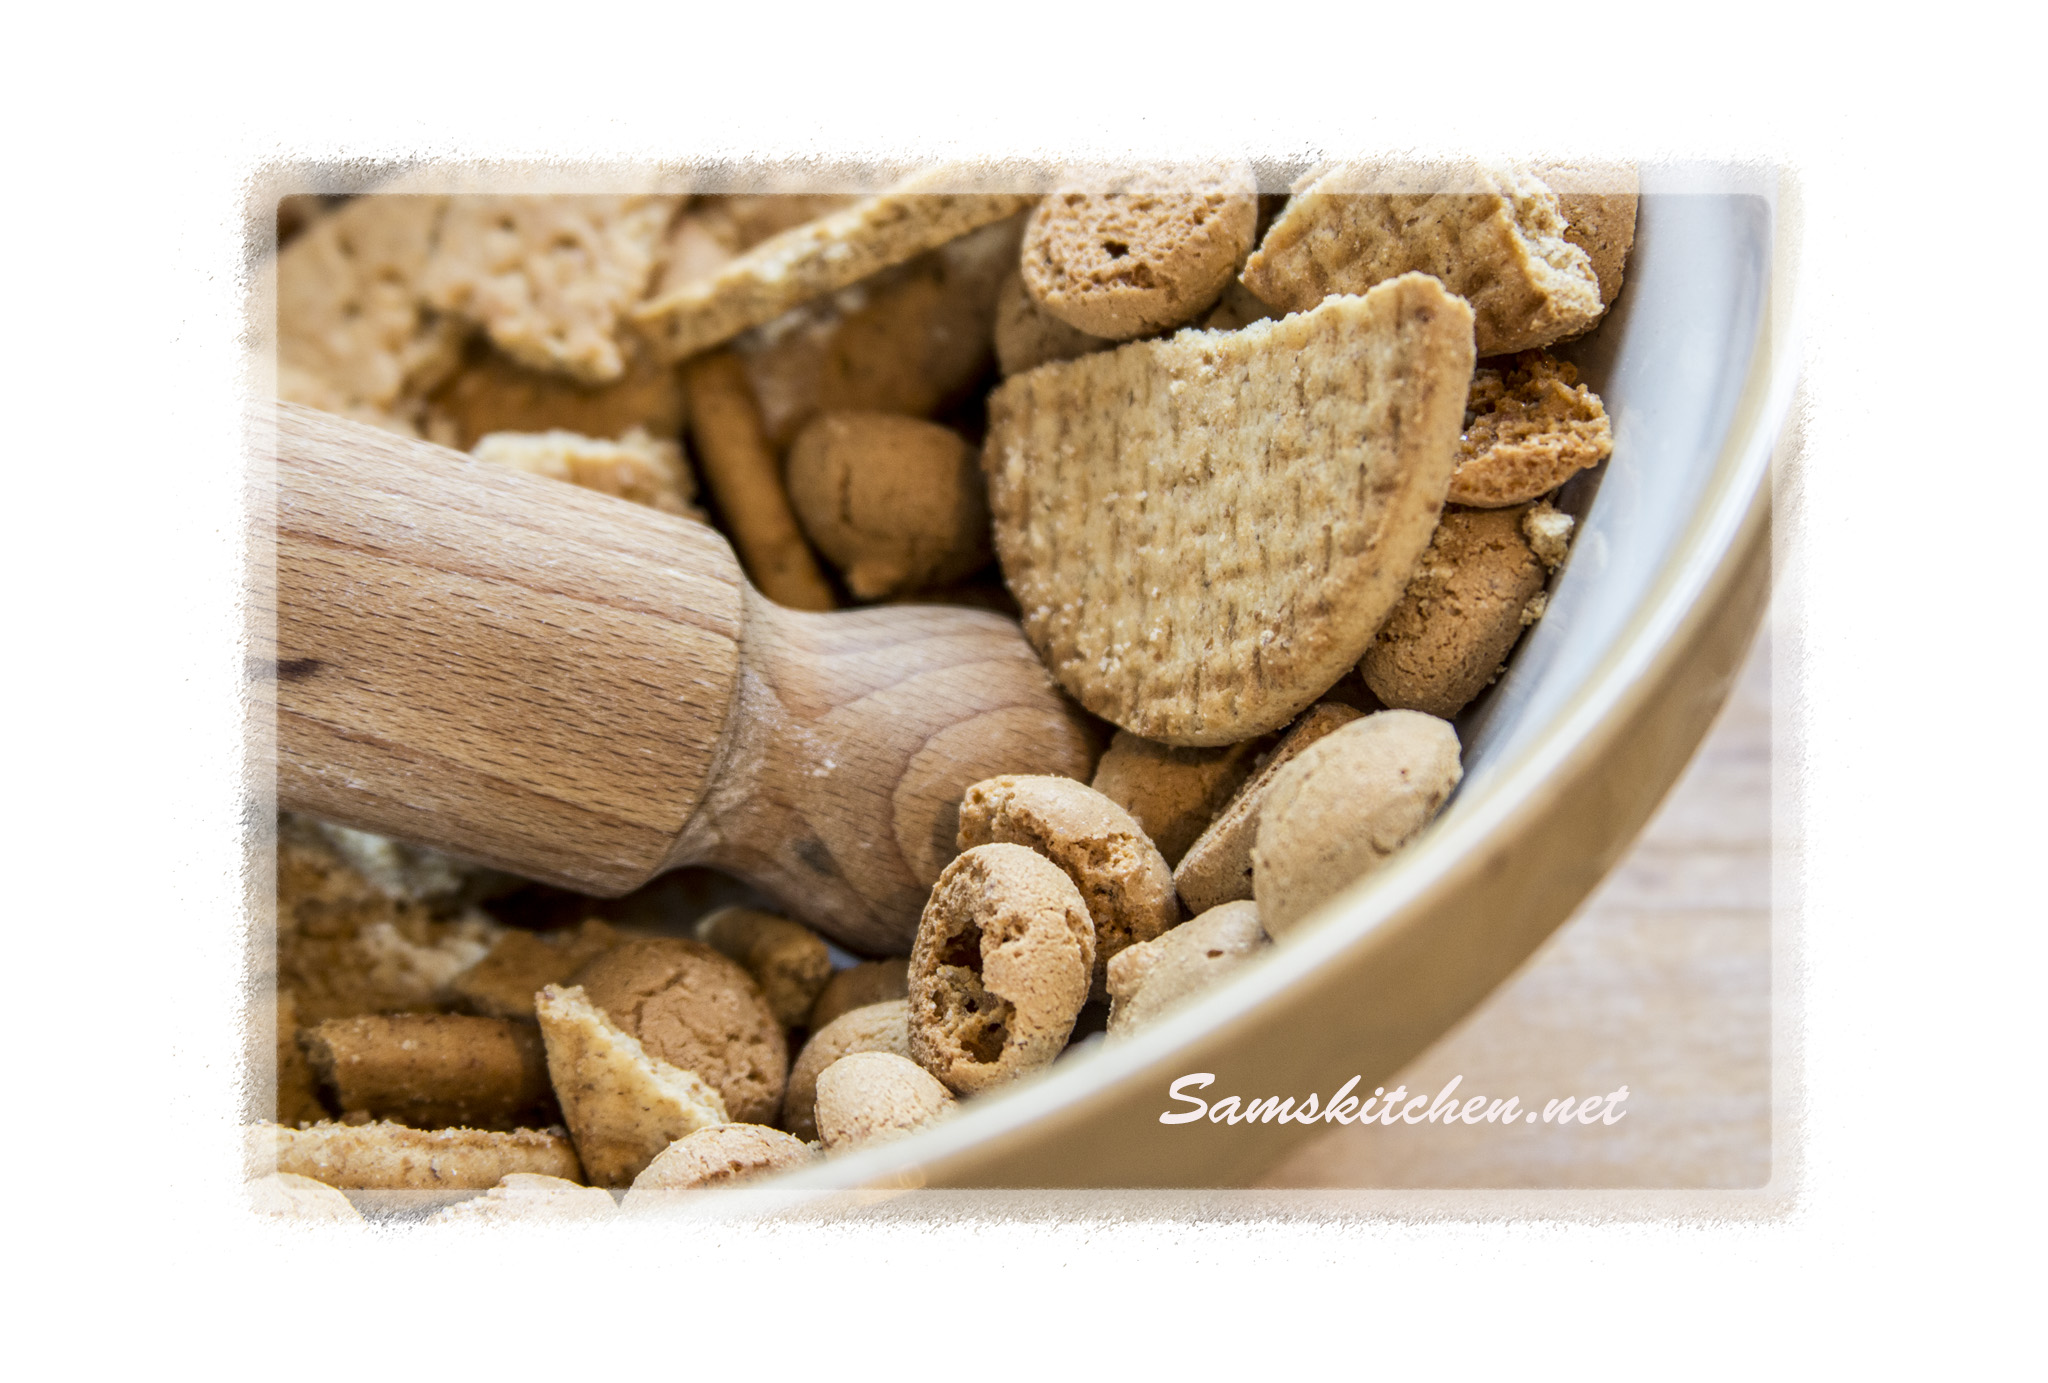
275g crushed biscuits, I used a mix of amaretti and digestives

140g melted butter


Filling

300g cream cheese (full fat)

250g mascarpone (full fat)

100g dark chocolate, melted but slightly cooled

100g soft brown sugar

2 tbsp Amaretto

3 eggs, beaten

25g plain flour


AmarettoToffee Sauce

50g soft brown sugar

50g butter

3 tbsp double cream

3 tbsp Amaretto


18cm/7″ round, deep (mine is 8cm deep) loose bottom pan lightly greased

Preheat oven 150°C (Fan 130°C) GM 3

Amaretto cheesecake biscuits

Base

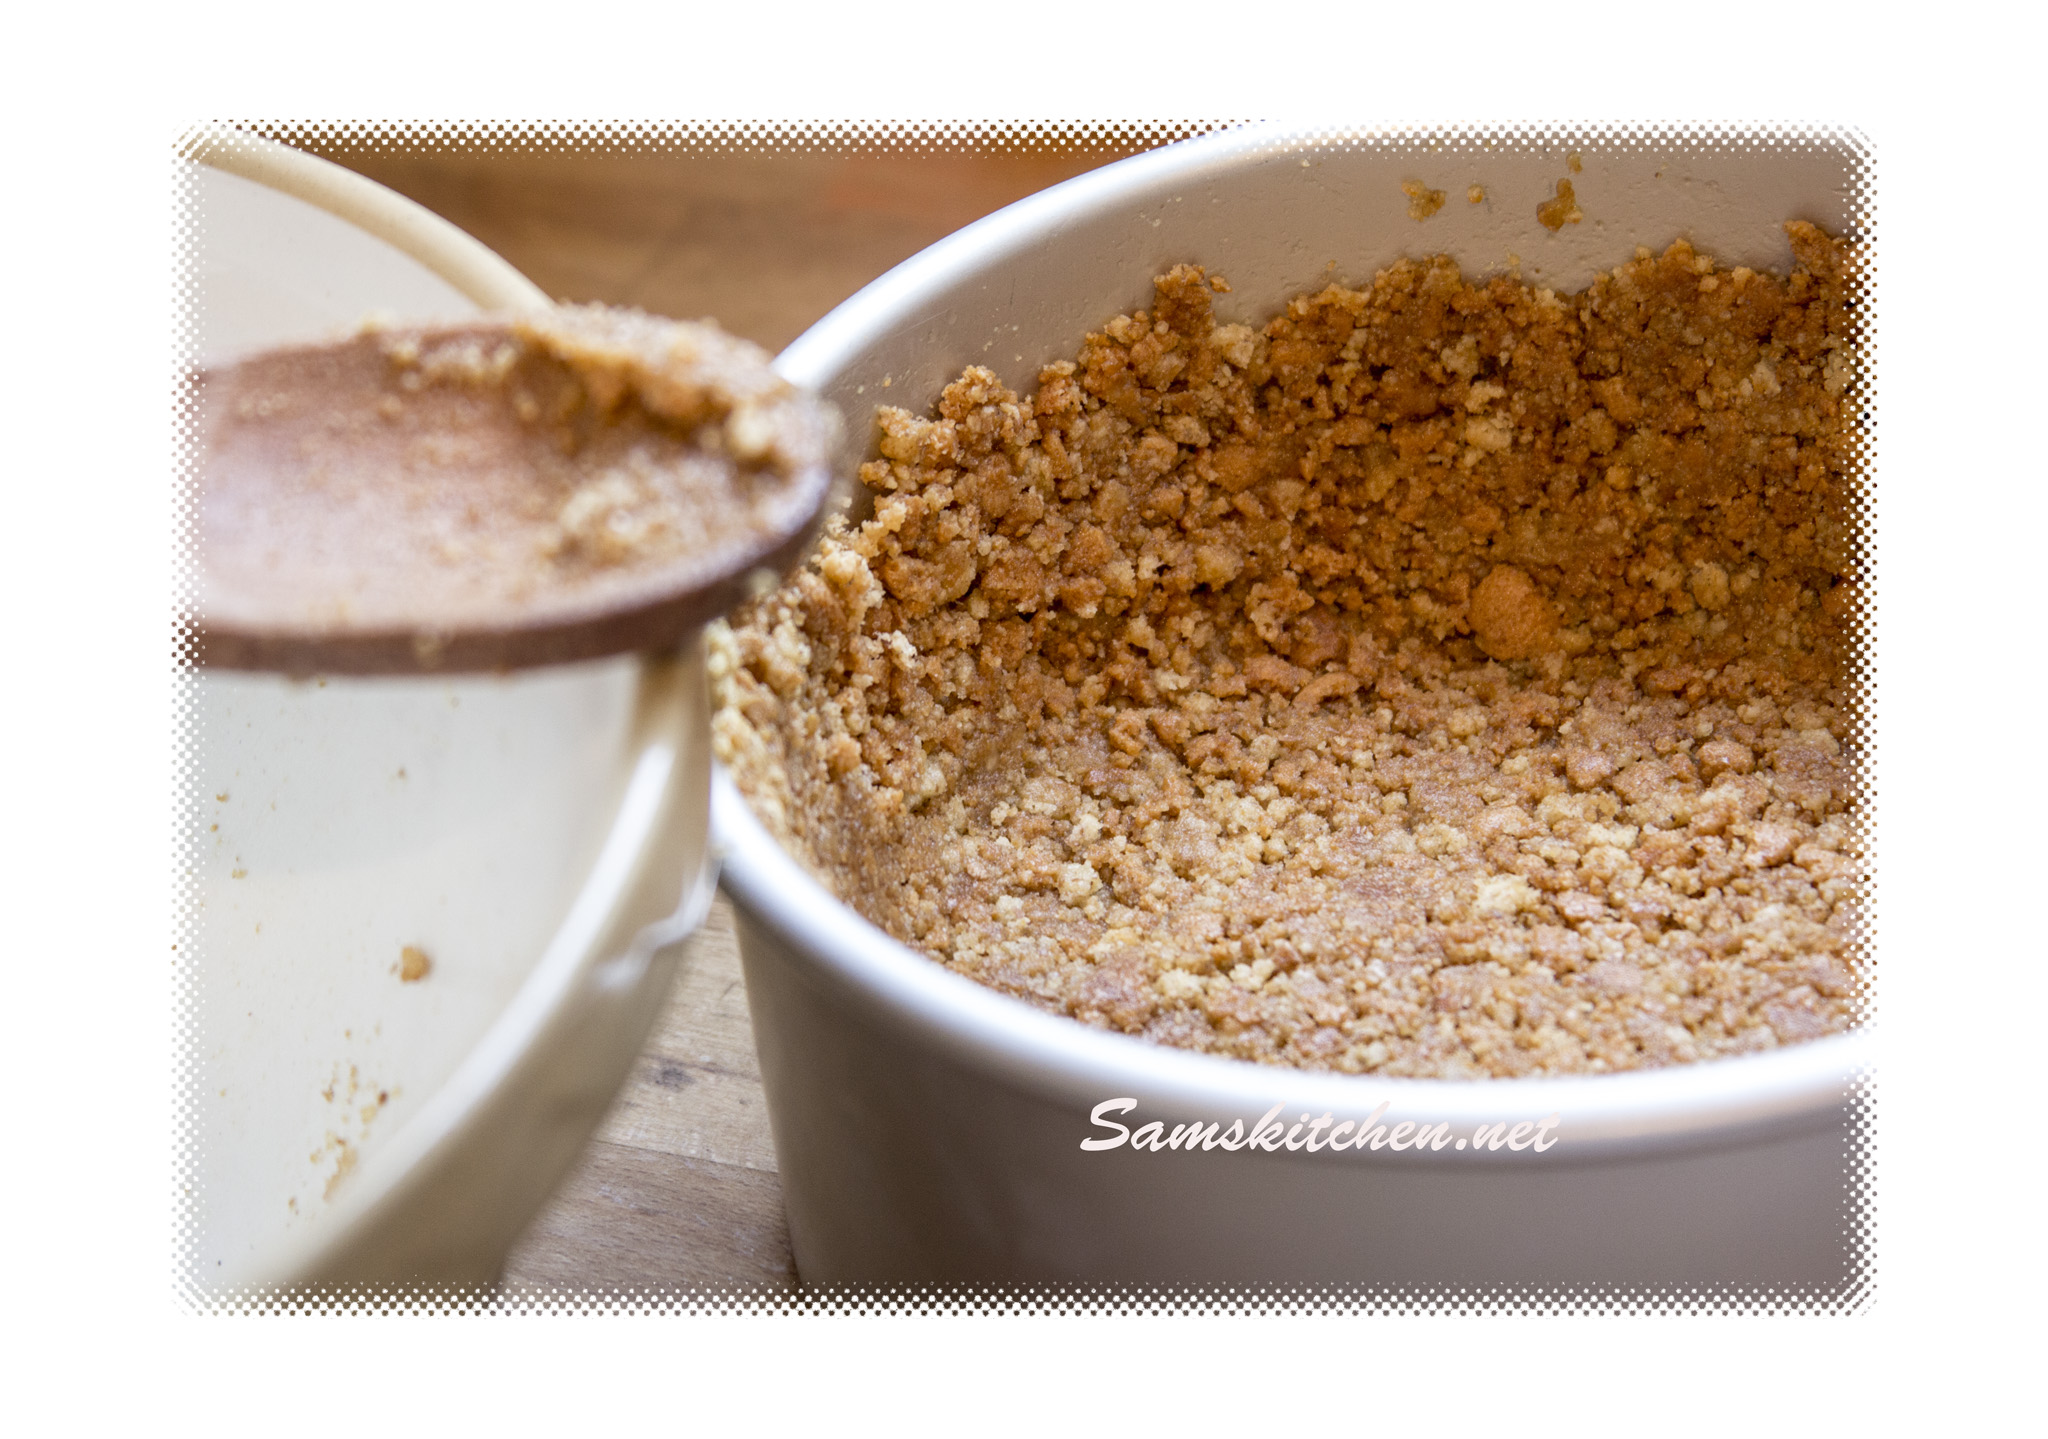
  1. Place the crushed biscuits in a mixing bowl, add the melted butter and mix well. Tip the mix into the prepared tin, press down and even out using the back of a metal spoon, take the mixture carefully up the sides of the pan as well as across the base.
  1. Place this in the fridge to firm up for at least 30 minutes.

Amaretto cheesecake base

Filling


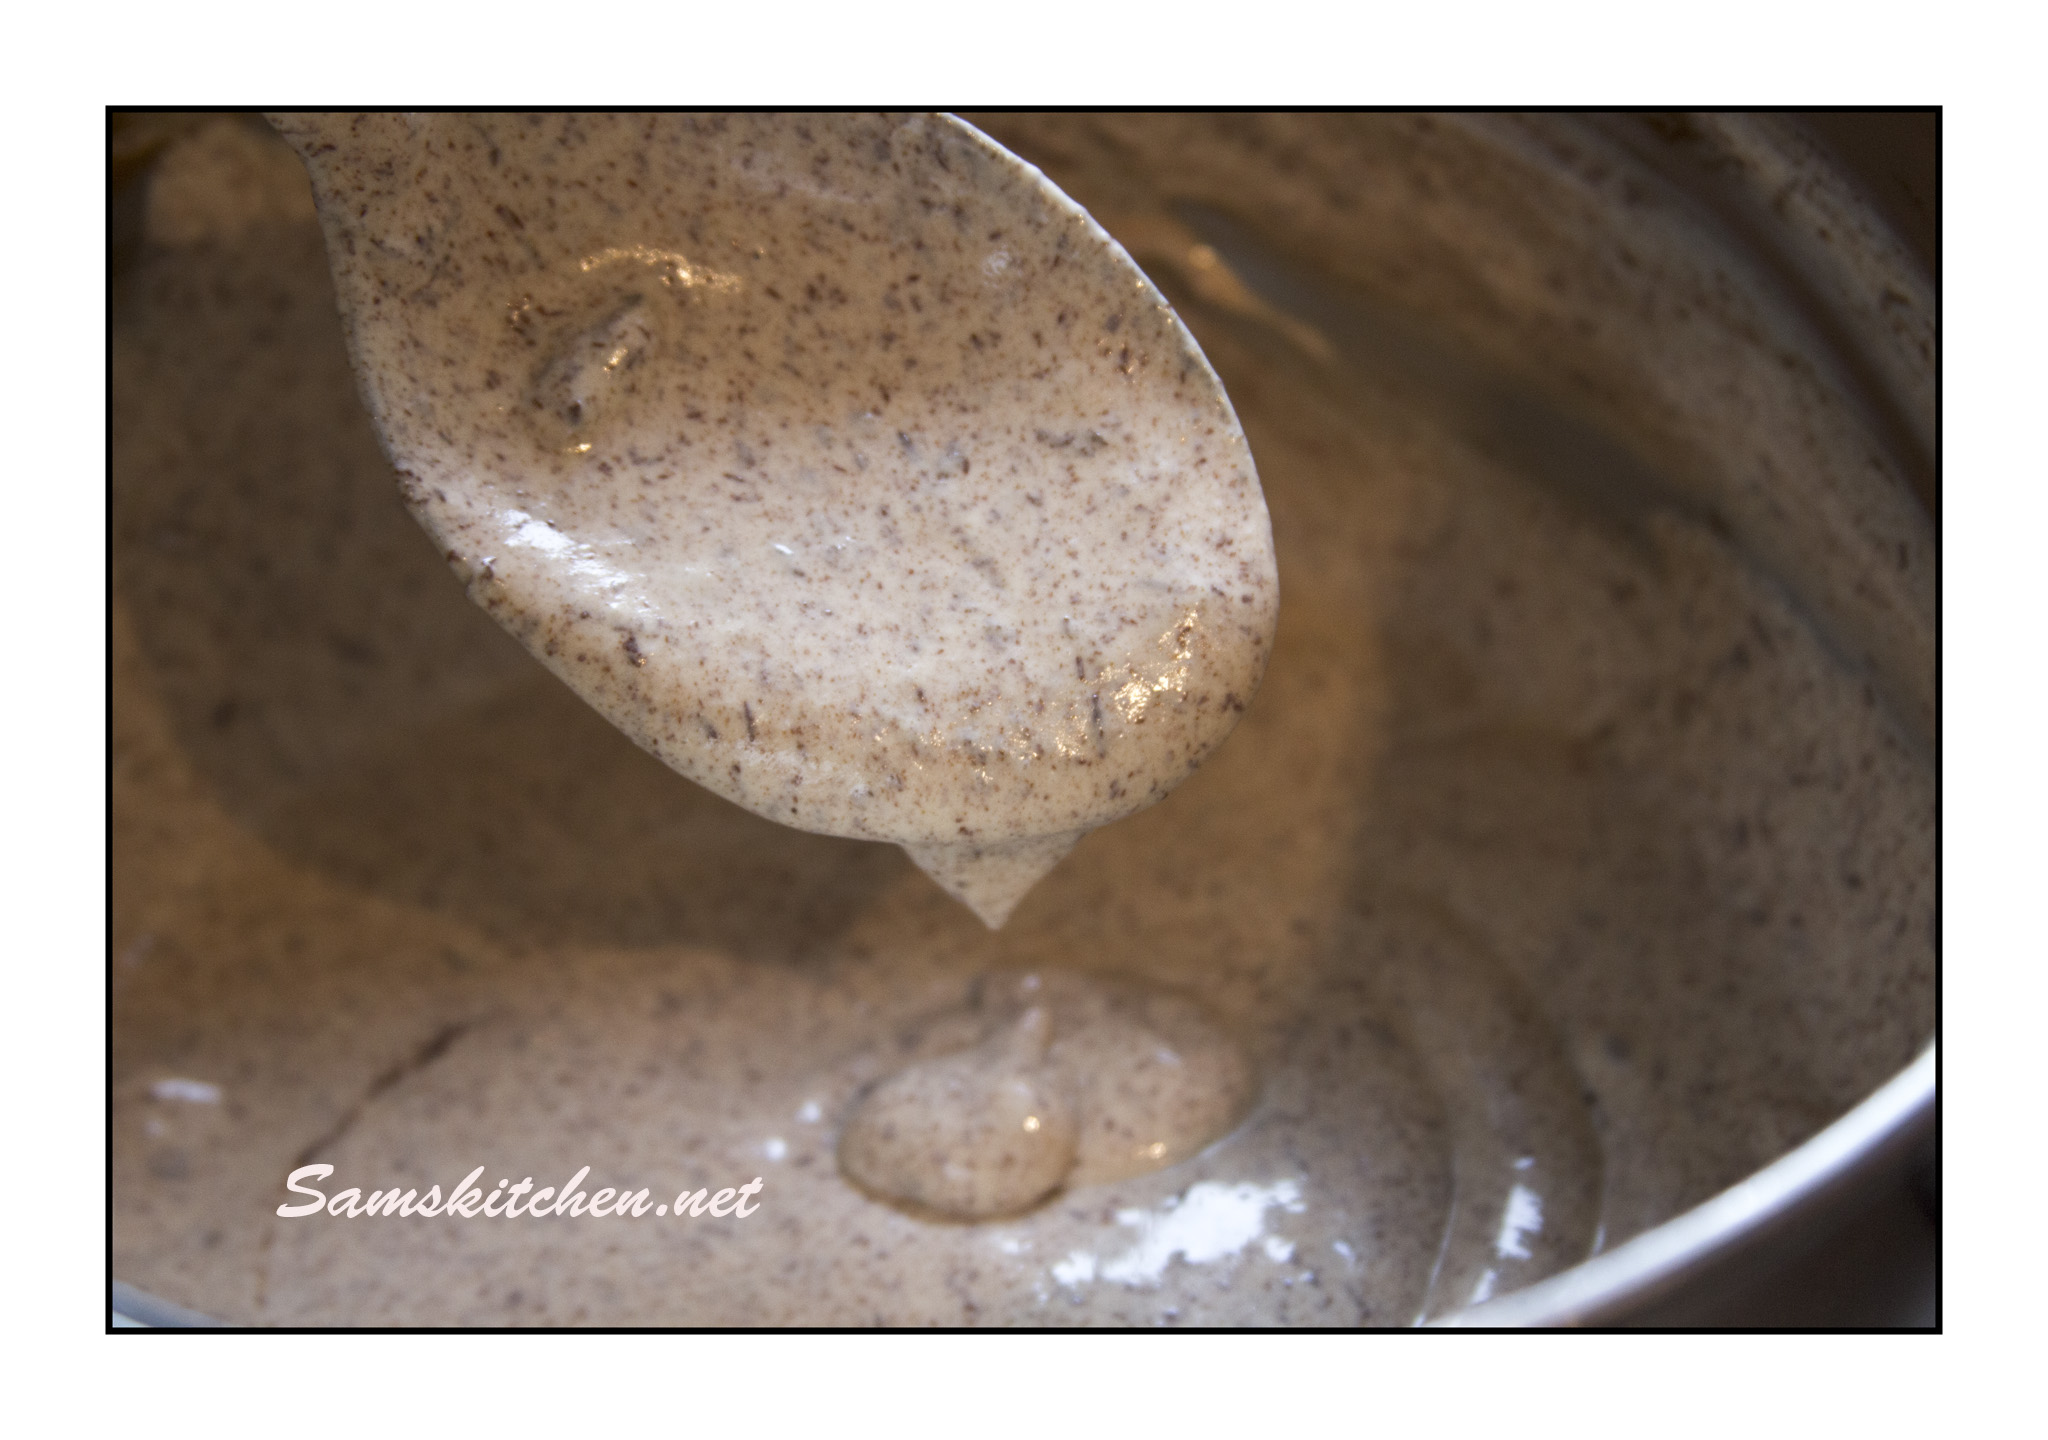
  1. In the bowl of your mixer or a mixing bowl, place the cream cheese, mascarpone, sugar, sieved flour, & Amaretto. Mix until everything has combined well. Add the eggs in 3 additions, mixing between each. The mixture can look a bit lumpy at this stage, don’t worry just keep beating and it will go lovely and smooth and creamy.
    Amaretto cheesecake filling
  2.  Fold in the melted dark chocolate with a large metal spoon. It will have a speckly appearance. Spoon this mixture on top of the biscuit base and spread it out evenly, it almost completely filled my cake tin. Place the tin onto a baking tray and bake for 1 hour -1 hour 20 minutes. It’s cooked when the top is firm but there’s still a slight “wobble” in the middle.


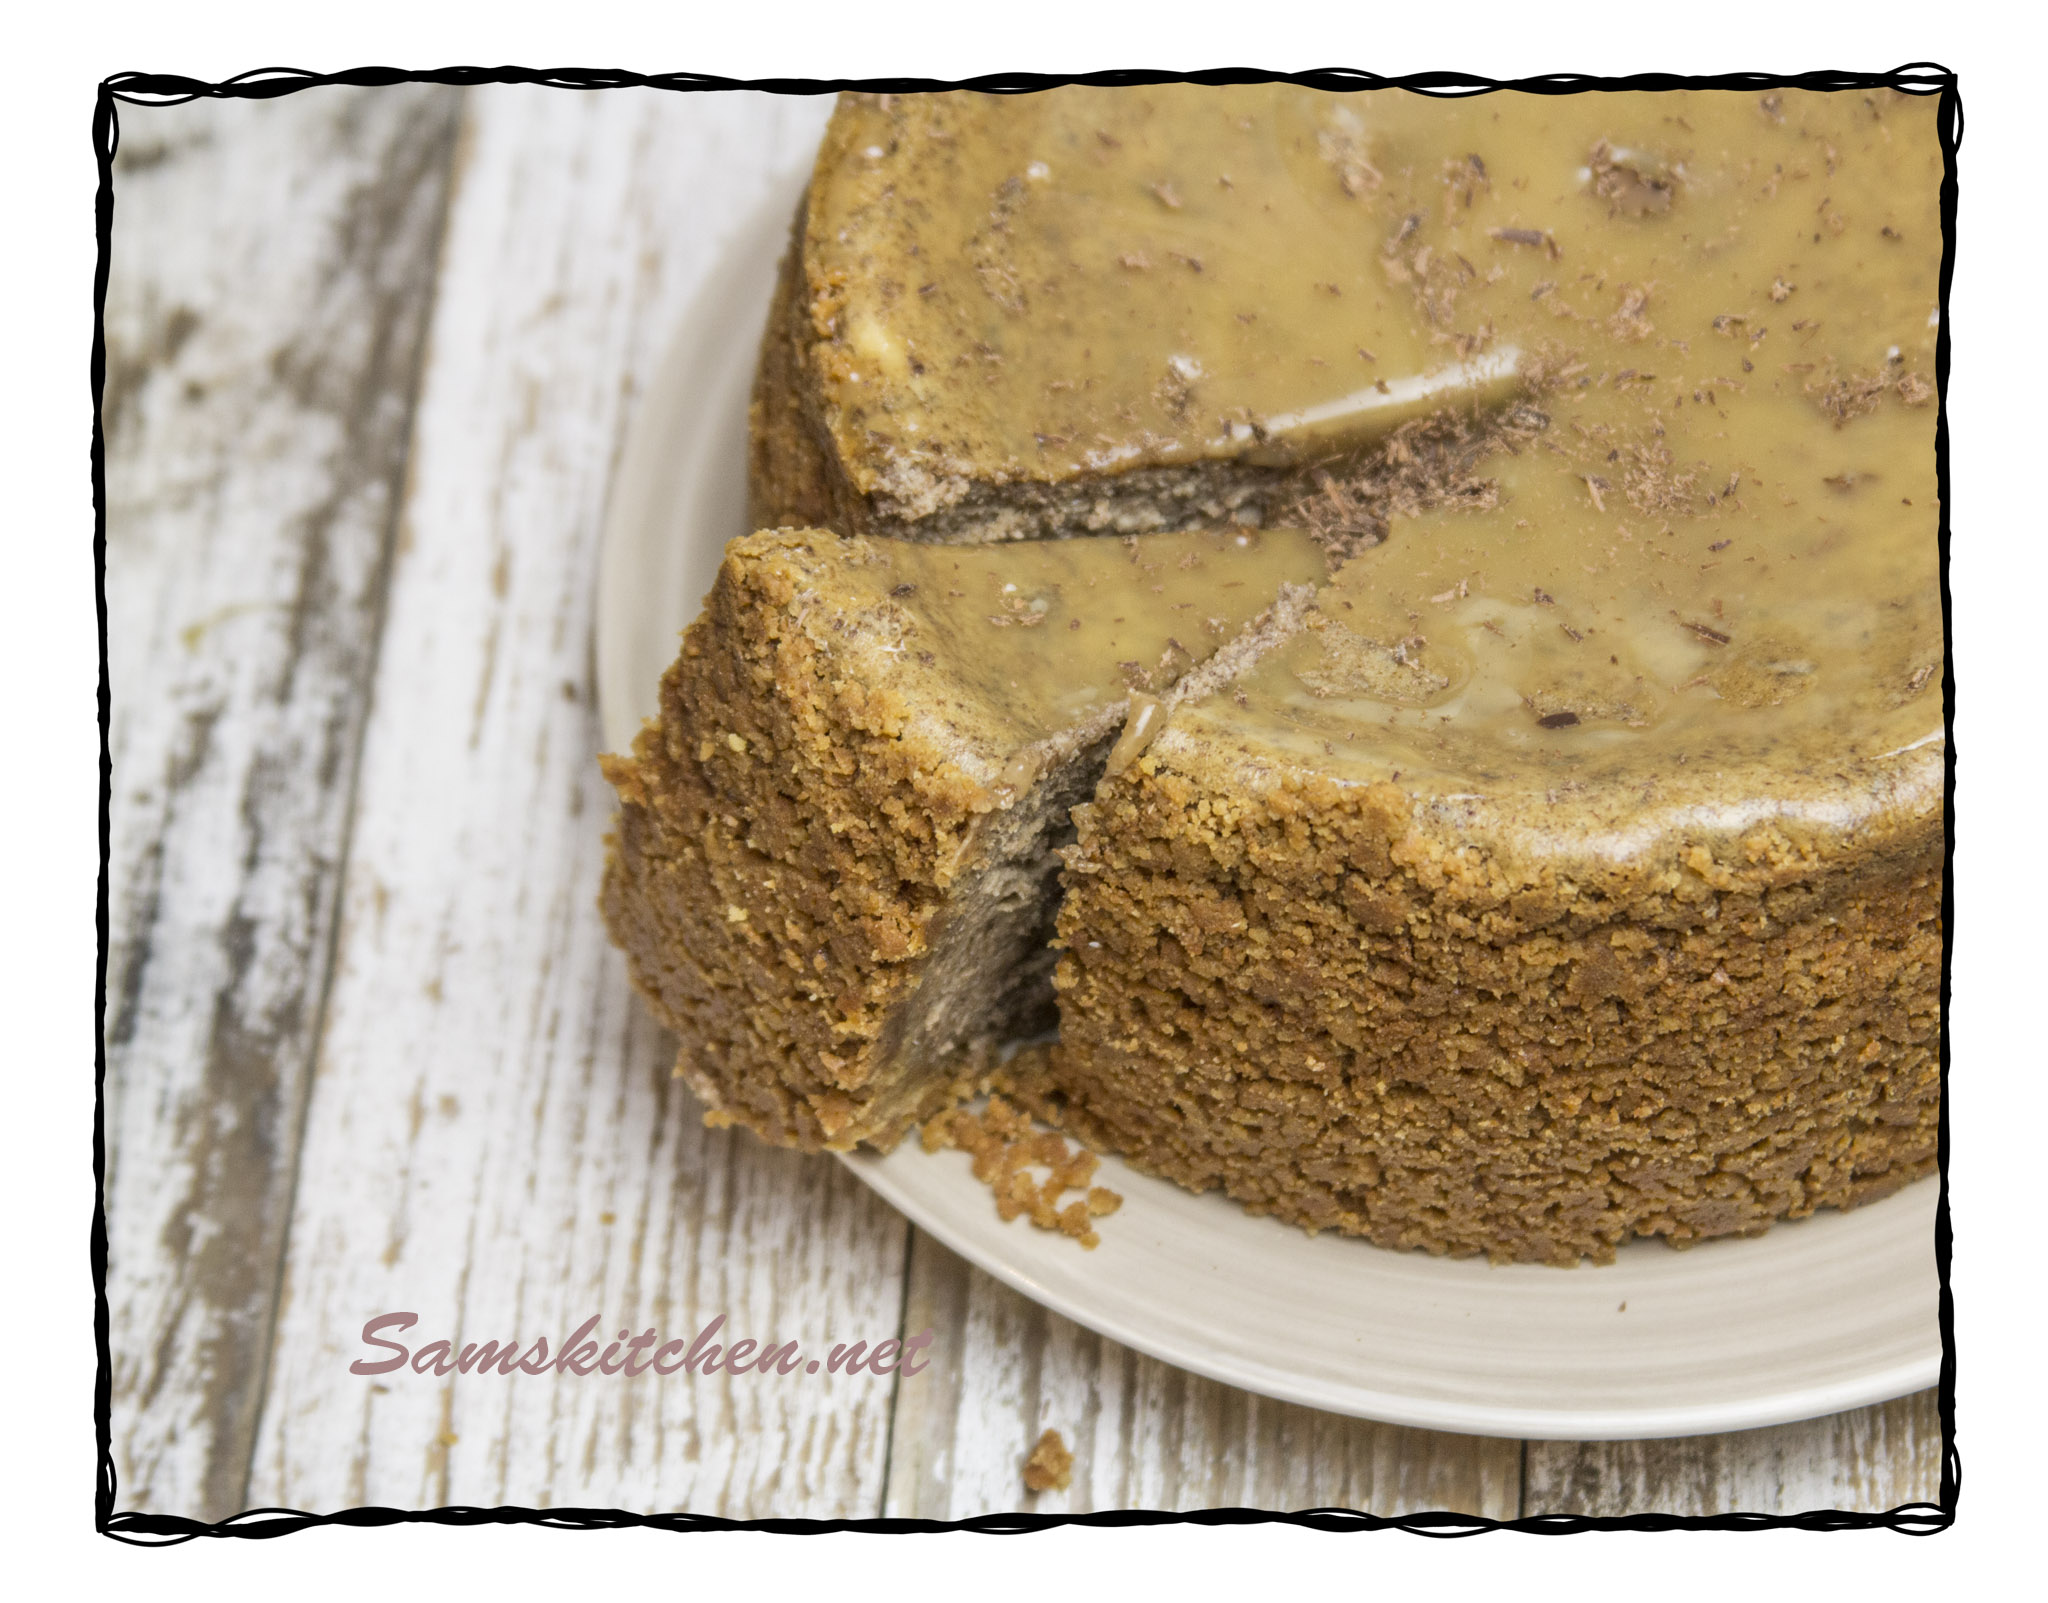
  1. Remove from the oven when it’s cooked and allow it to cool completely in the tin. Place the cheesecake (still in the tin) in the fridge and chill for at least 2 hours. It will shrink away slightly from the sides, this makes it easier to remove from the tin.

Amaretto and dark choc

Sauce


  1. While the cheesecake is chilling you can make the sauce. In a small saucepan place the butter and sugar, heat it gently. Stir it constantly until it’s all melted and the sugar is no longer grainy, a small balloon whisk is very handy for this. Turn up the heat to bring the sauce to a gentle boil for about 2 minutes, it will start to thicken slightly.


  1. Remove it from the heat and keep stirring, add the cream and Amaretto then stir it through. Set the sauce aside to cool, it will thicken as it cools and can be used warm or cold with the cheesecake.


Decoration


  1. When you are ready to serve, carefully remove the cheesecake from the tin. Drizzle with some of the sauce and put the rest of the sauce in a jug to be added later if you want more. Add grated chocolate or amaretti biscuits to decorate. ♥

Amaretto & Dark Choc


The sauce is also fabulous with ice cream and waffles and over cake, so making double the quantity is always a good idea! It will keep for a week or so in the fridge.

Amaretto cheesecake sauce jug

Nectarine & Amaretto Sorbet

Amaretto bottleSome things just remind you of summer and care free times, or may be it’s just the alcohol in this that does it!

This bottle of Amaretto was brought on our first wedding anniversary in Sorrento, total bliss and after several (!) years we still haven’t drunk it all, quite amazing really!

We just happened to have some nectarines ripe and I thought they would go perfectly together, and they did………

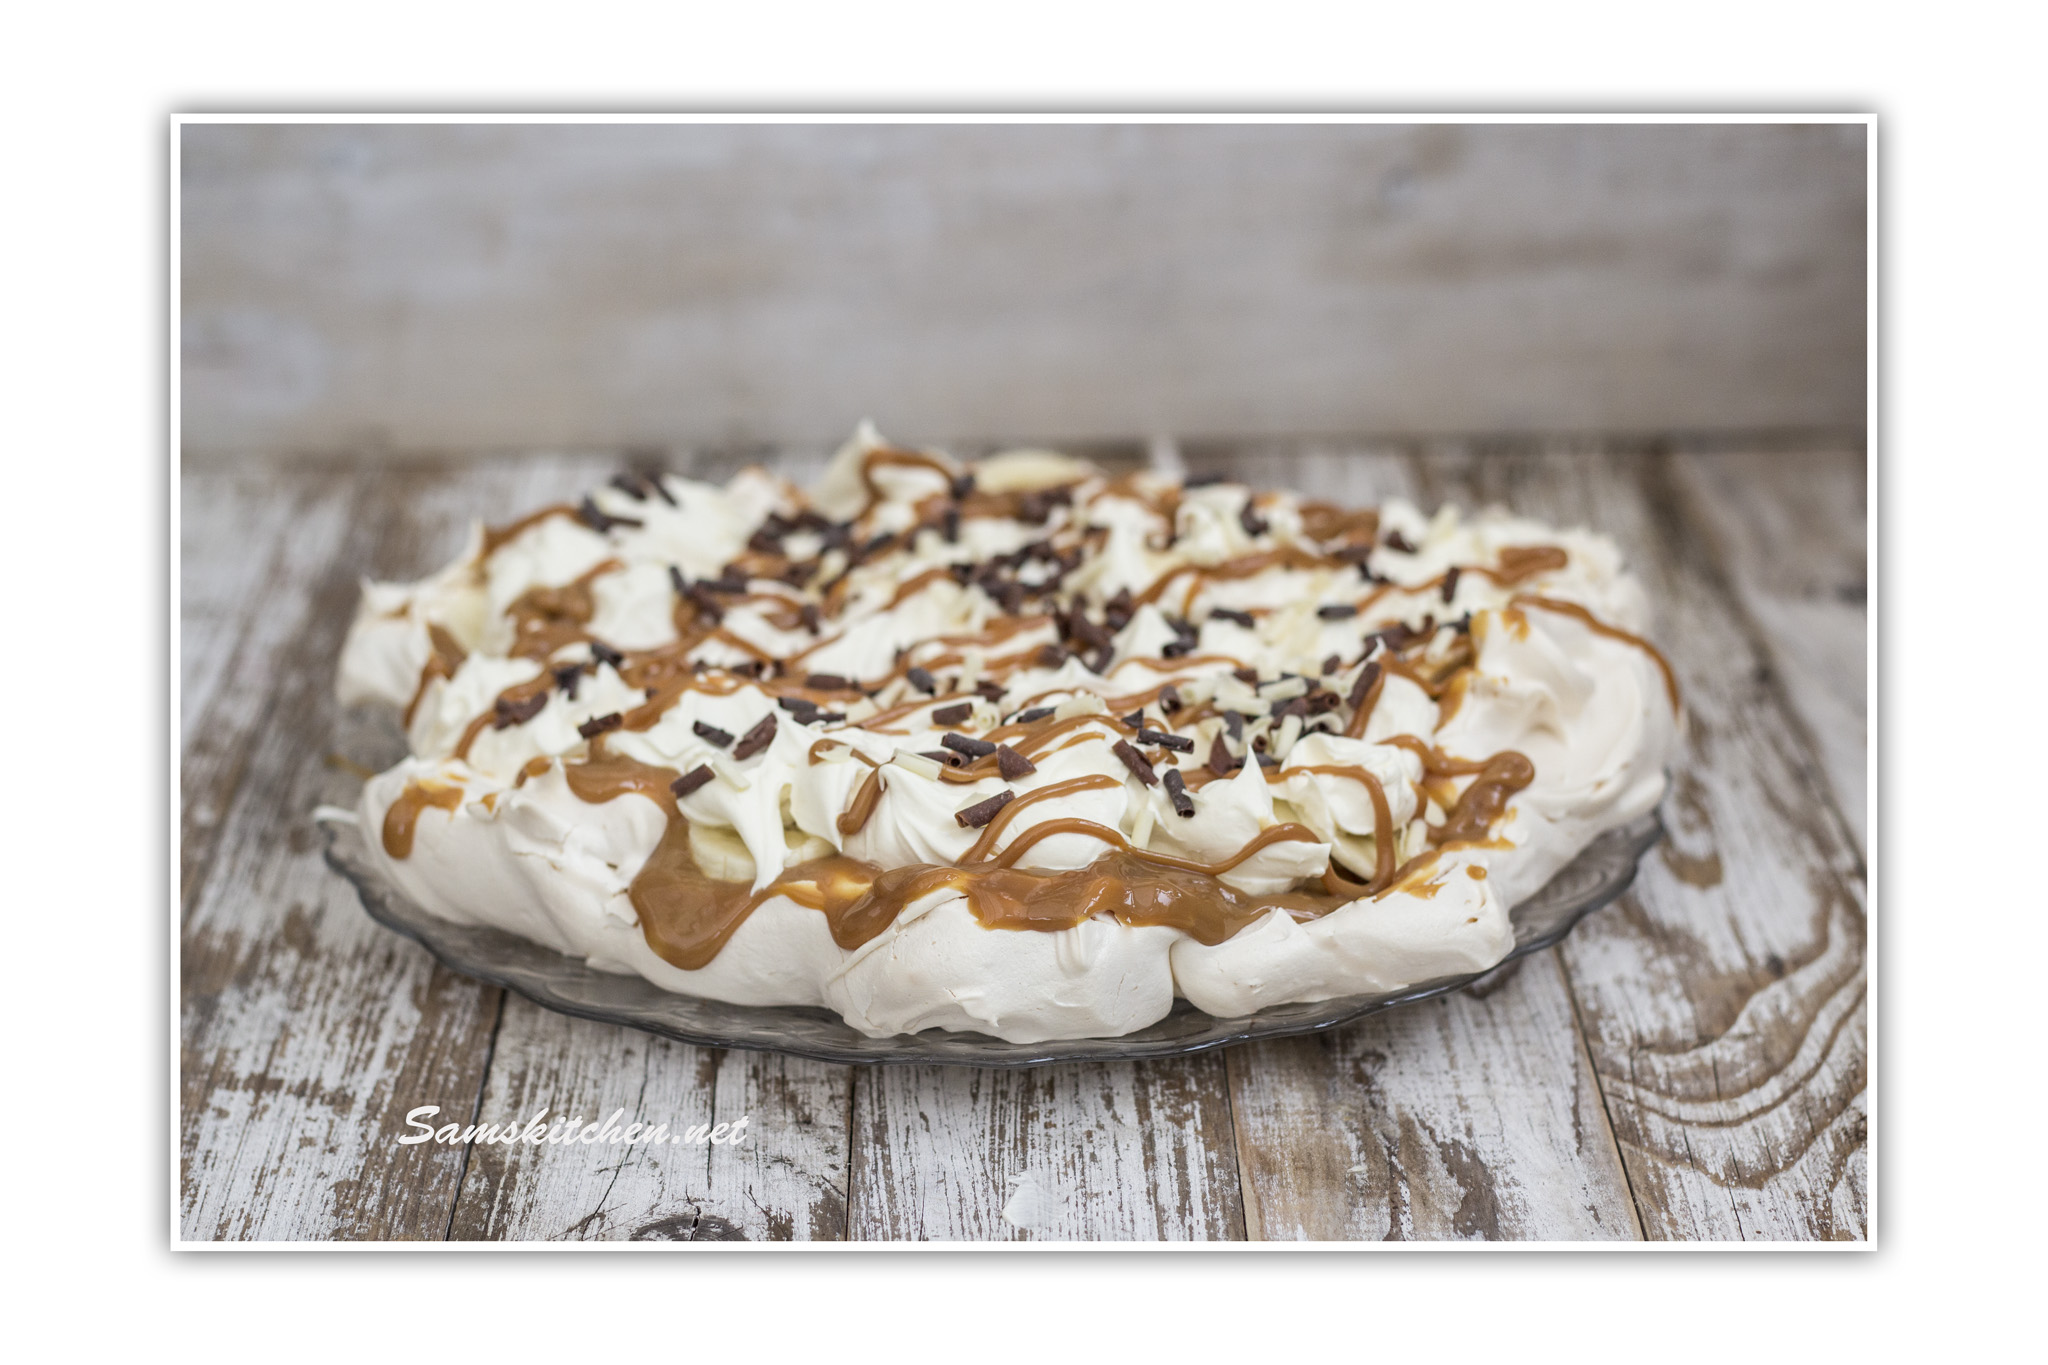
Nectarine & Amaretto Sorbet

6 just ripe nectarines

150g caster sugar

750 ml water

4 tbsp. Amaretto

Bring the sugar & water slowly to a gentle boil. Allow to boil for 5-10 minutes stirring occasionally, until the water starts to turn slightly syrupy. Remove from the heat.

Chop the nectarines into chunks (either with or without the skin, the skin gives a pretty fleck to the sorbet, without means a more smooth finish). Add the flesh and the Amaretto to the slightly cooled sugar water and blitz in a processor until smooth.

Place in the fridge until completely cold. Use an ice cream maker to churn until the freezing process is under way (the sorbet will be starting to freeze but will still be slushy) then quickly transfer into a sandwich container and freeze.

If you don’t have an ice cream maker just make sure you give it a good stir round once it’s been in the freezer for 2 hours and again after another 2.

Works well as a light pudding or between meal courses. I like it best whilst sitting in sunshine in the garden! Enjoy ♥
Nectarine Amaretto sorbet