I decided to create a new cookie recipe for a recent food photography lighting demo. It needed to be rustic and preferably more than one colour. This was the delicious result! The white chocolate is optional, but looks good and adds to the chocolate hit.
25g chopped white chocolate to decorate (optional)
40g oats
1 egg, lightly beaten
30g cocoa powder
1 tsp baking powder
Preheat oven 180°C /160°C fan GM 4
Makes about 20
Cream together the butter and sugar until creamy and lighter in colour.
Add the egg and beat to combine.
Add all the other ingredients apart from the white chocolate if using. Mix until combined.
Place large spoonful dollops of the mix on to a lined/greased baking tray. Make sure you allow enough room for expansion. No need to press down, dot the top with white chocolate if using.
Bake for 15 minutes. Cool on the baking tray for 5 minutes then transfer to a cooling rack to cool completely. Enjoy ♥
We still have an enormous Toblerone to eat, so here’s another recipe! You can, of course, use whatever chocolate you have available. Also your choice of biscuits will make it unique too. I used what we had in the cupboard, along with dried fruits too.
125g biscuits, crushed (I used digestives, crunch creams and Biscoff)
75g butter
45g dried fruit, chopped if large (I used dates and cranberries)
25g soft brown sugar
1 tbsp. golden syrup
Make 16 small squares
Line a container with baking paper, I used a metal tin approximately 15 cm square. You could use a loaf tin or something similar.
In a large bowl place the crushed biscuits and dried fruit. I made sure I had a mix of crumbs and chunks when I crushed the biscuits.
In a small/medium saucepan, very gently melt the chocolate, butter, sugar, golden syrupToblerone Tiffin and butter. Make sure you stir regularly to ensure it all melts evenly and doesn’t catch. You could do this in a bain marie if you prefer. Once it’s melted pour in the mixing bowl with the dry ingredients and mix together.
Place the mix in the prepared container, spread until fairly even but don’t completely crush it down, it’s nice to have chunky bits. Place in the fridge to set, use a sharp knife to portion. Enjoy ♥
This recipe came about as we have a huge Toblerone, I mean really HUGE! But as this is during COVID-19 lockdown, limited other food resources. The buttery biscuit base is optional, we had biscuits so felt the need to use them. Other biscuits would be great too, shortbread, amaretti, Hobnobs etc.
The pots I used here were from a mini break trip to Barcelona last year. We were eating breakfast on a rooftop terrace of our rented apartment, these were from the yogurts. Too pretty and useful to leave behind. ♥
Crushed digestive biscuits, about 4 or 65g, I used 2 plain and 2 dark choc
20g melted butter
Mousse
65g Toblerone, melted
2 eggs, separated
2-3 tsp sugar
Make the base by mixing the melted butter and crushed biscuits. Divide between 4 small pots/glasses. Set aside while you make the mousse.
Add the egg yolks to the slightly cooled melted chocolate and stir well.
Place the egg whites in a large clean bowl with the sugar. 2 teaspoons of sugar or add another if you have a very sweet tooth. Whisk until increased in volume and holding its shape well.
Add one heaped tablespoon of whisked whites to the chocolate mixture. Stir through, this will loosen the mix and make it easier to add the rest.
Gently spoon the rest of the whites on top of the choc mixture. Fold in with a large metal spoon. You want it to be all the same depth of colour, but also keep as much air as you can in to give a light mousse texture.
Pour or spoon in to your serving pots/glasses, so it goes on top of the crushed biscuit mix. Chill for at least couple of hours. Sprinkle the top with a little grated/chopped Toblerone or crushed biscuit to serve. Enjoy ♥
Tip: make sure your bowl for whisking the egg whites is very clean, otherwise your whites won’t attain a good volume. I usually wipe the bowl down with a little lemon juice before starting.
I love biscuits, they are the perfect accompaniment with a cuppa, great for a mid afternoon pep and handy for snacks & picnics.Here’s my take on that fab chocolatey classic, the bourbon. I hope you love it as much as we do.
Ingredients Biscuit bit 125g soft butter
55g soft brown sugar
155g plain flour
25g cocoa
Filling bit
40g soft butter
80g icing sugar
15g cocoa
A little milk
For the biscuits Cream the butter & sugar until light & fluffy, sieve in the flour & cocoa and mix well until you form a ball of dough. Place the dough in a bag in the fridge for at least 30 minutes.
When you’re ready to shape the biscuits preheat your oven 190°C (fan 170°C) GM 5
Roll out the dough gently on a lightly floured work surface to about 4 mm in thickness. Press out the shapes you would like and place on a greased/lined baking tray. If you’d like to add the little holes to the top then prick these (with a skewer or fork) on half the biscuits before they are baked. I sometimes use my small letter set to add text too.
Bake for about 10 minutes so they are evenly baked top & bottom, they will be firm to the touch and a little darker at the edges. Keep a close eye on them as they can burn easily. Remove from the oven, allow to cool for a minute or 2 then transfer to a cooling rack.
For the icing Place all the ingredients in the bowl of your mixer apart from the milk(or beat by hand) and combine, then beat until light and fluffy, add a little milk to create a spreadable consistency.
Spread on one of the biscuit bottoms and sandwich together with a top. Will last several days in a tin if they don’t all get eaten straight away! Enjoy ♥
1. Place a crushed Daim bar in a heatproof bowl. Place the bowl on a saucepan with a little hot water in. Place on a medium heat until the water starts to simmer, turn the heat to low. The chocolate will melt and the crunch caramel inside will start to melt too, remove from the heat once most of the Daim has melted.
2. Heat the milk in a saucepan slowly to boiling. Place the yolks and sugar in a heatproof bowl, whisk together briefly until combined and creamy.
3. Slowly pour the hot milk over the egg yolk mixture, whisking to mix together. Pour the mixture back in to the saucepan, over a medium heat, stir with a wooden spoon until it starts to thicken slightly, coating the back of the spoon. Remove from the heat. Stir the melted Daim through and set aside to cool, then place in the fridge in a covered bowl or container. Leave for at least a few hours until very chilled.
4. Stir the single cream and vanilla through the cooled mixture and pour in to your ice cream machine bowl (according to the instructions) until thickened and freezing. Meanwhile, break the other Daim bar in to small pieces (I bashed mine gently, still in the wrapper, with a rolling pin) Stir half through the ice cream mixture. Place in a container, sprinkle over the rest of the Daim pieces, cover, and pop it in the freezer.
*If you’re not using an ice cream machine you can place the chilled mixture in a container and freeze. Remove from the freezer every hour or so and beat to break up the ice crystals. This will help get a smoother creamy texture. Continue until set.
Delicious on its own or in a wafer cone. Use within a week. Enjoy ♥
I am having a clear out of some of my props. Here’s a few on offer. I am based in the UK near Gatwick for collection. For extra p&p I may be able to post non bulky, unbreakable items. These have all been used for styling and display and I wouldn’t recommend them for food prep use due to age and condition.
SOLD stc. Beautifully rustic scales and weights. £15
Cake pans, cookie cutters, small metal moulds. £10
SOLD. Rustic metal pans. 4 x saucepan smallest diameter 6.5 cm up to 10 cm. 4 x frying pans smallest diameter 9.5 cm up to 15 cm. Decorative use only. £10
SOLD stc. Pretty glass jar with metal lid and spoon. Glass is 12 cm high plus the lid. Patina to lid. £5
SOLD One large round grater, one small grater. Rustic metal with character. £5
One aged metal with frill cake stand. One glass footed stand and one tiered small bonbon stand. £10
SOLD Coffee Grinder works and looks good £5
SOLD. Vintage Cake Stand Black & Gold Fleur De Lis £15
I have lots more items including loads of cutlery, glasses, cake stands…….If you have a genuine interest in buying several items I’d love to hear from you, drop me an email on the contact page or message me on Facebook or Instagram ♥
My daughter recently booked a meet the Meerkats session. It was a gift voucher from me so of course I had to go along too!
The venue was at Tilgate Park Nature Centre, a wonderful place for a day out. Freya was escorted in by India, one of the zoo keepers. She explained everything that was going to happen and was so friendly and informative about the cute animals.
The meerkats clearly knew they were about to be fed and were very keen to stay close to the food. Freya fed them chopped up fruit and then real wriggly worms, these they especially loved and scrapped amongst themselves to get to them.
I was able to take loads of photo’s from outside the enclosure, We went through these afterwards with a coffee in the courtyard café. We both enjoyed this so much we’re very keen to do this again or something similar.
Thought I’d create something with 2 of my favourite things, shortbread and lemon. These are delicious. I prefer my shortbread really golden so tend to bake for a little longer.
Beat together the soft butter and caster sugar until light and fluffy. Add the zest and flour (and essence if using) bring together as a ball of dough. Preheat the oven 190°C fan 170°C GM5. Place the dough in a bag or wrap in clingfilm and chill for 30 minutes.
Grease or line a 7” (18 cm) square baking tin, I used a cake tin with a removable base. Roll the dough out on a lightly floured surface to roughly the size of the baking tin. Lift inside and gently press the dough in to the edges, try to create an even top, I used a plastic scraper to help. Use a fork to prick holes across the surface and then bake until golden across the top. Approximately 25-30 minutes. Although the top can be golden looking the base takes a little longer sometimes.
Allow to cool slightly, until the shortbread starts to harden, then remove from the tin, it can break easily so be careful. At this stage I usually slice it as I find it breaks less than when completely cold. Or at least use a knife to mark out where you’ll cut when cold. I sliced across the centre and then cut each half in to 7 even slices. Allow to cool.
Mix enough lemon juice in to the icing sugar to create a mixture that will drizzle but still hold some of its shape. Pipe or drizzle with a spoon across the top of each slice. Leave to firm up and store in an airtight container. Enjoy♥
Easy to make and you can adjust the spices (both type and amount) add a topping or some cranberries to make these biscuits your own! I love them because they’re not too sweet and I really like oats in a biscuit.
125g wholemeal flour
50g oats
65g soft brown sugar
½ tsp. bicarbonate of soda
1 tsp. cinnamon
75g butter
1 tbsp. golden syrup
1 tbsp. milk
Preheat oven 180°C fan 160°C GM4
Makes about 20
In a large mixing put the flour, oats, sugar, cinnamon and bicarbonate of soda, mix briefly to combine.
In a small saucepan place the butter, milk and golden syrup. Heat gently just to melt, stir to combine.
Tip the wet into the dry and stir, bringing it all together. Roll in to balls of mixture about the size of a truffle. Place on lined/greased baking trays and press down to flatten. Bake until golden, about 8 minutes. Allow to cool completely on the baking trays.
These keep for up to a week in an airtight container. They are not overly sweet, not too much sugar added but if you feel the need you could dust with icing sugar or drizzle with melted chocolate. Enjoy ♥
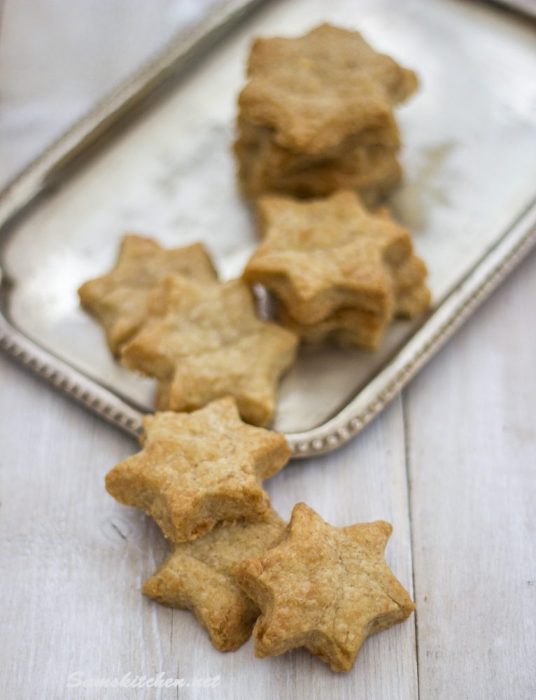
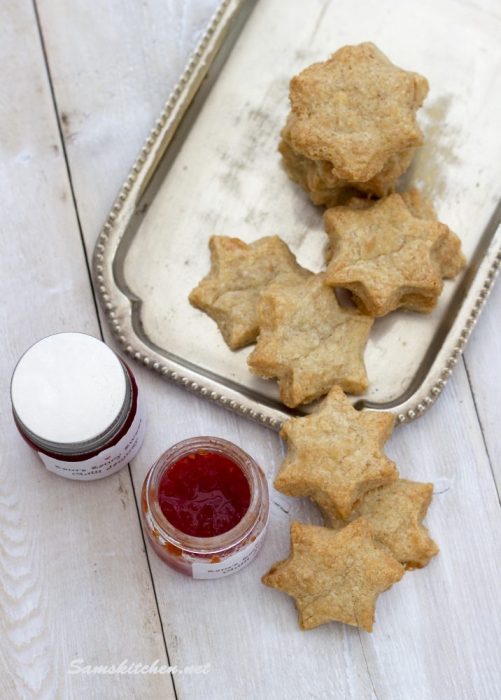
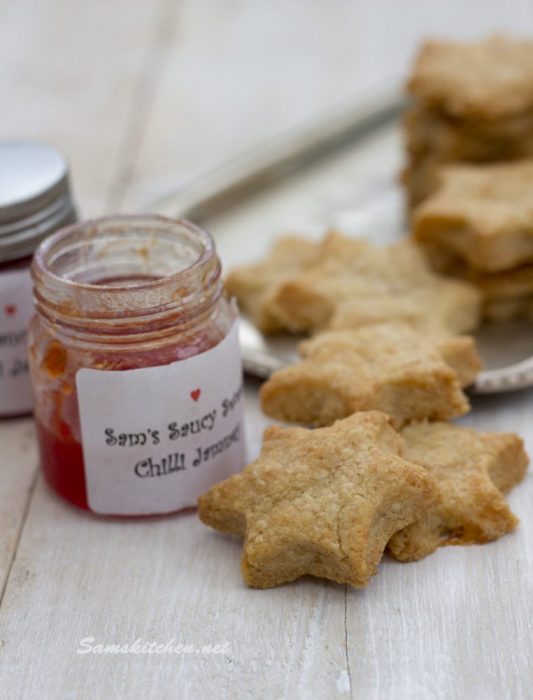
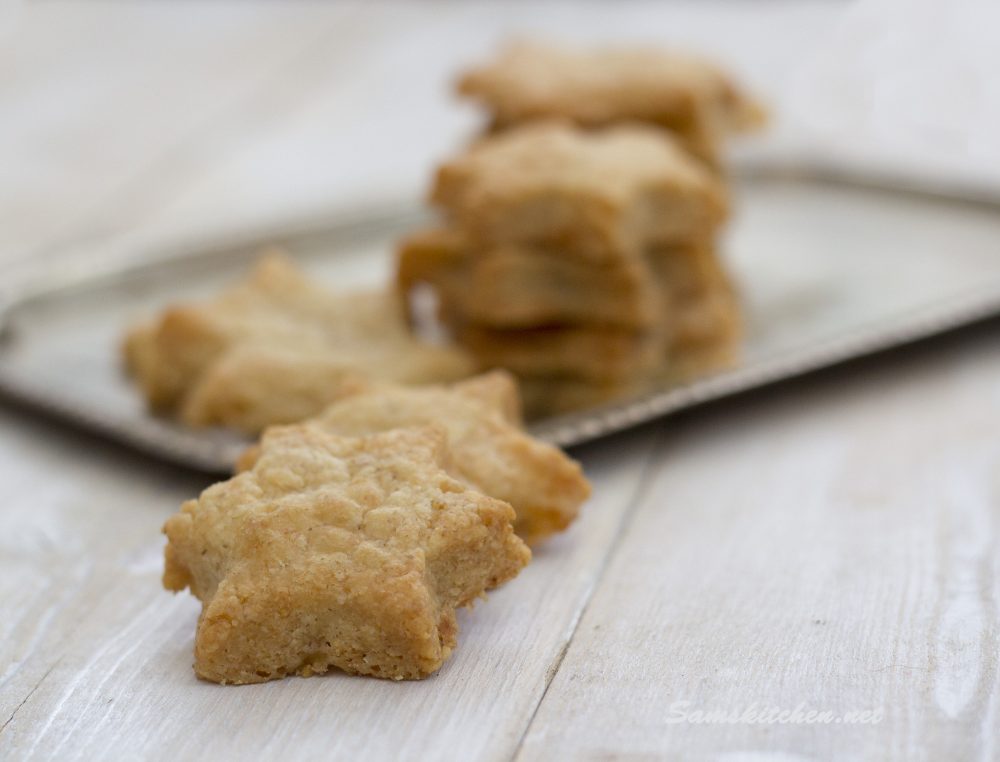
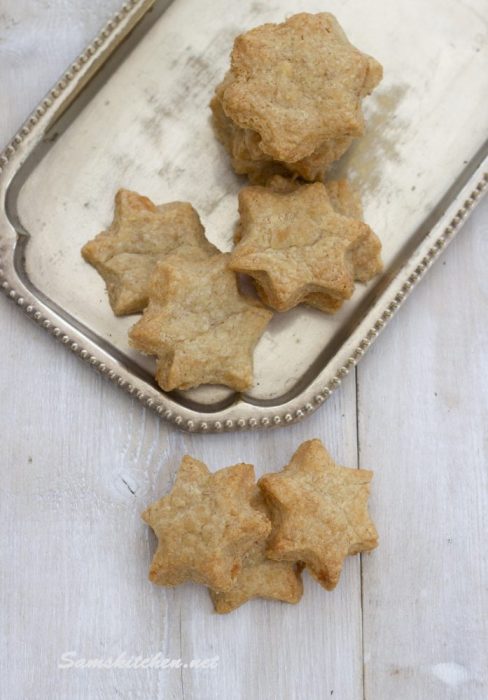
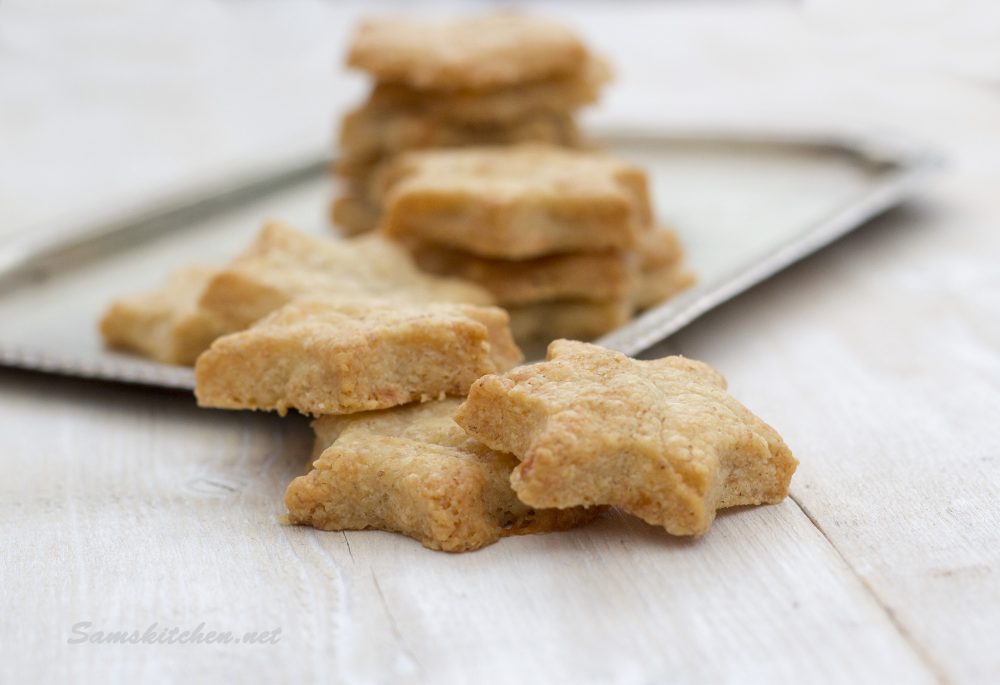
I’ve been making these little delights for years. They can be varied by adding whatever hard cheeses you have in the fridge, you could also add some spice or herbs, poppy seeds are also a nice addition. They go very well with my homemade Saucy Sweet Chilli Jamney (may blog that recipe soon)
Easy to make, far too easy to keep eating. Great as nibbles, especially with a glass of wine, great at Christmas for gatherings. Lunchbox treats and more.
100g finely grated cheese (I used cheddar and parmesan)
Makes about 20 small stars
Preheat oven to 200°C (fan 180°C) GM6
Sieve the flours in a large bowl (adding the bran back in from the wholemeal flour) Add the butter and the cheese. Mix by hand or spoon until it all comes together.
Roll out on a floured surface until about 3-4 mm thick. Cut into shapes using a cookie cutter.
Place on a lightly greased or lined baking sheet allowing a little space around each for expansion. Bake for 8-10 minutes or until golden. Allow to cool for 5 minutes on the tray and then carefully transfer to a cooling rack. Enjoy ♥


 125g soft butter


 Grease or line a 7” (18 cm) square baking tin, I used a cake tin with a removable base. Roll the dough out on a lightly floured surface to roughly the size of the baking tin. Lift inside and gently press the dough in to the edges, try to create an even top, I used a plastic scraper to help. Use a fork to prick holes across the surface and then bake until golden across the top. Approximately 25-30 minutes. Although the top can be golden looking the base takes a little longer sometimes.