All posts by Sam

Cinnamon, Cherry & Raisin Ring

cinnamon,cherry &raisin Ring5


When Gav asked for Chelsea buns the other day I thought I’d make something along those lines but slightly different.


This is an altered recipe from Jennie Shapters book Bread Machine. I have used the book loads over the years. It does just flop open on the ciabatta page which is a huge favourite in my house.

I love my bread machine. It gets used absolutely all the time, it’s most often used for dough and takes the kneading task literally out my hands!

I’m sure if you don’t have a bread maker this would work just as well mixed by hand (just remember to let it rise in an oiled bowl for about an hour before shaping)


Cinnamon, Cherry & Raisin Ring

Ingredients

6 tbsp milk

1 eggcinnamon,cherry &raisin Ring1

225g strong white bread flour

½ tsp salt

2 tbsp caster sugar

25g butter

1 tsp fast action dried yeast

Filling

50g cherries chopped

15g butter

50g soft light brown sugar

2 tsp cinnamon

50g raisins

milk for brushing

Decoration

3 tbsp icing sugar

1 tsp cinnamon

Few cherries


Place all the first list of ingredients into the bread maker in the order that your instructions advise. My Morphy Richards just doesn’t care so I throw it all in avoiding direct contact with the yeast & salt. I also separate wet & dry ingredients when using the timer settings.

Set to the dough setting.

Oil a baking sheet.

When the dough has finished remove from the pan on to a lightly floured surface and gently knock it back.

Roll out to a rectangle shape measuring about 30 x 45 cm. I found the dough really stiff to roll out, but guess it’s all good for keeping the bingo wings at bay!

cinnamon,cherry &raisin Ring2


Now for the filling. Melt the butter then brush it over the dough. Sprinkle on the sugar, cinnamon & fruit.


cinnamon,cherry &raisin Ring3


Then starting from one of the longest sides roll up (like you would a swiss roll) Place on the baking sheet then brush the ends with a little milk and join together.


cinnamon,cherry &raisin Ring4Use a pair of scissors to snip just over halfway through the dough about every 4cm apart. Then twist the sections slightly sideways.

Cover with oiled clingfilm and leave to rise at room temperature or slightly warmer, for about 45 minutes or until well risen and ‘puffy’.


Place in a 200 C (180 C fan) preheated oven for 20-25 minutes until golden brown. Turn out on to a cooling rack.

Mix the icing sugar & cinnamon with a little water until smooth and a drizzling consistancy. While the ring is still warm drizzle over the icing and add the cherries. Enjoy!

chelsea ring

Pecan & Maple Syrup Biscotti

pecan&maplebiscotti5


I love biscotti! I made chocolate ones a while back and they were delicious & surprisingly easy to make.

This time I really fancied making them with that fab combination of maple syrup & pecan nuts.


They are great to give as gifts as they look pretty & keep well too.


Pecan & Maple Syrup Biscotti

400g plain flour

1 tsp baking powder

1 tsp saltpecan&maplebiscotti1

160G soft brown sugar

80g butter/spread softened

80g pecans chopped

80g maple syrup

2 eggs

icing sugar for dusting


Makes about 24

Preheat 180 C (fan 160 C)


Line 2 baking sheets.pecan&maplebiscotti2

In a bowl, sieve the flour & baking powder add the salt and stir briefly.

Beat butter & sugar until fluffy. Add the eggs & maple syrup and beat until combined.


Tip in half the flour and stir. Then add the rest of the flour and pecans, you should have a sticky dough. On a lightly floured surface split the dough into 2 equal bits. Roll each into a log about 12 inches long and place on the baking sheet. Flatten slightly. Sprinkle with icing sugar.


pecan&maplebiscotti3Bake for about 30 minutes until firm.


Cool for about 5 minutes then place on a chopping board and cut into 3/4” slices on the diagonal. Place these cut side down on the baking sheet and bake again until crisp about 10 minutes. Cool. They keep really well in a tin & are delicious with coffee!

pecan&maplebiscotti4pecan&maplebiscotti

Dough Balls (plain & stuffed)

I love making dough balls. They are easy to make and tasty and can be customised to suit!doughballs4


I use my breadmaker to mix the dough and do the first rise. You could mix by hand just remember the dough will need to go in an oiled bowl and be loosely covered and left to rise for about 30-40 minutes before the shaping set of instructions.


This is the ingredients list from my breadmakers instructions to make pizza dough.

1 cup water

1 tbsp melted butter

2 tbsp sugar

1 tsp salt

2 ¾ cups strong white flour

1 tsp fast action yeast

Place in your breadmaker in the order your manufacturer recommends. Then use the dough setting & then make yourself a cup of tea!

When the dough has beeped remove from the pan and place on a floured surface, gently knock back. Then break off small pieces of dough and shape into balls. They about double in size by the end so bear that in mind, you can have then whatever size you fancy. I usually end up making about 30 with this amount of dough..

doughballs1doughballs2

If you would like to stuff the balls do it at this stage. I had some sundried tomatoes in the cupboard so I re-hydrated them in warm water for about 30 minutes then chopped them with some fresh basil. I made a well in the dough ball and placed the filling in then wrapped the dough around.

doughballs3


Place on an oiled baking sheet then cover lightly with oiled cling film and leave at room temperature or slightly warmer for about 40 minutes. Bake in a preheated oven 200 C (fan 180 C) for 10-15 minutes until firm and starting to turn golden

Eat while hot with garlic butter to dip them in or I used olive oil for the stuffed ones mmmmmm!

These will keep in a container for a few days and they freeze really well and can then just be popped in the oven to make a very quick snack or starter.

doughballs5

Wake Up & Taste The Coffee Biscuits

coffee biscuits4I love coffee & coffee flavoured treats too. I realised the other day I haven’t ever had coffee flavoured biscuits (if I have they were clearly not very memorable). So clearly I needed to fix this missing item in my life!

The result of a lovely afternoon in the kitchen were these delicious (even if I do say so myself) biscuits.


Wake Up & Taste the Coffee Biscuits

Ingredients

170g SR flour

110g brown sugar

50g butter cut into lumps

1 tsp bicarbonate of soda

2 tsp instant coffee (ground finely if it isn’t already)

1 large tsp golden syrup

1 egg

Icing

25g butter

1 tbsp milk

100g icing sugar

1 tsp instant coffee (ground finely if it isn’t already)

coffee biscuits1

Preheat oven to 180 C (160 C fan)

Line a baking sheet.

Sift flour, bicarbonate of soda & coffee into a bowl. Add the sugar and mix.

Add the butter and mix with your finger tips until the mixture resembles breadcrumbs.

Break the egg into a cup and beat with a fork. Add the syrup and beat together.

Make a well in the centre of the dry ingredients and pour in the egg mix. Stir to bring the mixture together to form a sticky dough.

Roll teaspoons of the mixture into balls and place on the backing tray, flatten very slightly.

coffee biscuits2

Bake for 12-15 minutes until just starting to turn golden. Cool for 5 minutes on the tray then transfer to a cooling rack to cool completely.

You could eat them like this or for the extra coffee factor add the icing/filling!


coffee biscuits3Icing/filling

In a small saucepan place the butter, milk & coffee. Heat gently stirring until melted.

Remove from the heat and add the sieved icing sugar and mix, allow to cool slightly until it’s a spreadable consistency, then spread mix on one underside of a biscuit and join to another.

Store in a tin for up to a week.


coffee biscuits5

Easy Brownie Pops

brownie pops

Brownies are a huge favourite for my family & friends so they get made on a fairly regular basis. I just love the squishy deep chocolate chunks of gorgeousness!

They are great with a cup of coffee, wonderful as a dessert heated through and served with vanilla ice cream. They’re easy to make & they freeze well.


This time when I made them I thought I’d see how well they work as an easy cake pop. As it turns out they’re pretty good!

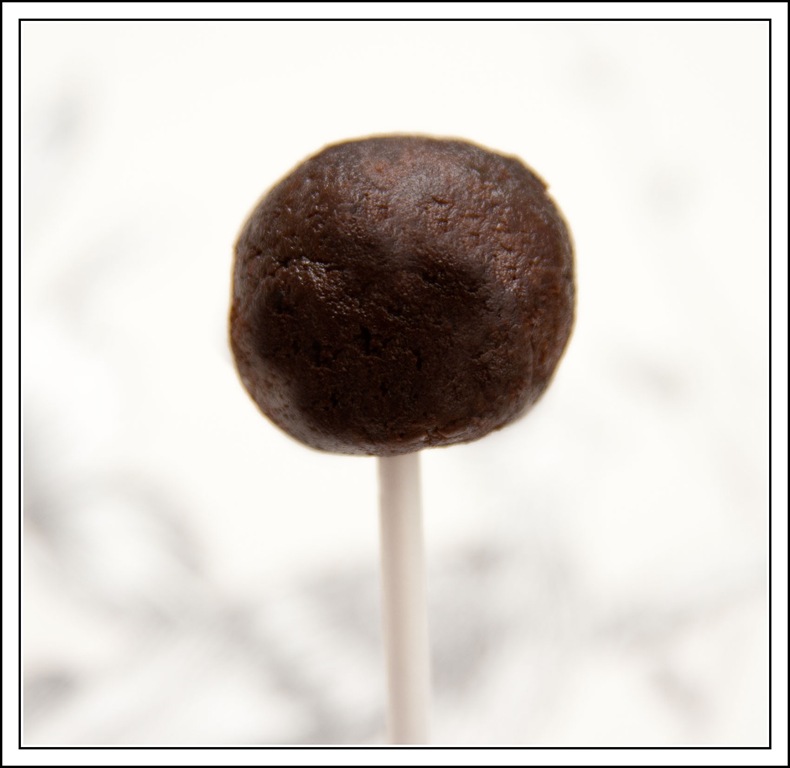
brownie pop naked


Making your own brownies means that you get a great controllable result. They should be lovely and moist. I don’t use nuts in mine as my family are not too keen but in a pop they may not give a nice smooth finish. So best avoided.

After cooling, I put mine in the fridge and then rolled them into balls and inserted a lolly stick about half way.

I then put them into the freezer for about half an hour.


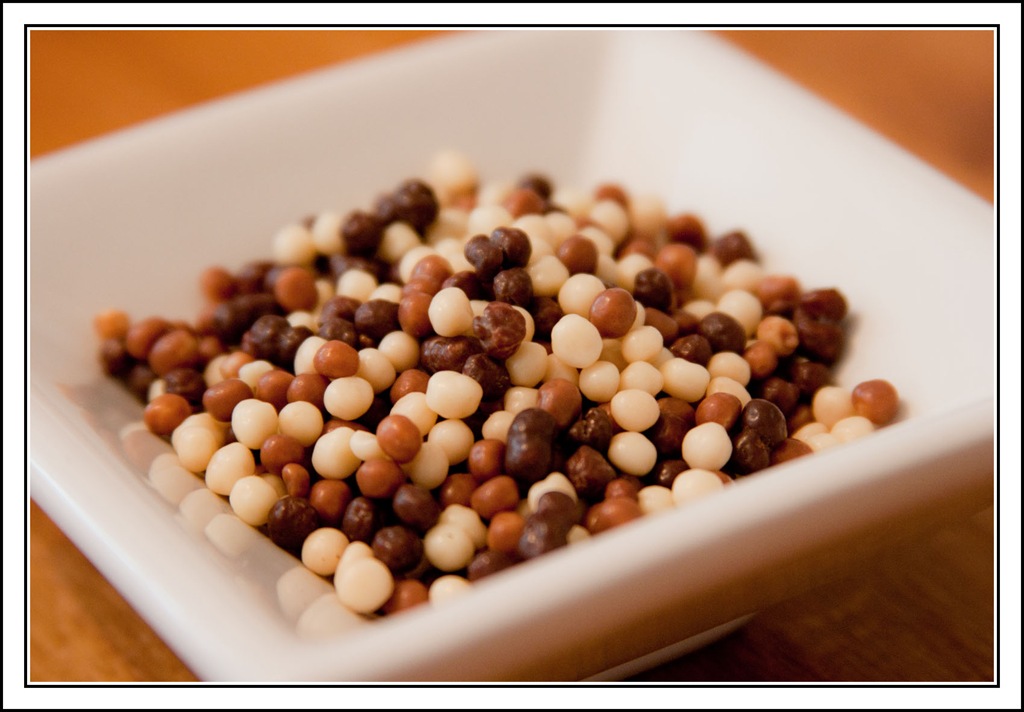
Next stage is to melt some chocolate. I used dark. I also like to have any decorations I’m going to use out and readybrownie pops bits to use.

I used little rice pops covered in chocolate on some. For these I dipped the naked pops in the melted chocolate, gently tapped off the excess then sprinkled them on while the chocolate was still wet.

I also drizzled white chocolate on some. These were done when the dark chocolate had set on the pops.


One of the problems with cake pops is storage. You need something to stand the pop sticks in so they stay balanced, especially while they’re setting. I have a lolly display box that a friend very kindly gave me after the lollies had been sold! Works a treat. You could use a chunk of polystyrene too.

So there you go, very easy brownie pops!brownie pop

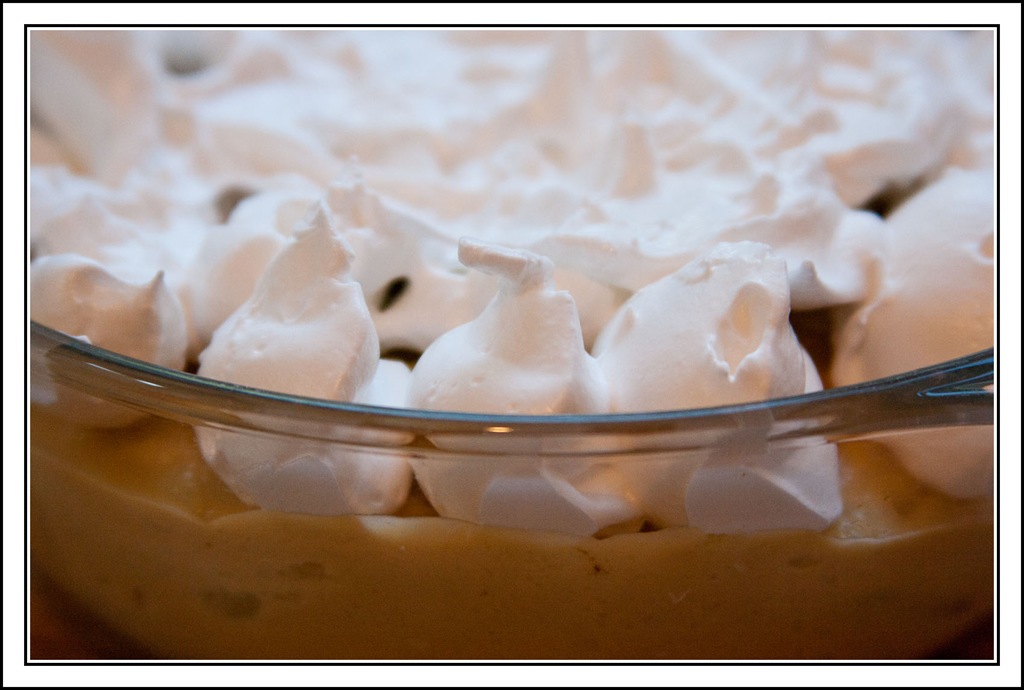
Butterscotch Apple Meringue


butterscotchapple3

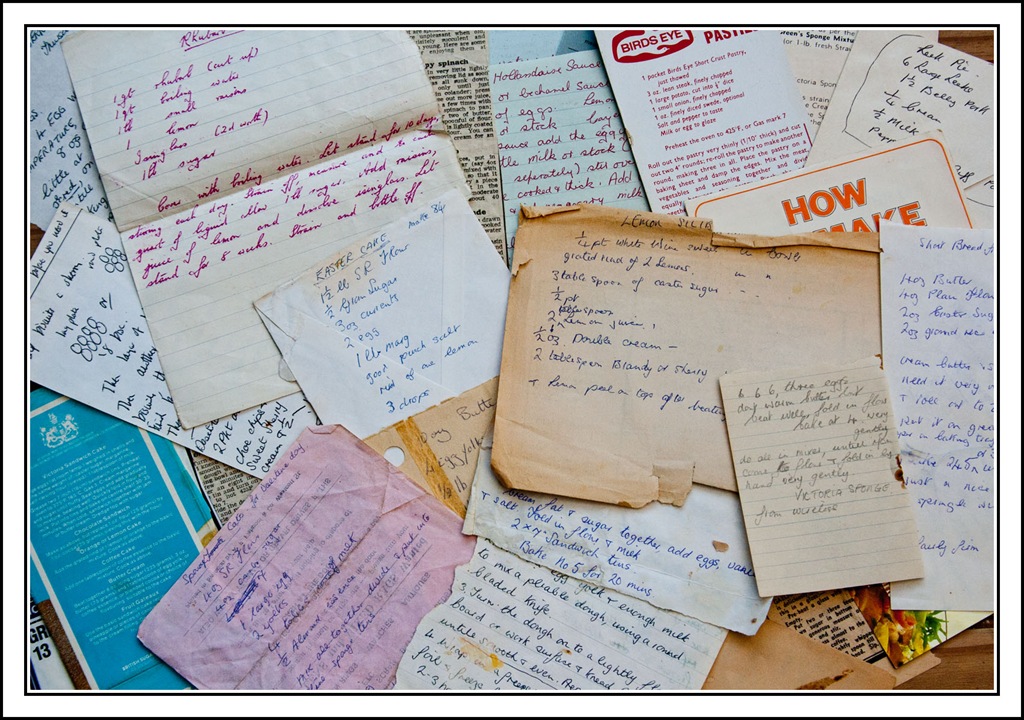
We’ve had a sort out in the house & loft recently and I came across a pile of Gavin’s Nans recipes which we had found stashed in the back of a cookery book.

I try and be organised with recipes but have them on scraps of paper, envelopes, magazine edges well anything that I can write on! I love the idea that someone would find one of these years later and have a go at cooking it!

I had a look through and decided to cook something that I had hopefully all the ingredients in for.

Butterscotch apple meringues fitted the bill and sounded nice too. This was a handwritten recipe so didn’t come with any photos to give me an idea of what the end result should look like, which is not usually how I work!

Butterscotch Apple Meringues

Ingredients (serves 4-6 people)

450g cooking apples, peeled, cored & chopped

40g cornflour

450ml milknans old recipes

1 tbsp golden syrup

50g soft brown sugar

25g butter

2 tbsp single cream

2 size 3 eggs (separated)

100g caster sugar


Preheat oven to 150C (fan 130C) GM2

Cook the apples in a little water until just tender. drain off the liquid.

Blend the cornflour with a little of the milk in a bowl. Heat the remaining milk in a saucepan with the syrup, brown sugar & butter until boiling.

Pour this mixture onto the cornflour stirring, then return to the saucepan bring to the boil stirring continuously, simmer for 3-4 minutes.

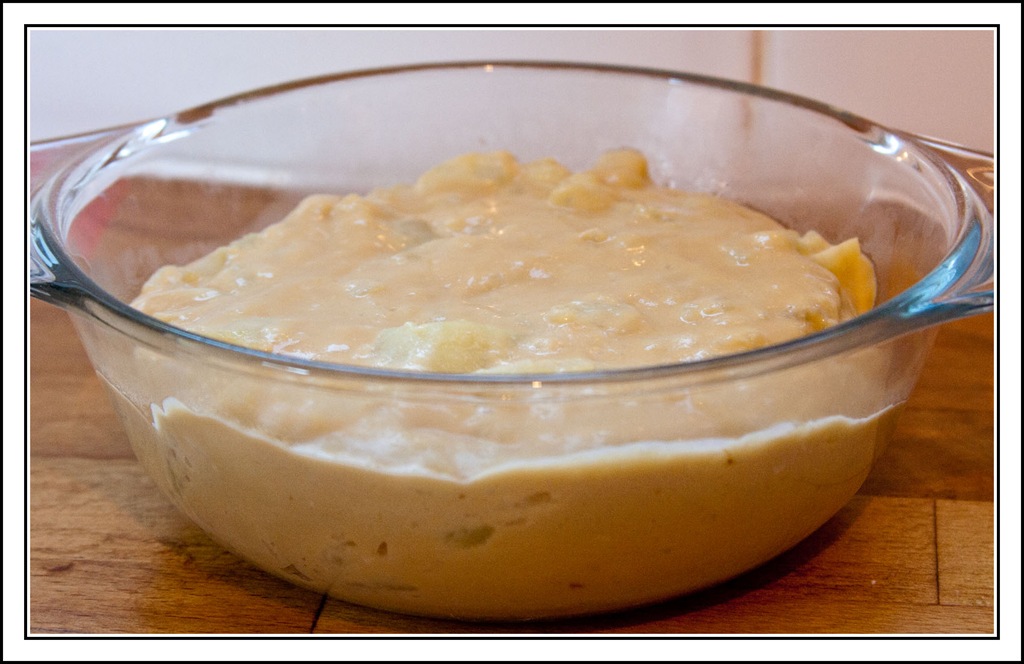
Remove from the heat and stir in the cream and egg yolks. Reheat with out boiling. butterscotchapple1Gently fold in the apple. Pour into an oven proof serving dish.


Whisk the egg whites until stiff add half the sugar whisk again then add remaining sugar and whisk until just combined. Pipe over the apple mixture.butterscotchapple2


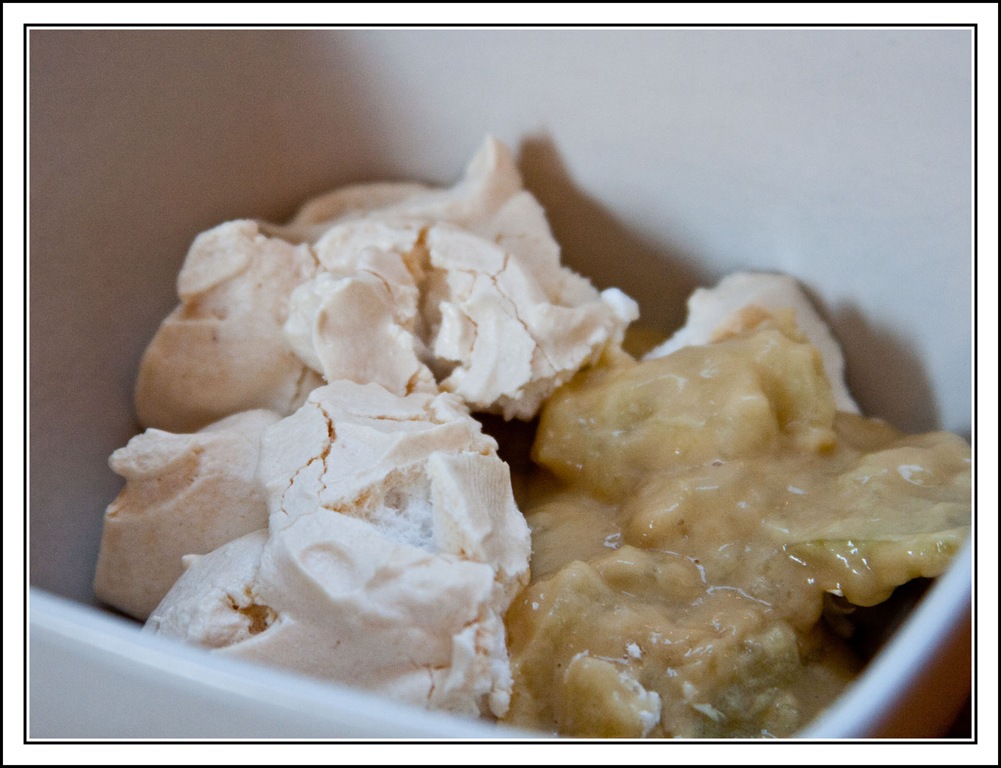
Bake until meringue is golden & crisp. About 25 minutes. Serve hot or cold. We had it hot which was lovely, not sure the texture lends itself to cold as it’s rather custard like (I really don’t like cold custard).

Not the prettiest thing I’ve ever made but very tasty. Best bit is it’s a very personal thing written by someone in our family who liked the recipe enough to jot it down. It just so happened to be made on the day that would have been Gramps’ 97th birthday. butterscotchapple4

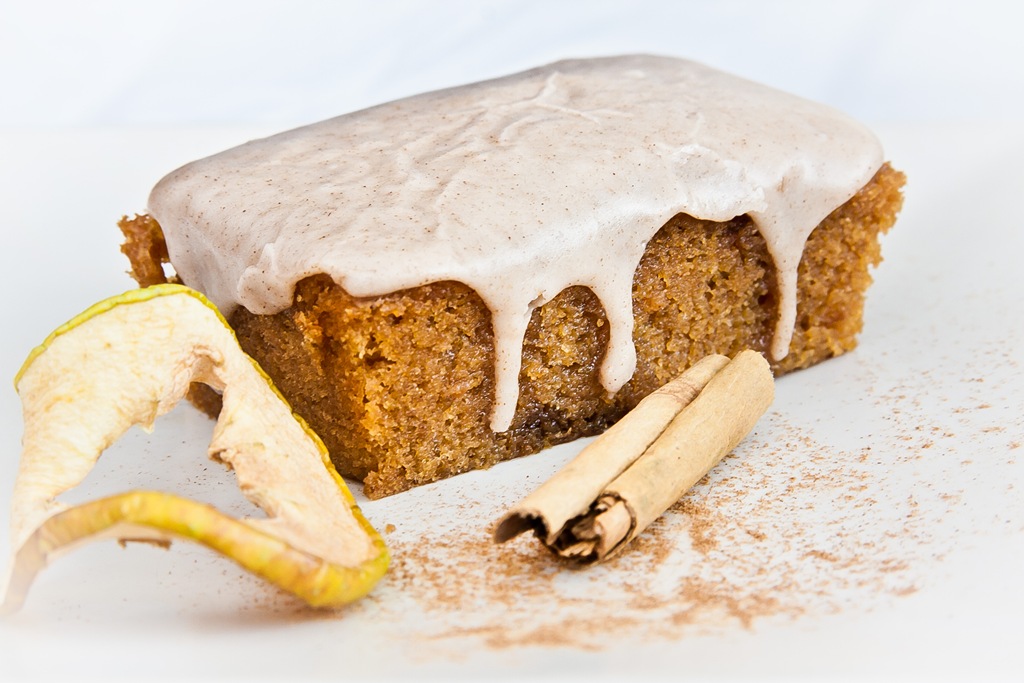
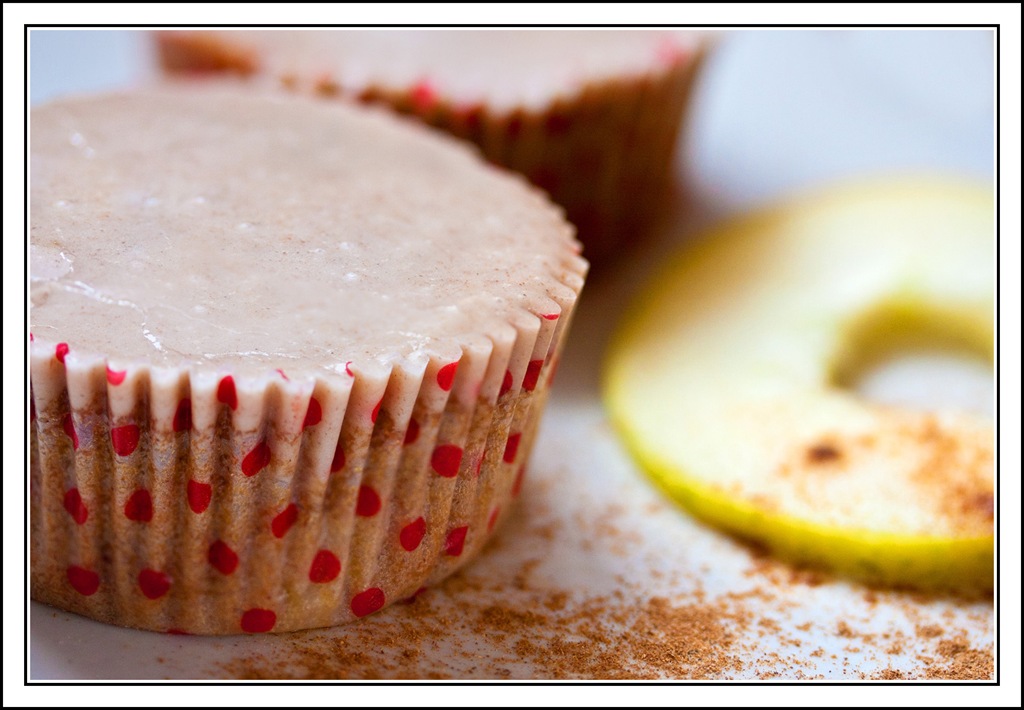
Rustic Apple & Cinnamon Cakes

Apple-Cake

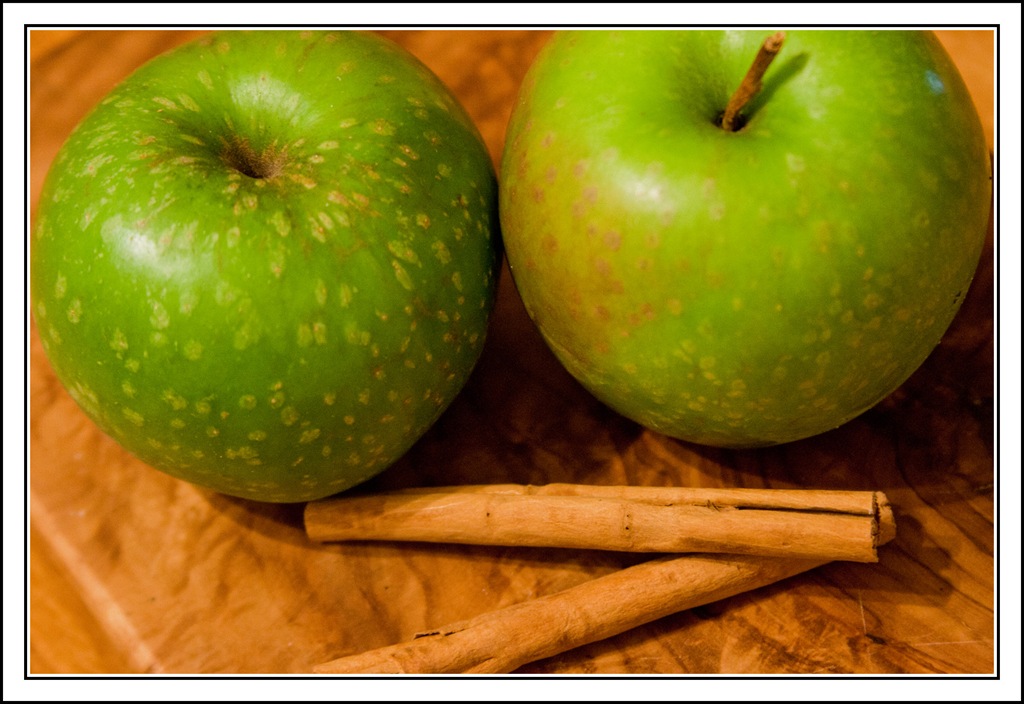
Apples are in huge supply at the moment so I’ve been making the most of them and using them alot.

Several local folk have kindly shared their harvest and I’ve had a constant supply for weeks!

This recipe was one of those I can’t get back to sleep at 4 am sort of recipe moments! The apple sauce keeps these little cakes lovely & moist. The pairing with cinnamon is always a winner for me.

I’ve made them in muffin cases and also little loaf tins, I like both looks. If you’re using muffin cases it makes about 12 large if you’re using mini loaf tins it makes about 8.

Ingredients

200g soft butter or spread

200g soft brown sugar

3 large free range eggs beaten lightly

300ml apple sauce *

100g self raising flourapples

2 tsp cinnamon

100g crushed digestive biscuits

Cinnamon icing

200g icing sugar

1-2 tsp cinnamon

*use either brought apple sauce or I used 2 large bramleys (any apples in your fruit bowl will do approx start weight 400g), cored, peeled and chopped and simmered with half a cup of water and a tablespoon of sugar until soft. Then blitzed/pureed.

Preheat oven 180C (fan 160C).

Beat butter & sugar together for about 5 mins with a mixer until light & creamy.

Add the eggs and beat again until mixed well.

Sift in the flour & cinnamon, briskly mix until just combined.

Add the apple sauce & biscuits and fold in gently.

Spoon the mix into your cases/tins. The mixture does not have a high rise so you can fill up to about ¾ full. Bake for 15-20 mins until they are springy to touch.

Remove from the oven & allow to cool for 5 mins before removing from the tins if using. Leave to cool completely.

To make the icing, sift icing sugar & cinnamon in a bowl add a tsp of water at a time and mix well until you have a gooey but not over runny texture.

Spoon onto the cakes or spread with a knife. Enjoy!

Apple-cupcakes

Happy Accident Honeycomb Biscuits

honeycomb biscuitsI really like trying new recipe ideas and the odd bit of experimental baking. This has varying degrees of success but nothing ventured nothing gained…………

I had an idea I fancied trying, making a honeycomb macaron style thing and this is what I ended with.


They are light and sweet with a crunch to the outer and a soft slightly chewy centre. They’ve had a thorough taste testing and have been baked a few times now and are now on my favourites list!

Ingredientshoneycomb blog1

110g icing sugar

65g ground almonds

65g egg whites (2-3 eggs)

15g caster sugar

25g ground honeycomb (either homemade see recipe or brought)

Line 2 baking trays. Preheat oven to 170C (fan 150C).


honeycomb blog2


Sieve the icing sugar & almonds into a large bowl, stir through the ground honeycomb so it’s evenly mixed through.


honeycomb blog3


Whisk the eggs whites until stiff peaks form, add the caster sugar and whisk briefly again until peaked and glossy.


honeycomb blog4


Add the egg whites to the dry ingredients and fold through gently but firmly until mixed.

Drop dessert spoonfuls onto the baking trays. They spread during baking so leave space between them. Makes about 15.


Bake for approx 15 mins until starting to turn golden. Leave to cool on the trays.

Here’s the honeycomb recipe I use if you fancy making your own (very easy & fun but takes time to cool)

http://www.bbc.co.uk/food/recipes/honeycomb_80005 

This makes rather a lot more then you need for the recipe but I’m sure you’ll find a use for it!

honeycomb biscuits yoga