Category Archives: I ♥ Italy

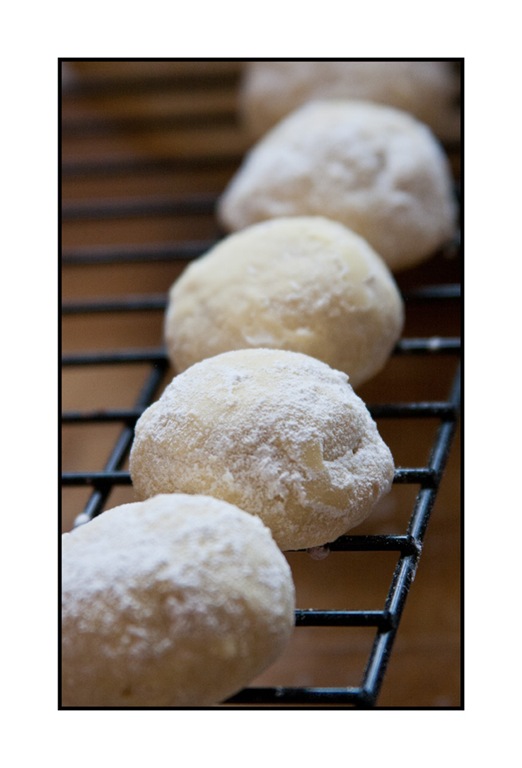
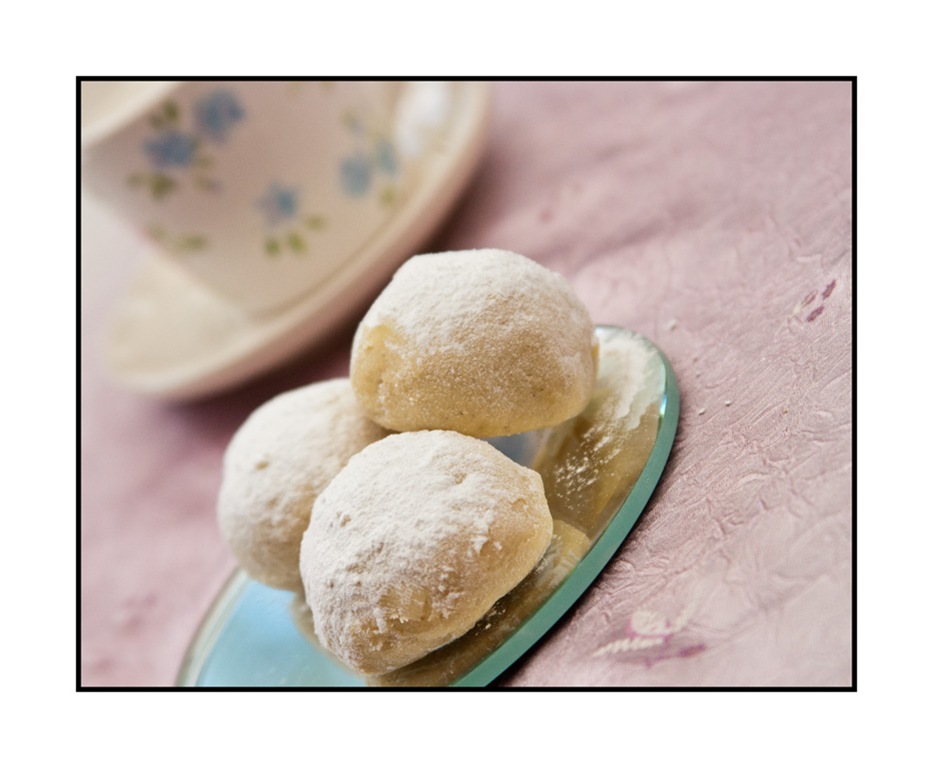
Ricciarelli Hearts

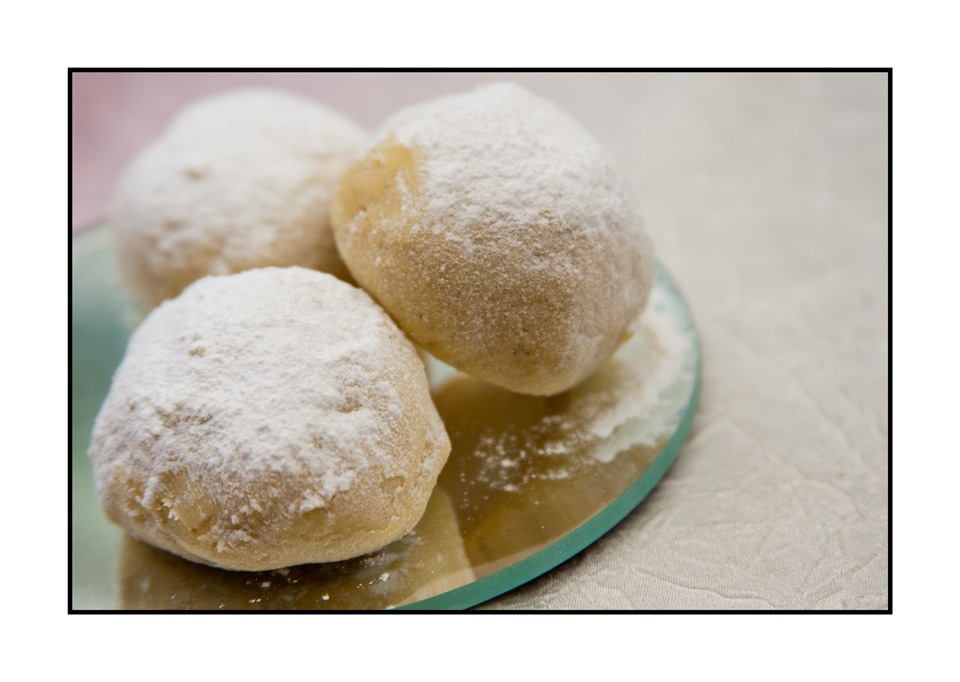
I made my version of these 4 or 5 years ago doing research for a magazine article. They are delicious and very moreish. Originally a macaroon style biscuit form Siena in Italy and often given as Christmas gifts. As I have a love of most things Italian they are a staple on my baking list!


ricciarelli-rice-paperI decided to change the tradition shape from a lozenge to heart shaped and to use some lovely coloured rice paper (wafer paper) sheets I bought from Squires Kitchen earlier in the year.

Download the recipe here: ricciarelli-hearts

Ingredients 

200g ground almonds
200g icing sugar
1/2 tsp baking powder
2 egg whites
1 tsp vanilla extract
Grated zest of 1 lemon
1 tbsp runny honey
2-3 large rice paper sheets (approx 28 x 18 cm each) coloured if you can get them
A little icing sugar to dust with

ricciarelli-shapedMakes 20

Oven preheat 180°C (160°C Fan) GM4

Sieve the icing sugar in to a large mixing bowl, add the ground almonds and baking powder and stir.

Add in the vanilla, lemon zest and honey and briefly stir through, it will be crumbly and uneven in texture at this stage. It will all come together later when you add the egg whites.

hearts


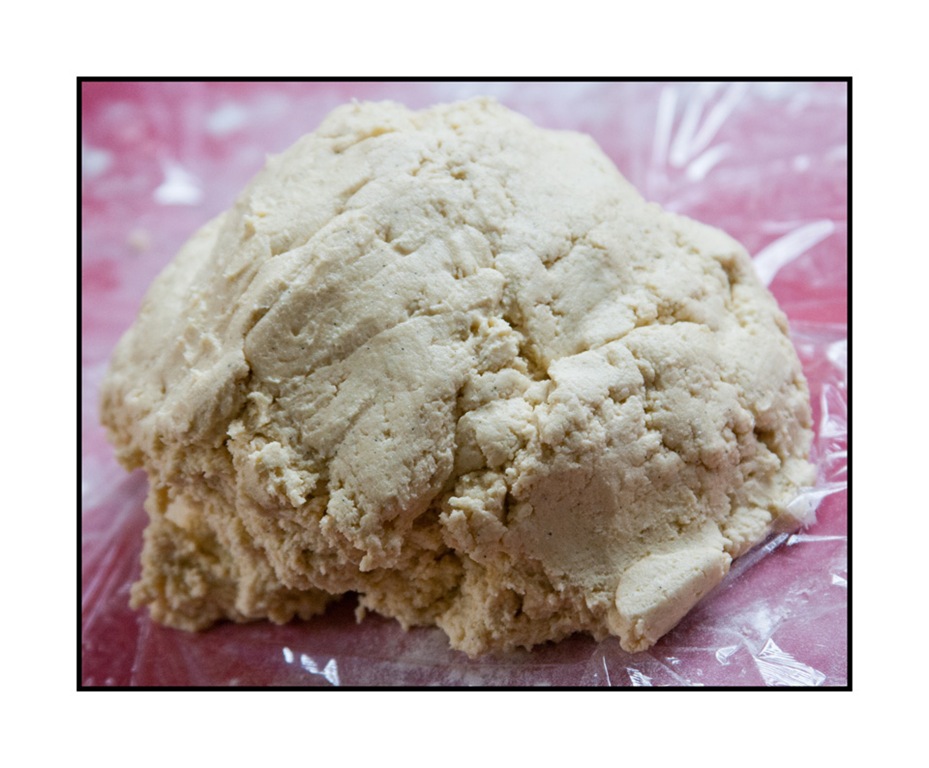
In a very clean bowl whisk the egg whites until they form stiff peaks. Add the whisked egg whites to the bowl with the other ingredients and mix well until you have a lump of sticky dough. Wrap the dough in clingfilm and place in the fridge for at least 6 hours, preferably overnight.

When you are nearly ready to bake them, preheat the oven. Prepare the rice paper by cutting out some heart shapes. Use the template to help you or make your own measuring about 6cm at the widest across, and about 6 cm from the dip at the top to the point at the bottom. You’ll need 20 of these.

Download the A4 sized template from www.samskitchen.net/wp-content/uploads/2016/12/hearts.jpg

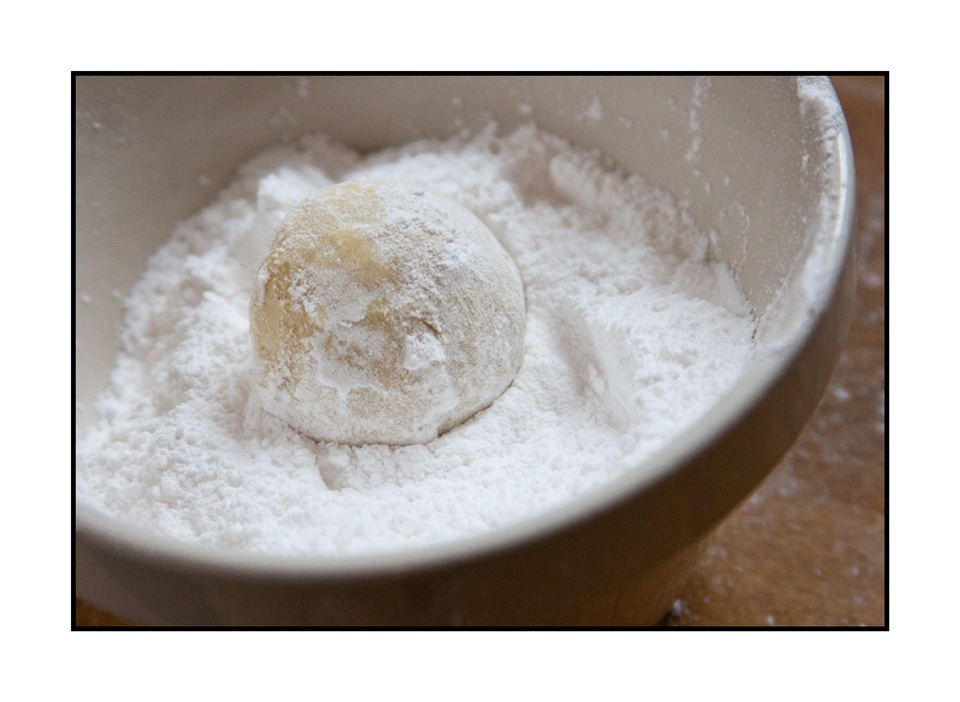
Divide the dough mixture in to 20 fairly equal sizes (I weigh mine to get it equal), then using your hands shape them into a rough heart shape to fit on the rice paper , so they are just inside by a few millimetres all round (they expand over this when baked). Repeat with them all. Place them on the baking trays making sure you leave a gap around each. Dust with icing sugar.

Bake for about 10 minutes until golden. Leave to firm up for a few minutes on the baking tray then transfer to a cooling rack. They keep well in a tin and actually taste even better the day after baking. Enjoy ♥

   ricciarelli-above ricciarelli-baked ricciarelli-3


Amaretto and Dark Chocolate Baked Cheesecake

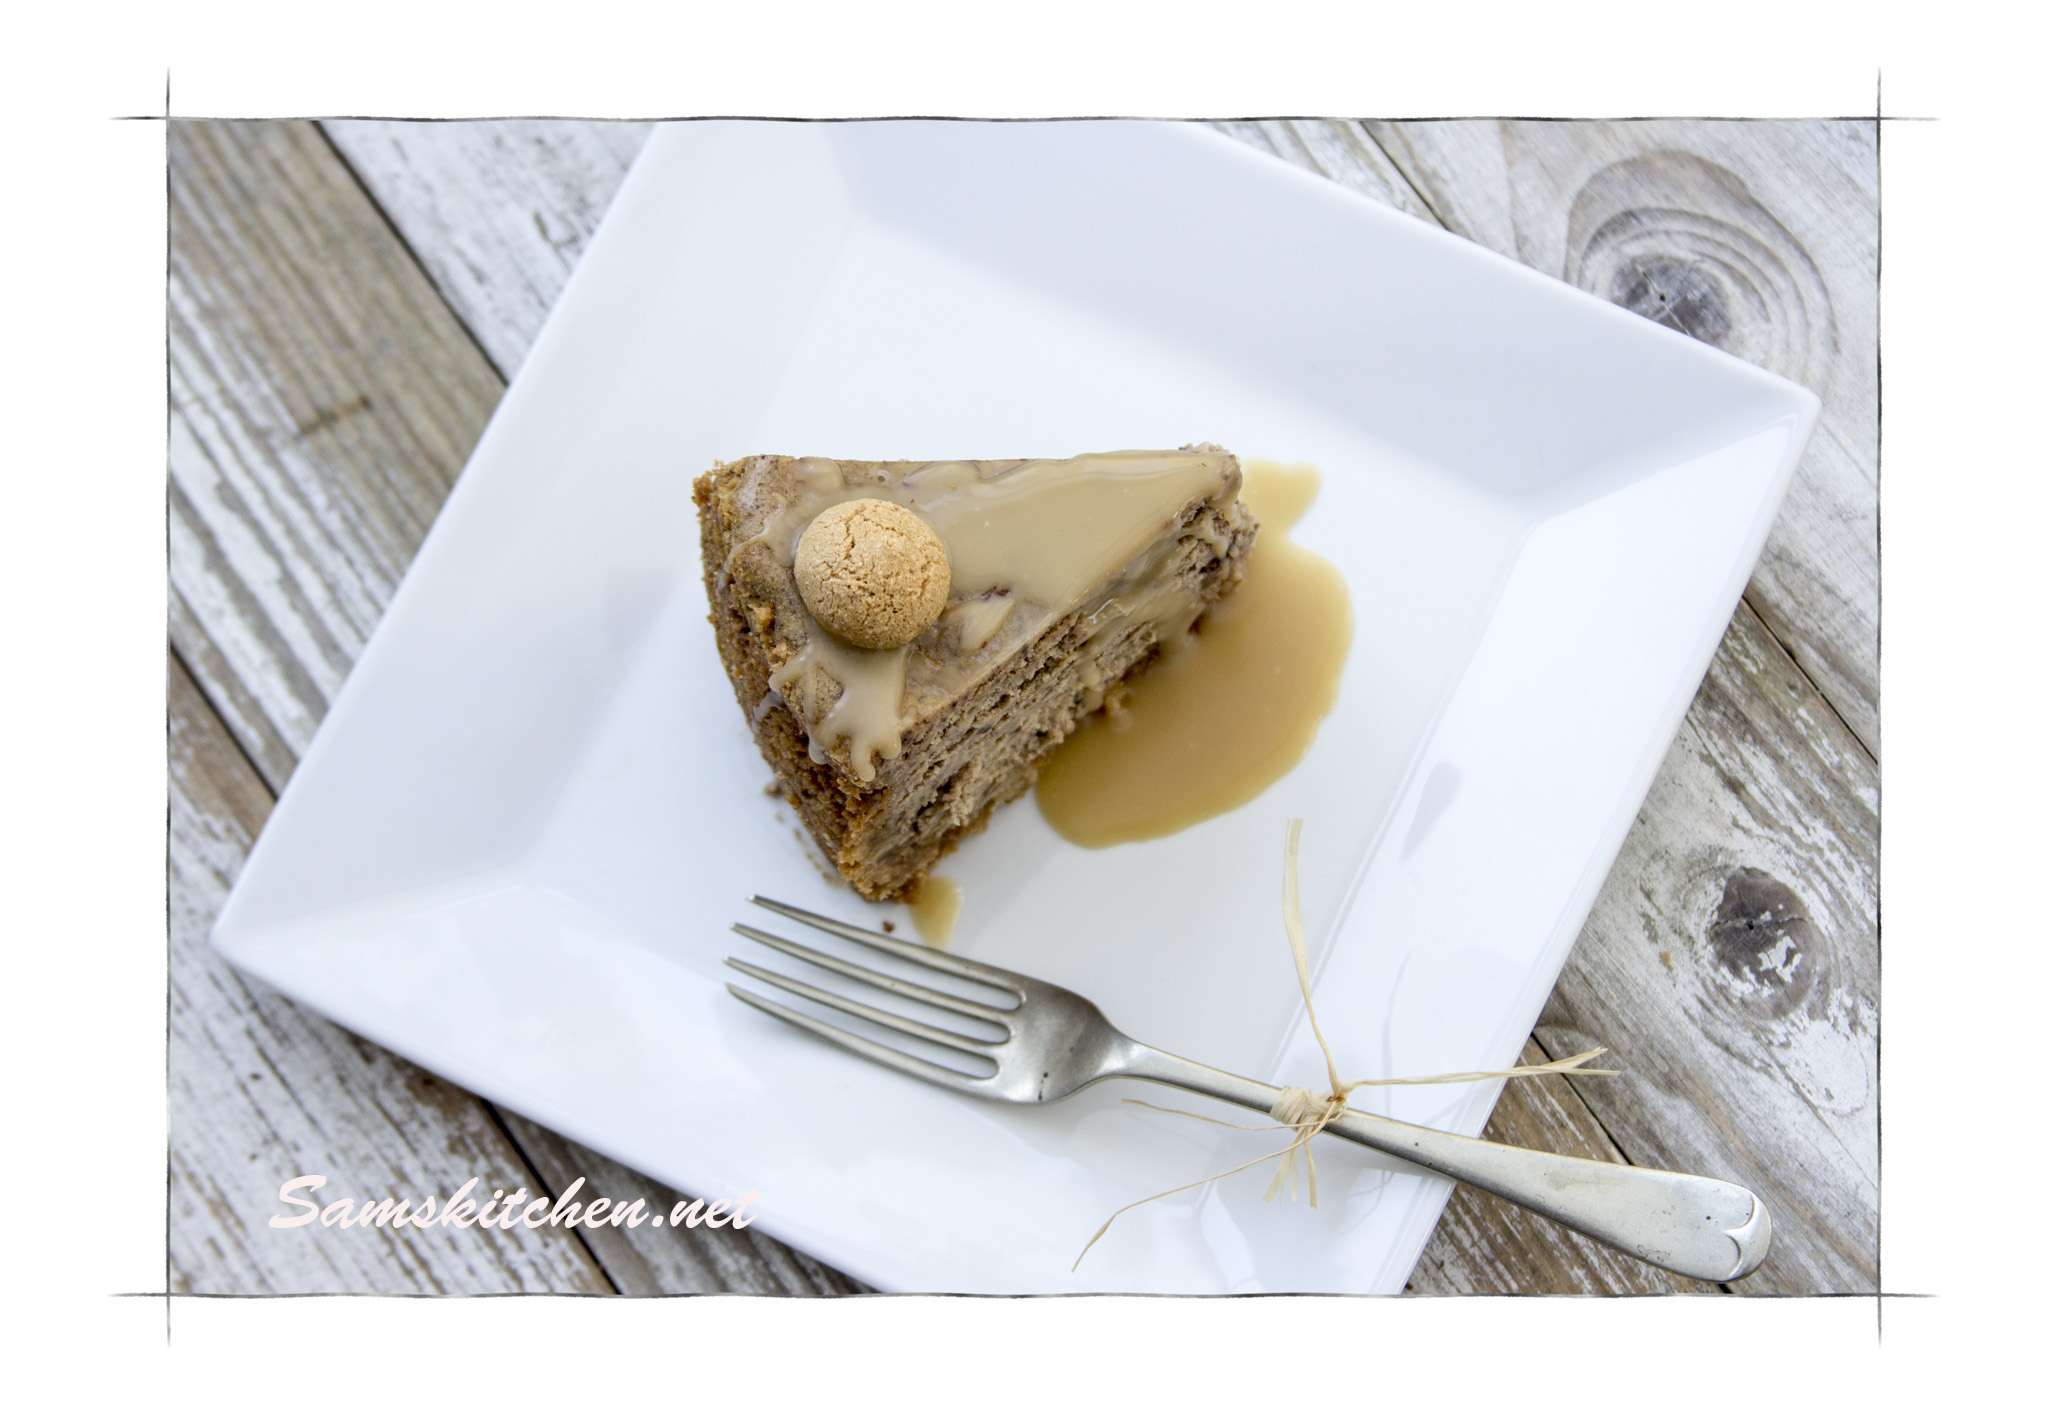
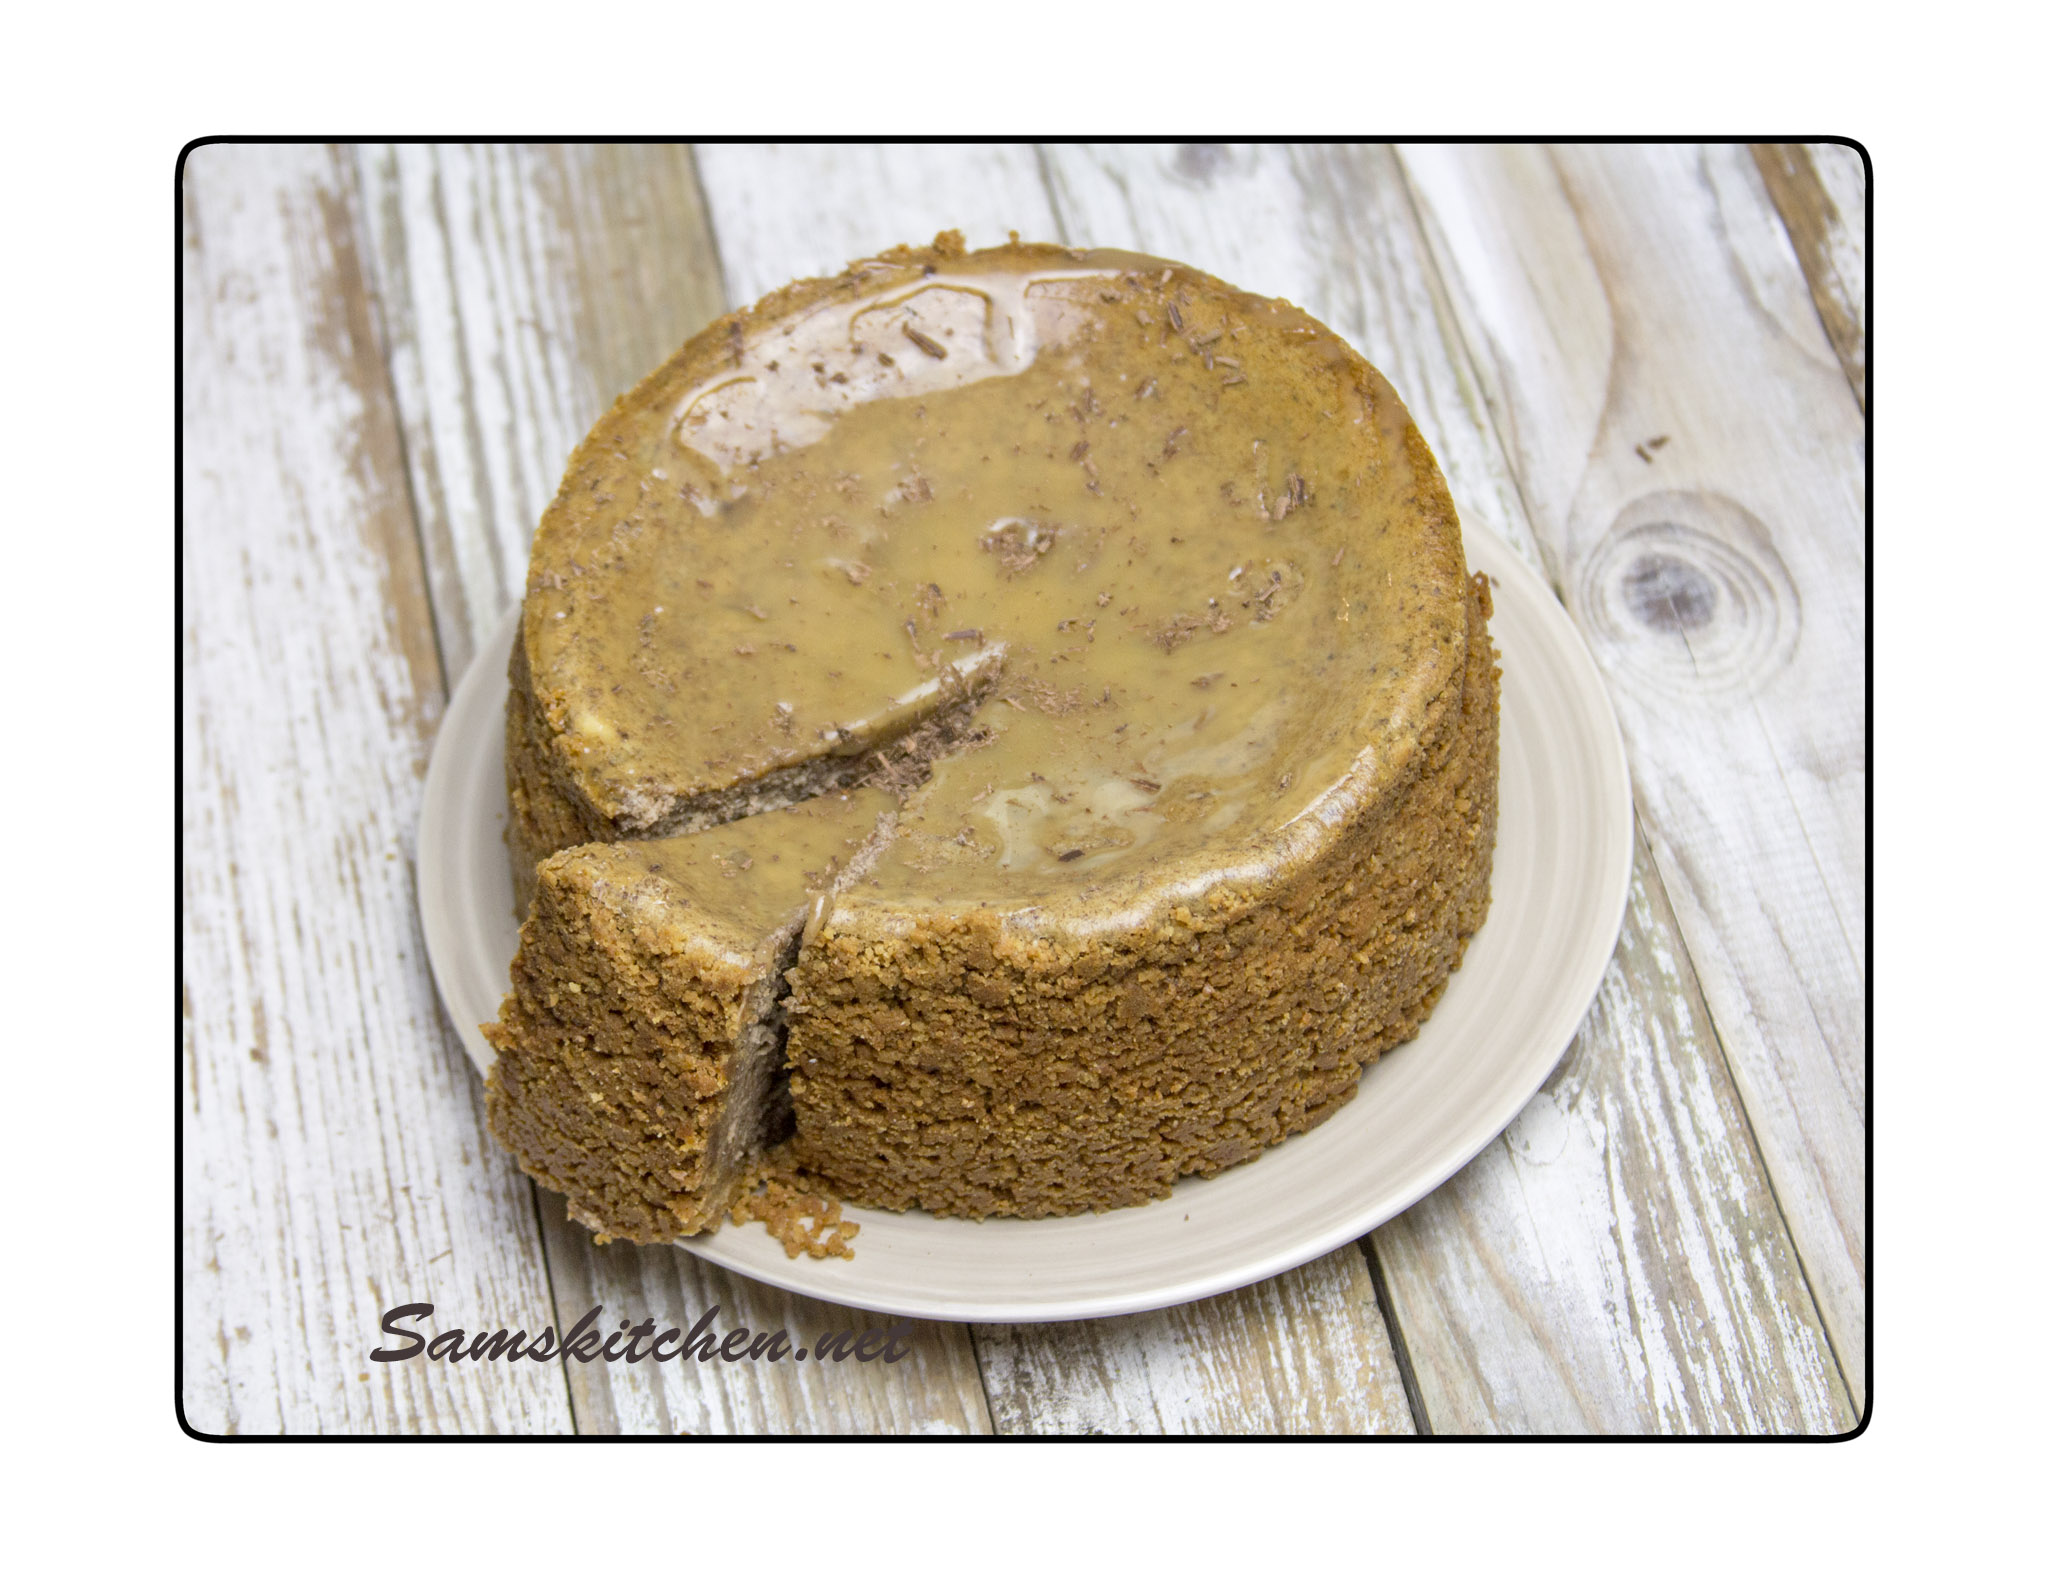
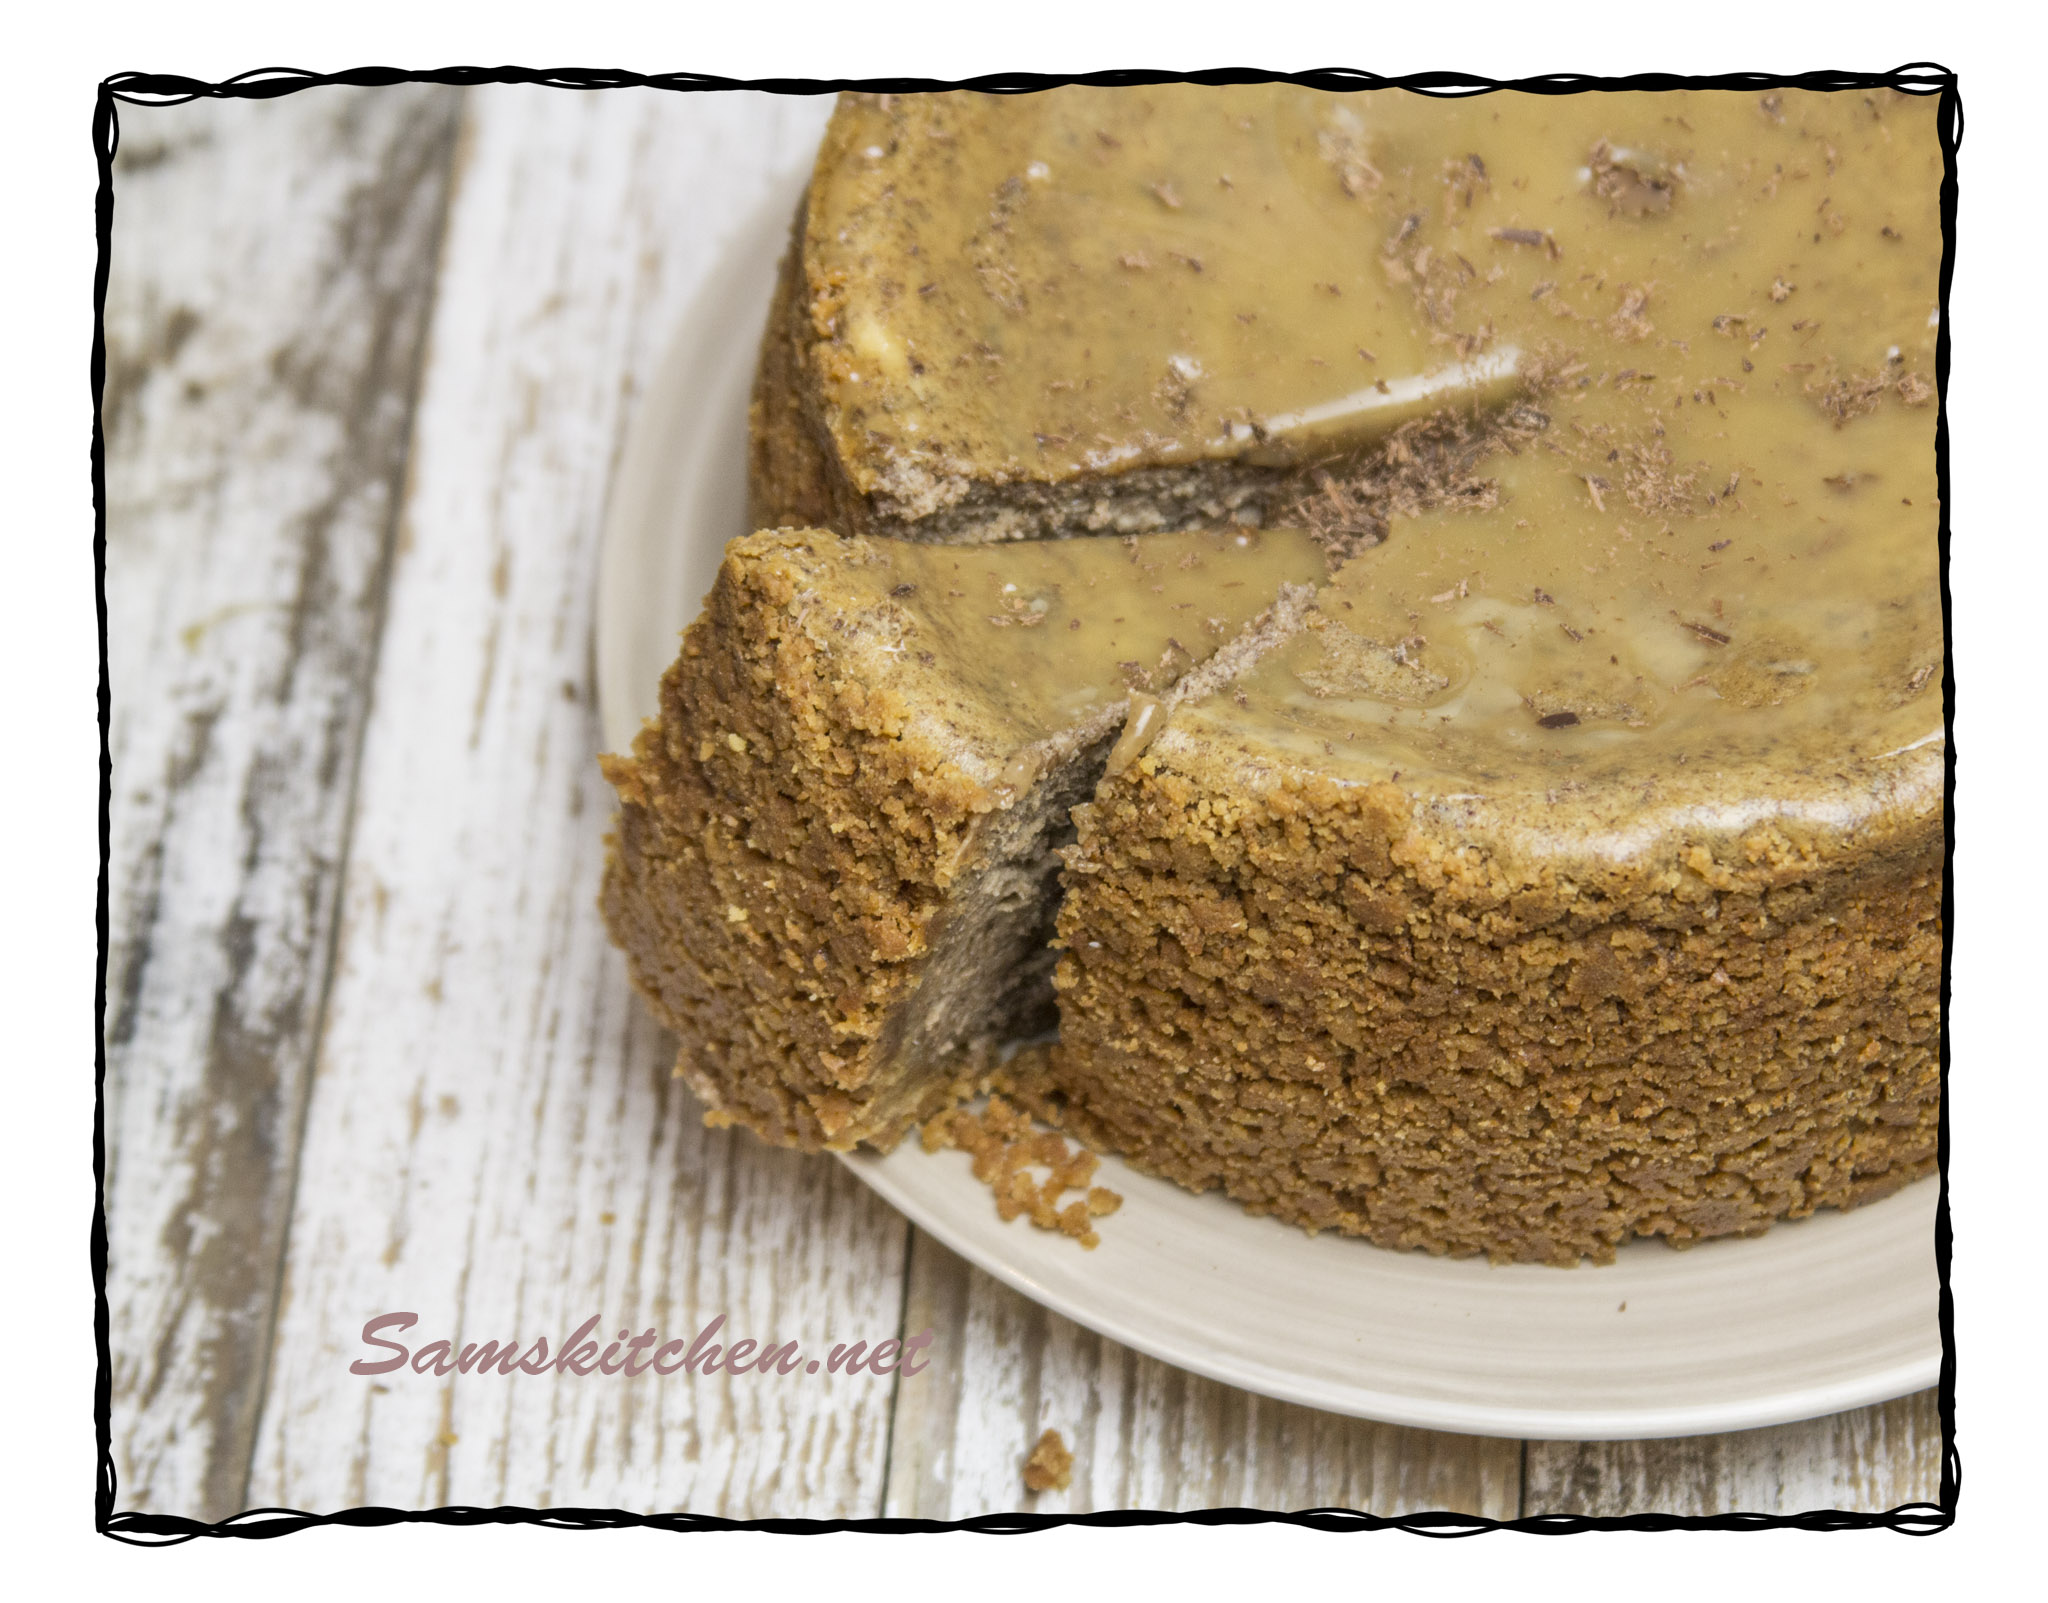
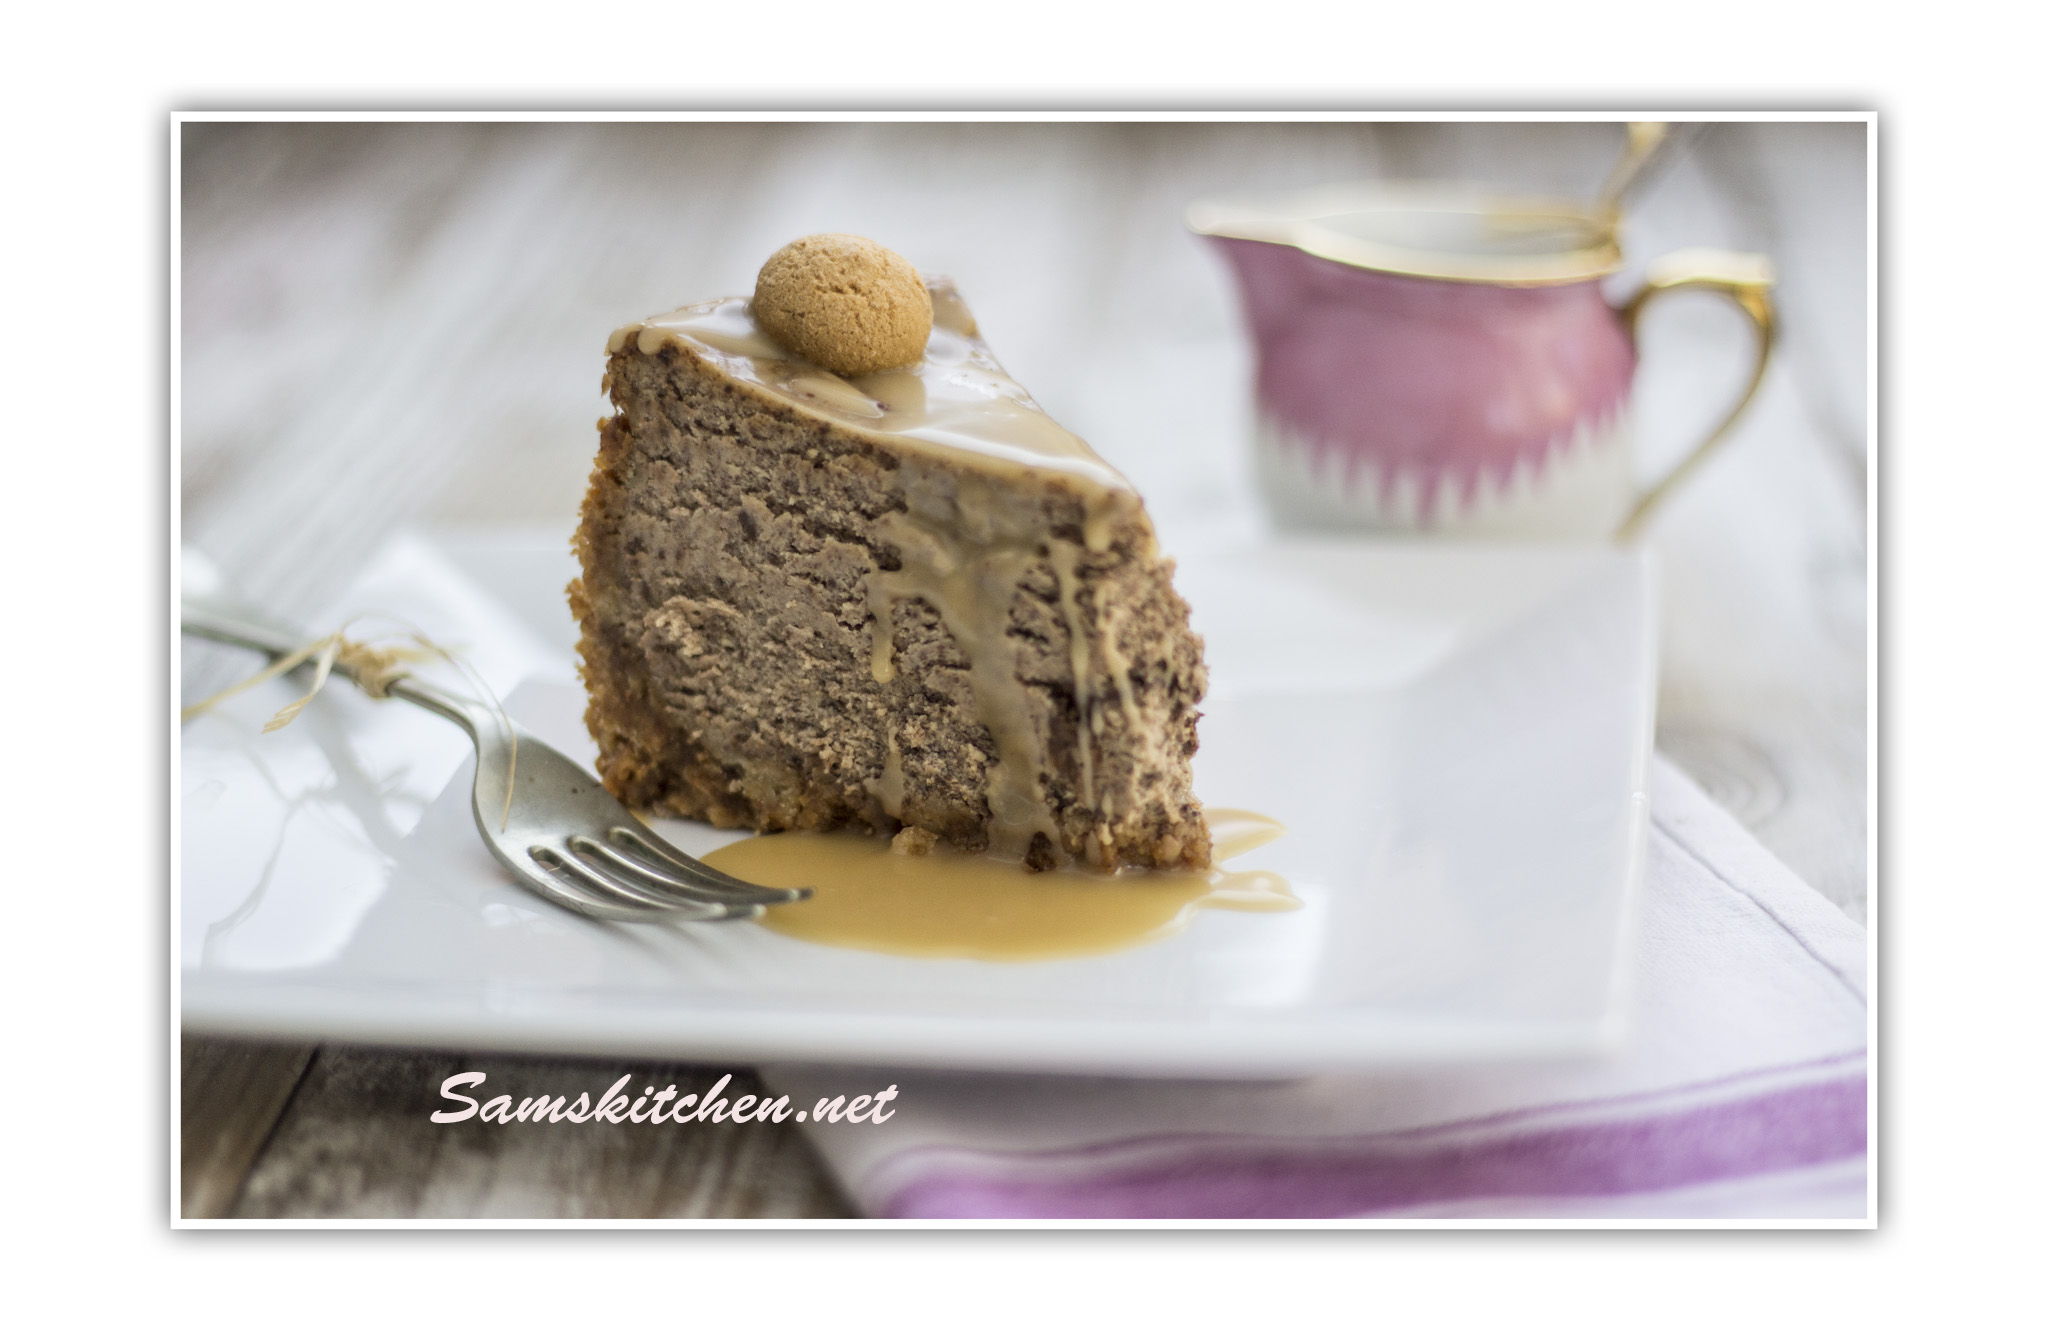
I love cheesecake, baked or no bake, all flavours, whether it’s fruity or sweet and spicy!Amaretto cheesecake above

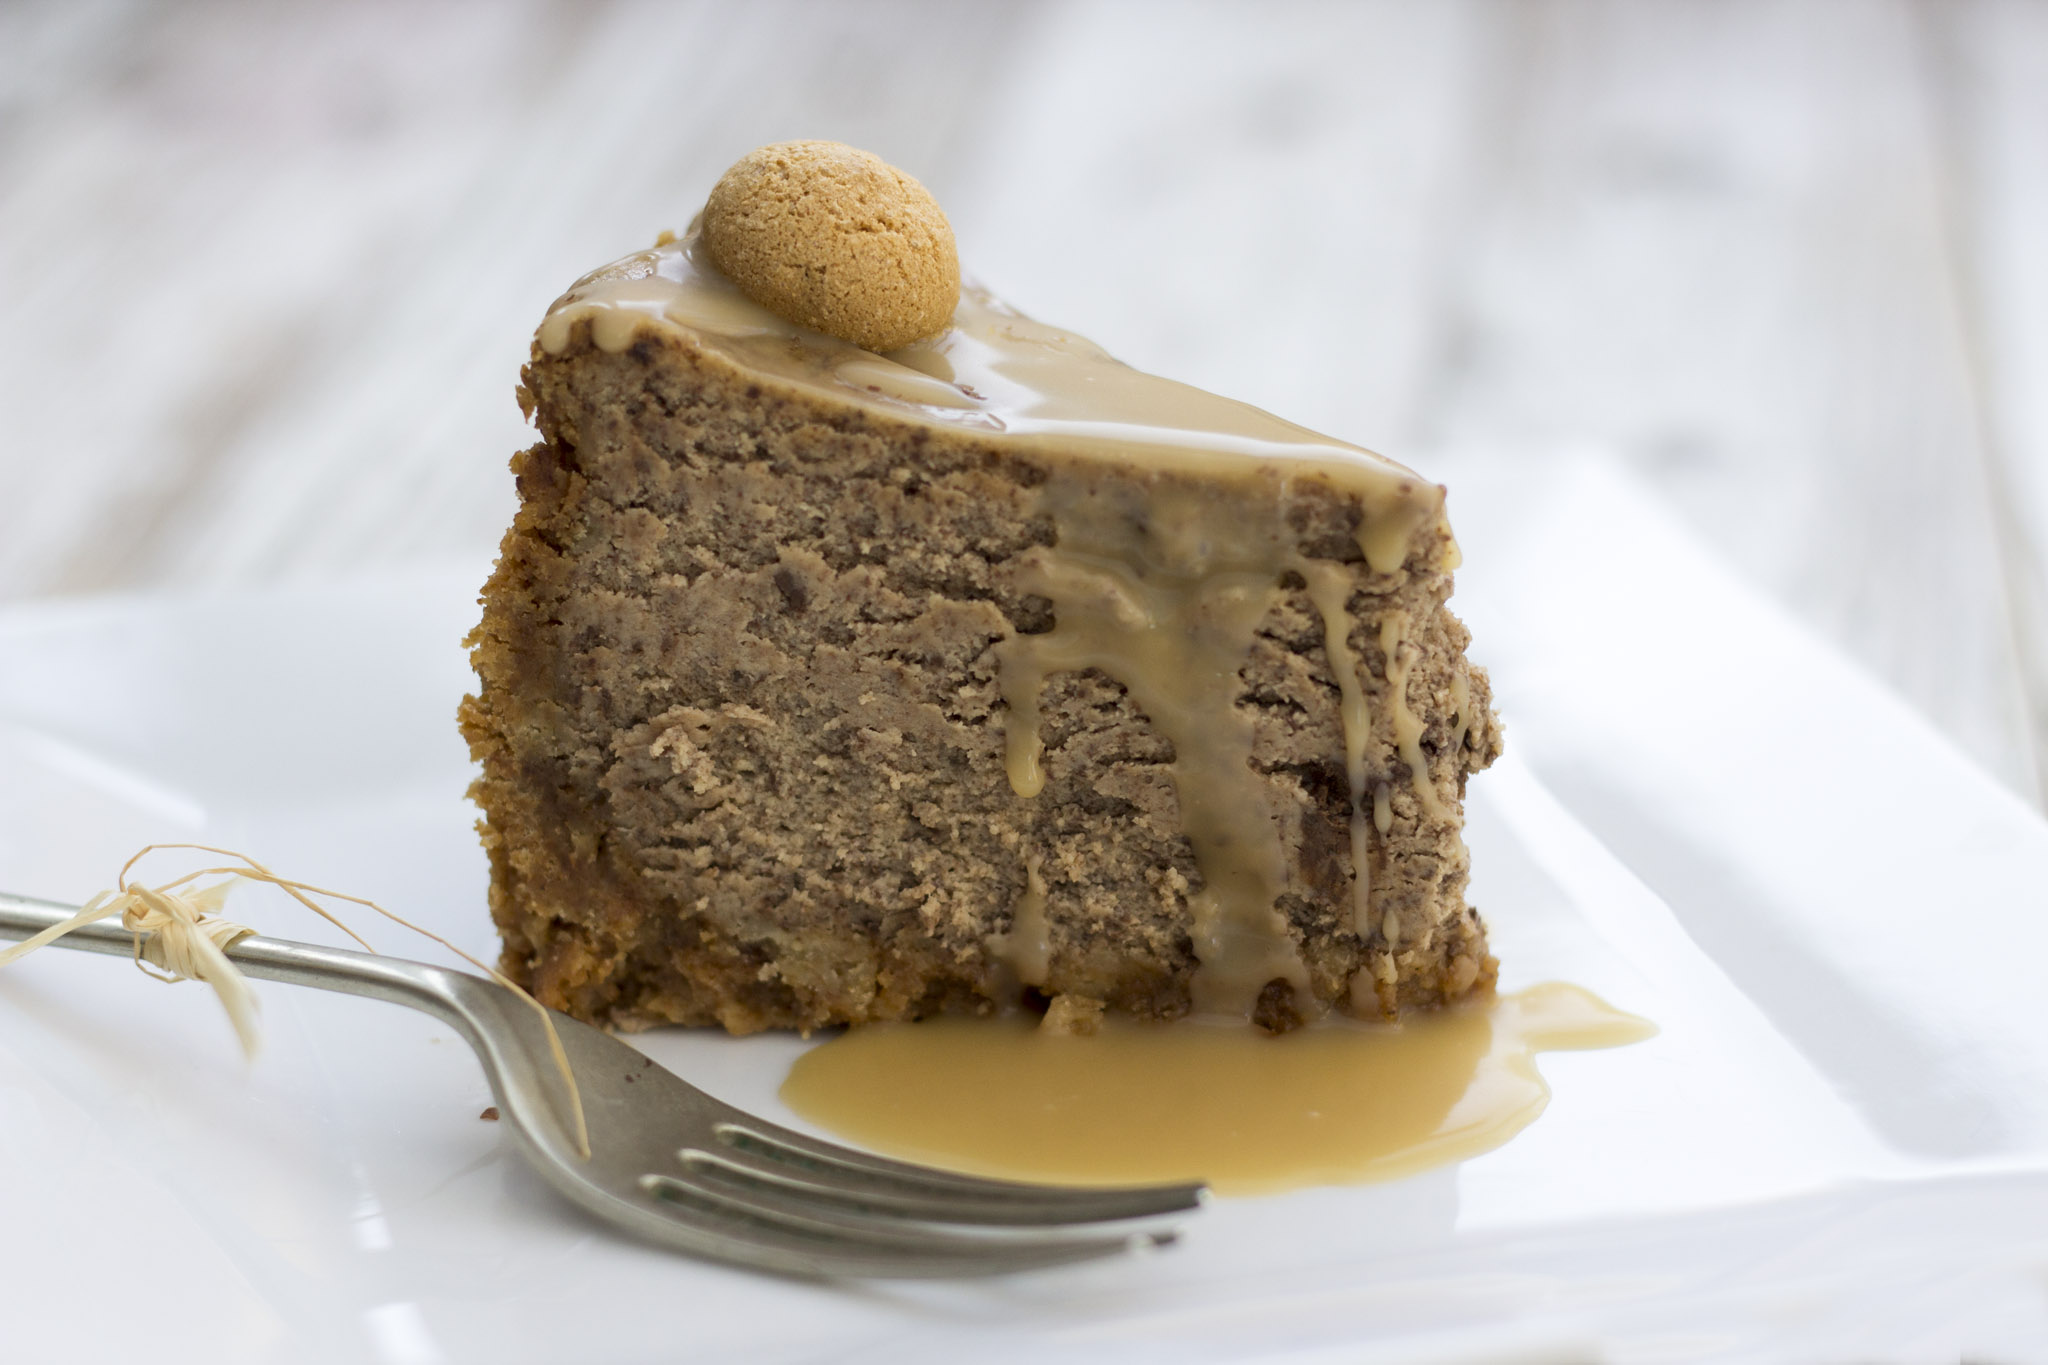
I reckoned an Amaretto flavour  (a sweet, almond-flavoured, Italian liqueur) would work well, so decided to pair it with dark chocolate too. With amaretti biscuits in the base and a sticky toffee sauce this was lush! The filling was so light and delicious, rather like a mousse in texture. Definitely on my all time fav’s list.

Amaretto and dark choc1

Print recipe Amaretto and Dark Chocolate Baked Cheesecake 

Amaretto and Dark Chocolate Baked Cheesecake

Ingredients

Base

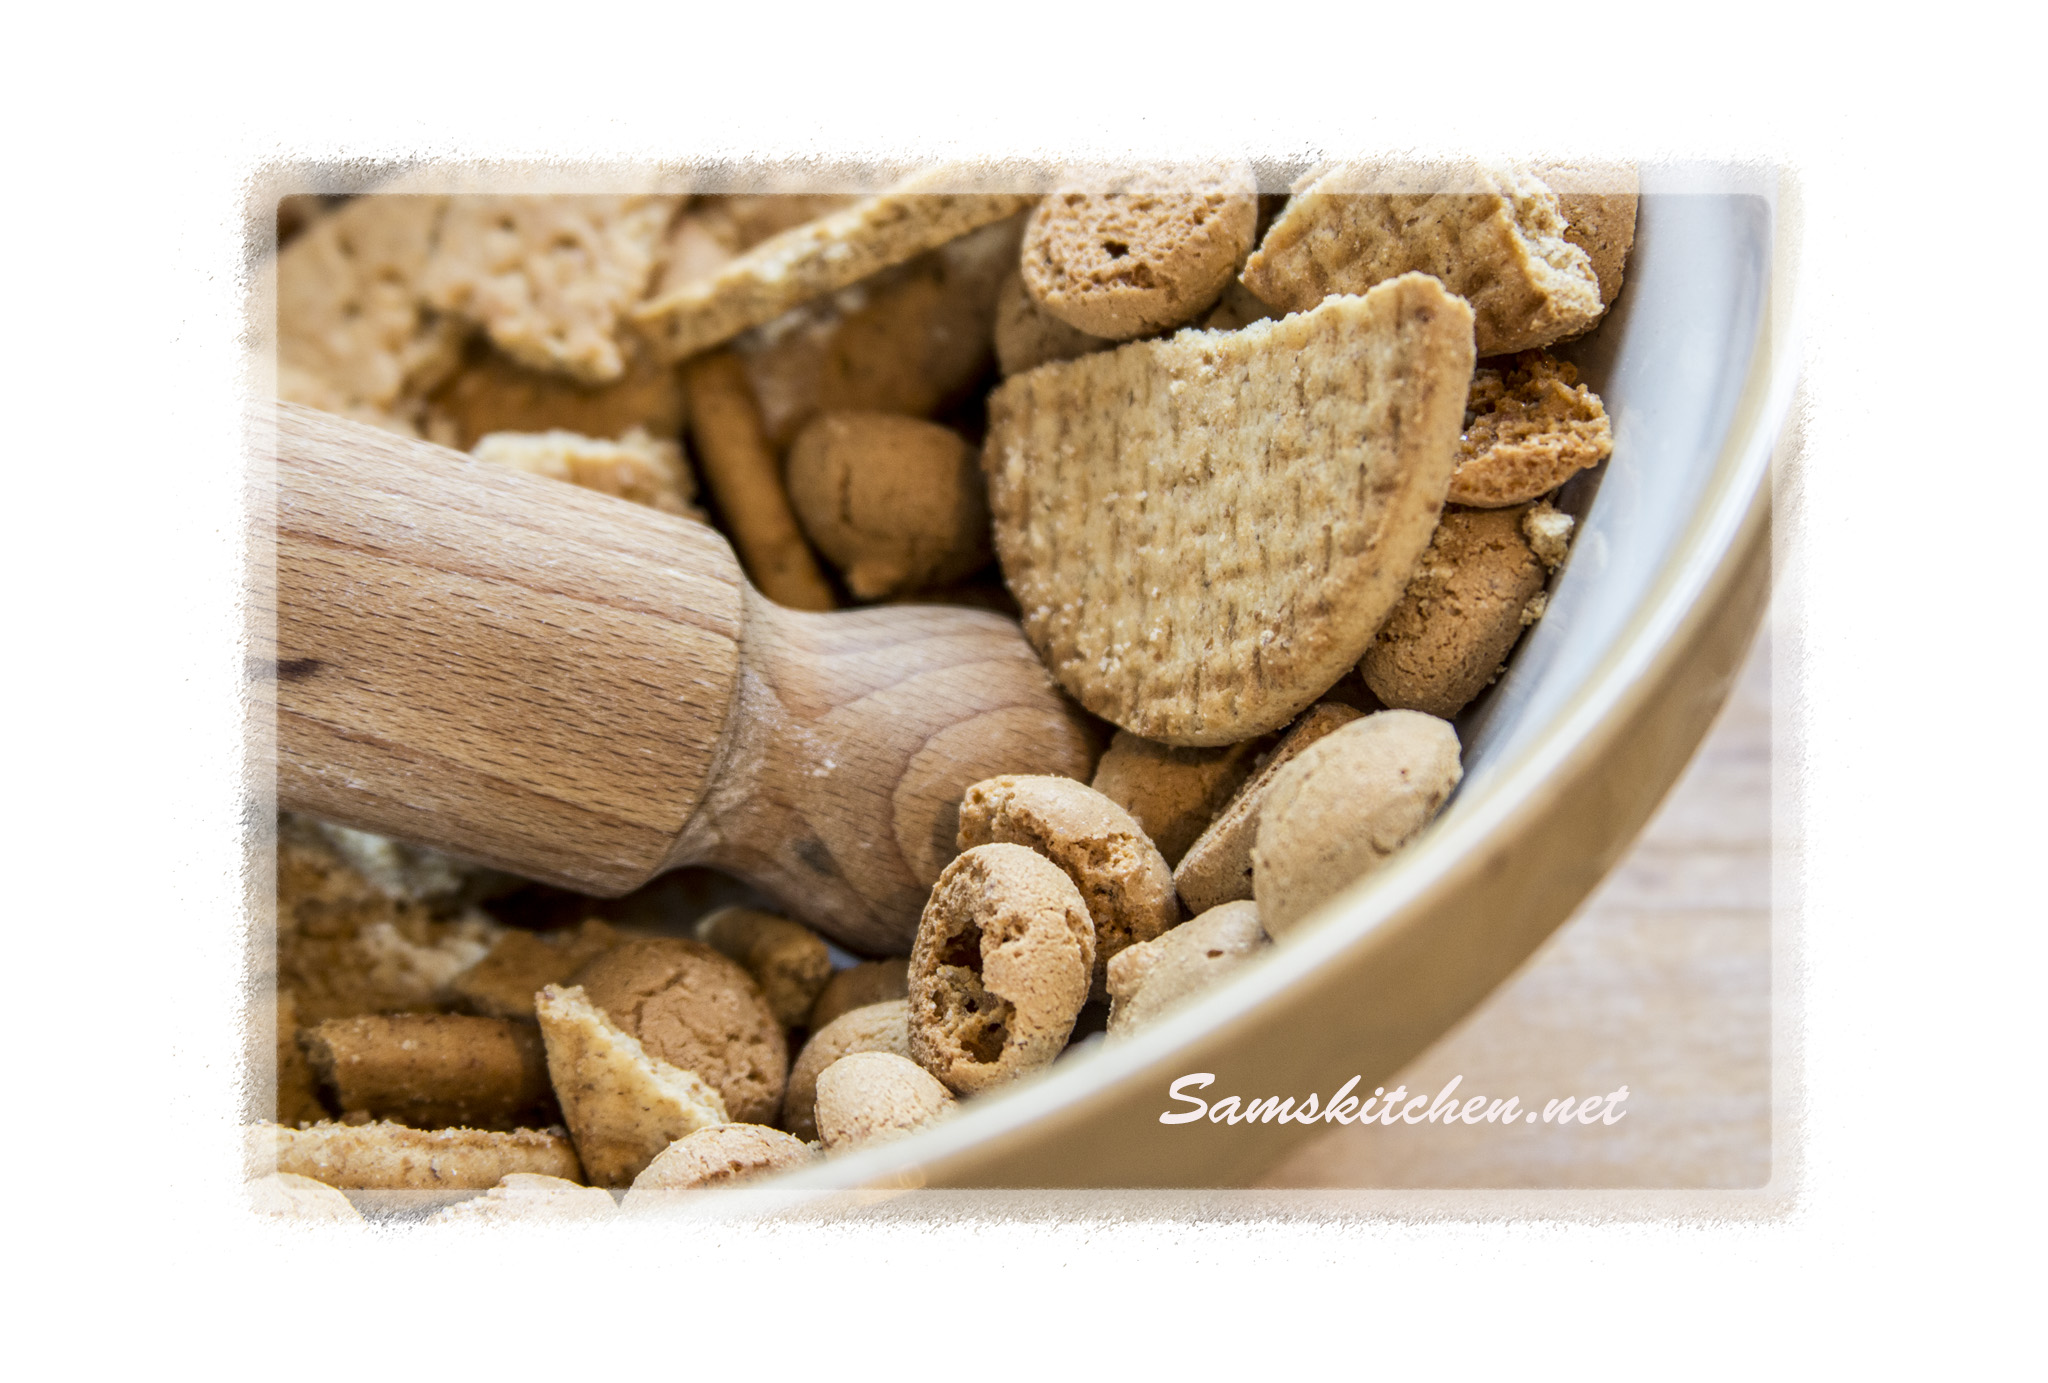
275g crushed biscuits, I used a mix of amaretti and digestives

140g melted butter


Filling

300g cream cheese (full fat)

250g mascarpone (full fat)

100g dark chocolate, melted but slightly cooled

100g soft brown sugar

2 tbsp Amaretto

3 eggs, beaten

25g plain flour


AmarettoToffee Sauce

50g soft brown sugar

50g butter

3 tbsp double cream

3 tbsp Amaretto


18cm/7″ round, deep (mine is 8cm deep) loose bottom pan lightly greased

Preheat oven 150°C (Fan 130°C) GM 3

Amaretto cheesecake biscuits

Base

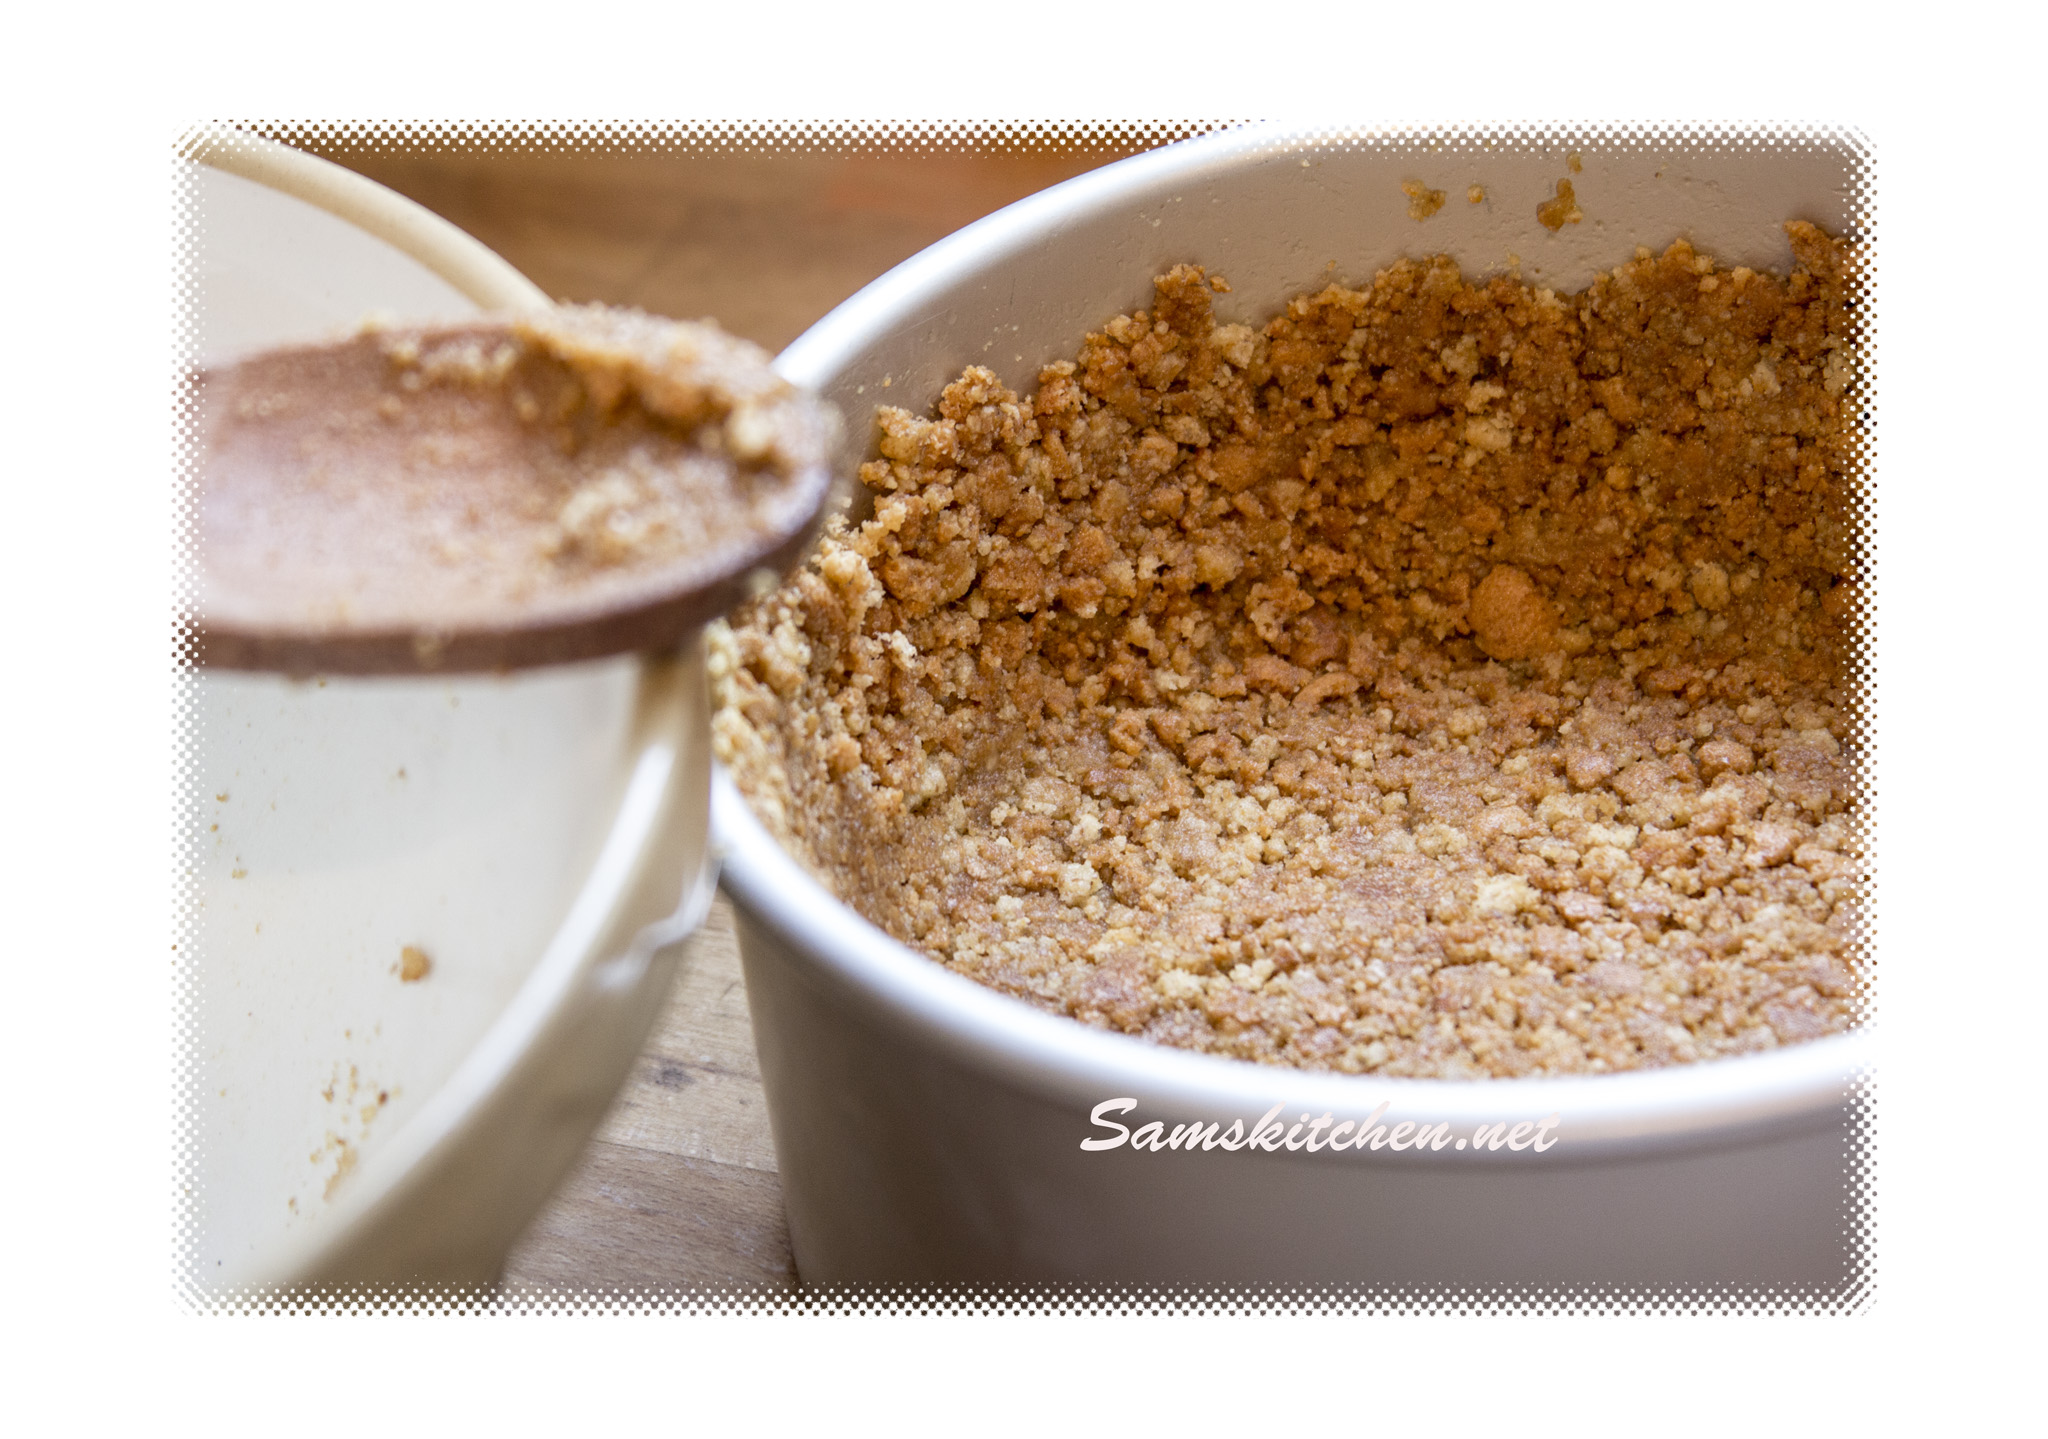
  1. Place the crushed biscuits in a mixing bowl, add the melted butter and mix well. Tip the mix into the prepared tin, press down and even out using the back of a metal spoon, take the mixture carefully up the sides of the pan as well as across the base.
  1. Place this in the fridge to firm up for at least 30 minutes.

Amaretto cheesecake base

Filling


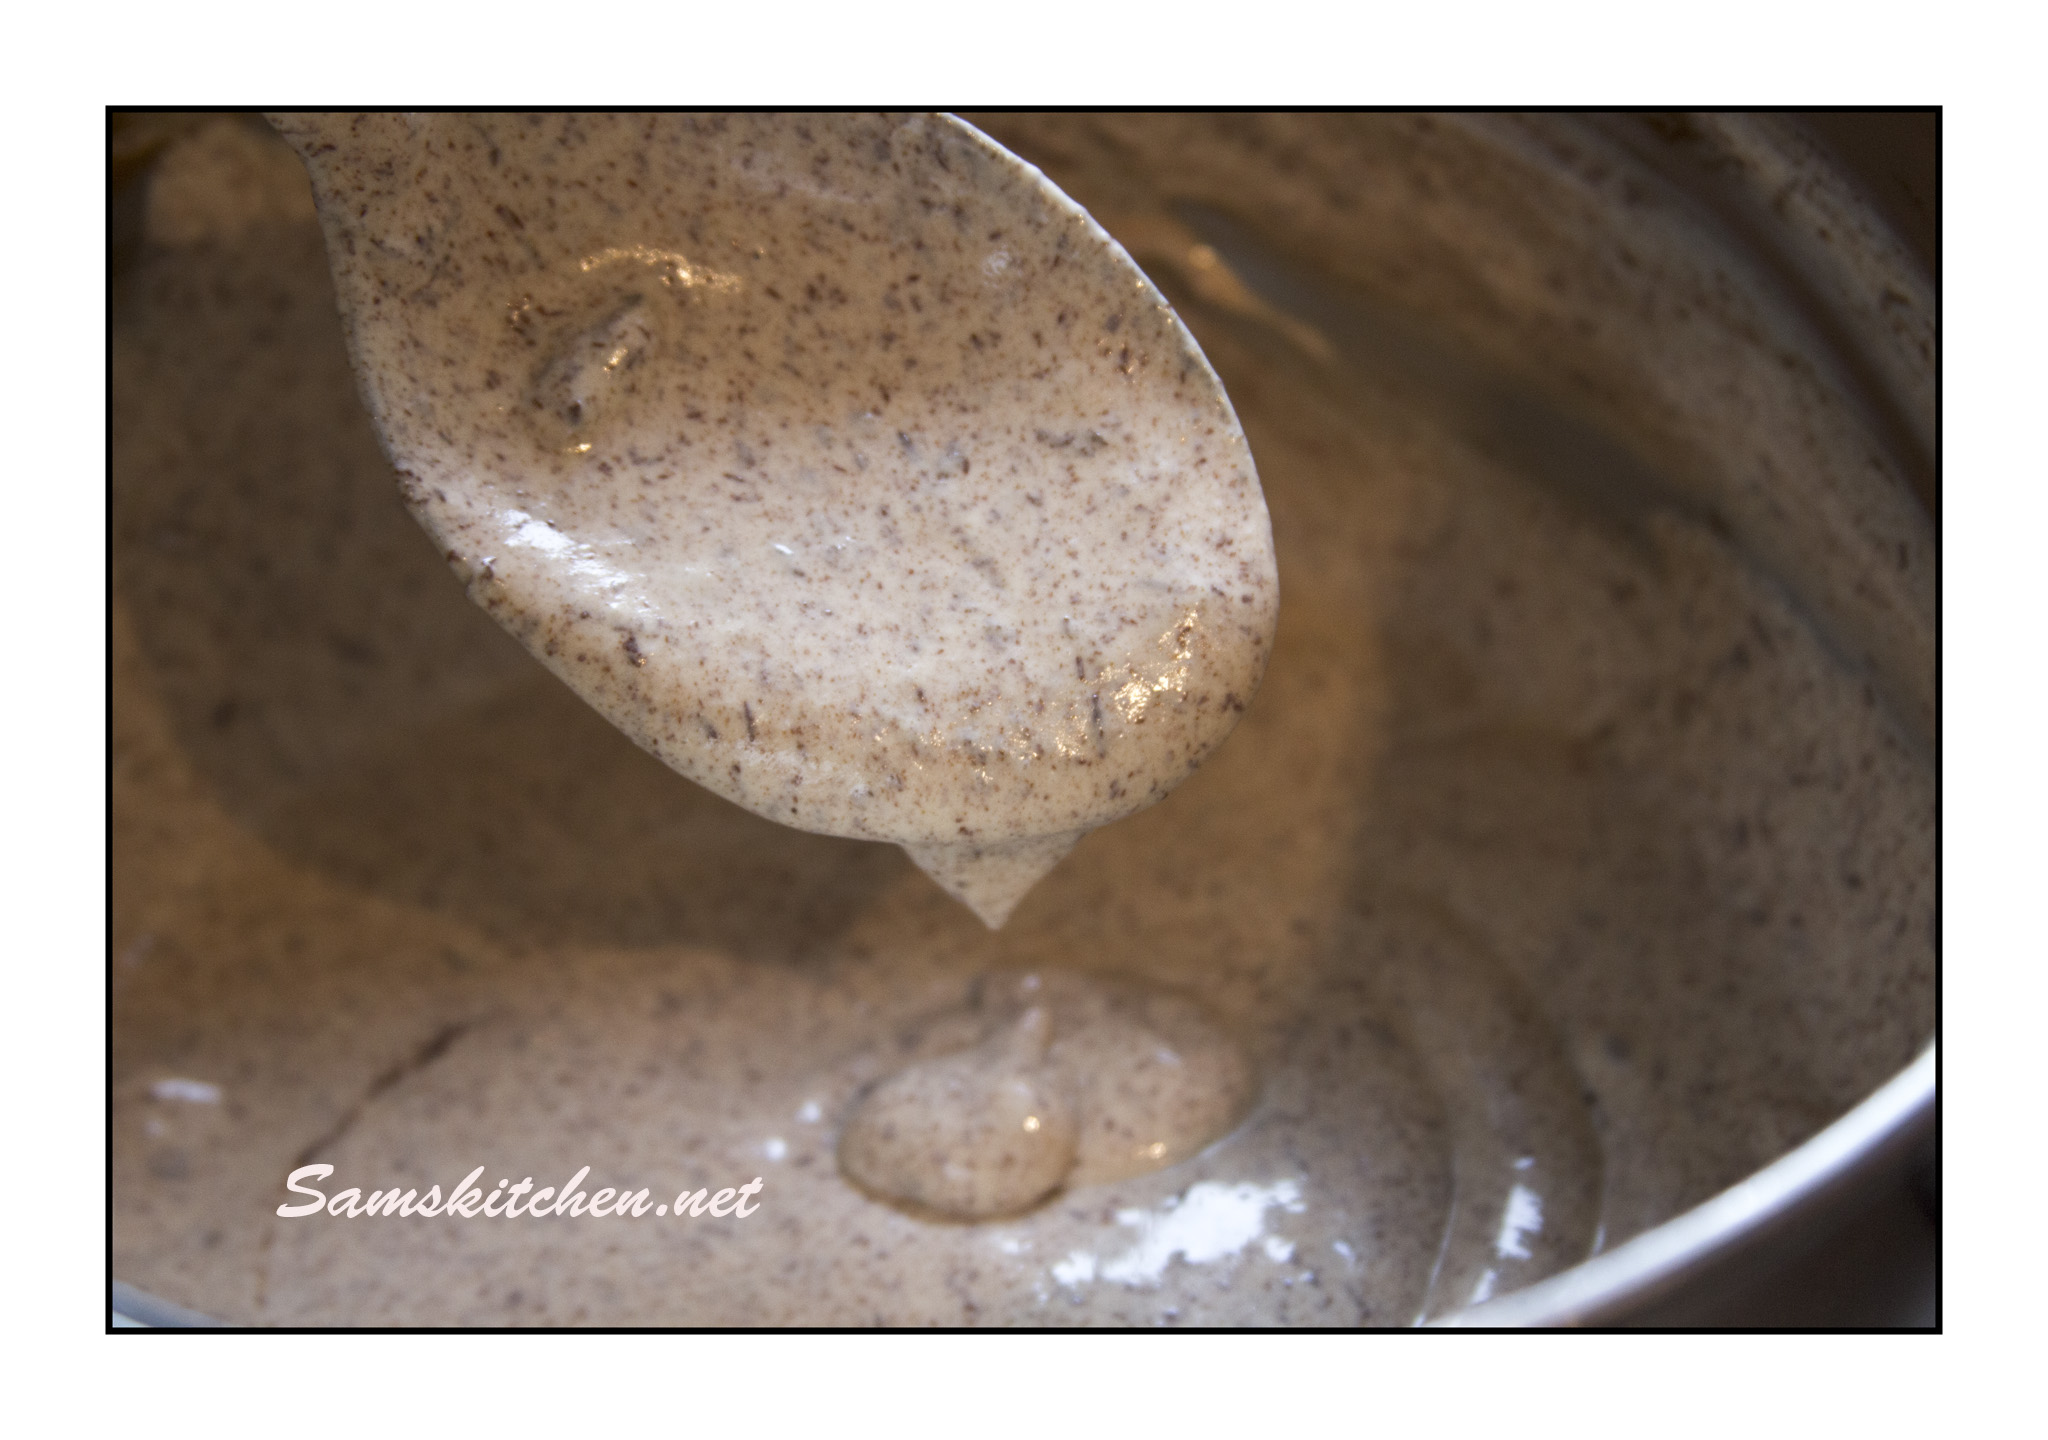
  1. In the bowl of your mixer or a mixing bowl, place the cream cheese, mascarpone, sugar, sieved flour, & Amaretto. Mix until everything has combined well. Add the eggs in 3 additions, mixing between each. The mixture can look a bit lumpy at this stage, don’t worry just keep beating and it will go lovely and smooth and creamy.
    Amaretto cheesecake filling
  2.  Fold in the melted dark chocolate with a large metal spoon. It will have a speckly appearance. Spoon this mixture on top of the biscuit base and spread it out evenly, it almost completely filled my cake tin. Place the tin onto a baking tray and bake for 1 hour -1 hour 20 minutes. It’s cooked when the top is firm but there’s still a slight “wobble” in the middle.


  1. Remove from the oven when it’s cooked and allow it to cool completely in the tin. Place the cheesecake (still in the tin) in the fridge and chill for at least 2 hours. It will shrink away slightly from the sides, this makes it easier to remove from the tin.

Amaretto and dark choc

Sauce


  1. While the cheesecake is chilling you can make the sauce. In a small saucepan place the butter and sugar, heat it gently. Stir it constantly until it’s all melted and the sugar is no longer grainy, a small balloon whisk is very handy for this. Turn up the heat to bring the sauce to a gentle boil for about 2 minutes, it will start to thicken slightly.


  1. Remove it from the heat and keep stirring, add the cream and Amaretto then stir it through. Set the sauce aside to cool, it will thicken as it cools and can be used warm or cold with the cheesecake.


Decoration


  1. When you are ready to serve, carefully remove the cheesecake from the tin. Drizzle with some of the sauce and put the rest of the sauce in a jug to be added later if you want more. Add grated chocolate or amaretti biscuits to decorate. ♥

Amaretto & Dark Choc


The sauce is also fabulous with ice cream and waffles and over cake, so making double the quantity is always a good idea! It will keep for a week or so in the fridge.

Amaretto cheesecake sauce jug

Nectarine & Amaretto Sorbet

Amaretto bottleSome things just remind you of summer and care free times, or may be it’s just the alcohol in this that does it!

This bottle of Amaretto was brought on our first wedding anniversary in Sorrento, total bliss and after several (!) years we still haven’t drunk it all, quite amazing really!

We just happened to have some nectarines ripe and I thought they would go perfectly together, and they did………

Nectarine & Amaretto Sorbet

6 just ripe nectarines

150g caster sugar

750 ml water

4 tbsp. Amaretto

Bring the sugar & water slowly to a gentle boil. Allow to boil for 5-10 minutes stirring occasionally, until the water starts to turn slightly syrupy. Remove from the heat.

Chop the nectarines into chunks (either with or without the skin, the skin gives a pretty fleck to the sorbet, without means a more smooth finish). Add the flesh and the Amaretto to the slightly cooled sugar water and blitz in a processor until smooth.

Place in the fridge until completely cold. Use an ice cream maker to churn until the freezing process is under way (the sorbet will be starting to freeze but will still be slushy) then quickly transfer into a sandwich container and freeze.

If you don’t have an ice cream maker just make sure you give it a good stir round once it’s been in the freezer for 2 hours and again after another 2.

Works well as a light pudding or between meal courses. I like it best whilst sitting in sunshine in the garden! Enjoy ♥

Nectarine Amaretto sorbet

Cappuccino Biscuits

Cappuccino biscuits cocoaI love coffee but rarely make coffee flavoured things as I am surrounded by tea drinkers (I love tea too!) I suppose that is the perfect excuse to make something and scoff the lot really!

Anyway, in need of a coffee fix I made these which to my surprise were rather liked by Gav (darn must add more coffee next time!).

They are not overpowering in flavour but strong enough to know it’s coffee with a creamy centre, perfect with a cup of coffee of course!

Cappuccino Biscuits

For the biscuit bitCappuccino biscuit tray

125g soft spread or butter

55g Soft brown sugar

155g plain flour sieved

1 tsp Instant coffee ground finely (I used my pestle & mortar)

For the filling bit

40g soft butter

80g icing sugar, sieved

1/4 tsp finely ground instant coffeeCappuccino biscuit fillingl

1/2 tbsp milk

1/4 tsp vanilla bean paste or vanilla extract

Makes 18 complete sandwich biscuits (1.5″/3.5cm diameter cookie cutter)

Biscuits

Cream the butter & sugar together until light & fluffy.

Add the flour & coffee and mix through until combined and smooth. Place the ball of dough in clingfilm in the fridge for at least 30 minutes.

Preheat the oven to 190°C fan 170°C gm5

Line/grease 2 baking sheets.

Roll out the dough on a floured surface (add flour as needed because the dough can be quite sticky). Once evenly at a thickness of about 0.5cm then cut out the cookies, I used 1.5″/3.5cm diameter cookie cutter. Continue to re roll all the dough and cutting cookies until all used.

Place on the baking tray with a little space around them and bake for about 12 minutes until they start to turn a light golden colour. Remove from the oven and cool on a rack.

Cappuccino biscuit cool

Filling

Beat the butter until soft & creamy. Add the other ingredients and slowly beat together. Once combined increase the speed until the frosting is smooth & creamy.

Cappuccino biscuits 

Once the biscuits are cool spread or pipe the filling into the centre and top with another biscuit. Sprinkling of cocoa optional! ♥

Cappuccino Biscuits love

Sam’s kitchen Gnocchi

Gnocchi 6Gnocchi (little potato clouds)

I made these for the first time many years ago and we all love them, they’re great with a sauce or really plain with olive oil and black pepper. Serve as a starter or main, really versatile and not hard to make. My first attempt, I remember, was all rather messy! But that has never deterred me and I have managed to gain a method that is not quite as messy (making no promises here that you won’t have clearing up to do!) & is delicious. Please note this is my interpretation of gnocchi and may differ to an authentic Italian dish.

Ingredients

Approx 600g of mashed potatoes (peeled, diced, boiled until soft and then mashed)

200g plain flour (plus some extra for dusting)

1 egg beaten

Serves 4-6

Gnocchi 1Once you have mashed the potatoes and banished the lumps, add the flour and about half of the beaten egg.


Mix really well with a wooden spoon until combined. The mixture should all come together like a dough if it looks a little dry (you don’t want it looking like it has cracks) then add a little more egg. By the same token if it’s really sticky it will be really hard to work with, so add a little more flour.


Gnocchi 3

Gnocchi 2


Gnocchi 4

Divide into 4 pieces and roll each one out to a long sausage shape, make sure you have flour on hand to add a light dusting if things are sticky. The diameter should be about 1.5-2 cm. Then using a teaspoon as a knife (I know crazy right?!!) slice into pieces 1.5-2 cm across.


Gnocchi 5Gnocchi 6

Then using a fork, gently press the prongs into the surface of one side of the gnocchi. This will give you that iconic gnocchi look and also will help the sauce adhere to the surface better, so a win, win situation.


Gnocchi 7


I find it best to lay them out on a lightly floured board not touching as they will stick together otherwise.


Gnocchi 8


When you are ready to cook them bring a large saucepan of water to boil. Gently drop the gnocchi in, you can cook in batches, they are cooked in just a few minutes and you know they’re done when they float to the surface. I use a slotted spoon to remove them.


You can smother them in sauce and eat them, or bake them loaded with sauce & mozzarella which is what I usually do with them. My personal favourite is with a drizzle of olive oil, a twist of black pepper and a generous grating of parmesan, perfect! ♥

Baked gnocci

Parmesan & Sundried Tomato Scones

Parmesan & Sundried Tom Scones2I was recently having a little afternoon tea for a family getogether and thought I’d make some savoury scones for a change.

I decided to include some of my favourite things, cheese & tomatoes.

The results tasted absolutely scrummy!

My friend Dor https://www.facebook.com/la.difference.catering suggested spreading them with Philadelphia, well it’s a match made in heaven!

Ingredients

225g self raising flour

Pinch of salt

75g soft butter/spread cut into cubes

40g parmesan grated plus a little extra finely grated to sprinkle on the tops

4 sundried tomatoes chopped (if in oil then dry slightly on kitchen towel)

1 tsp dried herbs (I used basil & oregano)

1 egg beaten

2 tbsp buttermilk plus a little extra to brush the tops

Preheat oven 220°C (fan 200°C)

Grease/line a baking tray.

Makes 9 regular sized scones (2”/5cm) or 15 smaller ones (1.5”/4cm)

Sift the flour into a large bowl. Add the salt and stir through. Add the butter and rub with your fingertips until evenly distributed and like breadcrumbs. Add in the cheese, tomatoes & herbs then mix.

Next you need to add the wet ingredients, the egg & buttermilk. Scone mix is best handled as little as possible so I use a palette knife to cut/mix through and then bring all together with my hands.

Roll out on a lightly floured work surface to about 1” (2.5cm) thickness.

Cut out with your chosen cutter and place on the baking tray. Re-roll the leftovers and repeat until you’ve used all the dough. Brush the tops with buttermilk and sprinkle with cheese.

Parmesan & Sundried Tom Scones


Bake until risen & golden (about 10-12 minutes). Cool on a rack or enjoy warm.


They’ll last a couple of days, you can warm them through in the oven before serving. Enjoy ♥


Parmesan & Sundried Tom Scones3

Vanilla Crumblies

Vanilla Crumblies We are all big vanilla fans at home so I get through a fair amount of the good stuff, either extract or my new love the vanilla bean paste mmmmmmmm.

A few months back I made pinenut cookies (pignoli) and I loved them but Gav & Frey were not so keen so I thought I’d make a similar thing but with vanilla.


Vanilla Crumblies overviewThey are so delicious and really easy to make. The vanilla content is up to you but I like things real vanillary, so just adjust according to your taste. The texture is like a fine shortbread biscuit so I felt this name was appropriate!

Vanilla Crumblies

225g soft butter/spread

65g icing sugar

1-1.5 tbsp vanilla extract/bean paste (Depends how vanillary you want them)

320g plain flour sieved

A small bowl with icing sugar for dusting after baking

Makes about 40

Vanilla crumblies Dough


Cream the butter & sugar together until light & fluffy. Add in the rest of the ingredients (but not the bowl of icing sugar for dusting later) and mix until well combined. Bring together in one big ball of dough and wrap in clingfilm and place in the fridge for at least 30 minutes. You can make this a few days ahead then bake as needed.


Vanilla crumblies dustingWhen you are ready to bake preheat the oven 180°C(fan 160°C). Grease or line baking trays. Roll small piece of dough into a ball (mine were about 1.5 heaped teaspoons) and place on the baking tray, they only spread a little so 12 on a standard size tray is fine. Bake for 15-20 minutes.


Vanilla Crumblies row


The tops will be pale but the bottoms should be a nice golden brown. Place the whole tray on a cooling rack for 5-10 minutes then roll each cookie in icing sugar and place on the cooling rack.

They will keep in a tin for a few days, if they last that long! Enjoy ♥


Vanilla crumblies 1

Sams Amaretti Biscuits

amaretti stackAs you may know I just lurve all things Italian, I have a soft spot for those gorgeous delights that are Amaretti biscuits. I thought I’d have ago at my own. Really simple & only a few ingredients, just 3 (well 4 if you dust with icing sugar).

I piped the shapes onto the baking tray which may be the reason they resemble….well I’ll leave that to your imagination.

So call them what you will amaretti, venus mounds or just biscuits they’re worth a few minutes baking!

They went down a real storm at home, hope you like them too.

Printable recipe below 

amaretti

Amaretti Biscuits

150g ground almonds

100g caster sugar

2 egg whites

Icing sugar for dusting

Preheat oven to 180°C (fan 160°C)

Put the ground almonds & half the sugar in a large bowl and stir together.

Whisk the egg whites until they have stiff peaks then add the rest of the sugar about a teaspoon at a time while the mixer is whisking. Fairly swiftly until all mixed in & glossy, don’t whisk for too long.

Fold the egg whites into the almonds until just combined and spoon the mix into a piping bag.

amaretti raw

amaretti raw overhead


Pipe blobs of the mix onto a lined/greased baking tray, it’s fairly stiff so will take a bit of muscle! Mine are approx 1.5” (3.5cm) in diameter.


Leave a little space between them (they don’t spread much) then dust with icing sugar and bake for about 15 minutes until golden.

Leave on the tray for 5 minutes then transfer to a cooling rack.

Enjoy ♥


amaretti1

Citrus Polenta Crunchies

citrus cruchies2These are a biscuit with a real crunch. Using polenta adds a grainy texture & I think it works really well with the citrus flavours.

Easy peasy to make and doesn’t take long at all. Strangely they are much nicer when they are cold and not warm out the oven as I usually like biscuits!

Printable recipe here


Citrus Polenta Crunchies

Ingredients

85g polentacitrus polenta crunchies

50g s r flour

45g caster sugar

1 egg yolk

Zest 0f 1 orange & 1 lemon

50g melted butter

1 tbsp honey

Icing sugar for dusting


Preheat oven 180 C (fan 160 C)

Makes 12

Line a baking tray.

In a bowl place the polenta, flour & caster sugar and stir.

Stir the honey into the melted butter.

Add the butter mix, zest & egg yolk to the dry mix and bring together.

citrus cruchies raw


Form into balls (mine weighed about 20g each) squeeze the mix slightly so it sticks & stays together.

Place on the tray & bake for about 15 minutes until golden.


citrus cruchies5

citrus cruchies4

Allow to cool completely and dust with icing sugar.

They will last about a week in an airtight container.

citrus cruchies3

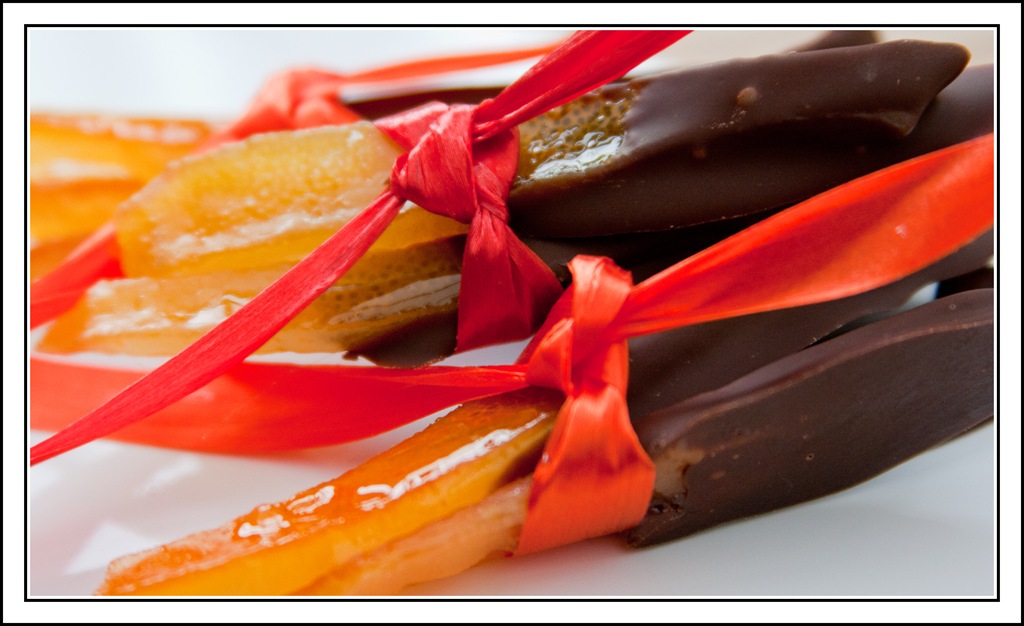
Candied Peel

peel2I thought I’d give this a go as I haven’t tried to make them before and they make nice little gifts or after dinner treats.

It’s pretty straightforward just a little time consuming.

They’re really moreish, so be warned!


Candied Peel

2 large oranges or the equivalent (I used 1 orange & 2 lemons)

140g caster sugar

½ litre water

50g chocolate whatever type you fancy


peel


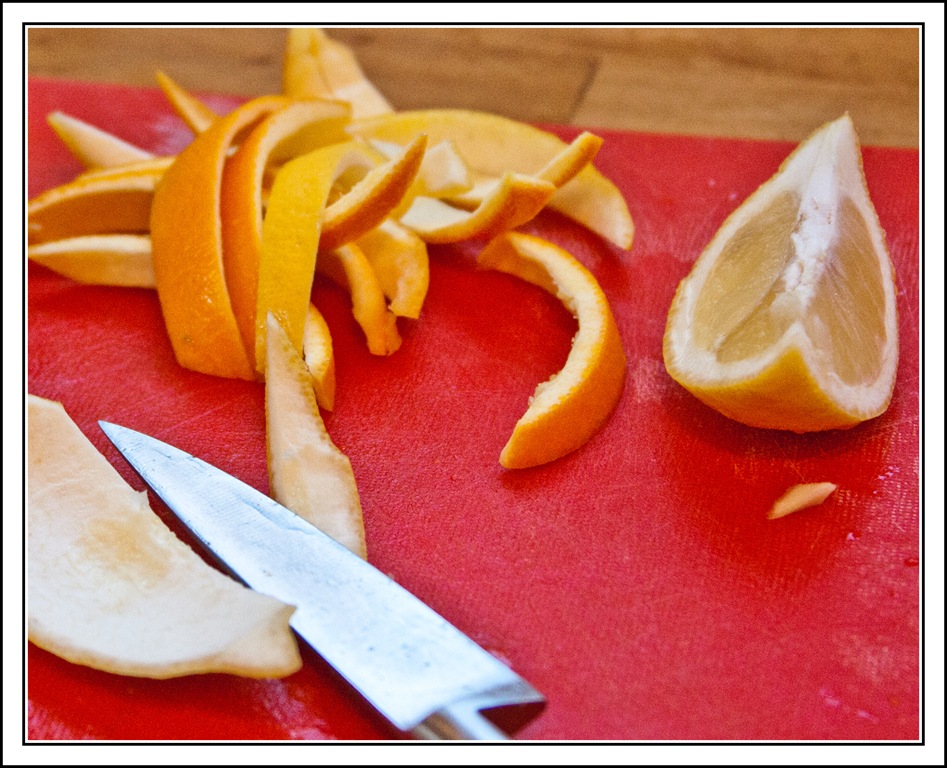
Cut the fruit into quarters, then remove the juicy flesh and as much of the pith as you can without ruining the peel.


Cut into ½ “ wide strips.


Place the water in a pan and the sugar and place on a medium heat until the sugar melts. Then boil for 5 minutes. Turn the heat down and add the peel, the pan should be simmering. Leave to simmer gently for about 1 ½ hours, stirring occasionally until the peel is very soft & the sugar water syrupy.

peel1

Remove the peel, dripping off the excess syrup and leave to cool on baking paper.candied orange


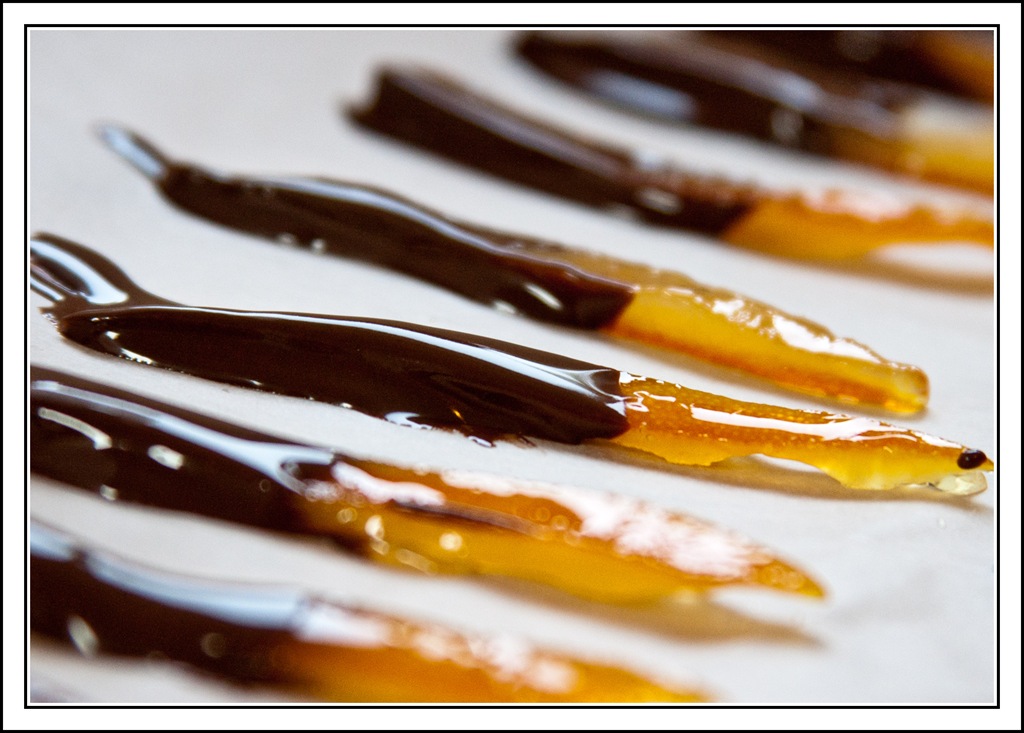
Melt the chocolate in your preferred way then dip one end of the peel in and place on baking paper until set.


peel3

These make great after dinner treats or gifts. My only problem with them was they’re VERY sticky!


peel4