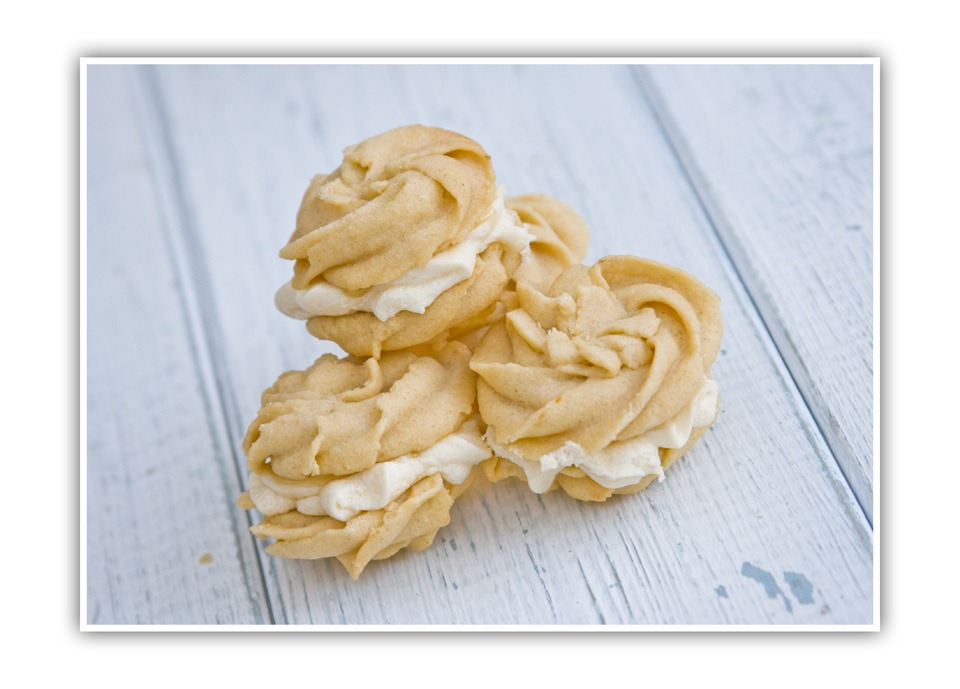
Bakewell Traybake

Bakewell closeI love Bakewell tarts and generally the almond flavour in things and thought I’d have a go at making a traybake spin on a classic.


There’s obviously a few steps to this but it’s worth a little effort.


Sweet, almondy, cakey, jammy, shortbready well it’s got it all!

Bakewell Traybake

Shortbread base bit

185g soft spread/butter

75g caster sugar

260g plain flour

5-6 tbsp raspberry jam

Cake bitBakewell tray

200g self raising flour

1.5 tsp baking powder

175g soft spread/butter

175g golden caster sugar

50g ground almonds

4 eggs beaten

Optional a few drops of almond extract or flavouring

Icing bit

250g icing sugar

2-3 tbsp water

Glace cherries

25g Flaked almonds

Grease/line a traybake tin, mine measures 30cm x 20cm.

Preheat oven 180°C (fan 160°C) GM4

Shortbread base bit

Cream the spread/butter & sugar together until light & fluffy. Stir through the sieved flour and bring everything together to form a sticky dough.

Press out to flatten then transfer to the traybake tin. Gently press the dough into the base until it is evenly covered, place a sheet of greaseproof paper on top and gently ease it if it sticks to your hands.

Prick over the base with a fork and bake for 15-20 minutes until evenly golden.Bakewell base

Cool on a cooling rack in the tin for about 15 minutes then spread the jam on top so there is a thin even cover.Bakewell Jam


Cake bit

Cream together the spread/butter until light & fluffy. Next add the eggs, sieved flour & baking powder.

Then the ground almonds and almond extract (to taste) if using. Mix until all well combined. Gently spoon on top of the jam layer. Smooth over so there’s an even coating, try and do this without spreading the jam around too!

Bake for 25-30 minutes until a skewer comes out clean when inserted in the middle.

Allow to cool completely in the tin on a cooling rack.

Icing bit

Bakewell singleMix together the icing & enough water to make a spreadable but not too runny icing.

Spread across the top of the cooled cake and then dot on the glace cherries and almonds (I toasted my almonds in the oven for a few minutes as I like the flavour).

Allow the icing to harden before slicing and enjoying ♥


Bakewell cut above

Sugar Art Hearts (perfect for Valentine’s Day)

red heart cakeI’ve had this idea of heating sugar to get that glassy/jewel look for a while. Well at last I gave it a go. Three attempts in and I produced these beauties.

Three attempts because I tried a sort of freehand heart a few times first and that didn’t go too well.

I adore them. I love the shape (well of course) the fact that each one is unique, with colour air bubbles & variations, like a snowflake (but clearly considerably warmer to produce!)


Here’s how I did it, it’s easy, doesn’t take long and the results are so fab.


I used my grill pan, removed the rack bit and added a few sheets of kitchen roll, this helps to get the cutters in a groove.

Above viewNext I laid on some kitchen foil. I brushed this with a fine coating of vegetable oil. Oil the inside of the cutter, I found this easiest by using my finger dipped in oil. Then lay on your cutter (metal obviously not plastic as this would just melt under the heat).

I used hearts & had a go with the Eiffel Tower. Fiddly bits on a cutter can prove to be a problem (see Eiffel Tower results if you don’t believe me!). So I would stick to shapes without too much details & skinny bits as the sugar is brittle.

Eiffel 3Eiffel 1Eiffel 2

First go at the Eiffel tower, oops nearly got it out.

Second attempt, I am just loving that red colour! But ooops, this is smashing!

Third time lucky…………..nearly there’s a tiny break right near the top doh!

Red sugar


I heated my grill to max and while waiting for it to heat up, I made sure the cutters were pressed in firmly into the foil (this is when it helps to have the kitchen paper underneath) When the sugar melts it can seep under the cutter edge, having it in a groove helps if this happens.

I spread some sugar in the cutters, so there’s about 2-3 mm evenly spread sugar.


I experimented with several different types of sugar to try them out and see if one was better then the others.

Brown sugar didn’t work too well at all.

Coloured sugar (shimmer sugar sprinkles) worked quite well and gave a sort of opaque shimmer look.

I coloured some caster sugar with red gel paste to achieve this fabulous deep red.

I loved this and also the plain granulated sugar. That gave me results that remind me of amber, which I love and have several pieces of jewellery containing (amber not sugar of course).

Pink shimmer cakes  Pink shimmer

Top tip. Do not leave the grill pan unattended, the sugar goes from not ready to burnt really quickly. The whole process takes a few minutes and you remove it from the heat when you’re happy with the colour.

It is VERY HOT so be careful. I placed the whole grill pan on a cooling rack and left it to cool completely before attempting to remove the shapes from the moulds.

Redhearts slateSugarheartart

When they are cool, gently stretch out the cutter, working your way around the outside. Don’t bend the cutter so hard that it goes out of shape but a little pressure helps loosen the sugar shape inside. With a bit of careful jiggling (that’s a technical term) it should be released. You can use these for cupcake decorations, big cakes, cookies, or just to say I love you ♥
Love is in (2)

Enough Food For Everyone IF

As you probably know I am passionate about food, the thought that people in the world are dying from hunger is appalling and very wrong.IF-BB-200x200

Please support the Save the Children campaign by signing the petition & spreading the word.

Please spare one minute to watch the video


WHAT YOU CAN DO IN:

30 seconds – sign the petition: www.savethechildren.org.uk/enoughfoodif

2 minutes – follow on social media & share the campaign link with your friends using the hashtags #if and #tellamillion

@savechildrenuk

www.facebook.com/savechildrenuk

http://tellamillion.tumblr.com/

5 minutes or more – help #tellamillion that there’s enough food for everyone

Thank you

♥
Basic White Bread

Bread & basketI make quite a bit of bread, it’s one of those things that gets devoured really quickly round these parts!

I often get asked for a recipe and this is the one I use and sometimes make look fancy (well I try!) and sometimes add different ingredients to (herbs or seeds etc) and sometimes use different flours.


plaited loaf


If you’ve always wanted to have a go at bread, go on give it a go, it’s one of my favourite things to bake, you can get all touchy feely with the kneading you watch it “grow” it’s a wonderful thing to create and also scoff.


This a good place to start and then you can customise to your hearts content once you’ve mastered the basics. So go on bling your bread!Cottage rolls

Basic White Bread Dough

500g strong white bread flour

7g fast action dried yeast

1 1/2 tsp salt

*300-335 ml tepid water

In a large bowl or the bowl to your mixer place the flour. Stir through the yeast, then the salt. Add the water. *The amount will vary depending on the flour type, better to add 300ml then add as needed. The dough needs to be slightly sticky.

Mix together until mostly combined. Then tip out on to your work surface. Knead, starting slowly. Kneading techniques vary, I find it easier to hold with the heel of one hand and push away with the heel of the other, then roll back up and do a quarter turn.

Practise is the best thing and you get better & faster with time. Using your dough hook & mixer at a low speed for 5-10 minutes saves you the hard work, but I rather enjoy the workout sometimes!

Spikey loaf

Knead for about 10 minutes until the dough is lovely and smooth & elastic. Leave in a bowl with oiled cling film over the top. It will need to develop and rise so it is double the size and can take 1-2 hours at room temperature.

Knock back the dough (knock the air out of it by punching it or dropping it on the work surface) and then shape as required using a little flour to stop it sticking.

Place on a greased or lined tray and loosely cover with oiled cling film. Preheat the oven, I tend to use it at 230°C (fan 210°C) GM8 for a loaf and a little lower for rolls.Split tin

Leave to prove for 30-60 minutes until about double in size again.

Before baking a loaf you can dust the top with a shake of flour and slash with a sharp knife.

To achieve a nice crust I spray water into the oven when I put the bread in (with a garden type mister) before you do this I suggest you check your oven manual.

A large loaf will take about 30 minutes, rolls about 15 minutes. They should be nicely coloured and have a hollow sound when you carefully (it’s hot!) tap the bottom.

Leave to cool slightly, mine is usually all gone as soon as it’s cool enough to handle. Enjoy ♥Rolls poppyseed

Confessions of a food blogger……

Eton-Mess-line


Well you may know that I love food. I love eating it, baking it, thinking about it.

I started writing up recipes & ramblings just over a year ago and it seems to have taken over.

If you have a similar obsession I’m sure you’ll be able to identify with one or all of the following.

Marking the end of 2012 and chomping at the bit for 2013 to start!


Xmas bun treeYour camera has attachments that are really not supposed to be there, ie. icing sugar, dough, flour etc.

My last camera has been “retired” mostly due to the on/off switch being clogged with stuff. I had to blow down it to switch it on, not good!


Food has to be photographed before being eaten, so meals can sometimes be a little on the cold side

Mostly I photograph the sweet things so it’s not so bad, see I’m looking at the positives!


If you allow something to be eaten that’s just baked it’s always the burnt/ugly/misshapen one

Well that just makes sense, right?!! At least until the photos are taken.peanuthoneyclose

You dream of food and wake up buzzing with ideas or hungry or both

Sad but true. I do have great ideas while asleep or semi conscious, sadly not all remembered……Trufflenutter

Where you sit when you eat out needs to have enough natural light to ensure a great photo for your Twitter/Facebook/blog page or you have to carry the plate to a window/outside to achieve aforementioned photo!

Don’t eat out that often, but when I do I often find I’ll be “styling” the food so it looks good! bourbons2_thumb1

No pieces of paper with any scrawling can be recycled until they’ve been scrutinised to ensure they don’t contain that amazing recipe or ingredient list that you can’t live without.

Just can’t risk it, recipes in chaos but I tend to have to write on what’s at hand at the time, albeit an envelope, cardboard box etc.

Millionaires-shortbread_thumb1

When asked to describe yourself it usually starts with I love food………..

Here’s to another feast & friendship filled year. Thanks for all your lovely messages and for taking the time to stop by and say “Hi” from time to time. Without you I’d just be talking to myself (actually I do that too already!) ♥

cake-2

Dog Biscuits

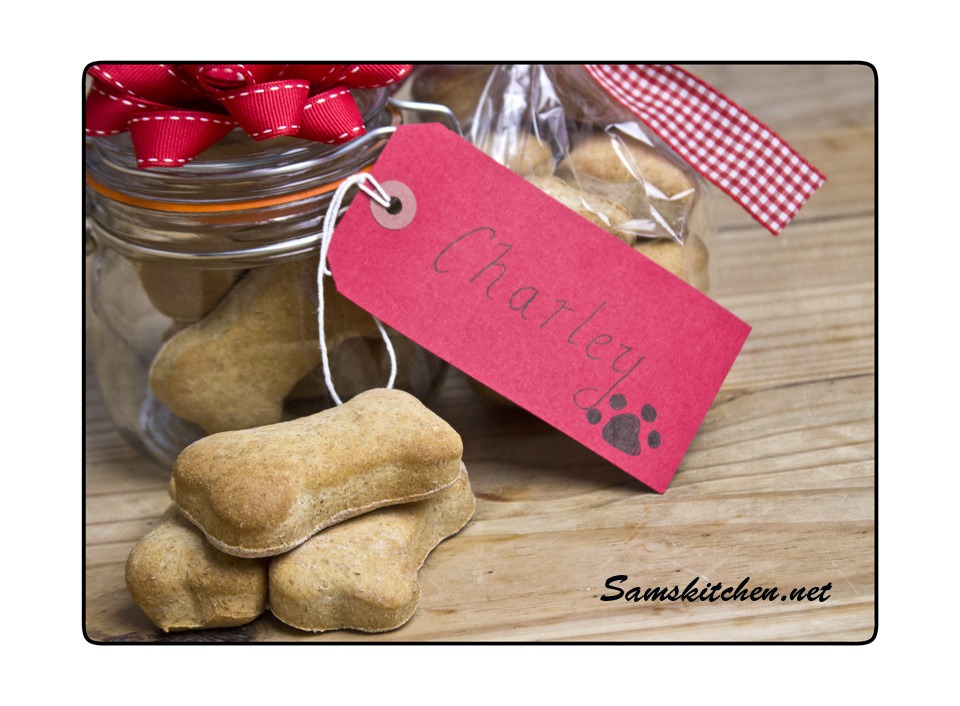
dog bics1For the last few years I’ve been making these biscuits for my parents dog Charley for Christmas. He’s a fussy little beggar but he seems to really like these! I usually put them in a jar and they will last for several weeks that way.

Dog Biscuits

200ml Very hot water (not boiling or you may burn yourself)

80g soft butter or spread

65g milk powder

1/2 tsp salt

2 tsp granulated sugar

1 beaten egg

435g wholewheat flour

Preheat your oven to 170°C (fan 150°C) GM3

Conversion chart courtesy of Delia http://www.deliaonline.com/home/conversion-tables.html

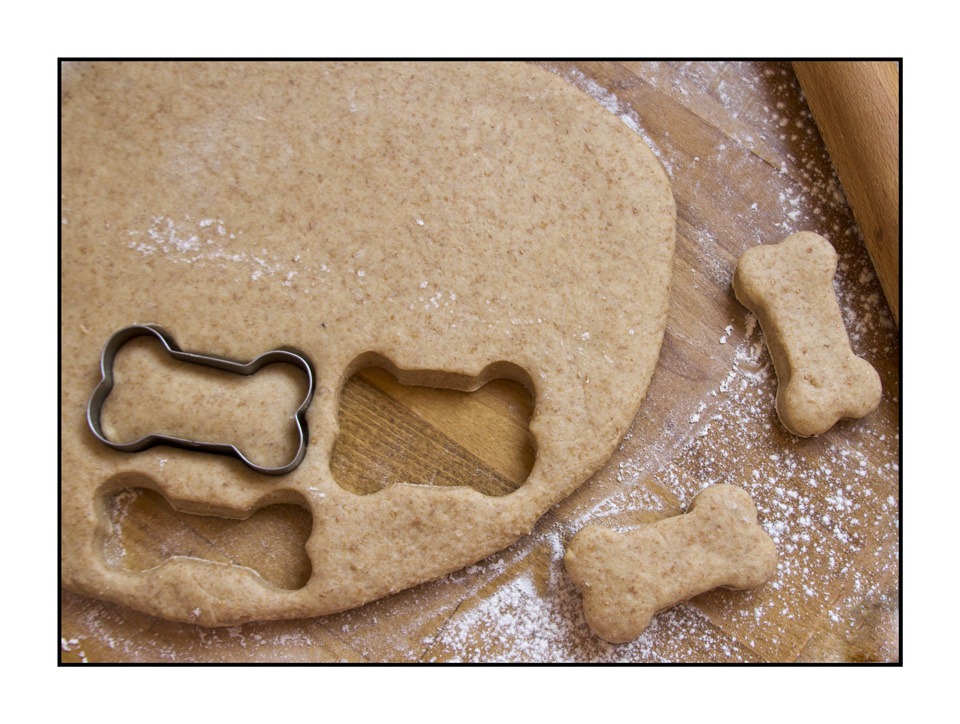
Dog bics cutoutsPlace the butter in a large bowl pour over the water and stir briefly with a wooden spoon. Add the milk powder, salt, sugar & egg. Then add about a third of the flour mix well, then add half of the remaining flour and mix again, then the rest of the flour. Bring the mixture together with your hands and knead for 3-4 minutes on the work surface.

Shape into a ball then flour your work surface and roll out the dough until it’s 1cm-1.5cm in thickness. Cut out the shapes with cookie cutters and place on a greased/lined baking tray.


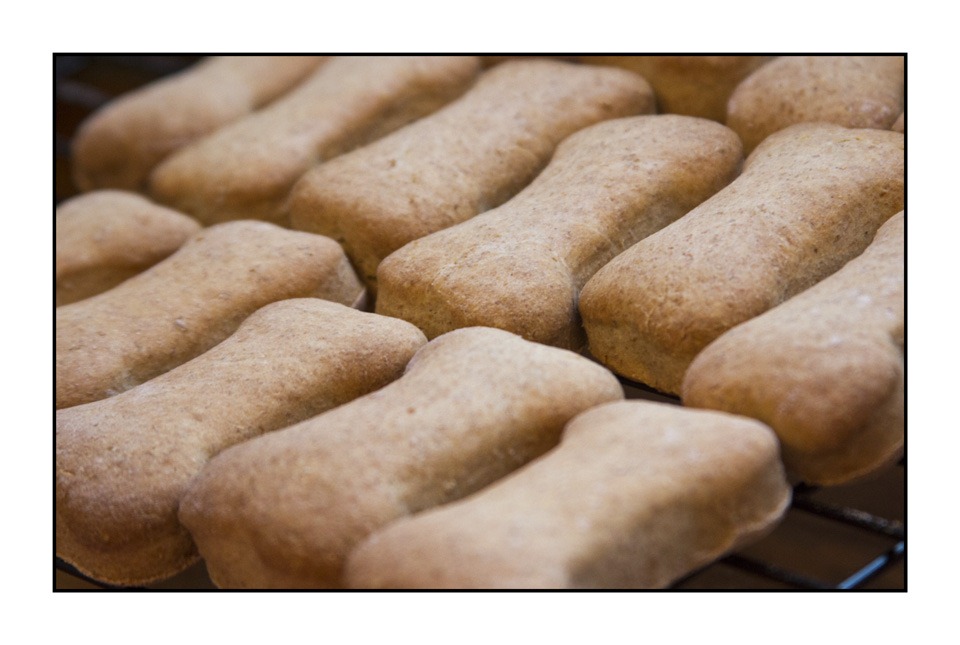
Bake for 30-40 minutes (depending on the size you cut) until they are firm to the touch and starting to turn golden.

Dog bics cool


Cool on a rack then bag up or place in a jar. The bone shaped cookie cutter I used was approx 7cm at the widest part and I made 18 biscuits with this quantity of dough. Hope your dog enjoys them! ♥

Dog bics

Christmas Tree Buns

Xmas bun treeI had this idea a few nights ago, you know when you can’t get back to sleep and keep thinking about food, or is that just me………..

These are basically a batch of Chelsea buns made all Christmasy. I think they’d make a great centre piece for a gathering or party. Believe me they won’t last long!


Christmas Tree Buns

Ingredients for the bun bit

500g strong white flour

225ml tepid milk

1 beaten egg

1/2 tsp salt

50g soft butter cubed

75g sugar

7g dried fast action yeast

Filling bit

175g mixed dried fruit of your choice (I used sultanas, currants & peel)

25g soft brown sugar

25g melted butter

2 tsp of ground spice of your choice (I used one of cinnamon & one of mixed spice)

The decoration bit

100g icing sugar

1 handful of glace cherries

I used the Dr Oetker shimmer spray for the gold star and some tiny edible stars scattered on.

You’ll need a star cutter, greased (the one I used was 8cm width at the widest)

A large baking sheet, greased

Xmas buns close

In the bowl to your mixer or a large mixing bowl place all the bun ingredients. Mix together until all combined either using the dough hook with your mixer or with good old elbow grease.

Knead for 5-10 minutes until the dough is smooth and elastic like. Leave to rest in a bowl covered with oiled clingfilm, preferably somewhere warm, until it’s about doubled in size. This takes 40 minutes to an hour.

Xmas buns rollKnock back the dough (knocking the air out) then roll out on a floured worksurface until you have a 30 cm square.


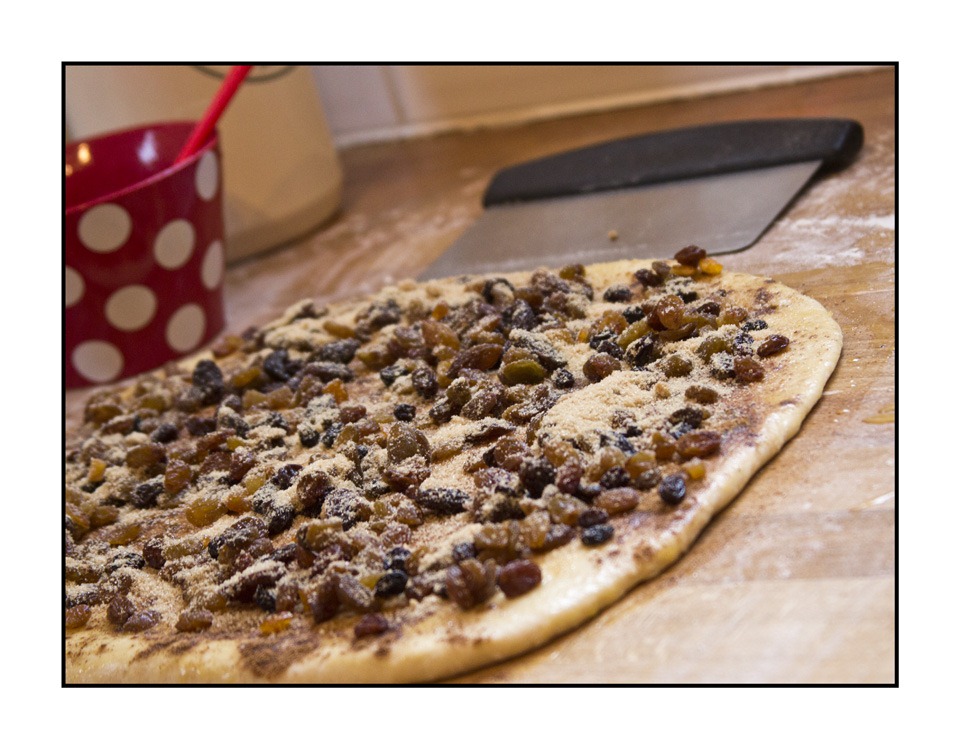
Brush the surface with the melted butter then evenly sprinkle over the dried fruit, spices & sugar.


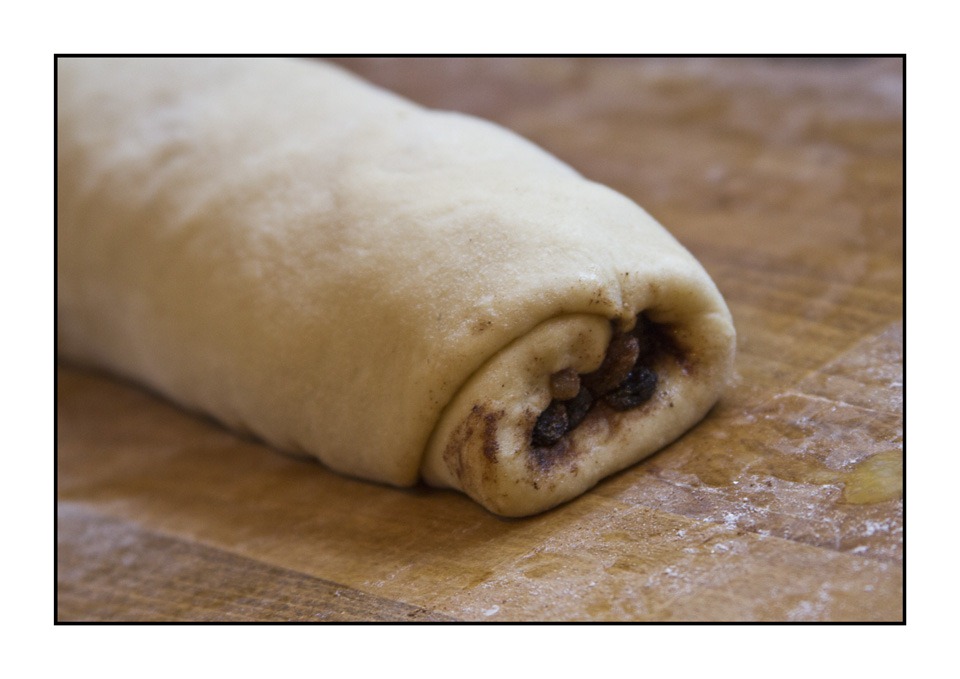
Xmas buns rolledRoll up the dough, swiss roll style and gently but firmly press the edges together to stop it unrolling. Then you need to slice it into 12 pieces of near equal size (one being slightly smaller then the rest is helpful for the “star”). The easiest way I have found is to cut the whole thing in half then each half again leaving you with 4 pieces then slice each of those into 3.


Xmas buns tray

Place the smallest inside the greased star cookie cutter, pushing the dough inside the points, then place on the baking tray then place one bun below this, 2 side by side under that, 3 under that and 4 under that. That leaves just one as the “trunk” placed at the bottom. Loosely cover with oiled clingfilm and leave somewhere warm to prove for about another 40 minutes until about doubled in size again. While this is proving preheat the oven to 200°C (fan 180°C) GM 6

Once they’ve proved, remove the clingfilm and bake for about 20 minutes until beautifully risen and a deep golden colour. Allow to cool.

xmas buns starGently ease the star bun from it’s cutter. To make the icing drizzle mix the icing sugar with a little water then either pipe over or spoon over. Dot with glacé cherries as “baubles” and add any other decorations you like. I also used a little spray of gold shimmer spray on the star bun. Will keep for a few days in a container. Enjoy ♥


Xmas bun tree

Salted Peanut Honeycomb

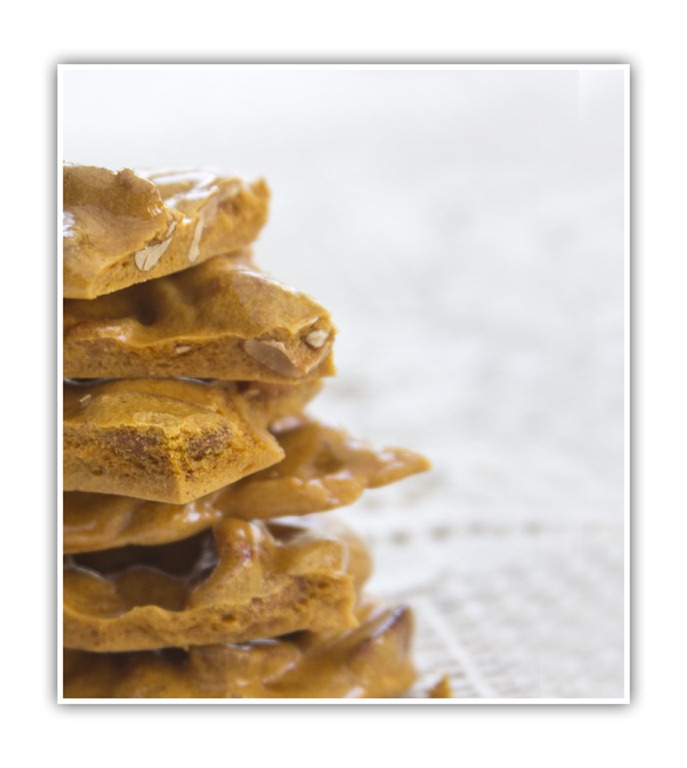
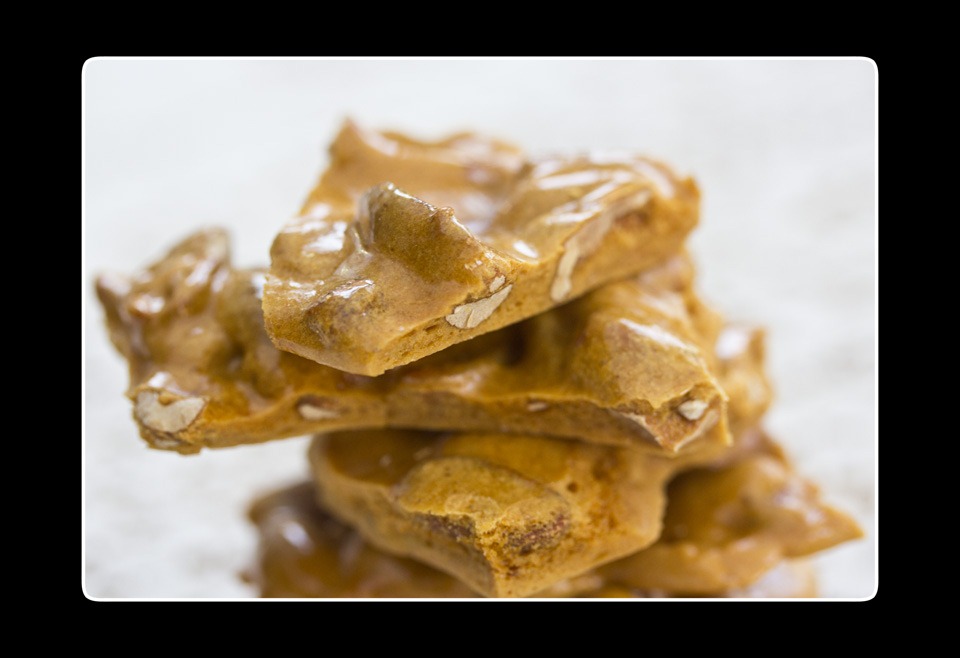
peanuthoneystackI made honeycomb for the first time not too long ago, it was divine to eat and I love the chemical lava style reaction you get when you make it!


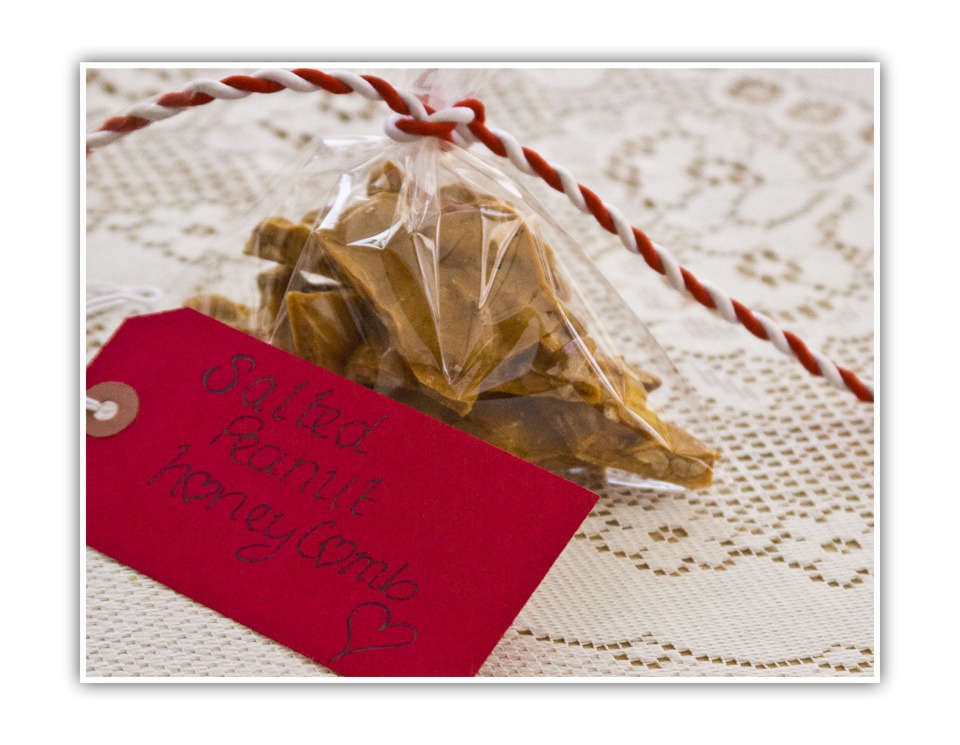
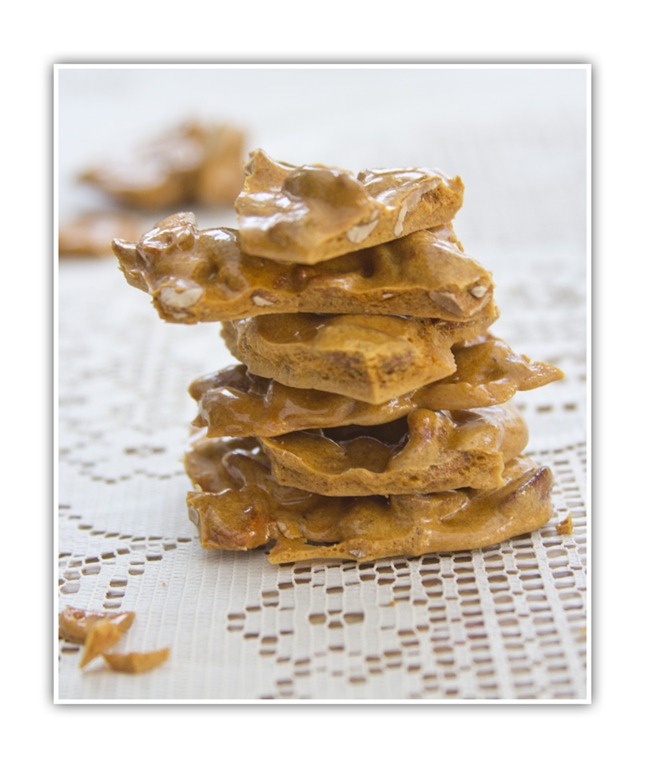
This combines sweet & salty which I think works so well. They can make a lovely present if bagged up and labelled. Lasts about a week in a container, but really best within 4 days. I had the tough job of taste testing each day, all for research purposes of course!


Be warned that this is wickedly hot and can have a tendency to splash if stirred with vigour! Don’t be tempted to lick the spoon soon after spreading it on the baking tray, it will seriously hurt.

Print the recipe here

Conversion for measurements here http://www.deliaonline.com/conversion-tables.html

Salted Peanut Honeycomb

Ingredients

100g granulated sugar

4 tbsp or 65g golden syrup

85g roasted salted peanuts

2 tsp unsalted butter

1/2 tsp vanilla extract

1/2 tsp bicarbonate of soda

Grease a baking tray with oil.

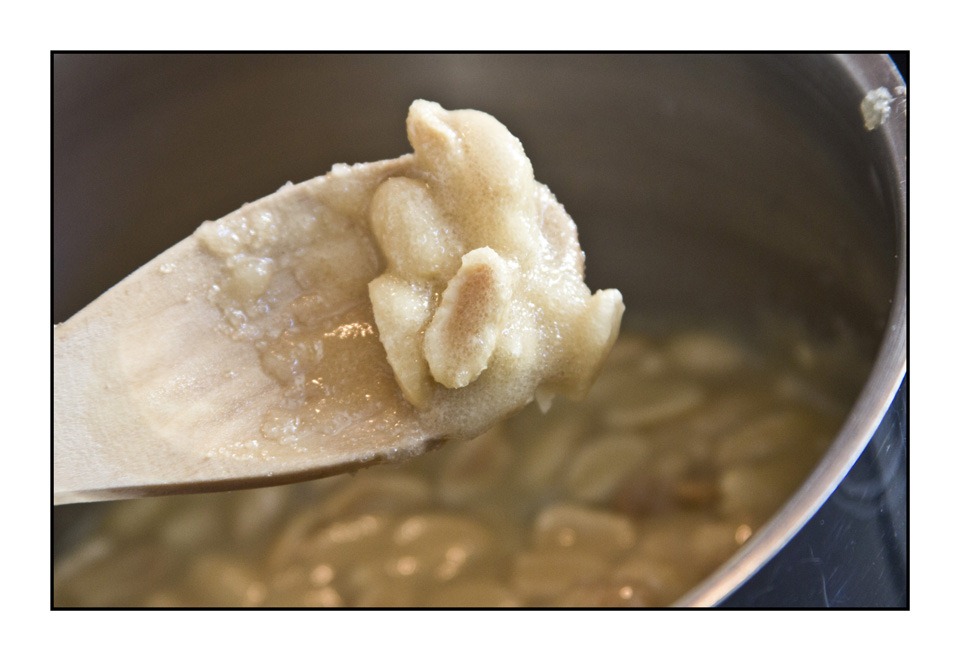
In a heavy based saucepan place the sugar, syrup, peanuts & butter. Heat on a medium heat and keep stirring to mix together until the sugar has melted.
peanuthoneypan

Turn up the heat to bring to a boil, keep stirring to stop it catching. Ideally you should use a sugar thermometer and when the temperature reaches 145°C remove from the heat. If you don’t have one then you’ll need to make sure it’s a deep golden colour.

peanuthoneyslab

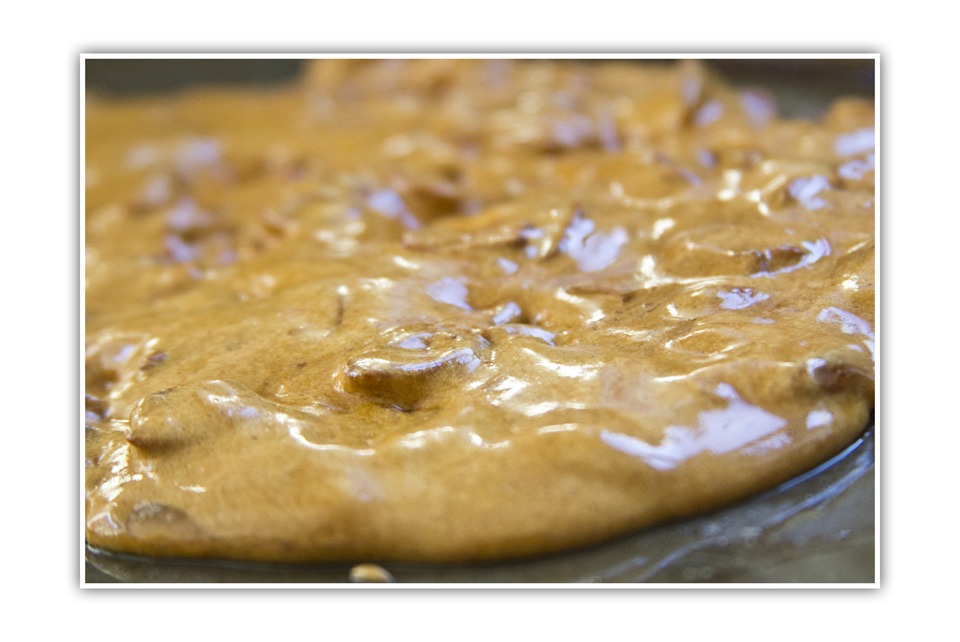
Throw in the vanilla & bicarbonate. This will make it fizz up, stir through then working quickly spread it out onto the baking tray. Leave to cool completely then break into pieces. Store in a container. Enjoy ♥

peanuthoneystackclose

Saltedpeantbags


peanuthoneyclose

Lemony Whirls

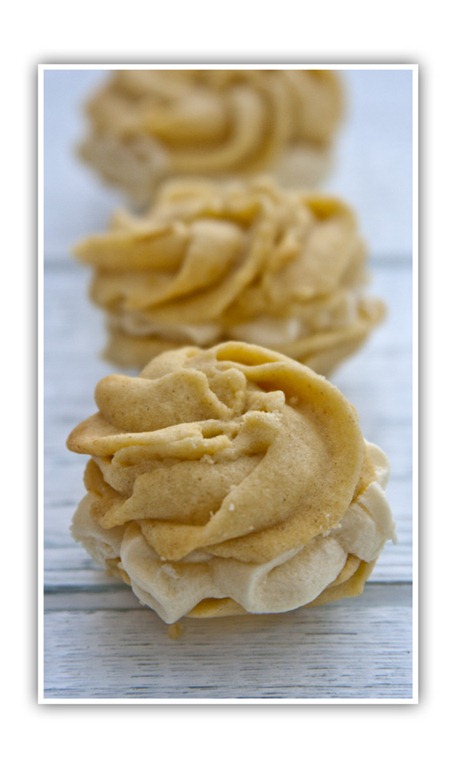
lemony whirls3I love the citrus zing of lemon or lime in cakes & biscuits, so decided to use my last lemon up on something special before it got that tired look in my fruit bowl!

They kind of melt in the mouth and are rather moreish as they’re not overly sweet.

I quite like the idea of making really tiny ones to sit on the side of a cup and saucer for after a meal, think they’d go nicely with a cuppa!

Print off the recipe HERE

Lemony Whirls

Biscuit bit

125g soft butter/spread

25g icing sugar

1/2 tsp baking powder

130g plain flour

Finely grated zest of 1 lemon

1 tbsp lemon juice

Filling bit

50g soft butter/spread

125g Icing sugar

1 tbsp lemon juice

Lemon curd (about 3 tbsp)

Makes 10 sandwiched whirls

Preheat oven to 170°C (fan 150°C)

Grease/line a baking sheet or 2 ready.

Biscuit bit

Beat the butter & sugar until light and fluffy. Add the rest of the biscuit ingredients and beat together well.

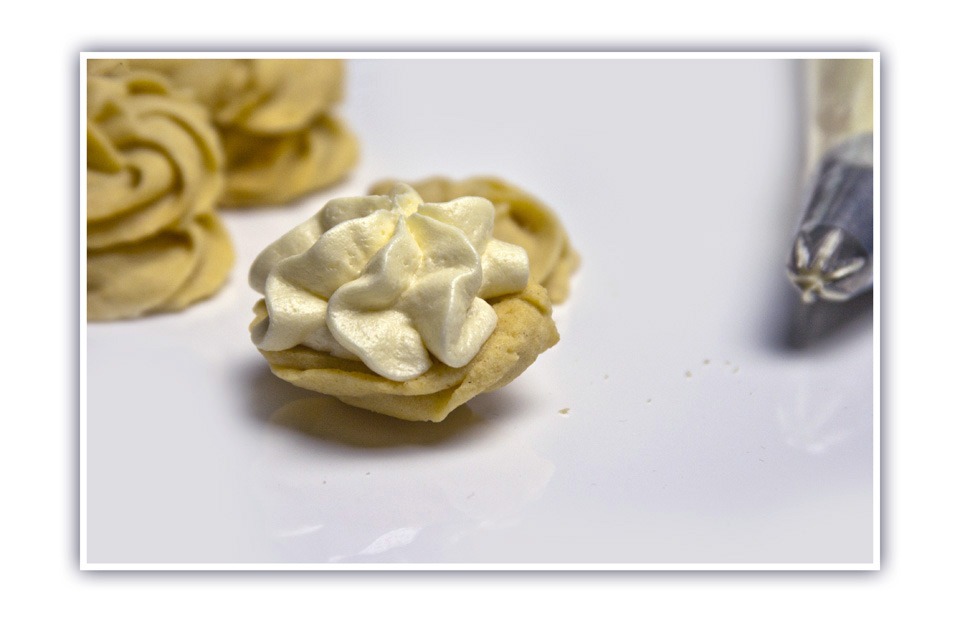
Fit a large rose or star piping nozzle into your piping bag and spoon in the mixture.

Pipe whirls about an inch/2.5 cm in diameter, be warned it’s a really stiff mixture so requires some muscles! Bake for about 15 minutes until they are just starting to turn a golden colour. Allow to cool completely on a rack.

lemony whirls

lemony whirls1Filling bit

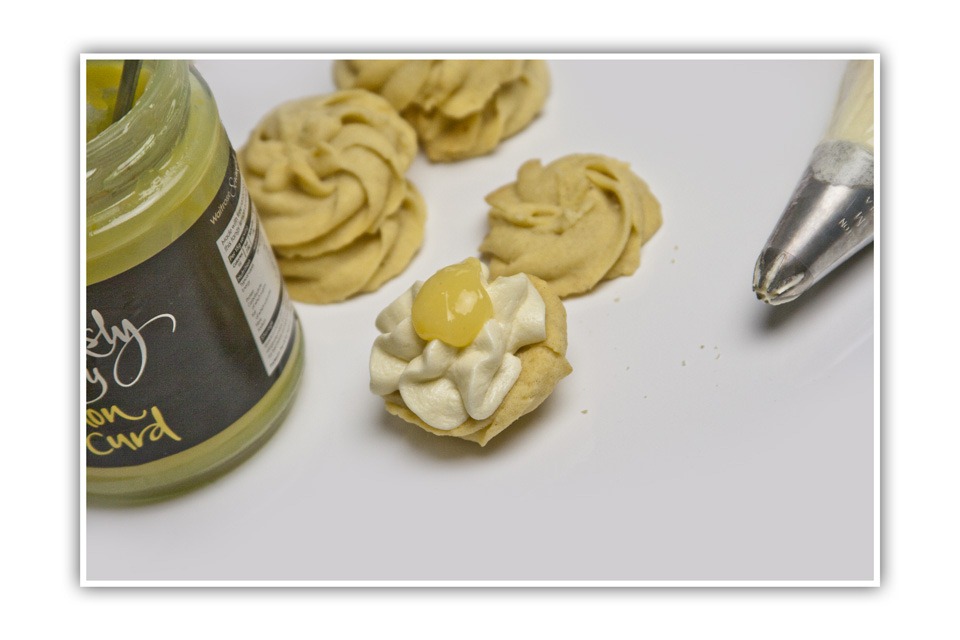
This is a lemon butter icing. Place the butter, icing sugar and juice together and beat until light and fluffy. Either spread on one side of the whirl with a knife or pipe a lovely dollop in the middle, add a blob of lemon curd and place the top on, put in the fridge to set slightly. Will keep for a few days in a tin.

Enjoy ♥


lemony whirls2

Trufflenutters

Trufflenutters1I had a jar of cashew nut butter in my cupboard for ages, none of us are very keen on peanut butter and I kept meaning to use it for something and at last got round to making these little delights as I experimented with it.


I threw in some Nutella, something I usually have in the cupboard to add to cookie recipes and things but not something any of us eats on toast.

I decided not to tell Frey or Gav what was in them and let them decide without being biased whether they liked them or not. Well they both adored them, so did I by the way! They are sweet and tasty and they stick all round your mouth, fabulous!

TrufflenuttersCashew nut butter is a fairly stiff paste so if using a runnier consistancy of peanut butter you may need to add a little more icing sugar to gain a stiff truffle mix.

The taste is really similar to a praline. These would make a lovely gift for someone. Just use some cute petit four cases & then gift wrap them real nice. You can use different things to roll them in, coconut, cocoa, sprinkes, icing sugar whatever works for you.

Trufflenutters

85g cashew nut butter (or similar like peanut butter)

85g chocolate spread (I used Nutella)

1/2 tsp vanilla bean paste or extract

50g sieved icing sugar

20-30g finely grated white chocolate to decorate

Makes 16

In a bowl mix the peanut butter, chocolate spread & vanilla until well mixed. Add the icing sugar and mix to a stiff paste.

Place the grated chocolate in to a small bowl. Take teaspoons of the mix and roll into a ball ensuring the heat from your hands makes the outer surface sticky then drop into the grated chocolate and move around to coat.

Place in the fridge. They will keep for up to 2 weeks. Enjoy ♥

Trufflenutter

Passionate love of baking & eating.