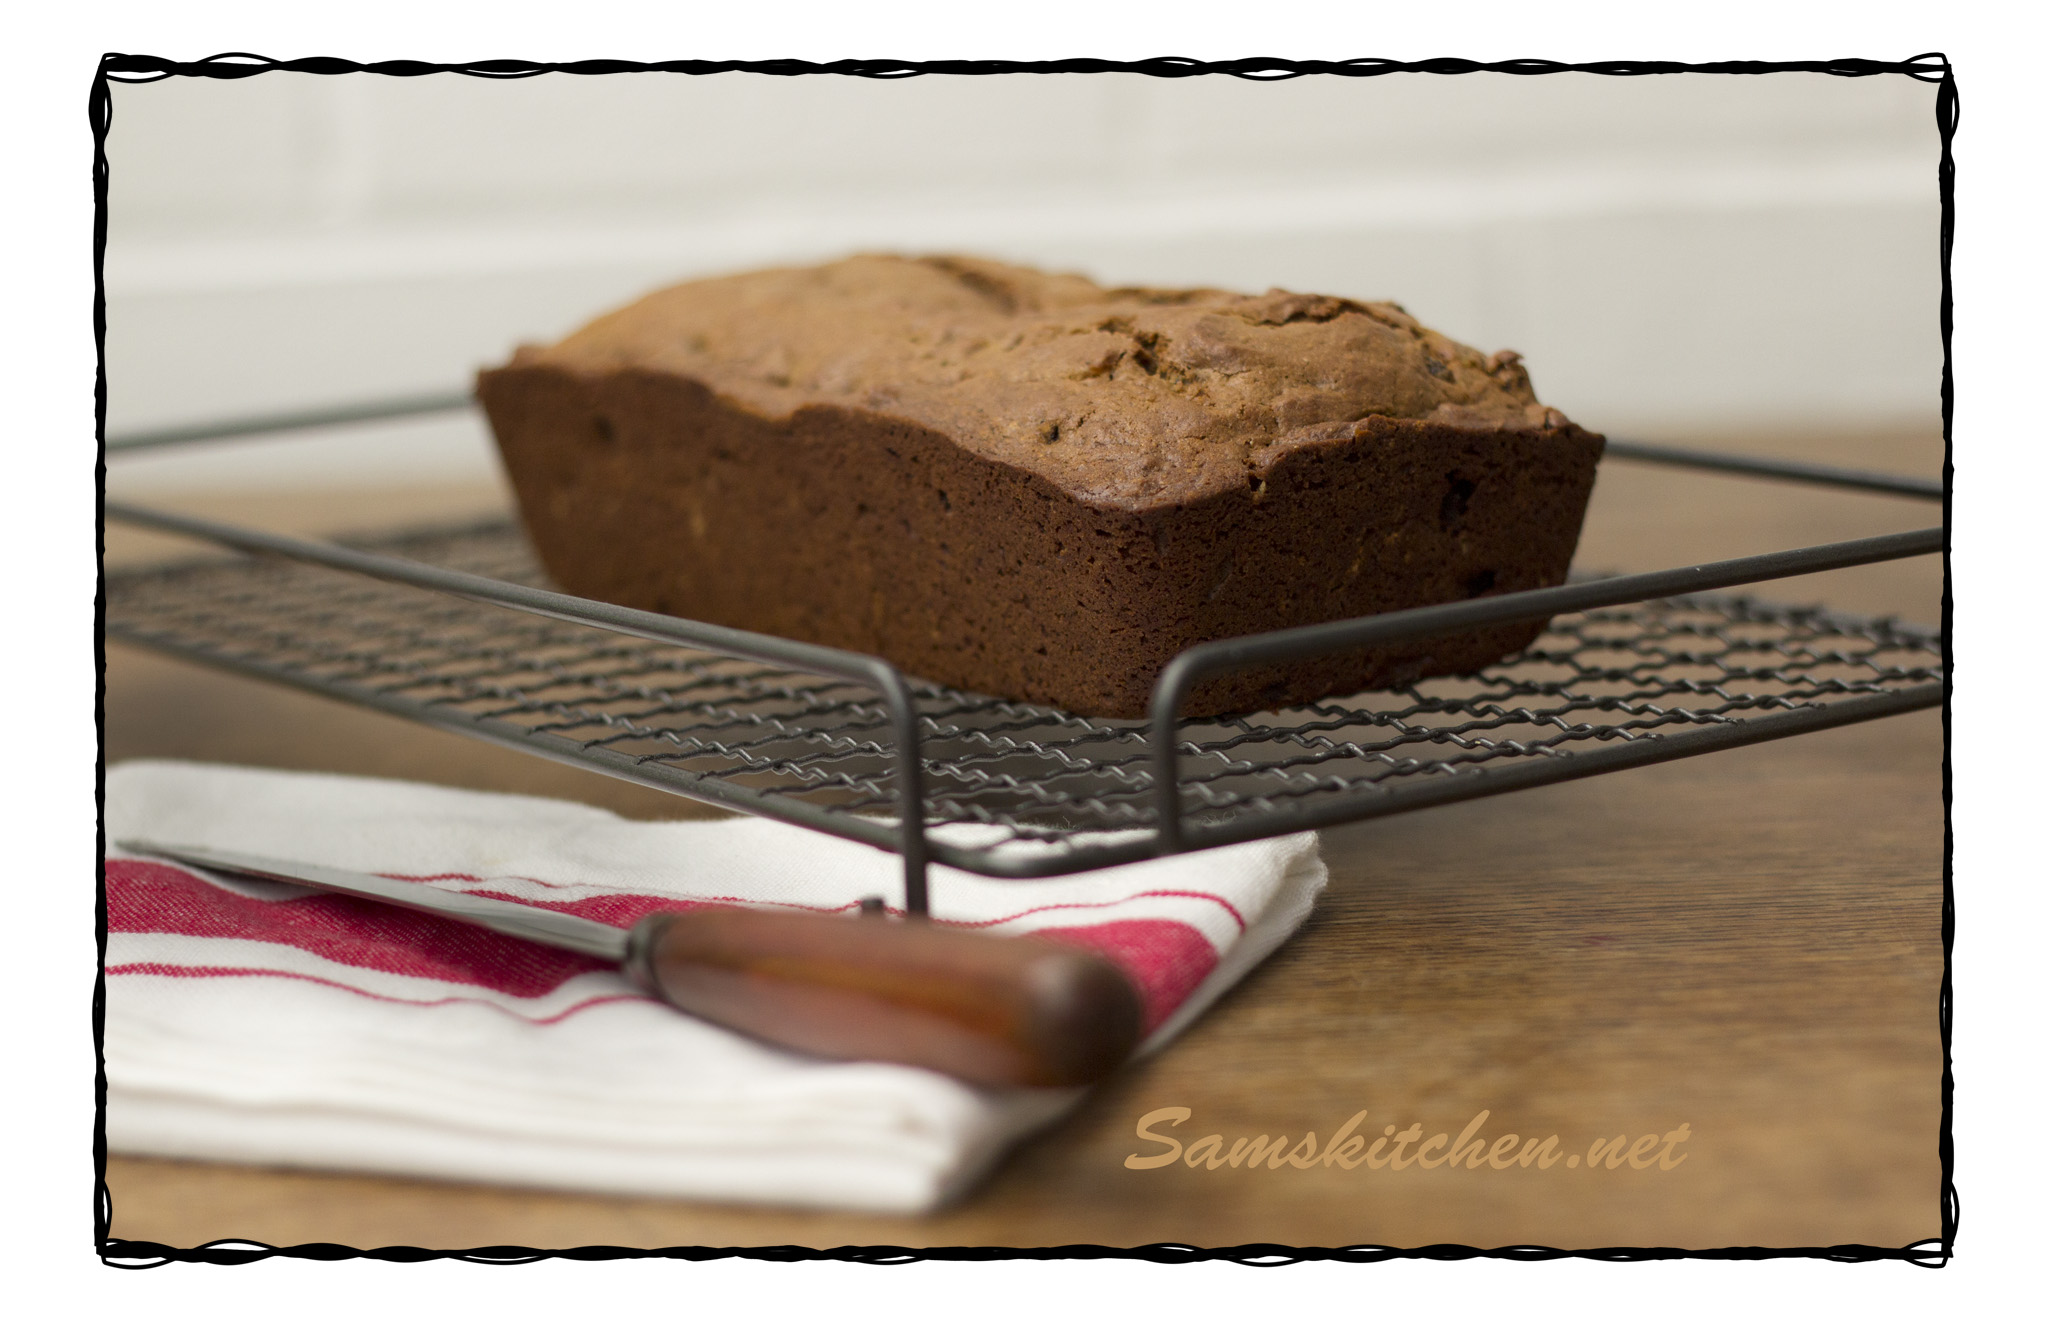
One of our favourites here, but not too squidgy like the shop bought ones. Lasts several days (well if it doesn’t get eaten), I think the flavour deepens after a day or so. Delicious spread with butter and a cup of tea.
Grease the sides and line the base of a loaf tin, mine is 10cm x 20cm (7cm deep) so something about that size will be good.
Place the flour, sugar, salt, bicarbonate of soda, baking powder and mixed spice in a mixing bowl, stir. Add the butter and rub in with your fingertips until the mixture resembles breadcrumbs. Stir through the mixed dried fruit.
Place the black treacle and malt extract in a small mixing bowl. Add the boiling water and mix gently together. Make a well in the centre of the dry ingredients and pour in the sticky treacle mix, the egg and milk. Stir together well with a wooden spoon.
Pour the mixture into the loaf tin and bake for about 45 minutes. The loaf will feel firm and a skewer will come out clear from the centre when it’s cooked. Place the loaf, still in the tin, on a cooling rack and leave for 10 minutes. Gently turn out after that time and allow to cool completely. Or enjoy warm sliced with butter! ♥
Perfect with a cuppa and friends or an afternoon treat to keep you focused, these are lovely! The mallow filling is so lush and squidgy (you will get messy), also amazing on and in big cakes and sublime on cupcakes. Best eaten within a couple of days, they probably won’t last long anyway, unless you hide them of course (just a suggestion!).
Beat the butter and caster sugar together until creamy add the yolk and vanilla and beat again, sieve in the flour and cocoa and bring together as a dough. Wrap in clingfilm and chill for 30-60 minutes.
Preheat the oven 160°C Fan 180°C 350°F GM4. Grease or line baking trays ready. Roll out the dough to 3-4 mm thickness. Cut out rounds with a cookie cutter (I used a 4.5 cm cutter). Place on the baking tray, they just need a little space around as they don’t spread much. Bake for 8-10 minutes until firm to the touch. Allow to cool for 5 minutes on the baking tray and then transfer to a cooling rack to cool completely.
Vanilla Mallow Filling
Place the egg whites and granulated sugar in a heatproof bowl over a pan of just simmering water. Use a small balloon whisk to constantly stir. It’s ready when the mixture is no longer grainy, it will get be fairly hot to the touch. Transfer to the bowl of your mixer (or a mixing bowl) add the vanilla and whisk on high speed. It will take 3-5 minutes to become fluffy and lush. It will form peaks that hold when pulled up.
Spoon the mallow in to a piping bag (I used a 1 cm round nozzle but it doesn’t really matter what you use) pipe a generous amount on one cookie and sandwich together with another. Enjoy ♥
A nice biscuit recipe for any time but as it’s Valentine’s day soon I think I’ll be making these for someone……..♥
The texture is light, crumbly and melt in the mouth. Add the jam of your choice, my honey likes strawberry, so I used some homemade strawberry jam in mine.
I did try and make them heart shaped but as they do their own thing while baking it didn’t really work! So I did place one in a heart shaped cookie cutter before baking and that worked nicely.
Bakewell Heart Biscuits
Ingredients
125g soft butter
60g caster sugar
1 egg, separated
½ tsp almond extract/flavour
135g plain flour
¼ tsp baking powder
Pinch of salt
50g sliced almonds broken up in to smaller pieces
A few tablespoons of jam (strawberry, raspberry, cherry etc.
Makes about 15
Line or grease baking trays ready. Beat the soft butter and caster sugar together until light and fluffy. Add the egg yolk (make sure you keep the egg white set aside). Add vanilla and beat again until combined.
Mix the flour, salt and baking powder together then add this to the egg and sugar mix. Beat or stir together until it forms a dough. Place the egg white in a small bowl and the chopped nuts on a plate or in a shallow bowl. Take about a tablespoonful of dough, and roll in to a ball. Dip in the egg white and then roll in the nuts. Place on a baking tray and press down in the middle with your thumb to make a well in the centre.
Add about ½ a teaspoon of jam in the hole, make sure it’s only about half filled or the jam will ooze out when you bake it. Repeat with the rest of the dough. Allow a little space around each for spreading. Six to a normal sized baking tray is good. Bake until starting to turn golden and the jam is bubbling, 10-15 minutes. Allow to cool on the tray. Scoff or store in an airtight container. Enjoy ♥
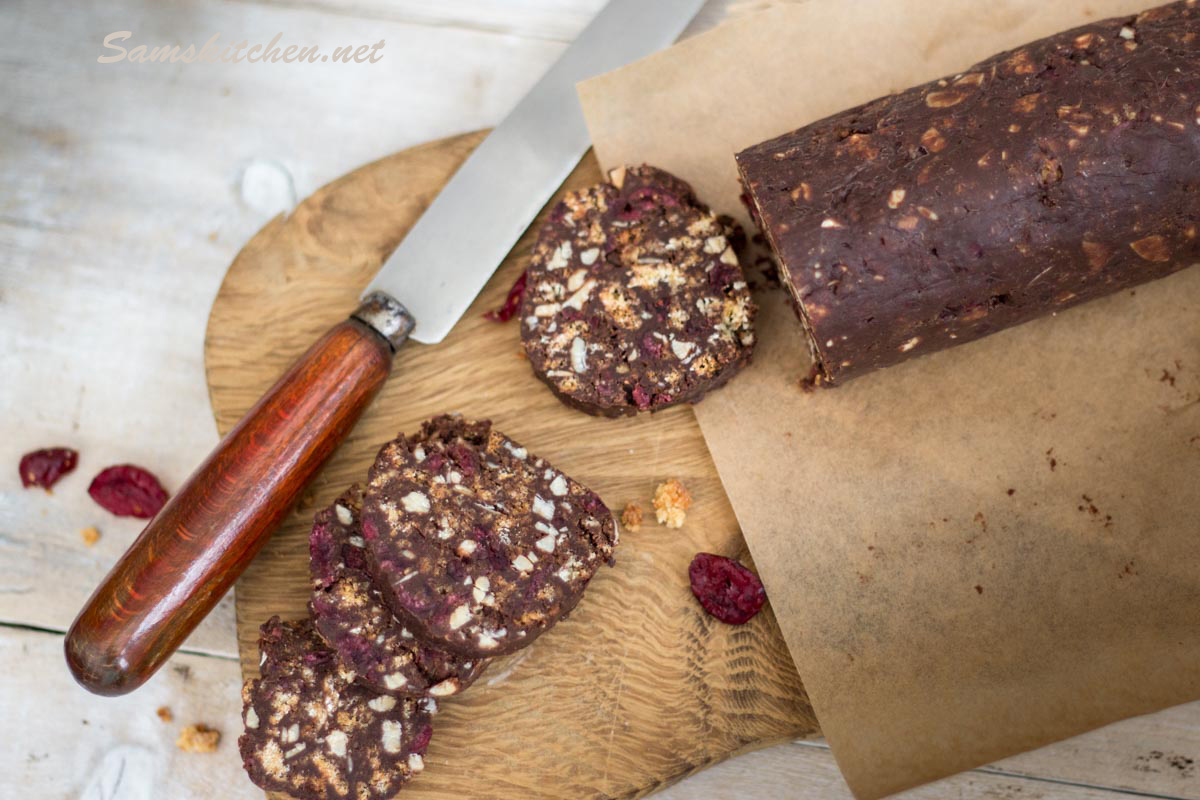
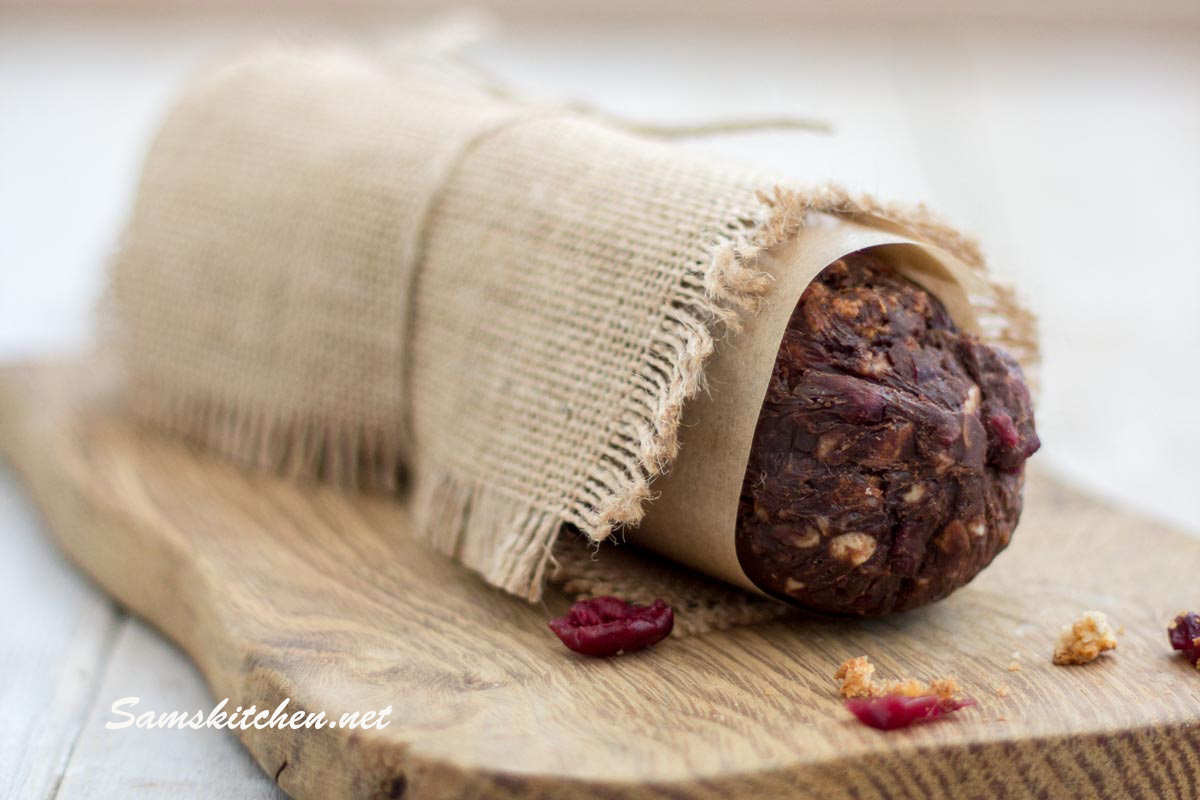
Chocolate and a Bit Boozy SalamiThis is a delight to eat and so easy to make. Lovely with a coffee after a meal or an afternoon perk up!
Also, it’s very forgiving, so a great way to use up the last few nuts in a bag or a packet of biscuits, dried fruits etc.
You could also use string and greaseproof paper if you want to give it a salami look, I gave that a miss being a vegetarian!
Chocolate and a Bit Boozy “Salami” Roll
150g plain chocolate, broken up
50 ml double cream
100g crushed biscuits (I used amaretti and crushed but not pulverised them, so there’s still small pieces and also crumbs)
50g chopped roasted nuts (whatever you have, I used a mix including flaked almonds) toasted on a baking tray for 5-10 minutes in a moderate oven to release the flavour
50g cranberries, chopped a little bit
½ tsp vanilla extract or bean paste
2 tbsp Baileys (or your choice of booze)
Place the chocolate and double cream together in a bowl that will fit over a saucepan of just simmering water. Stir occasionally to see if it’s melted. As soon as all the chocolate is melted remove from the heat and set aside to cool a little.
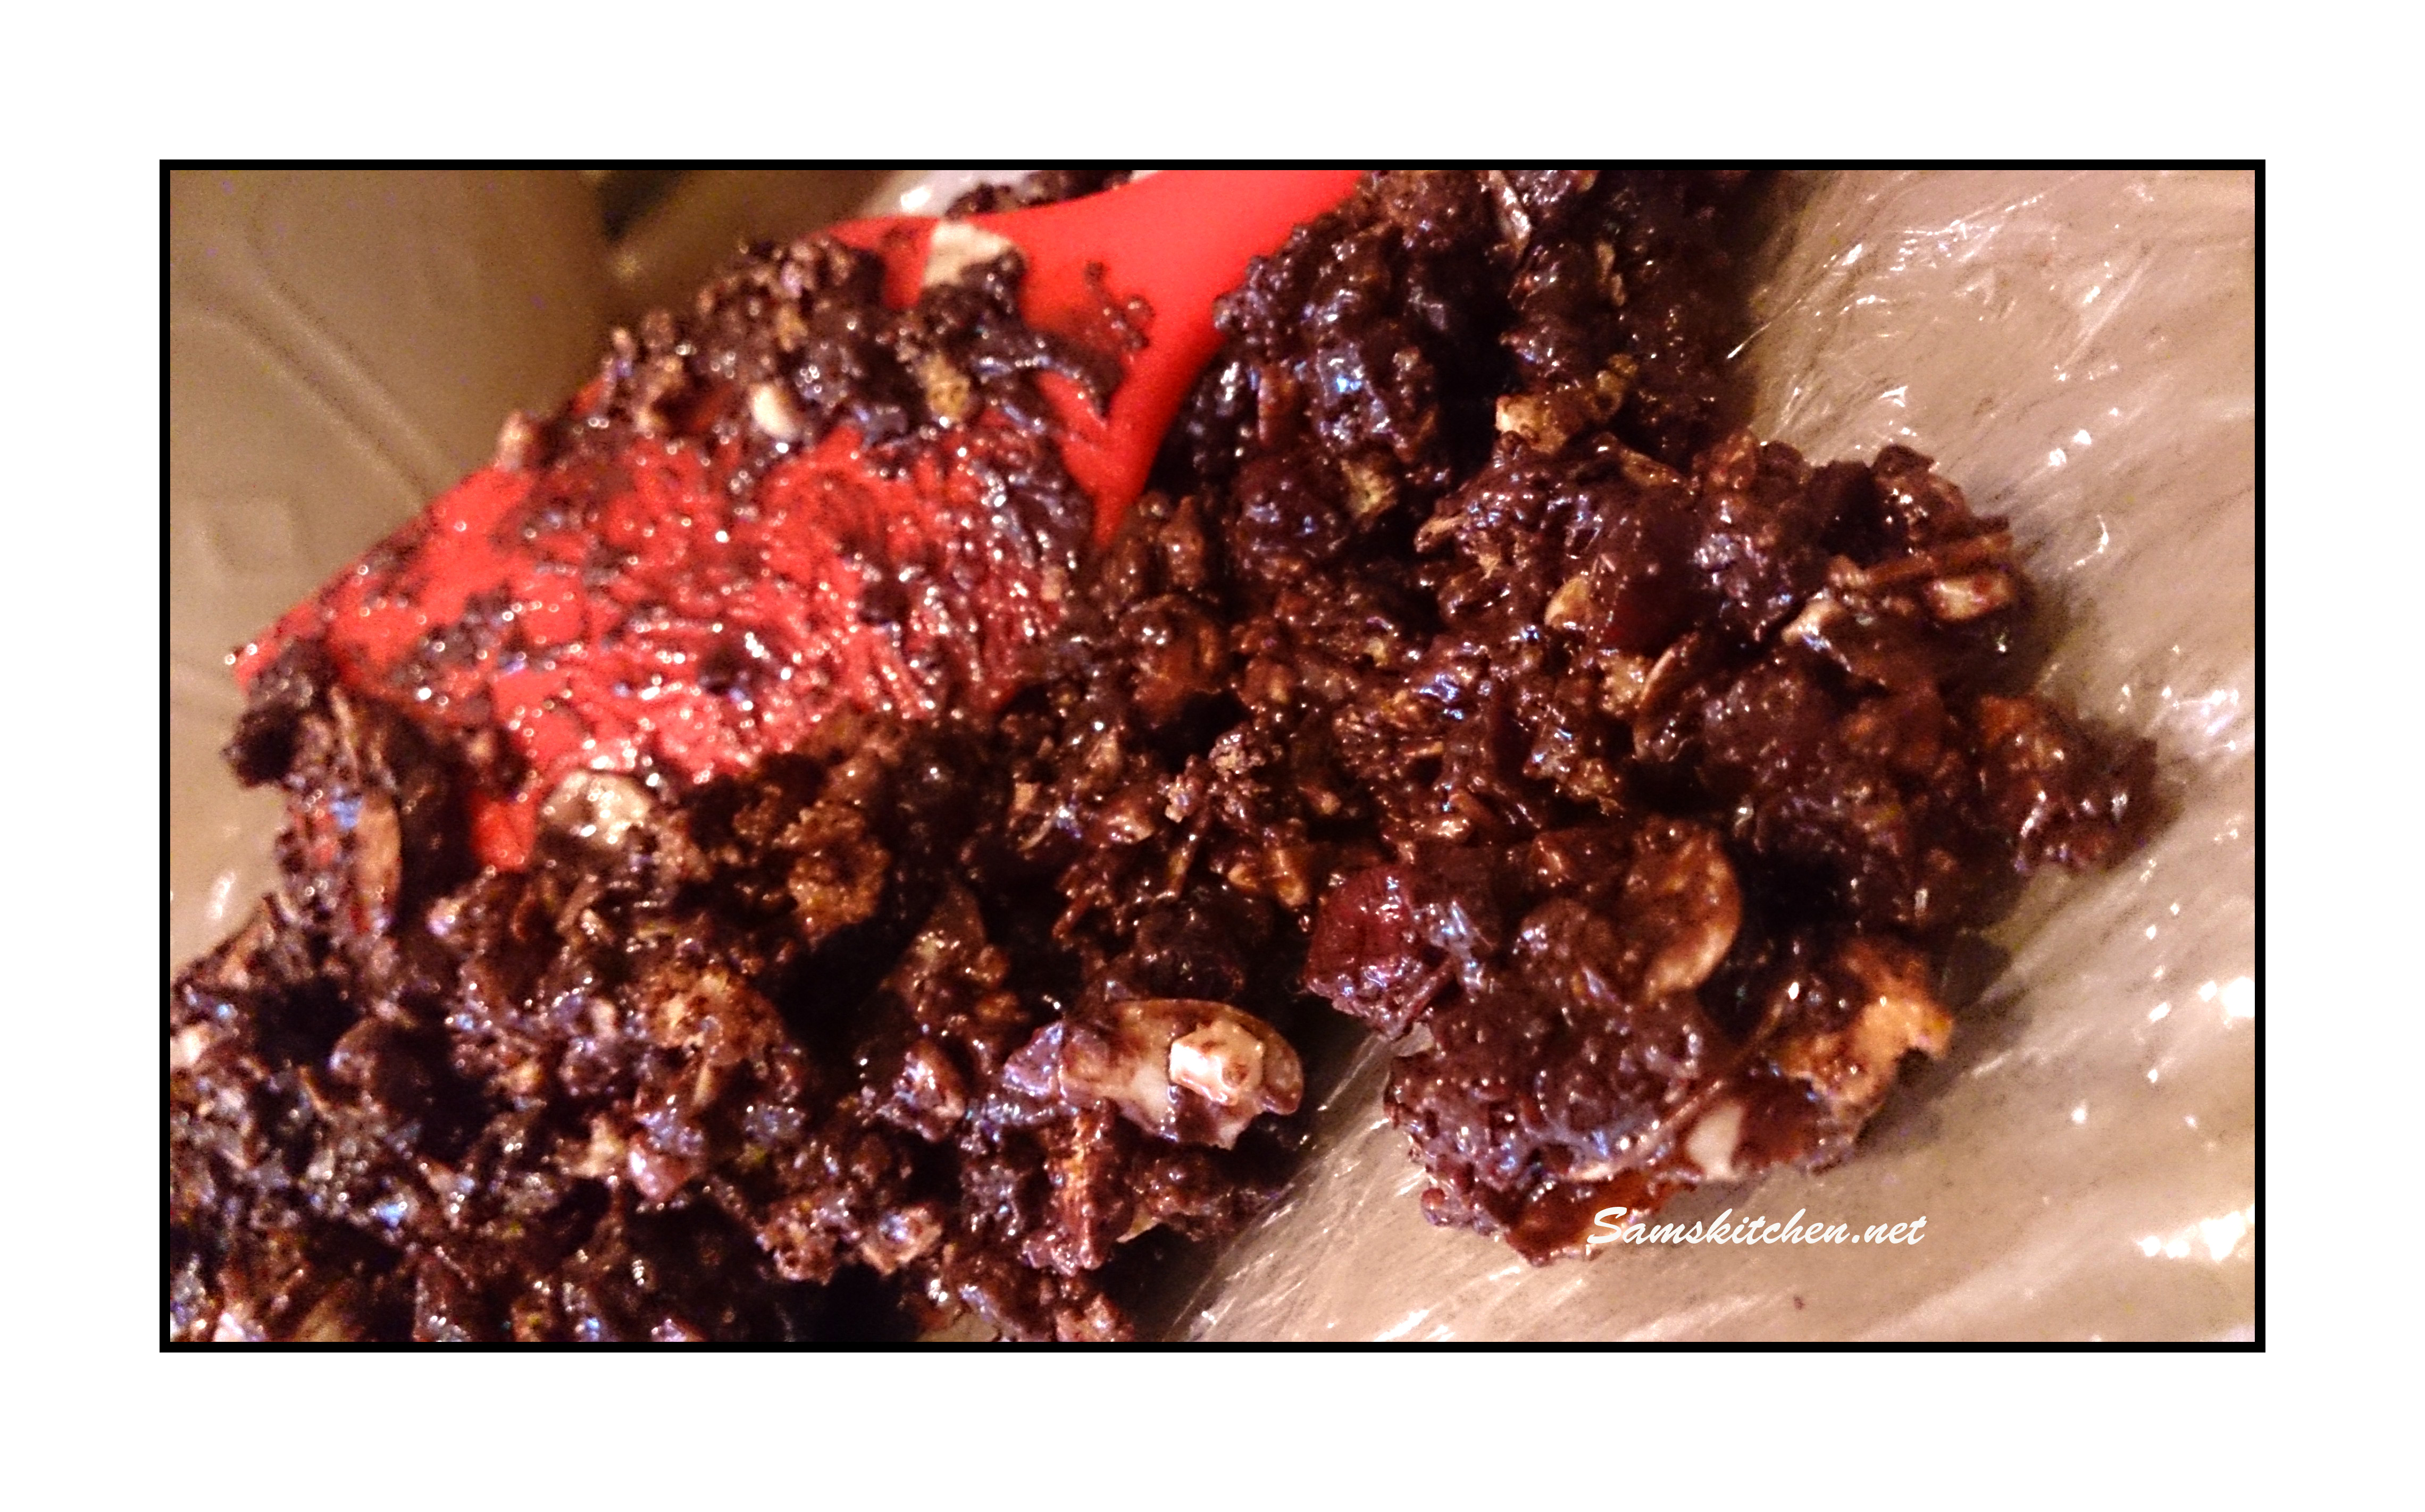
In a large mixing bowl place the crushed biscuits, chopped roasted nuts and the cranberries. Add the slightly cooled chocolate mix, Baileys and vanilla, mix until all combined.
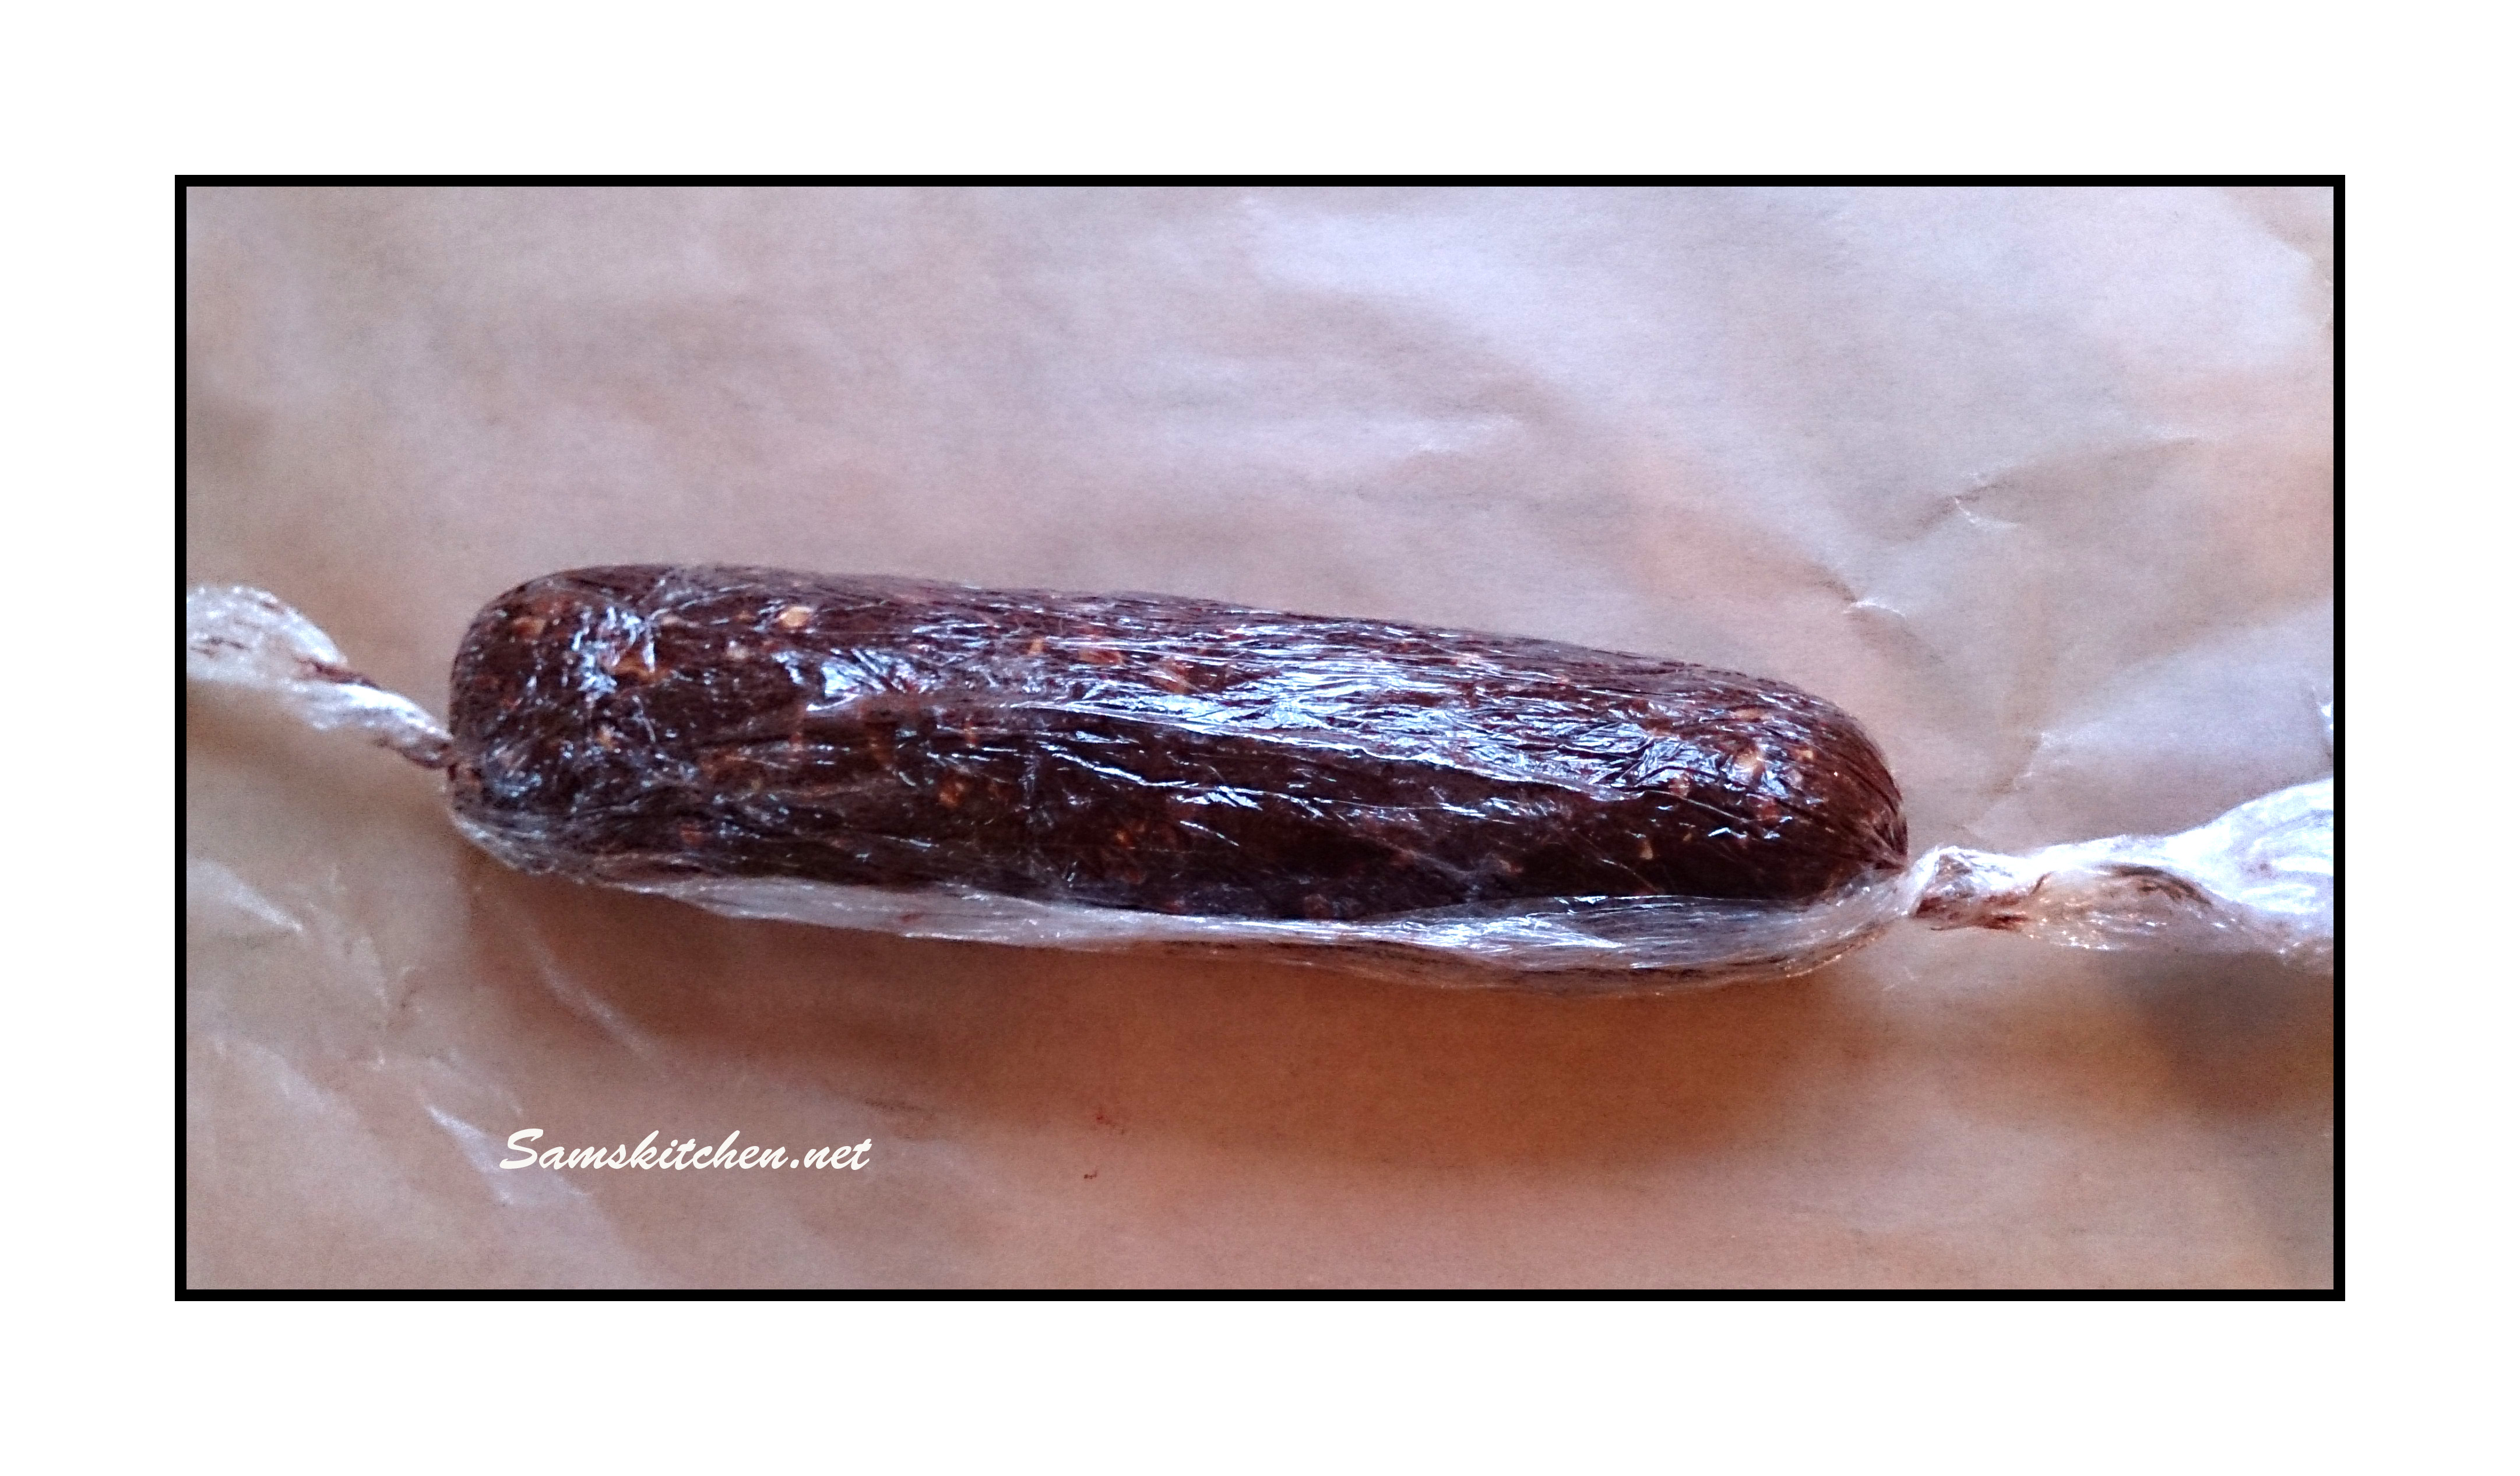
Lay out a double layer of clingfilm about 50cm long. Spoon the mixture in a rough length in the middle and use your hands to make a sausage shape, squashing the mixture together to help it form a solid form. Make the length about 20-25 cm. Wash your hands if they’re all chocolatey, then roll the clingfilm around the chocolate mix and twist the ends (like a sweet wrapper) you can then reshape and place in the fridge for about 20-30 minutes. It will be getting firmer at this stage so this is a good time to shape again if needed. Back in the fridge until you want to slice it. Enjoy ♥
A grown up version of fruit winders I guess. Nice with drinks or after a meal, snacks while watching movies etc….
Preheat your oven to the lowest setting, this is to dry the fruit out rather than bake it, so on mine it’s an S setting (is that simmer, silly or steamy??? No idea)
Line a baking tray, I use the magic reuseable liners which work a treat with these. Or use parchment with a brush of oil over.
Place the blackberries, lime juice, white rum and mint leaves in your blender or processor and blend to a puree. Push through a sieve, use the back of a spoon to make sure you get all the good stuff pushed through. Discard the seeds and pulp (great for your compost bin). Taste the puree and add a little syrup or honey to taste. Bear in mind that the drying process increases the sweetness slightly so don’t add too much.
Spread on to a baking tray, this should give a nice spread of a few millimetres thick. Try and get it as even as you can so it all gets dried at the same time. Place in the oven, check the progress frequently, the times vary enormously depending on your oven and the water content of the fruit. I checked every 30 minutes or so (make sure you set a timer if you lose track of time as I do)
It’s ready when the fruit is not sticky any longer, it should be flexible still but not wet (as in it won’t stick to your fingers). Remove from the oven and peel from the tray. If you find there’s an area that’s still too wet just peel the rest away and pop that bit back in the oven. Use scissors to cut in to strips and roll up. Once completely cool place in an airtight container.
These are very versatile, so try different fruits and of course you don’t have to add alcohol. ♥
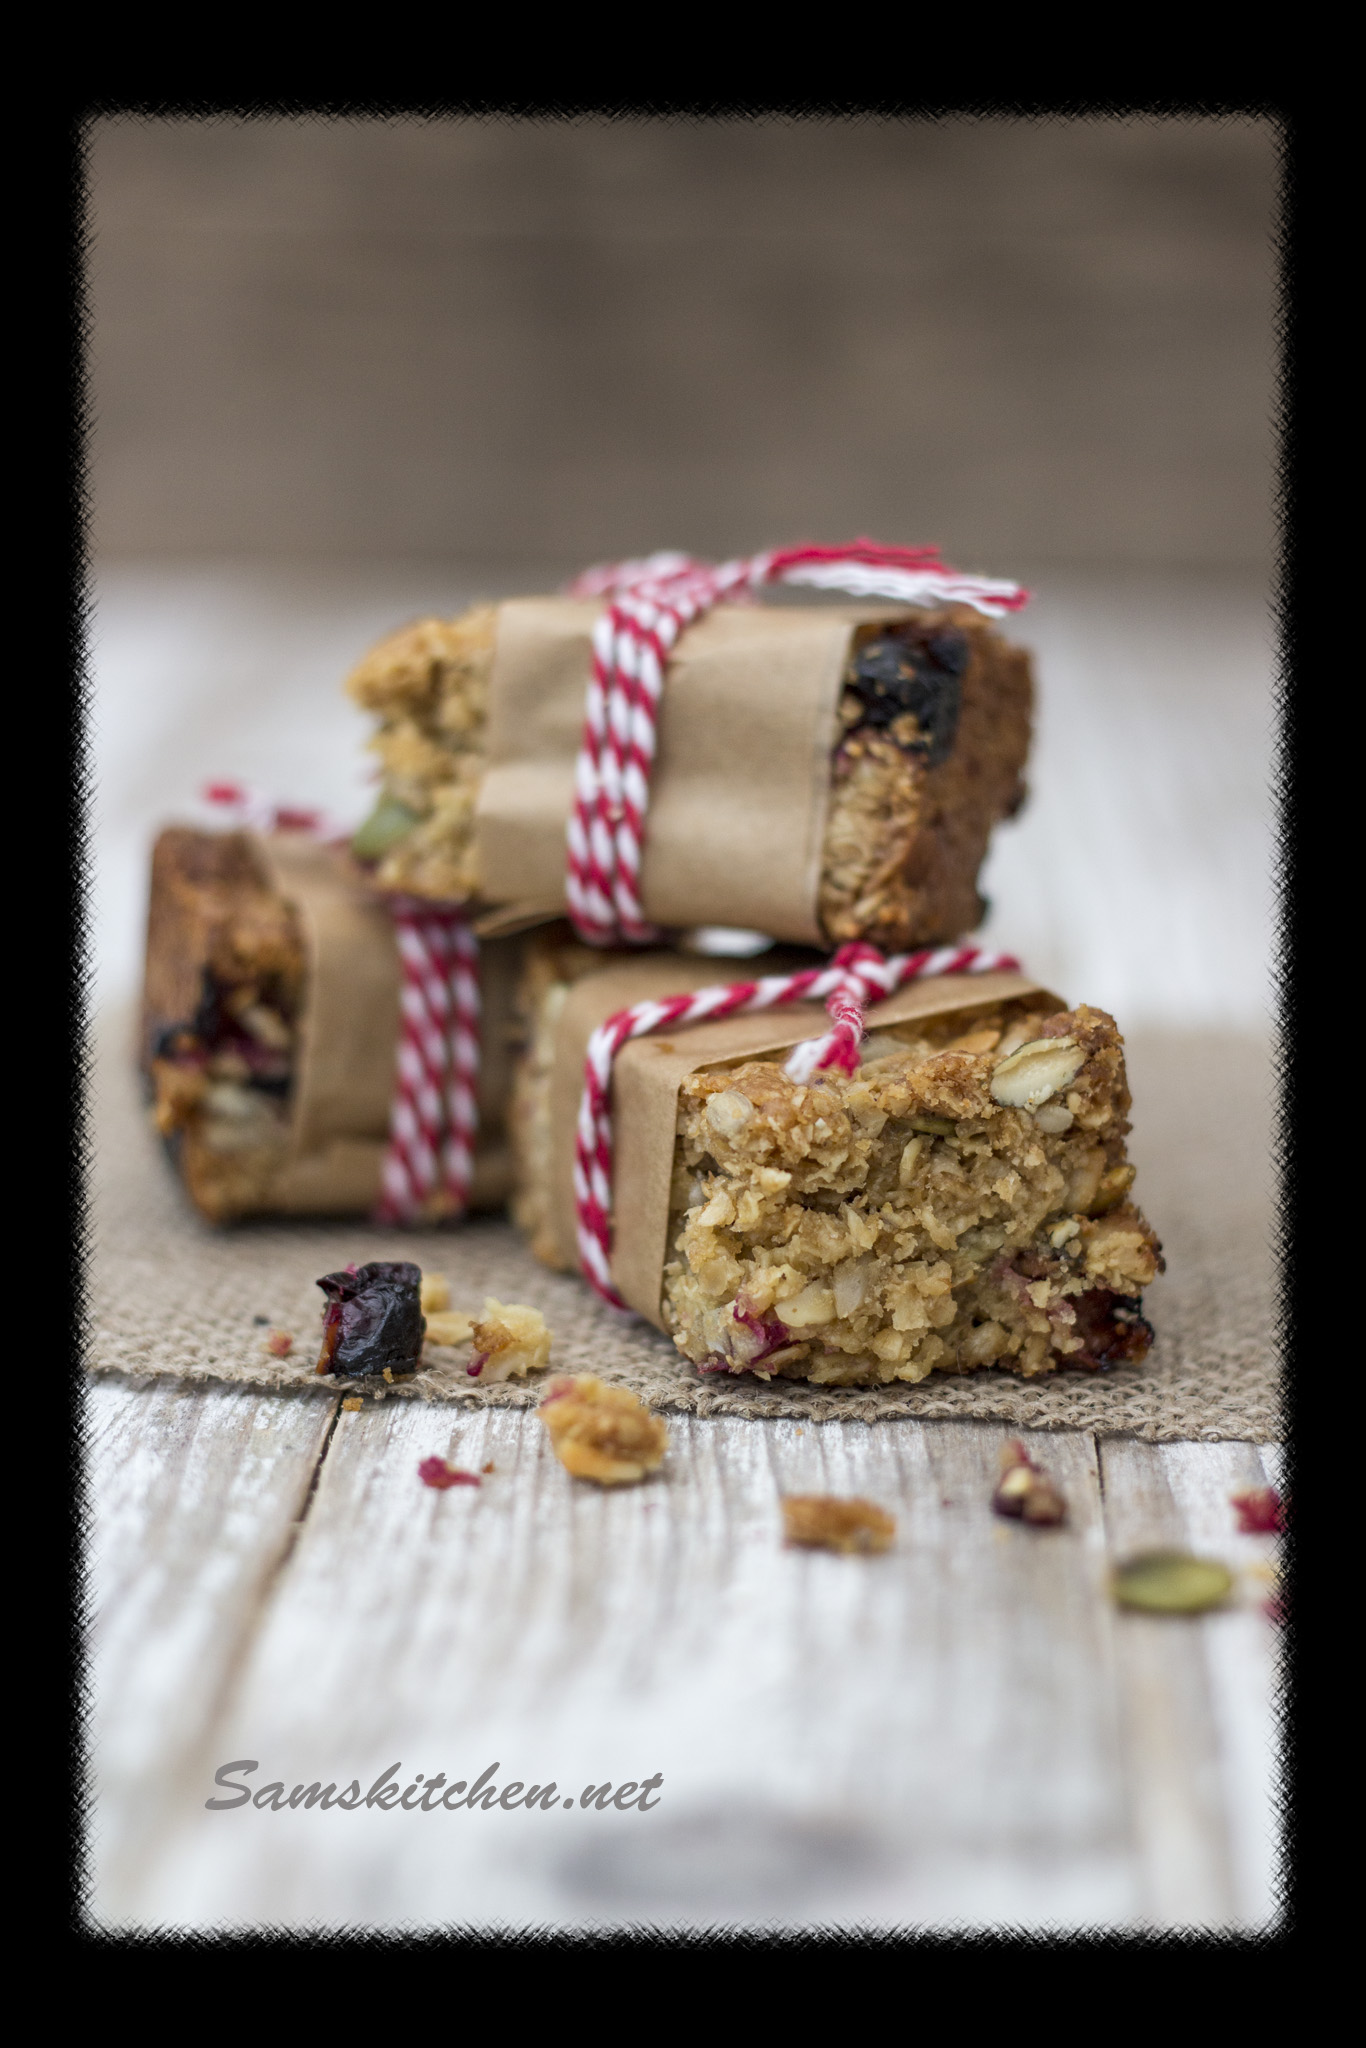
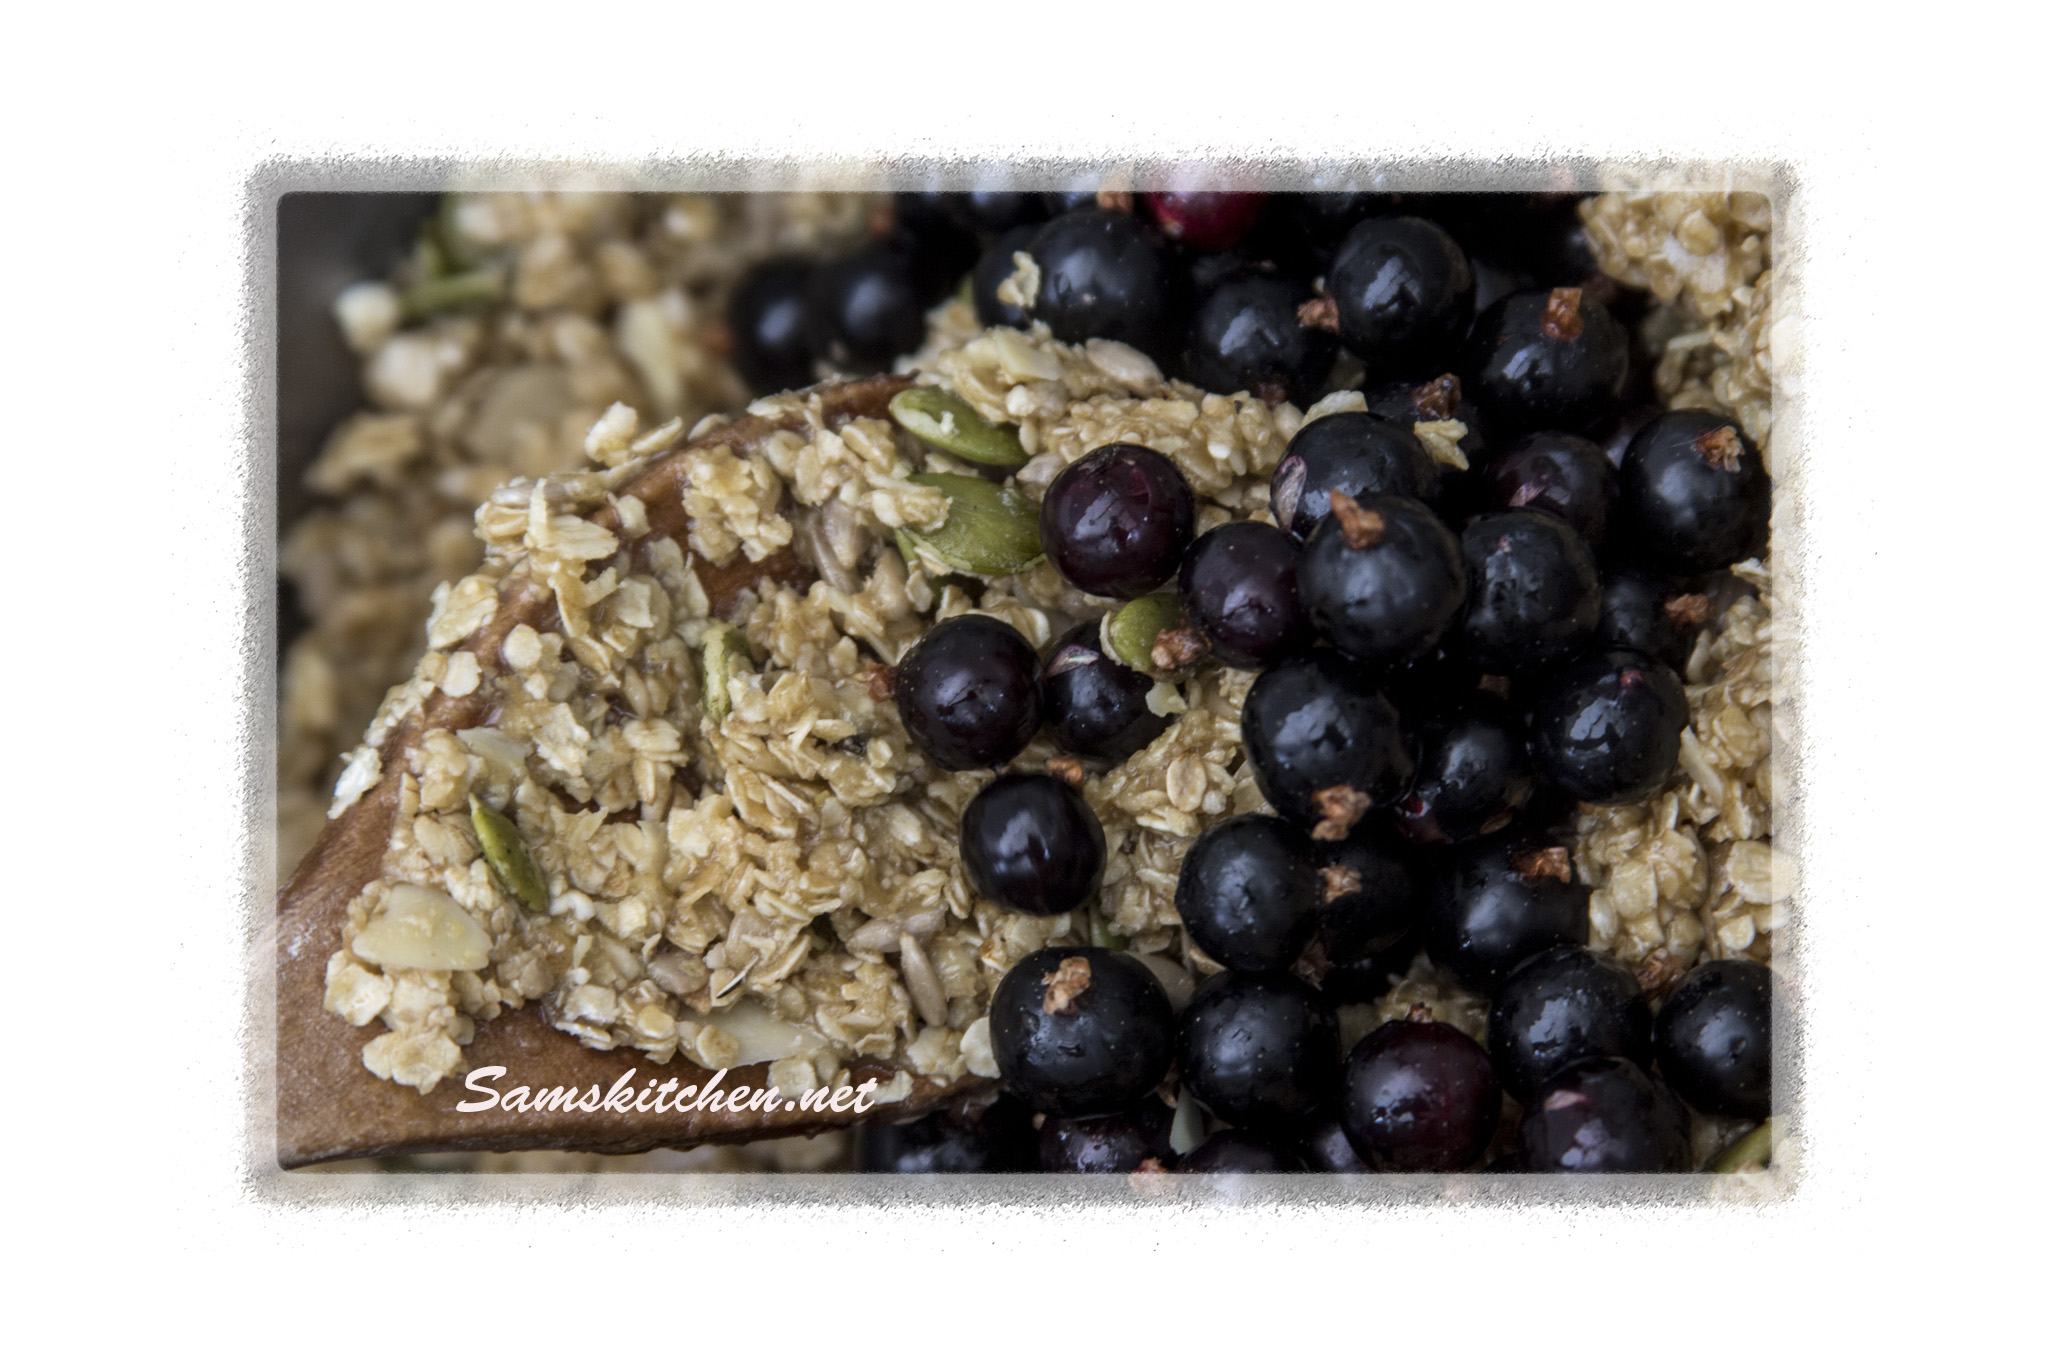
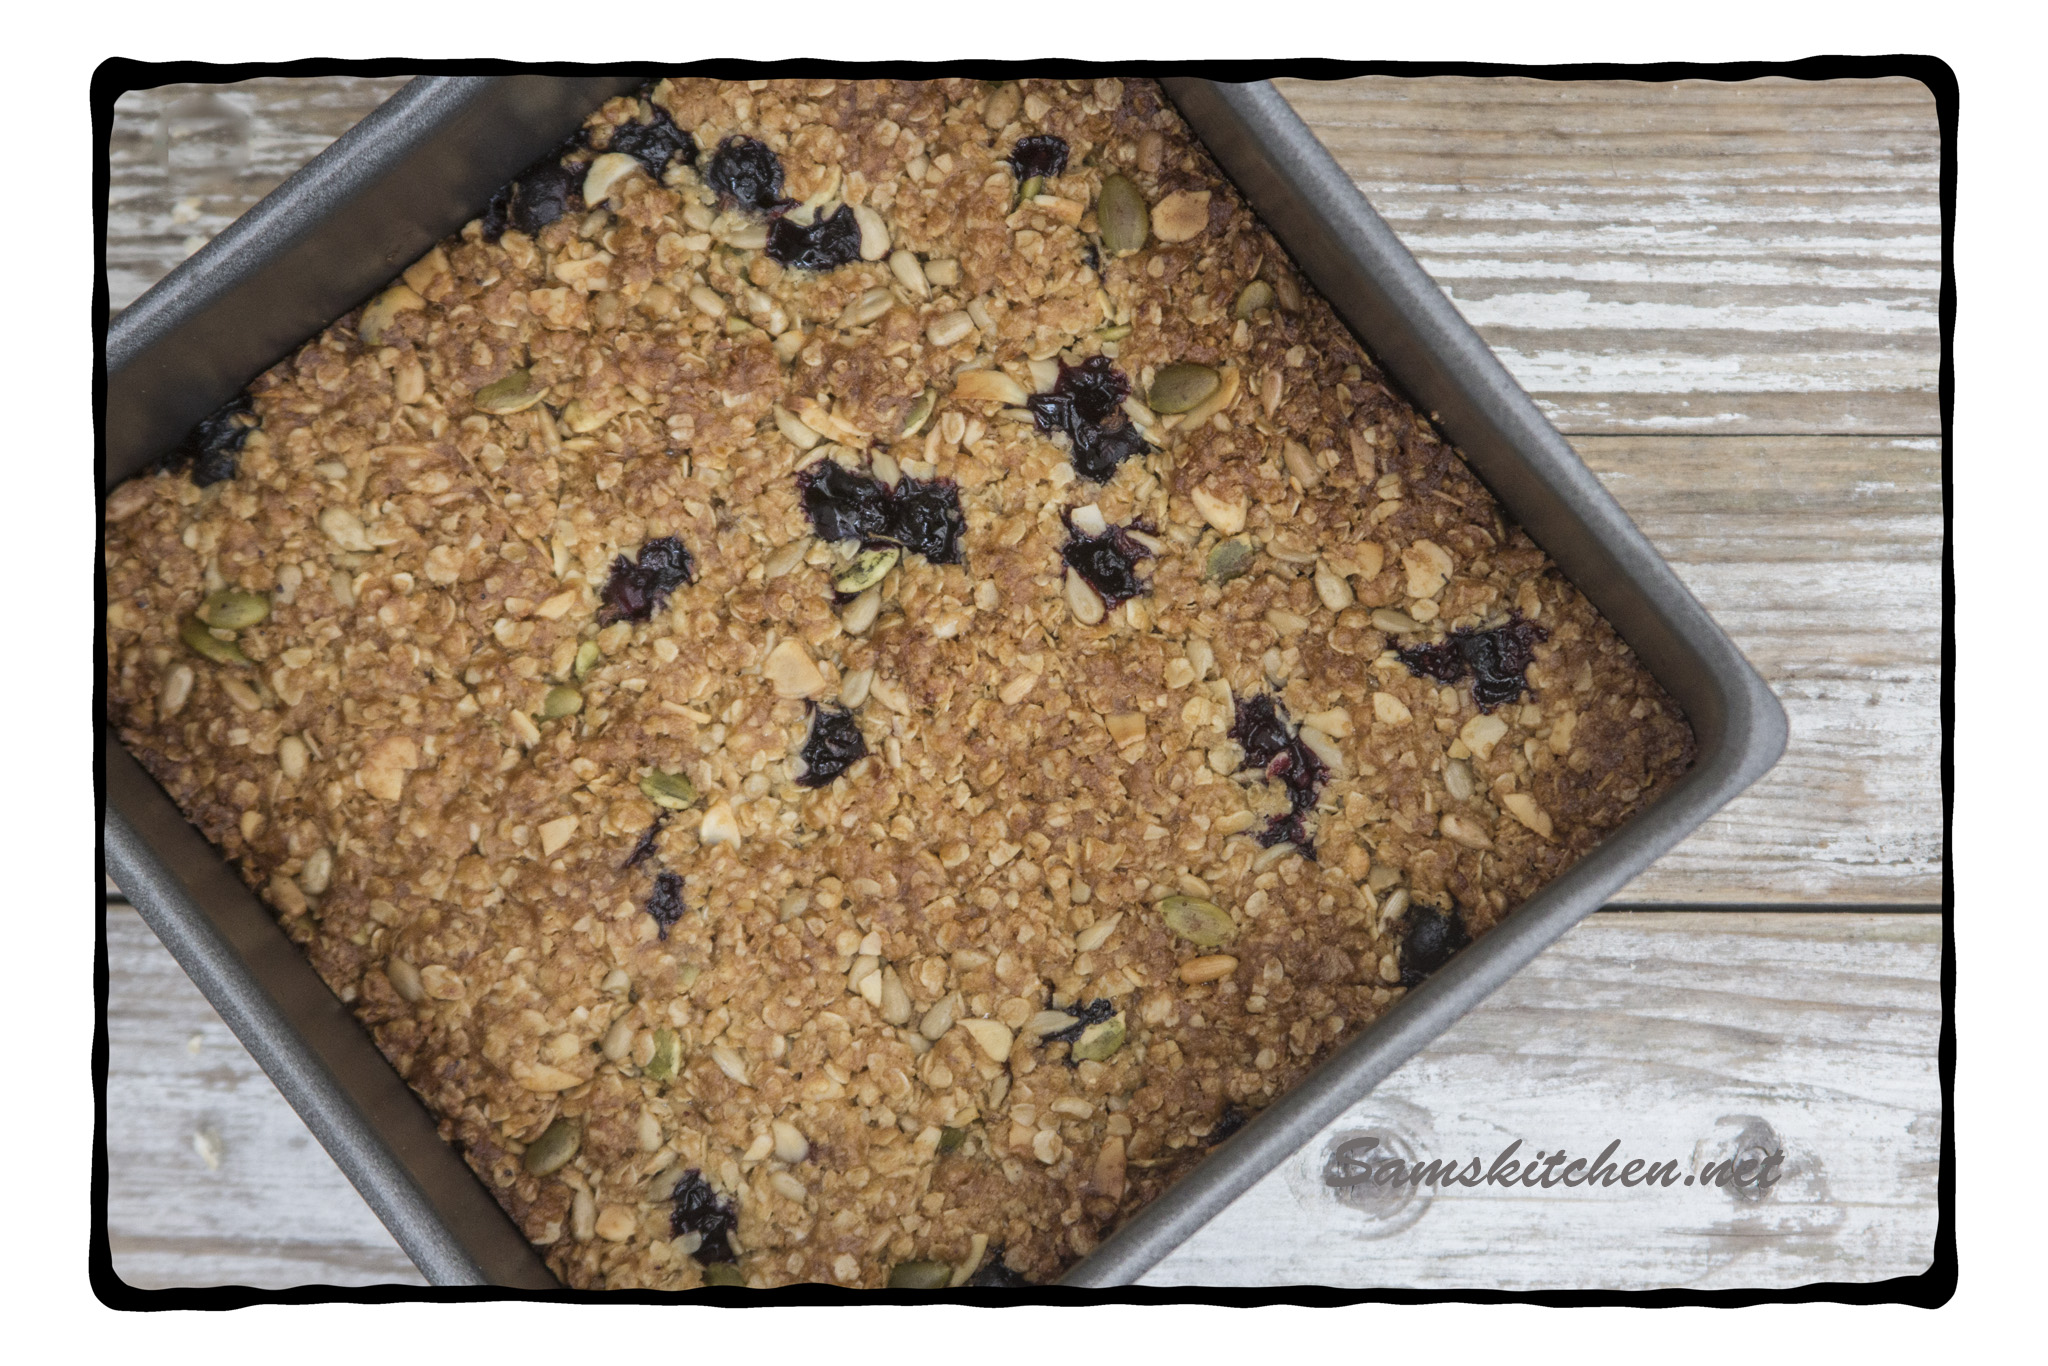
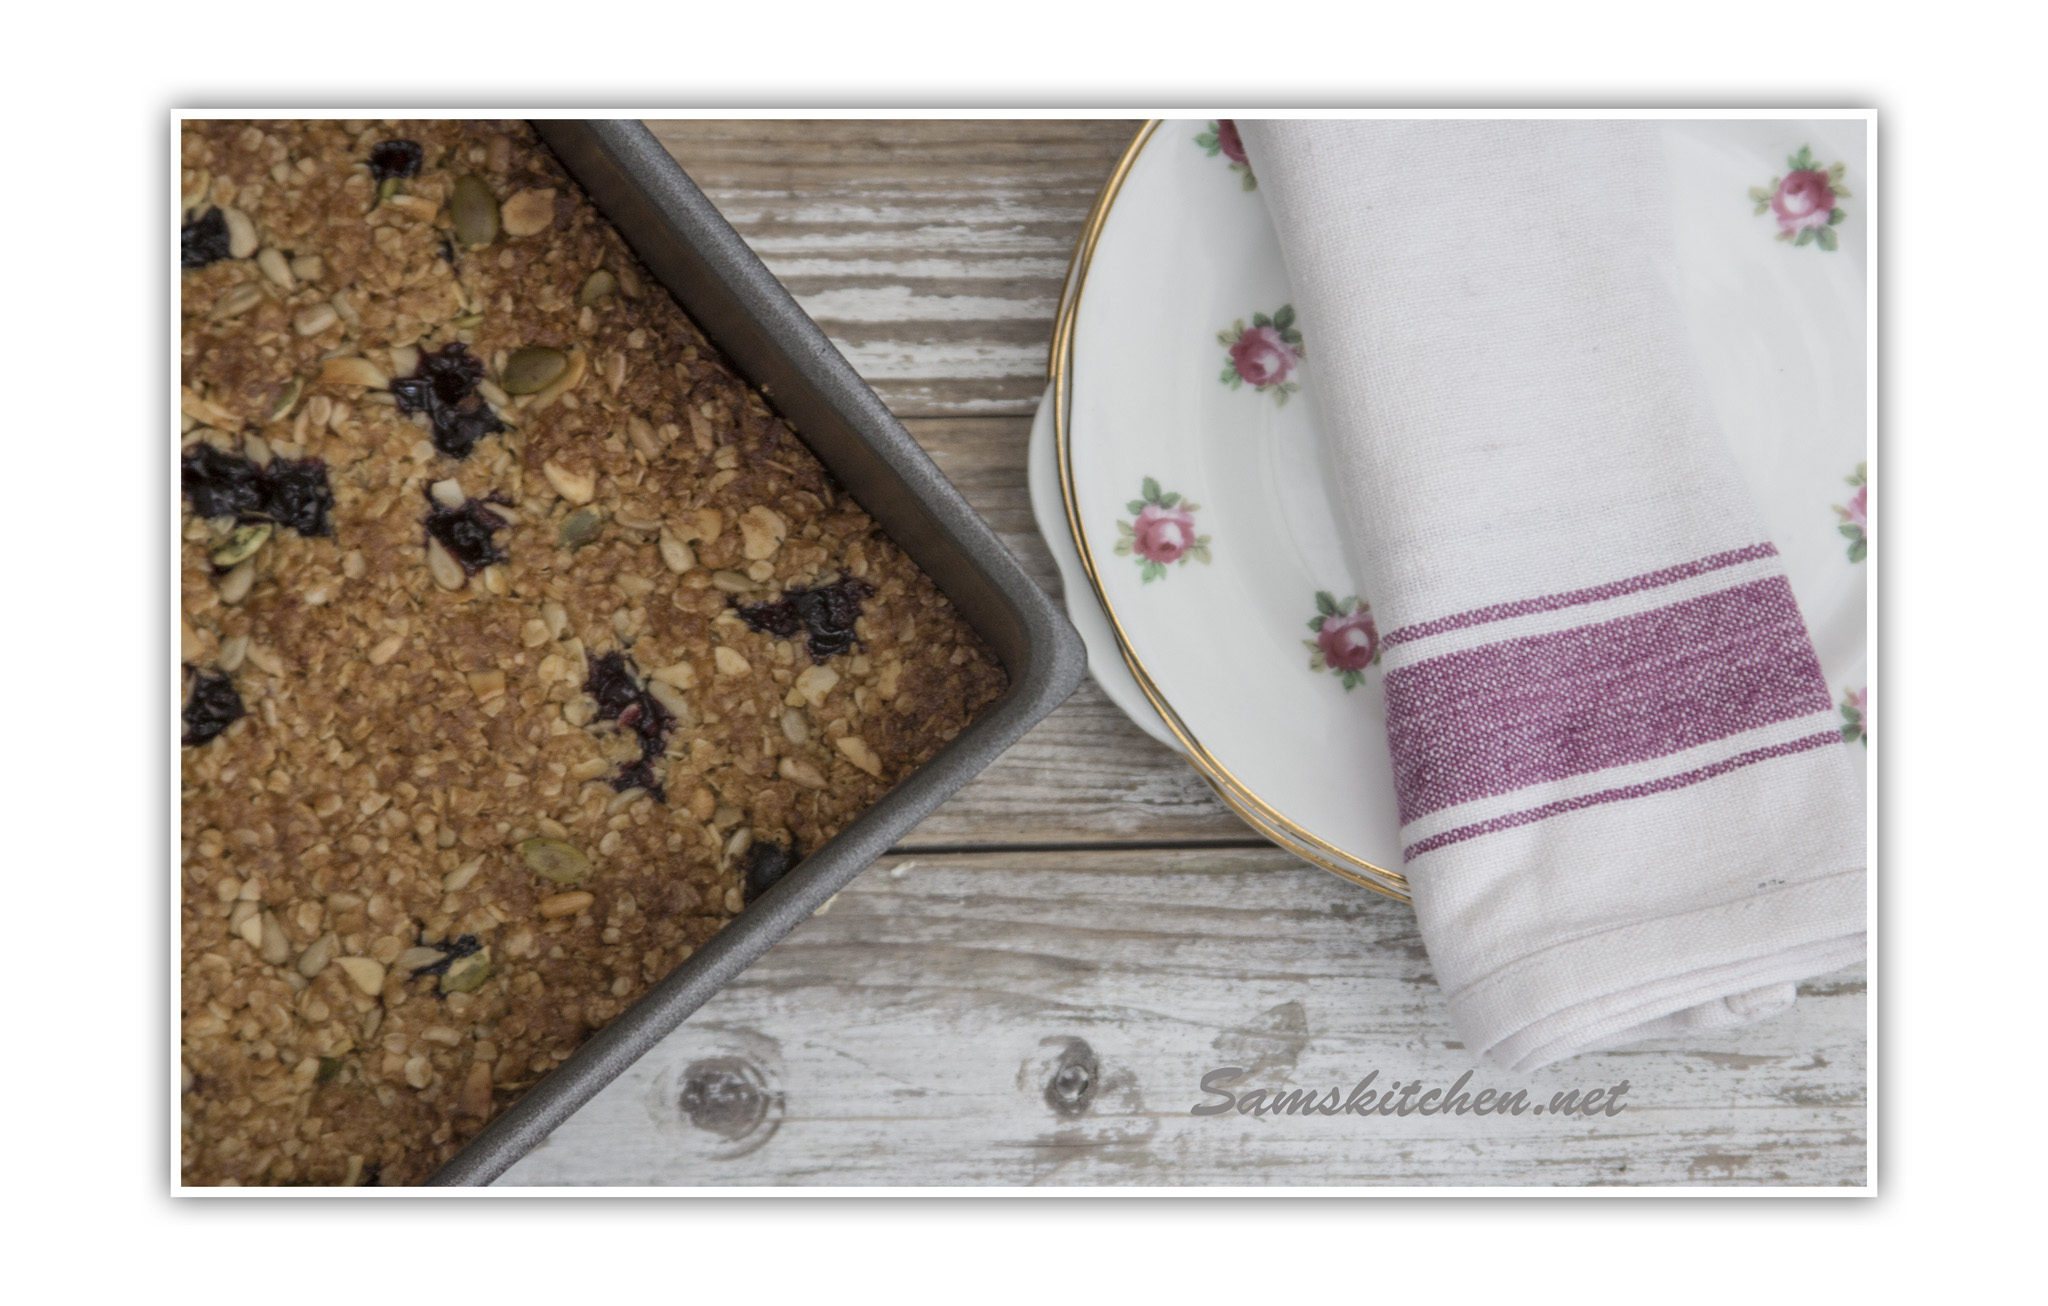
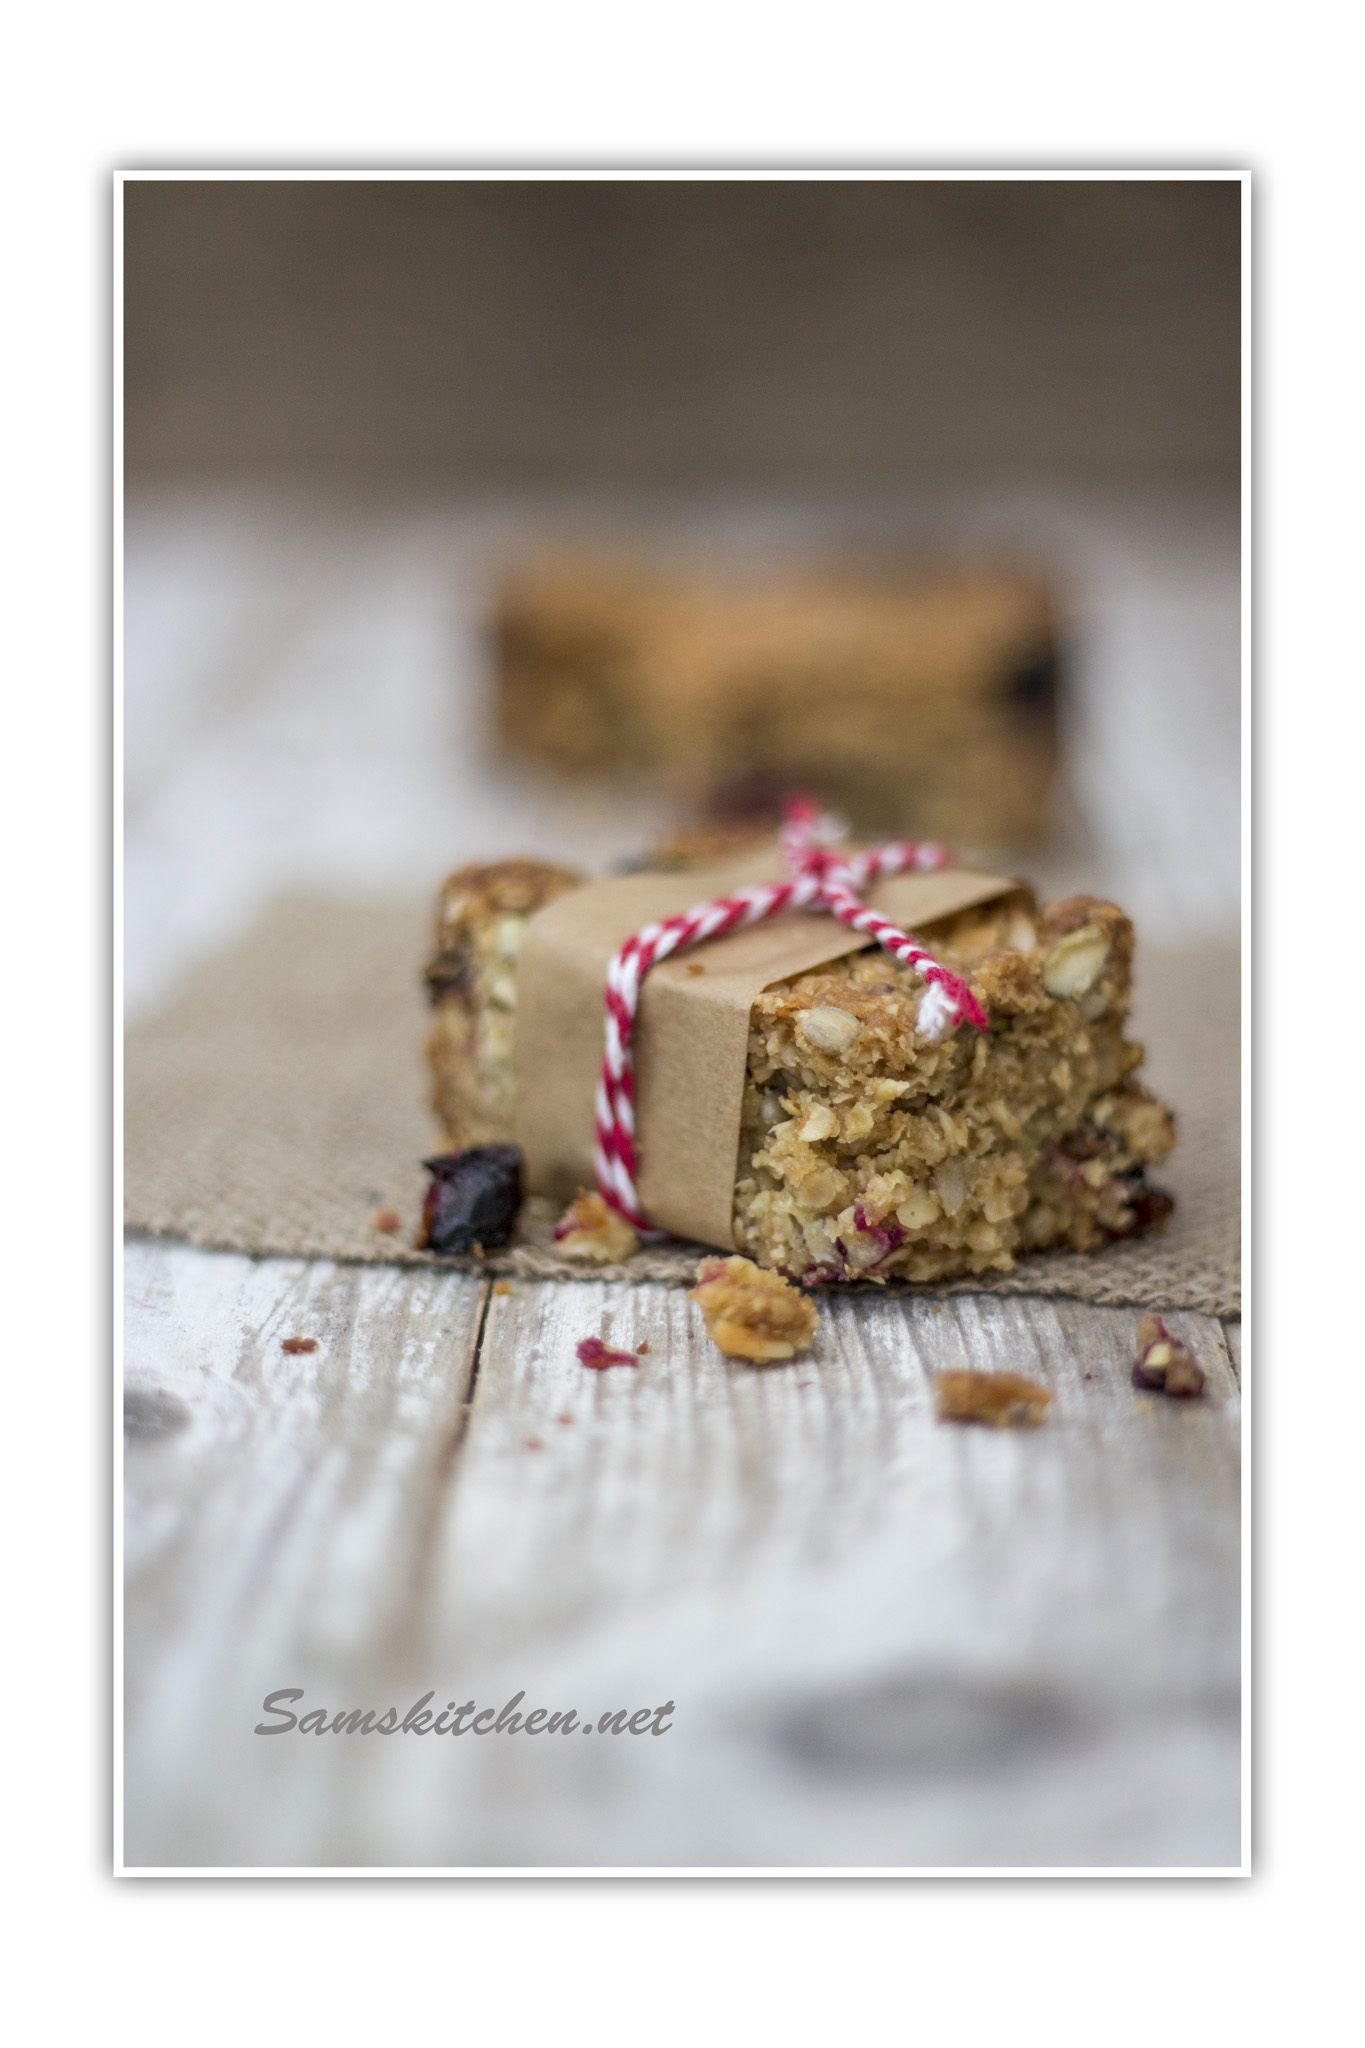
This year has seen a bumper crop of berries in the garden. I’ve never had more then a handful of blackcurrants until now, we have loads and I wanted to make something with them. I’m not a huge fan of blackcurrant flavour things but the real thing in these bars is so yummy, I’m now all set to make muffins and maybe some ice cream and cookies and …….you get the idea!
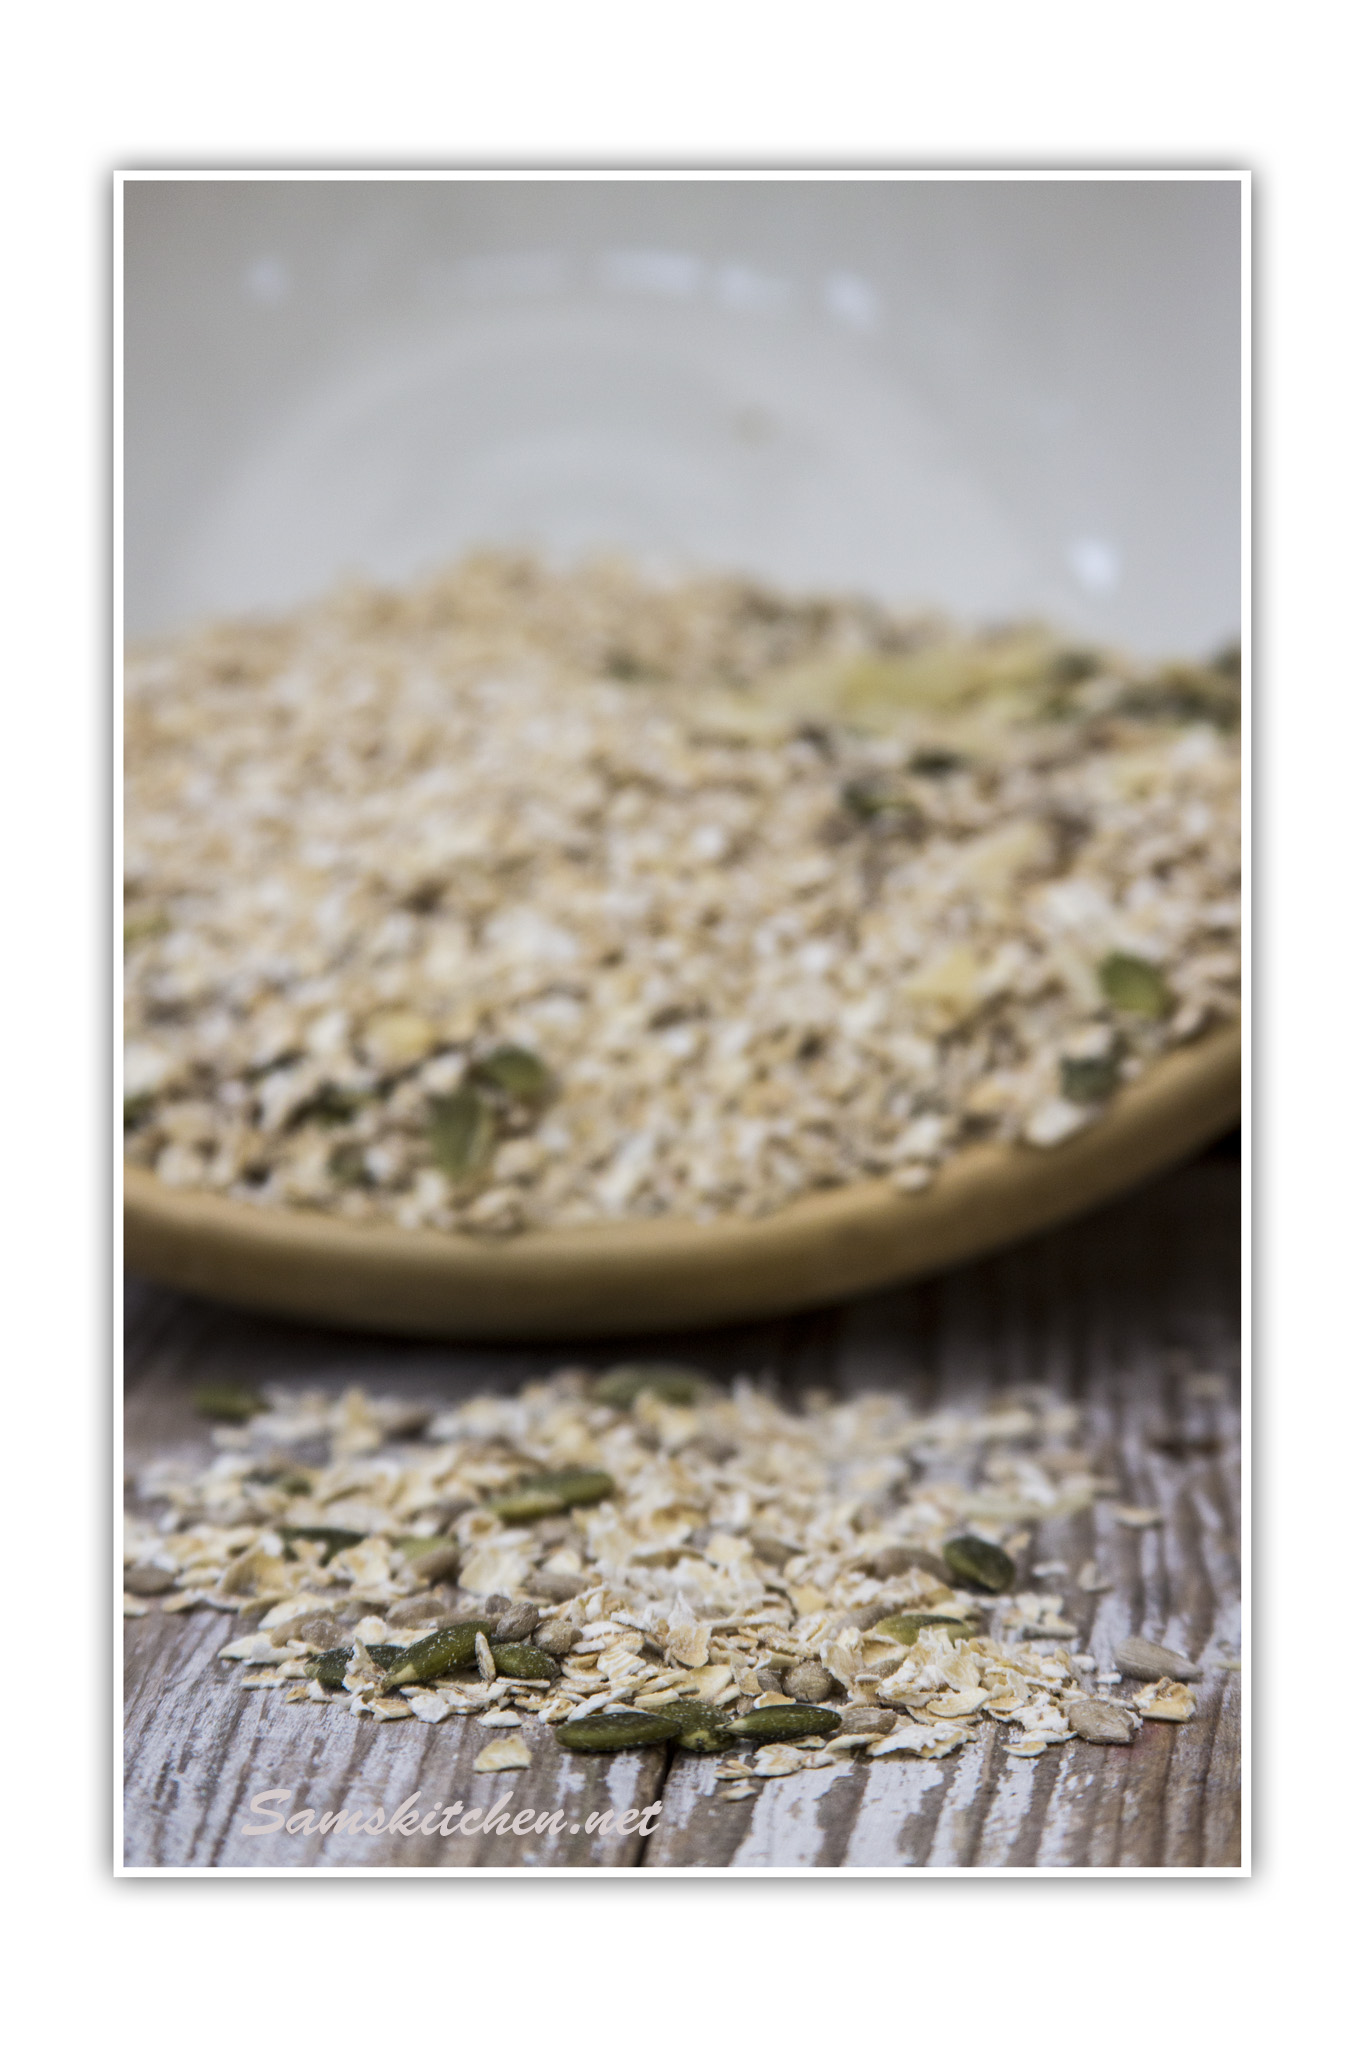
100g mixed seeds (I used pumpkin, sunflower and sesame)
75g plain flour
25g flaked almonds, broken up a little
2 tbsp golden syrup
Lightly greased 18 cm (7”) square cake tin, I used one with a loose bottom which made removal easy.
Preheat oven to 200°C 180°C Fan GM6
In a large mixing bowl place the oats, seeds, almonds and flour, stir.
Place the butter, soft brown sugar and golden syrup in a large saucepan over a low heat. Stir through, ensuring all the butter has melted. Remove from the heat.
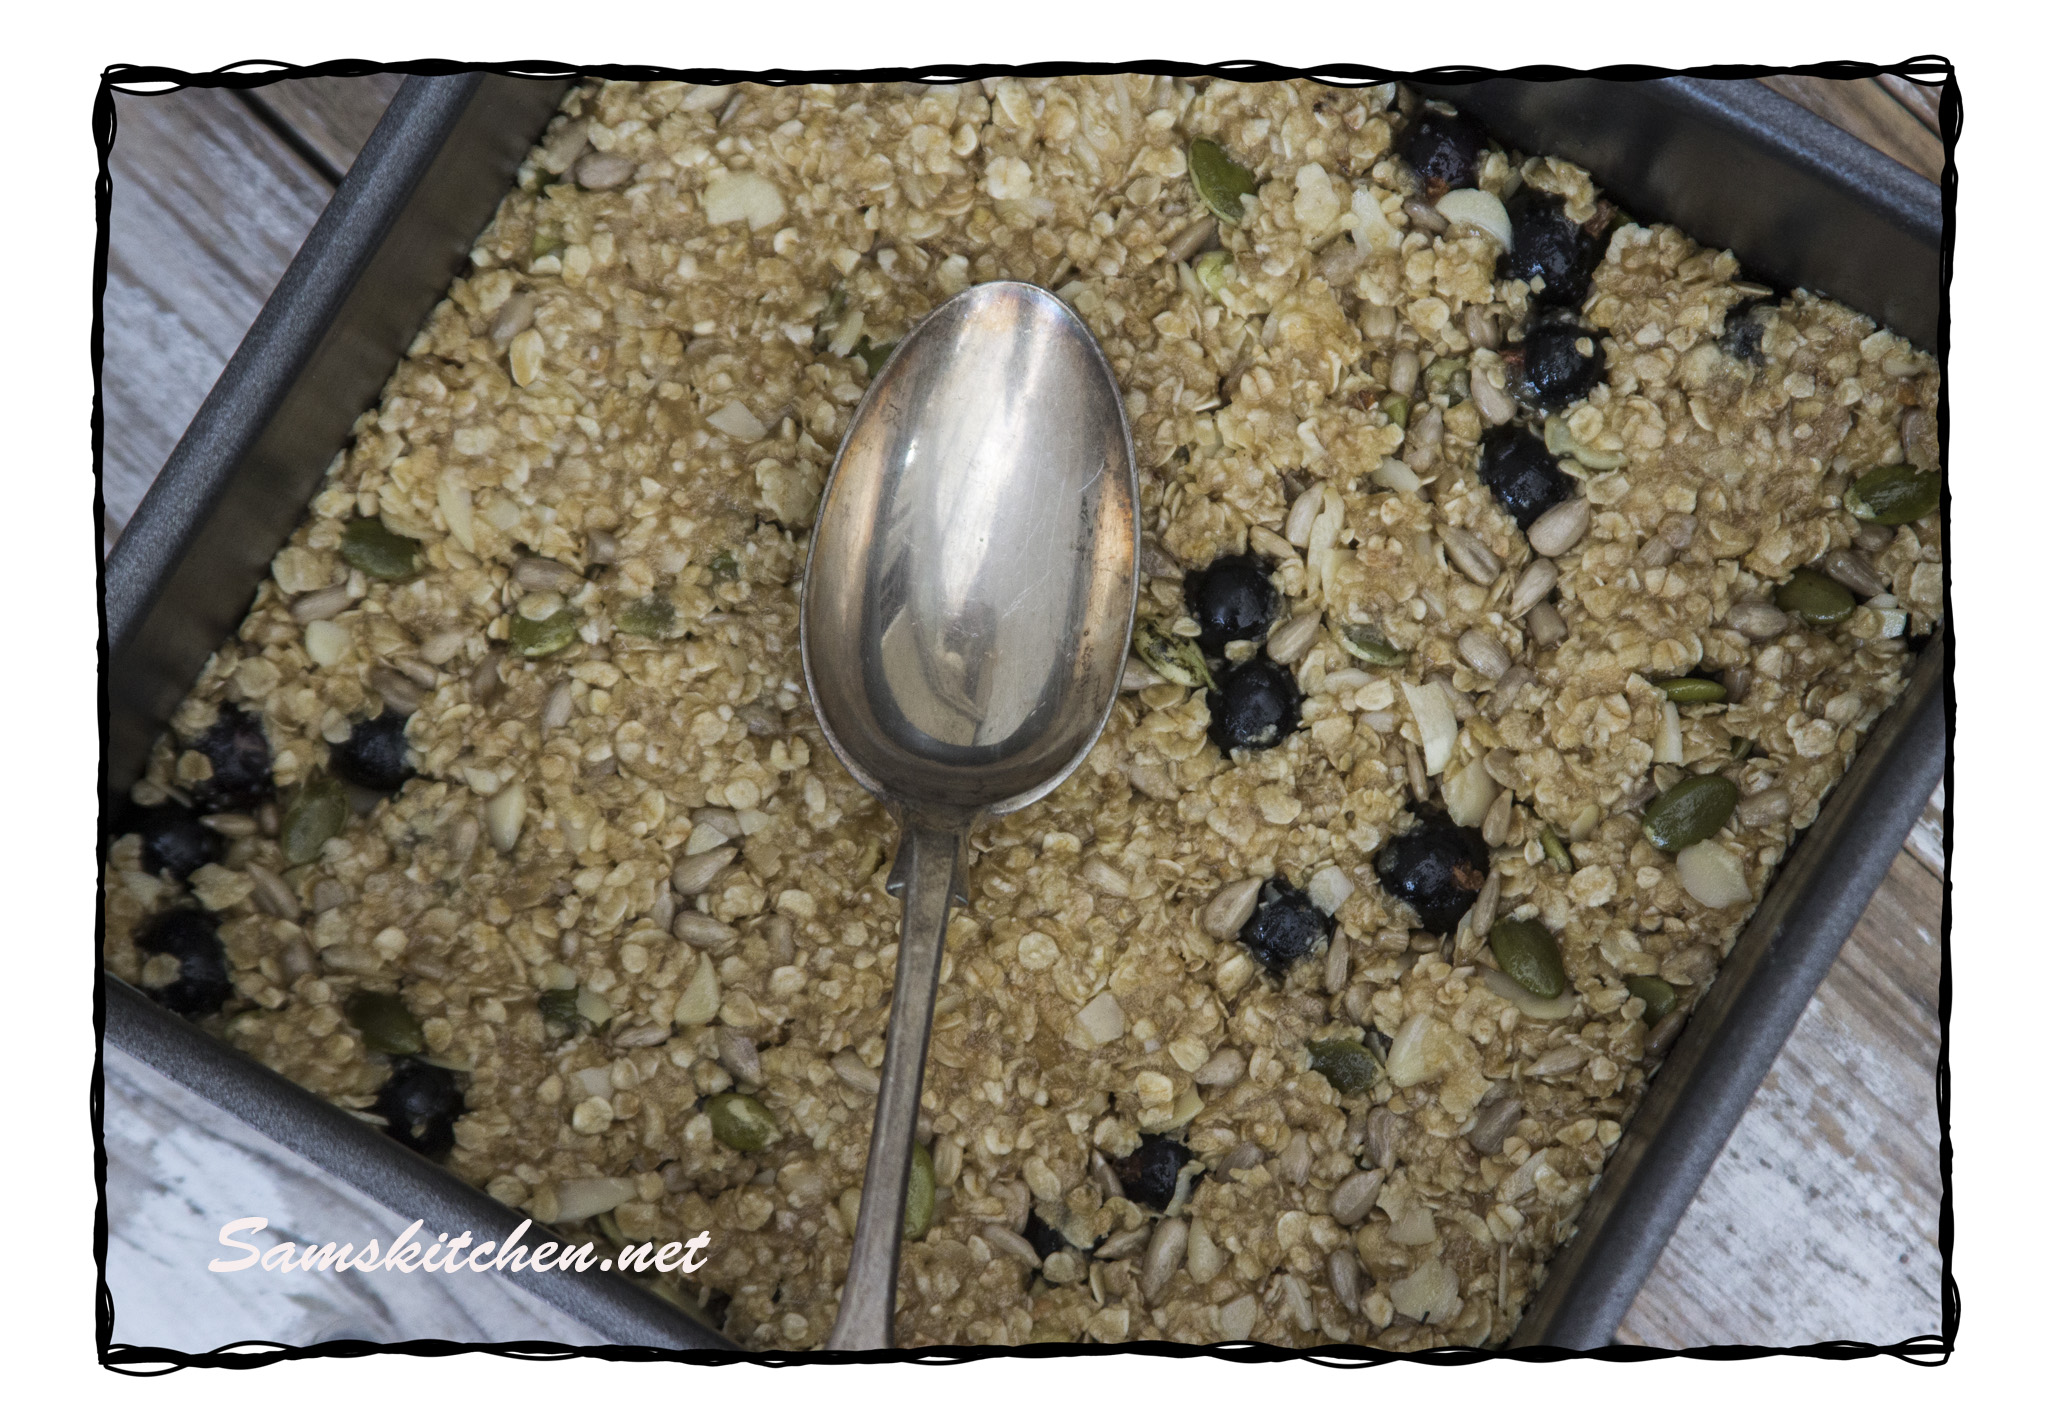
Add the dry mixture in to the melted one and stir well to combine. Stir through the blackcurrants, this way they won’t get too squashed before baking. Transfer the mixture to the prepared tin and push down with the back of a metal spoon to give an even coverage.
Bake for 35-40 minutes until a lovely golden colour on top. Allow to cool in the tin. Remove and slice. Makes 15 decent sized bars. I think this would also be great with maple syrup instead of golden. Try mixing up the seed and nut choice or use blackberries or redcurrants instead of blackcurrants ♥
I decided to make something sweet for Father’s Day and these popped in my mind as worth experimenting with. It took 3 goes to get the consistency right, the first 2 being too soft, they make a fantastic sauce for ice cream when warmed through, so no waste there then!
The milk chocolate I used was just supermarket own brand, I always prefer to eat the good stuff rather than use it in recipes!
Ensure the mixture is cooled slightly before adding the crushed Maltesers or it just melts in together, unless you want them smooth inside then do it.
25g Maltesers (crushed to crumbs, consistency to your preference)
Coating
50g Maltesers (crushed to crumbs, consistency to your preference)
Makes about 12
Heat the cream to boiling point in a small saucepan. Remove from the heat and add the chocolate and butter. Stir well until all has melted in together. If there are still lumps of chocolate place over a low heat and stir until all gone. It’s really important that it’s all melted in together. Allow to cool until just warm and stir through the 25g of crushed Maltesers. You can crush using an electric chopper or in a pestle and mortar of with a rolling pin if you’re feeling a particularly need to, although this can result in rather a mess!
Once the mixture is completely cool, decant to a container with a lid and place in the fridge for a few hours until very chilled and hardened.
Place the 50g of crushed Maltesers on to a shallow dish or a small bowl. Remove the chocolate mixture from the fridge and roll heaped teaspoonfuls of the mixture between the palms of your (clean!) hands to create a rough ball shape. If you roll until it starts to melt a little from the heat of your hands this helps with the coating process. Roll the ball in the crushed Malteser mix then place on greaseproof paper and back in the fridge. You can use petit four cases to present these or gift bags or boxes. Enjoy ♥
50-100g marzipan or sugar paste to make the carrots
Orange food colour gel
Parsley sprigs or green lace jelly sweets to make the carrot tops
Makes 12
Preheat oven to 170°C 150°C Fan GM3
Line a muffin tray with baking cases
Cake bit
Place soft brown sugar, oil, eggs and vanilla together in a bowl and whisk to combine.
Sieve in baking powder, cinnamon, cocoa and flour. Add the zest, nutmeg and grated carrot. Fold through, quickly and firmly until mixed. It’s important not to overmix as the texture will become dense.
Divide between cases and bake for 20-25 until firm to the touch and a skewer comes out clear when inserted in the centre. Allow to cool for 5 minutes in the muffin tray then transfer to a cooling rack to cool completely.
Carrots
Colour the marzipan or icing with a little orange/peach colour food gel. Roll a little in to a ball then a cone shape. Make a hole in the large end to thread the green top in to. Use a knife to make marks around to make it look more carrot like. Repeat.
Icing bit
Beat the butter until really soft. Sieve in the icing sugar and add the vanilla and slowly beat to combine. Sieve in the cocoa and add the cream cheese. Beat until creamy and smooth.
Once the cakes are cool scoop out some of the middle (set this aside). Use a small spatula or knife to spread icing across the top of each cake. The great thing about this cake is that it doesn’t have to be perfectly iced, in fact it looks better not! Add some to the hole in the middle too and then place a carrot in so some is still sticking proud (you may need to cut some off the bottom and eat that to make it fit properly!)
Take the reserved cake ‘holes’ and either crumble with your fingers or blitz in a processor. This will be the ‘dirt’ and can be sprinkled on the icing. Add your carrot top green sprigs and you’re done. ♥
Great food deserves some great photos and that’s what you’ll be taking on this food photography workshop. If you’re a home baker, food blogger or just like to share your best bakes on social media then this workshop is for you. High quality photography is also the backbone of any business and if that sounds like you, you’ll be right at home on this workshop.
Of course it’s not as simple as pointing your camera at good looking food and as you’ll discover during the workshop, props, backgrounds and camera settings all play their part in creating a photo that looks amazing. The role of post processing or editing your photos is vital too and you’ll learn some simple tricks to improve your images using Photoshop Elements software.
This is a “hands on” workshop with lots of learning by doing rather then watching. We’ll be photographing various baked goods during the day, all of which will be provided by us. All you need to do is bring your camera and get involved.
What camera settings will work to get the best out of your camera
How light plays a vital part in good pictures
What makes a good photo and what doesn’t
How to create easy backgrounds out of things you have at home
Styling tips and tricks to make the best of your baked goods
Post processing to enhance your images ready for social media and websites
Places Available – There will be a maximum of 9 spaces available Location – Copthorne, West Sussex Duration – Approximately 5 Hours including a lunch break (10:30 am Start Time) More information – please Contact us stating your interested in the Food Photography Workshop Other Information – You’ll need a DSLR style camera to get the most from this workshop. A mobile phone or basic compact camera is NOT suitable.
F.A.Q.’s about this workshop. Before you decide to book take a look at the questions and answers below to help give you a little bit more of an insight into what to expect.
Who will be running the workshop? Sam Hoey (www.samskitchen.net) and Gavin Hoey (www.gavtrain.com) will be leading the workshops.
Who is the workshop aimed at? This workshop is suitable for anyone who takes photos for their food blog, baking business, Facebook or social media and wants their photos to stand out from the crowd. We’ll be working with baking and bread items which will all be provided for you.
Where is the workshop located? This workshop will in Copthorne, West Sussex. The hall is located a few minutes from the M23 motorway and has plenty of free parking.
What time does the workshop start? We suggest arriving at around 10.15 for a 10.30 start.
Are refreshments included? Tea or coffee will be available. You’ll need to bring you’re own lunch as there are no shops or restaurants in the near vicinity.
What will I need to bring? For this workshop a Digital SLR style camera and a standard zoom lens (e.g 18-70mm) is ideal. If you are unsure if your camera is suitable please contact sales@gavtrain.com
We are unable to loan out cameras and lenses.
Can I just use my mobile phone? iPhones and the like have great cameras but when it comes to food photography they’re not up to the job. DSLR style camera have interchangeable lenses and large sensors which all help to achieve those lovely blurry backgrounds you see in food photos.
Can I contact you? If you would like to speak to Sam to book or ask a question then you are welcome to call 01342 717428. If no one is available to take your call please leave a message and we will get back to you as soon as we can. Alternatively you can send Sam an email sales@gavtrain.com
Can you recommend somewhere to stay? We have many people who travel long distances to be with us. The nearest large town is Crawley but the venue is also fairly close to Gatwick airport, which means there’s no shortage of places to stay and a wide variety of prices to choose from. If you would like to include an overnight stay with your visit please take a look at the excellent information provided by Trip Advisor. London: Gatwick Hotels
Do you have any tips to get the most from the workshop?
Tip 1: Make sure you bring plenty of spare memory cards and batteries (or charger)
Tip 2: Don’t buy a new piece of equipment just to attend the course, you may not need it.
Tip 3: Don’t panic if you get held up. Just give a call and let us know.
Tip 4: Don’t expect every shot to be perfect. The workshop is all about learning and that means making mistakes
Tip 5: Do have an open mind, everyone’s taste in photography is different.
With lots of people trying to lesson the sugar intake in their diet I thought I’d try and come up with something tasty and healthy in the form of a muffin.This took a couple of attempts but the final result is tasty and would be great as a breakfast muffin (perfect on the go!). You can easily change the ingredients to your preference or what’s in the cupboard, which I do often and this was no exception.
2-3 tsp of mixed spice (depends how spiced you like things)
50g oats
50g mixed seeds (pumpkin, pine nuts, sunflower work well) plus a little extra to sprinkle on top before baking
100g dried fruit, chopped (I used apricots and prunes)
65g sultanas or raisins
Wet
225 ml sunflower or vegetable oil
65 ml milk
2 eggs
3 tbsp maple syrup
Zest and juice of one medium sized orange
Makes 12 muffins
Oven preheat 190°C 170°C fan GM5
Place all the dry ingredients in a large mixing bowl and stir to combine.
Place all the wet ingredients in a bowl and whisk until all creamy and combined.
Tip the wet bowl ingredients in to the dry and fold through until just combined, don’t over mix or the muffins will be stodgy in texture.
Divide between muffin cases, sprinkle a few seeds on top, and bake for 18-22 minutes until starting to turn golden and just firm to the touch. Allow to cool or enjoy warm. ♥








 This took a couple of attempts but the final result is tasty and would be great as a breakfast muffin (perfect on the go!). You can easily change the ingredients to your preference or what’s in the cupboard, which I do often and this was no exception.


