Ricciarelli Hearts

I made my version of these 4 or 5 years ago doing research for a magazine article. They are delicious and very moreish. Originally a macaroon style biscuit form Siena in Italy and often given as Christmas gifts. As I have a love of most things Italian they are a staple on my baking list!


ricciarelli-rice-paperI decided to change the tradition shape from a lozenge to heart shaped and to use some lovely coloured rice paper (wafer paper) sheets I bought from Squires Kitchen earlier in the year.

Download the recipe here: ricciarelli-hearts

Ingredients 

200g ground almonds
200g icing sugar
1/2 tsp baking powder
2 egg whites
1 tsp vanilla extract
Grated zest of 1 lemon
1 tbsp runny honey
2-3 large rice paper sheets (approx 28 x 18 cm each) coloured if you can get them
A little icing sugar to dust with

ricciarelli-shapedMakes 20

Oven preheat 180°C (160°C Fan) GM4

Sieve the icing sugar in to a large mixing bowl, add the ground almonds and baking powder and stir.

Add in the vanilla, lemon zest and honey and briefly stir through, it will be crumbly and uneven in texture at this stage. It will all come together later when you add the egg whites.

hearts


In a very clean bowl whisk the egg whites until they form stiff peaks. Add the whisked egg whites to the bowl with the other ingredients and mix well until you have a lump of sticky dough. Wrap the dough in clingfilm and place in the fridge for at least 6 hours, preferably overnight.

When you are nearly ready to bake them, preheat the oven. Prepare the rice paper by cutting out some heart shapes. Use the template to help you or make your own measuring about 6cm at the widest across, and about 6 cm from the dip at the top to the point at the bottom. You’ll need 20 of these.

Download the A4 sized template from www.samskitchen.net/wp-content/uploads/2016/12/hearts.jpg

Divide the dough mixture in to 20 fairly equal sizes (I weigh mine to get it equal), then using your hands shape them into a rough heart shape to fit on the rice paper , so they are just inside by a few millimetres all round (they expand over this when baked). Repeat with them all. Place them on the baking trays making sure you leave a gap around each. Dust with icing sugar.

Bake for about 10 minutes until golden. Leave to firm up for a few minutes on the baking tray then transfer to a cooling rack. They keep well in a tin and actually taste even better the day after baking. Enjoy ♥

   ricciarelli-above ricciarelli-baked ricciarelli-3


Melting Chocolate Moments

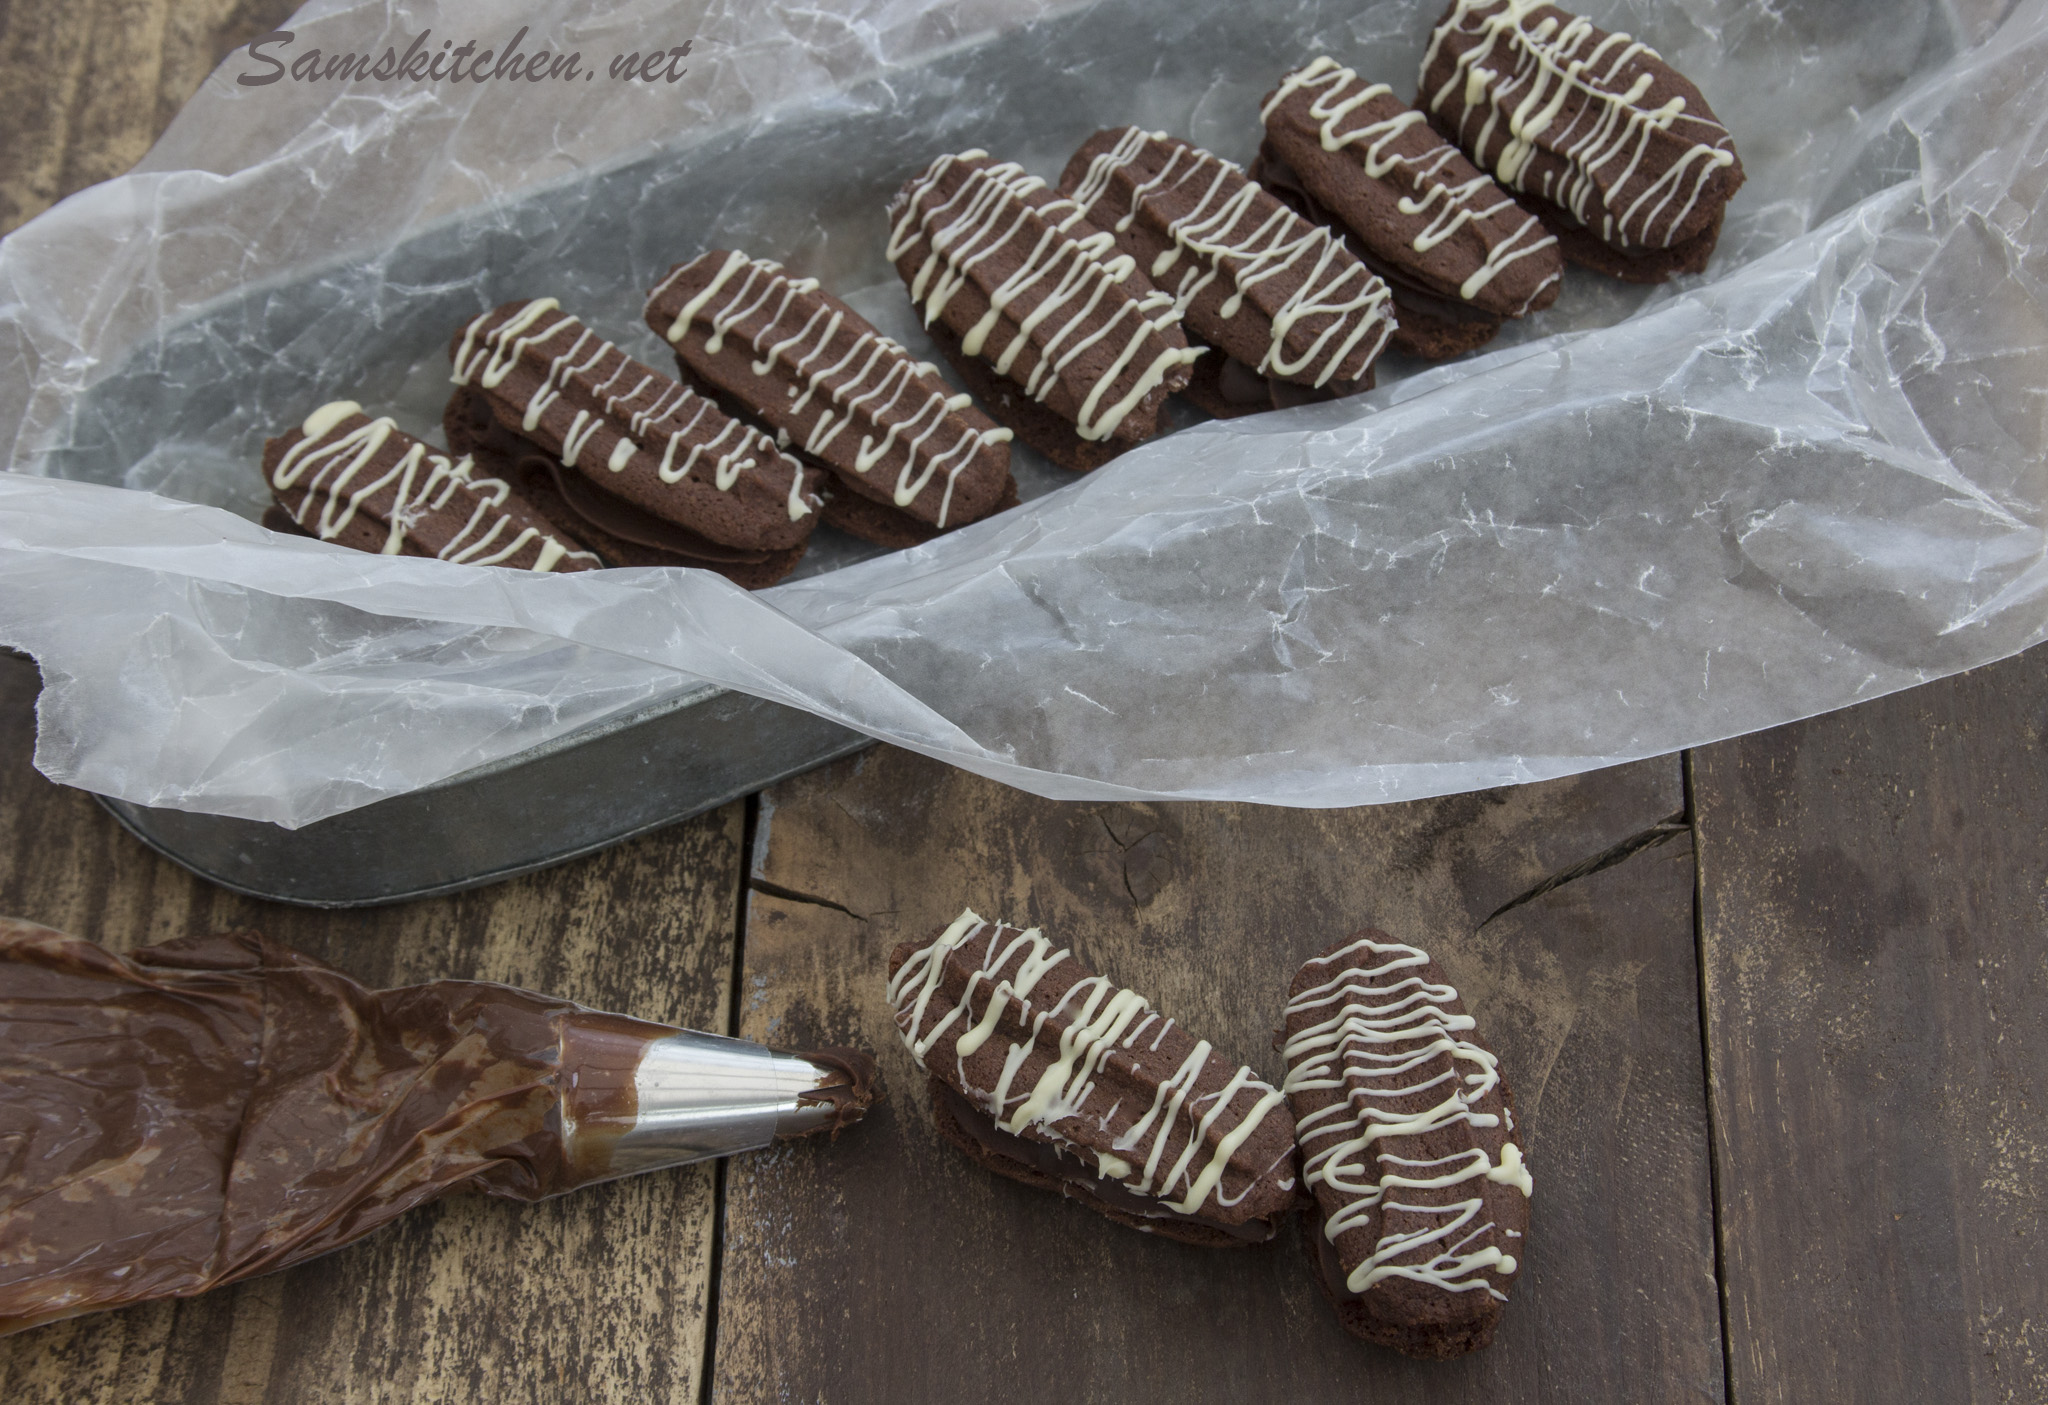
These are like Viennese fingers or whirls but all chocolate! Very crumbly melt in the mouth biscuits sandwiched together with dark chocolate ganache. I use fairly reasonably priced chocolate from the supermarket for most of my baking, saving the good stuff for eating straight 🙂


Melting Chocolate Moments

Cookies

175g soft butter

55g icing sugar

1 tsp vanilla bean paste

150g self raising flour

25g cocoa powder

Ganache filling

200g dark chocolate, chopped

150ml double cream

15g butter

25g melted white chocolate to drizzle (optional)

Makes about 15 large or 30+ small complete cookiesmelting-choc-2

  1. Make the ganache first so it has time to cool and firm up a bit. Heat the cream in a small saucepan to boiling point. Remove from the heat and add the chopped chocolate and butter. Stir through until all melted together. If there’s still a few lumps place over a low heat and stir until all gone. Set aside to cool. Place in the fridge in a container until ready to use as filling.
  2. melting-choc-1Preheat the oven 180°C 160°C (fan) GM4. Beat the butter until soft and creamy. Add the sieved icing sugar and vanilla bean paste, beat together until combined and smooth. Add in sieved cocoa and flour and bring together, either by beating briefly with your mixer or by wooden spoon or spatula. Make sure it’s an even colour and there’s no lighter streaks.
  3. Prepare a piping bag, for the larger ones I used an Ateco 866 pastry nozzle and the smaller ones a Wilton 1M. You’ll get a different look if you use other nozzles so try a few. Place some of the cookie mix in the piping bag. Pipe lengths of about 5-6 cm onto a lined/greased baking tray. The piping is hard work as the mixture is quite stiff, ensure your piping bag is strong and the butter is really soft at the start, this will help. Make sure you give them room to expand in the oven. Bake until just starting to colour at the ends about 10-12 minutes for the larger ones a few minutes less for the smaller ones. They will be firm to the touch, be careful not to over bake them, they burn quickly and it’s not easy to tell as they’re already brown!
  4. melting-choc-aboveLeave to cool completely on the trays. The cookies are very fragile, especially so while still warm. Once cooled use a small spatula or knife to move them. Pair them up so they’re roughly in pairs of the same size and shape. Turn over one half of the pair, if you’re using the white chocolate drizzle across the tops now, or wait until you’ve assembled them, either works. I used a piping bag with a small snip at the end or use a spoon.

5. Fill another piping bag with the cooled ganache filling, it needs to be a soft spreadable and pipeable consistency. If it’s too sloppy place in the fridge for a little while, if it’s too stiff heat very briefly in the microwave and stir, repeat until you are happy. Place some in the piping bag and fill the upturned cookie with a line of luscious filling, pop the top on and leave until the white chocolate is set. Enjoy ♥

melting-chocolate-momentsmelting-choc-4

Food Photography Lighting Ideas


Although I love using natural light for a lot of my food photography, sometimes it’s just not an option. The UK has many days when the sun does not appear and when it does it’s not for long enough! So I have a few lights at hand to make sure I’m not limited.

aimg_1788

The Pixapro Glowpad 350 works really well for me and also means I can control where the light is used and how much light. It’s amazing how much difference moving the light makes to the end result.

aimg_1776

Check out my video to how see how I created the images.


Mini Break to Lacock, Wiltshire.

img_20160927_125758

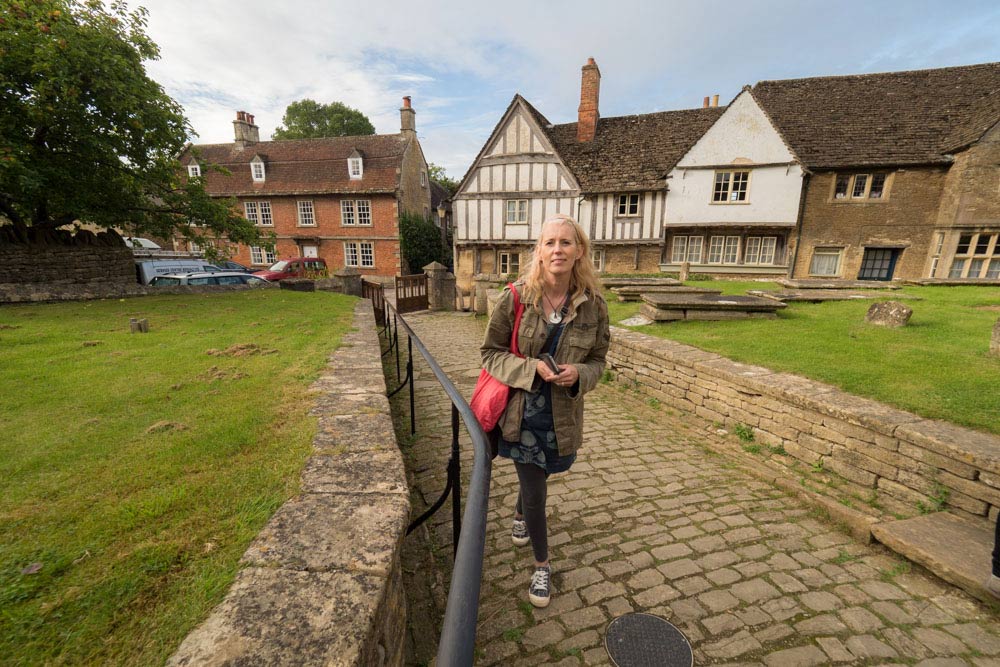
My other half, Gavin, and I recently had a cheeky mid week break away to Lacock in Wiltshire.

It’s somewhere I had heard about for a while and at last managed to get a couple of nights booked for late September.

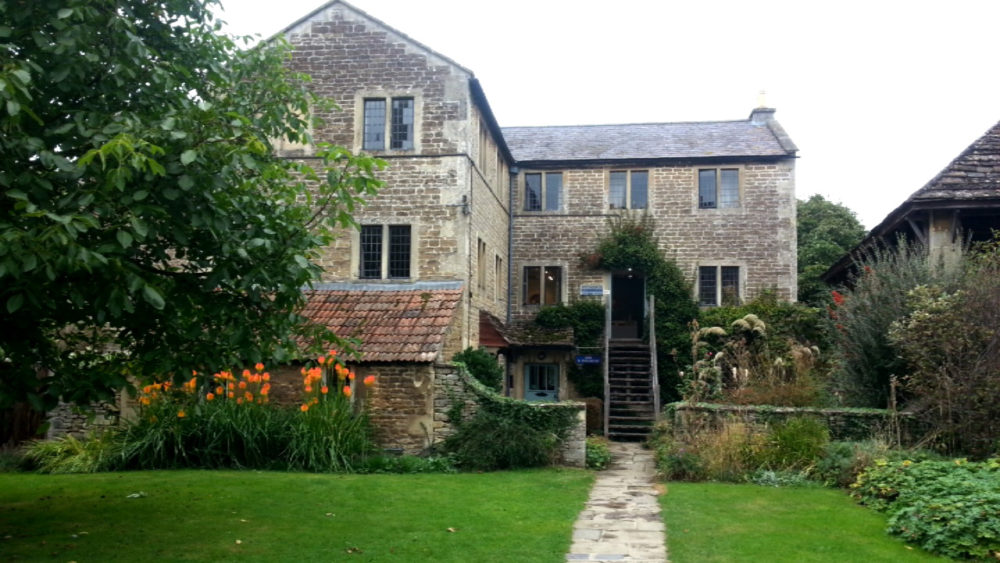
The village is stunning and rather unique being almost entirely owned by The National Trust. This means it has an unspoiled appearance.

I did lots of research on somewhere to stay and decided in the village itself was where I wanted to be. There are just a handful of places as it’s only a small village and I chose the Lacock Pottery B&B. The reviews are brilliant and it looked my sort of old and quirky!


The hosts Simone and David are lovely, so interesting and friendly and very knowledgeable on all sorts, especially the local area as they’ve lived there for over 30 years.

We made friends with Kevin the guinea fowl that seems to have adopted the pottery as his home (or her no-one is sure!).

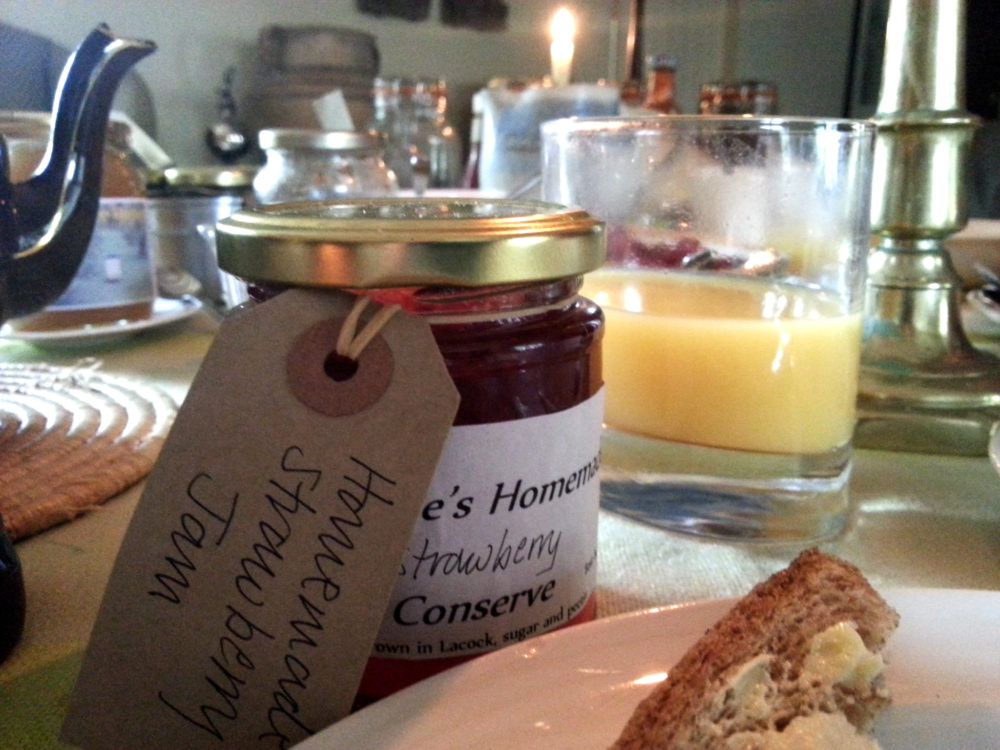
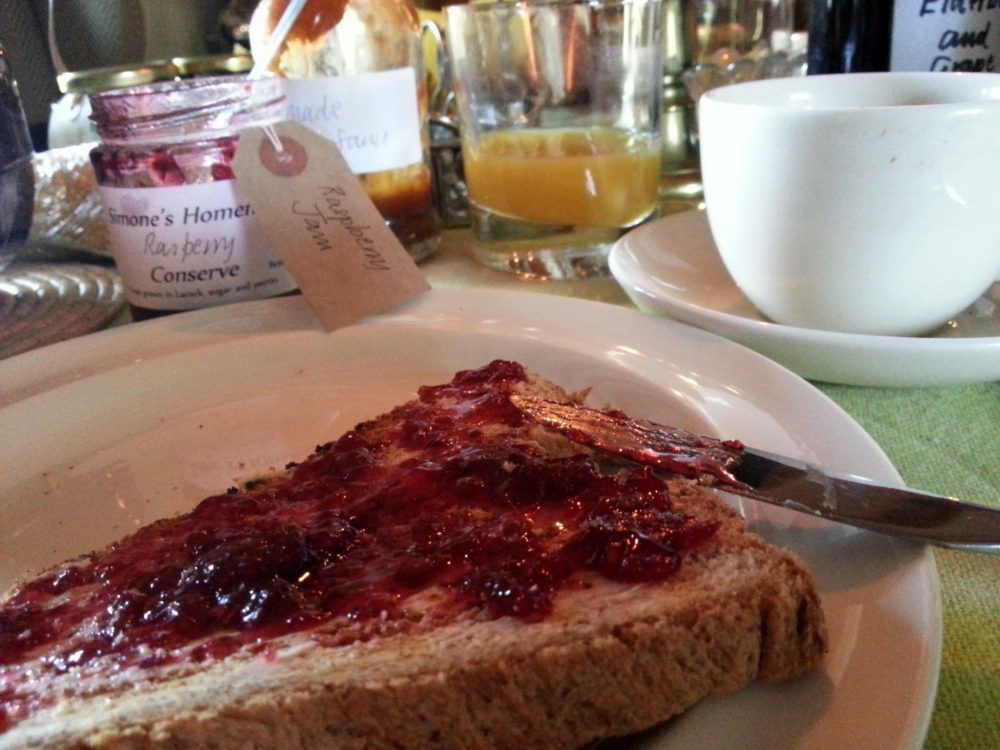
We had candlelit breakfasts in front of an open fire, this felt so special and very indulgent! With homemade bread and jams this was a particular highlight.

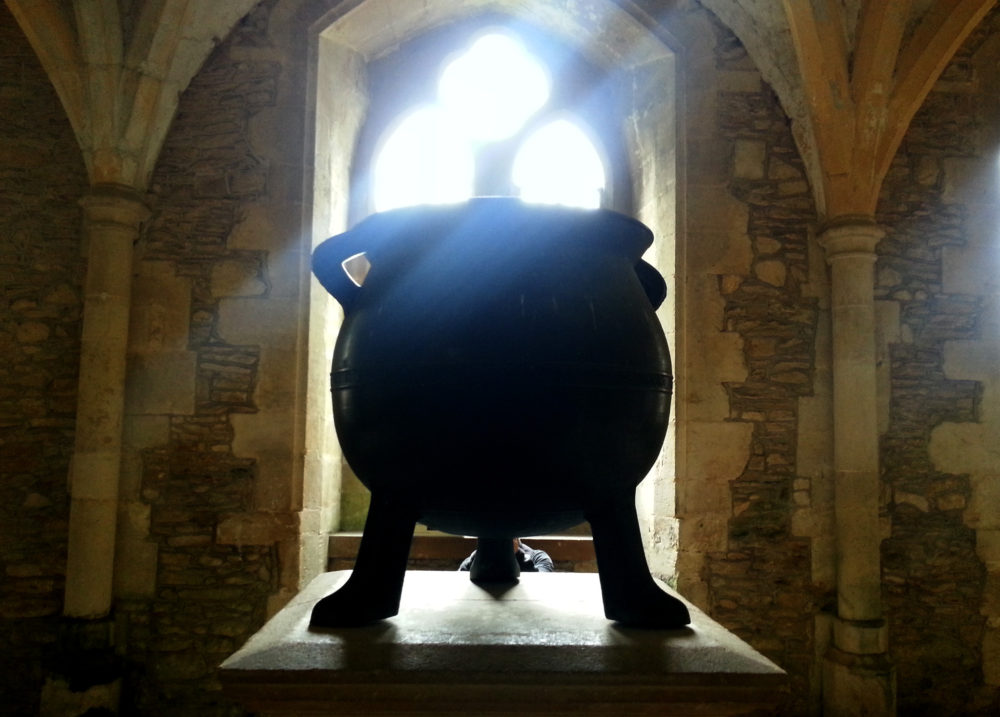
We visited the Abbey which was beautiful and also boasts the Fox Talbot Museum (photographic negative inventor) and generally relaxed and enjoyed the break.

There were little stalls to buy things from outside houses; I ended up with snacks, flowers and books to take home. Also a few gift shops and of course the stunning houses and streets to wander along.

Because there was a distinct lack of street lights (unlike home as we live close to Gatwick airport) we used torches in the darker areas in the evening but also Gavin took this as an opportunity to take a few star trail images. This involved sitting in the church yard in the pitch black and resulted in some amazing images.

lacock-startrails-1

Two nights was the perfect amount of time to relax and sample the local delights. We left with homemade wine and a box full of apples from our hosts. Check out my  Pookies recipe made with some of the apples. I highly recommend Lacock and staying at the pottery was perfect. ♥

Pouring Spoons Food Photography Video

I had great fun creating these images and putting it in to a video for Essential Photo using some of their brilliant Pixapro Glowpad lights. Excellent slim LED light panels that are battery operated which makes them super portable.


All the messy stuff was done before videoing, testing consistency and balancing spoons were definitely the hardest and stickiest bits! Worth practising and making sure you use items that wipe clean easily. We fashioned a box (from discarded packaging) using bluetack to secure the spoons as they need to be able to withhold whatever you’re pouring on to them.

[embedyt]http://www.youtube.com/watch?v=aOi-b7POtMk&sns=em[/embedyt]

You could use this idea to create your own food ‘art’ images using honey, sauce, syrups etc. Just have a test run with pouring first to make sure you have a good flow and catch what you pour underneath so you can keep recycling. Enjoy ♥


Pookies, Apple Pie Cookies

apple-pie-cookies-pookies-4

We recently had a wonderful couple of nights away, we stayed in a lovely B&B and when we left they gave us loads of Bramley cooking apples. I’ve made a few things with them and shared them with friends too. Then I decided I would make a cookie that was like a pie and here’s the result.

apple-pie-cookies-pookies-2
Wonderful for the autumnal days we are now having. They taste amazing still warm from the oven. Great cold the next day, although not as crisp, of course, there’s apple sauce in there!  I think they look pretty cute too 🙂

apple-pie-cookies-pookies

apple-pie-cookies-or-pookies

Ingredients

Filling

200g of Bramley apples (cooking apples) peeled, cored and chopped (approx. 2 medium sized apples)

1 tbsp. caster sugar

½ tbsp. lemon juice

½ tbsp. water

Cookie dough

40g caster sugar

100g soft butter

1 tsp vanilla bean paste (or extract)

1 egg yolk

175g plain flour

For the tops

1 egg white

A little caster sugar

A little cinnamon


Makes about 15


Filling (make first and allow to cool)

  1. Place all the filling ingredients in to a small saucepan and heat gently, stirring occasionally until the apple is softening. I had a nice mixture of sauce and apple chunks. Set aside to cool.

Cookie dough

  1. Beat the soft butter and caster sugar together until light and fluffy. Add the egg yolk and vanilla and beat again until combined. Sieve in the flour and bring together to form a ball of dough. Wrap in cling film and chill for 30 minutes.
  2. Preheat the oven 180°C 160°C fan GM 4. Lightly grease a cupcake tin/muffin tray. I used a shallow version I have which gave the look I wanted. Roll the cookie dough out on a floured surface until 3-4 mm thickness. For the bottom of the pookie I used a 6.5 cm fluted round cutter. Place this in the prepared cupcake tin. Add about a teaspoon of apple filling. For the lattice top, cut out a 6 cm circle of cookie dough and slice it in to strips and place across the top.apple-pie-cookies-pookies-before-bake
  3. Brush carefully with a little egg white, sprinkle with a little caster sugar and a little cinnamon. Bake until turning golden, 15-20 minutes. Allow to cool for 5-10 minutes in the tin then carefully transfer to a cooling rack. They are delicious warm or cold. Enjoy ♥apple-pie-cookies-pookies-1apple-pookies

Coffee Drizzle Cake


coffee-drizzle-cake-above

I do love a coffee cake but don’t make them often as I’m the only one here that likes them, which means I end up eating most (by most I mean all) of it!

I decided a cake crossed with a sugary drizzle topping could be worth experimenting with. It was lovely and I did share it with a few visitors and my Dad, honest I shared 🙂

coffee-drizzle-3

coffee-drizzle-loaf-cake

Ingredients

175g soft spread/butter

175g soft light brown sugar

3 eggs, lightly beaten

175g self raising flour

1 tsp baking powder

2 tbsp. instant coffee

4 tbsp. boiling water

100g granulated sugar

The loaf tin I used measured 11 cm x 22 cm at the widest and 6 cm deep, line the base and grease the sides.

Preheat oven to 180°C 160°C fan GM4

coffee-drizzle-above

  1. Mix the coffee and boiling water together, set aside and allow to cool completely before making the cake.
  2. Beat the soft spread/butter with the soft brown sugar until light and fluffy. Add the egg in 3 additions mixing well, if it looks like it’s curdling add a tbsp. or 2 of the flour. Mix briefly on med/high speed to combine until smooth.
  3. Sieve in the flour and baking powder, also add 2 tbsp. of the cooled coffee mixture. Beat until all combined and smooth. Spoon into the prepared loaf tin and bake until firm to the touch and a skewer comes out clean when inserted in to the centre 30-40 minutes.
  4. Place the cake, still in the loaf tin, on a cooling rack. Mix the remaining coffee mixture with the granulated sugar. Use a skewer to make holes across the cake top then, whilst it’s still hot, spoon the drizzle mix over. Leave to cool completely in the tin. To remove loose the sides and gently tip on to a plate and then place a plate on the bottom and turn over, this way the crunchy sugar is on the top. Enjoy ♥
    coffee-drizle-above-2
    coffee-drizzle-5
    coffee-drizzle-3

Daim Mousse Shots

I had an idea this would be rather fabulous if it worked……and it did! I wasn’t convinced the Daim (well they used to be Dime in the UK back in the day, apparently that changed in 2005!) would melt, of course the chocolate bit would but would the crunchy toffee bit? Well the answer is yes or yes and no, you can leave some bits in or melt completely either is delicious.

Daim Mousse Shots

Daim Mousse Shots

Ingredients

4 Daim bars (28g each) plus an extra bar if you decorate the tops

4 tbsp. milk (full fat or semi)

200ml double cream

Makes  8 ‘shots’.


Crush the 4 Daim bars in to small pieces and place in a bowl set over a small saucepan of barely simmering water. Add the milk and stir occasionally to mix.

The chocolate will melt and so will most of the crunchy toffee. I left some pieces in mine but you could melt it all if you prefer. Set aside to cool then place in the fridge for about 30 minutes until cold.

Whisk the double cream until it forms stiff peaks that hold shape when pulled up. Fold the cream in to the chocolate mixture until combined. Then spoon or pipe the mixture in to shot glasses or small cups. Decorate with crushed Daim and shards and pop in the fridge for at least an hour to firm up. Just a note the crushed Daim decoration on top will go a bit soggy if left a while, so if you want to keep the crunch add it just before serving. Enjoy ♥

White Chocolate and Cherry Fudge

White Chocolate and Cherry Fudge
White choc & Cherry fudge close

I love fudge, it makes a great gift and will keep well. Here’s a variation I tried recently which went down well.

White Chocolate and Cherry Fudge

Makes 50-60 bite sized pieces

Ingredients
350g caster sugar
300ml semi skimmed or full fat milk
100g butter, chopped in to chunks
100g white chocolate, chopped
100g glacé cherries, chopped roughly in to quarters
1 tsp vanilla extract or bean paste

Line an 18cm (7”) square tin with parchment or baking paper. Put a plastic cup of water in the freezer to chill for later if using.  Place the sugar, milk and butter in a large saucepan. Heat on low, stirring regularly, until melted together.

Increase the heat to bring to a rolling boil, stir occasionally to stop any areas on the bottom ‘catching’. Ideally use a sugar thermometer to measure 118°C (softball)* to double check it’s the right consistency you can drop a little mixture in to the chilled cup of water, remove from the water with a spoon,  if it balls up rather than dispersing it’s ready.

*I have many sugar thermometers and find that they can vary readings by several degrees, very frustrating when on many sugar/sweet recipes this reading is crucial. To be sure use the dropping in to cold water method.

Remove from the heat and stir through the vanilla. Add the chopped white chocolate and about ¾ of the chopped cherries and stir well. The chocolate will melt in as you stir.

Beat vigorously for a few minutes, you can use your mixer or by hand, it will thicken slightly and you’ll notice that any mixture on the sides is starting to set. Pour in to the square tin and even out then dot the remaining chopped cherry pieces on the top and leave to cool completely.

White choc & Cherry fudge above

White Chocolate and Cherry Fudge 1

Once completely cooled remove from the tin. Cut in to cubes using a sharp knife. If it’s still a little soft and squishy leave out to harden for a few hours, just loosely cover with a clean teatowel or kitchen paper. Then place in an airtight container. ♥

White choc & Cherry fudge sliced above

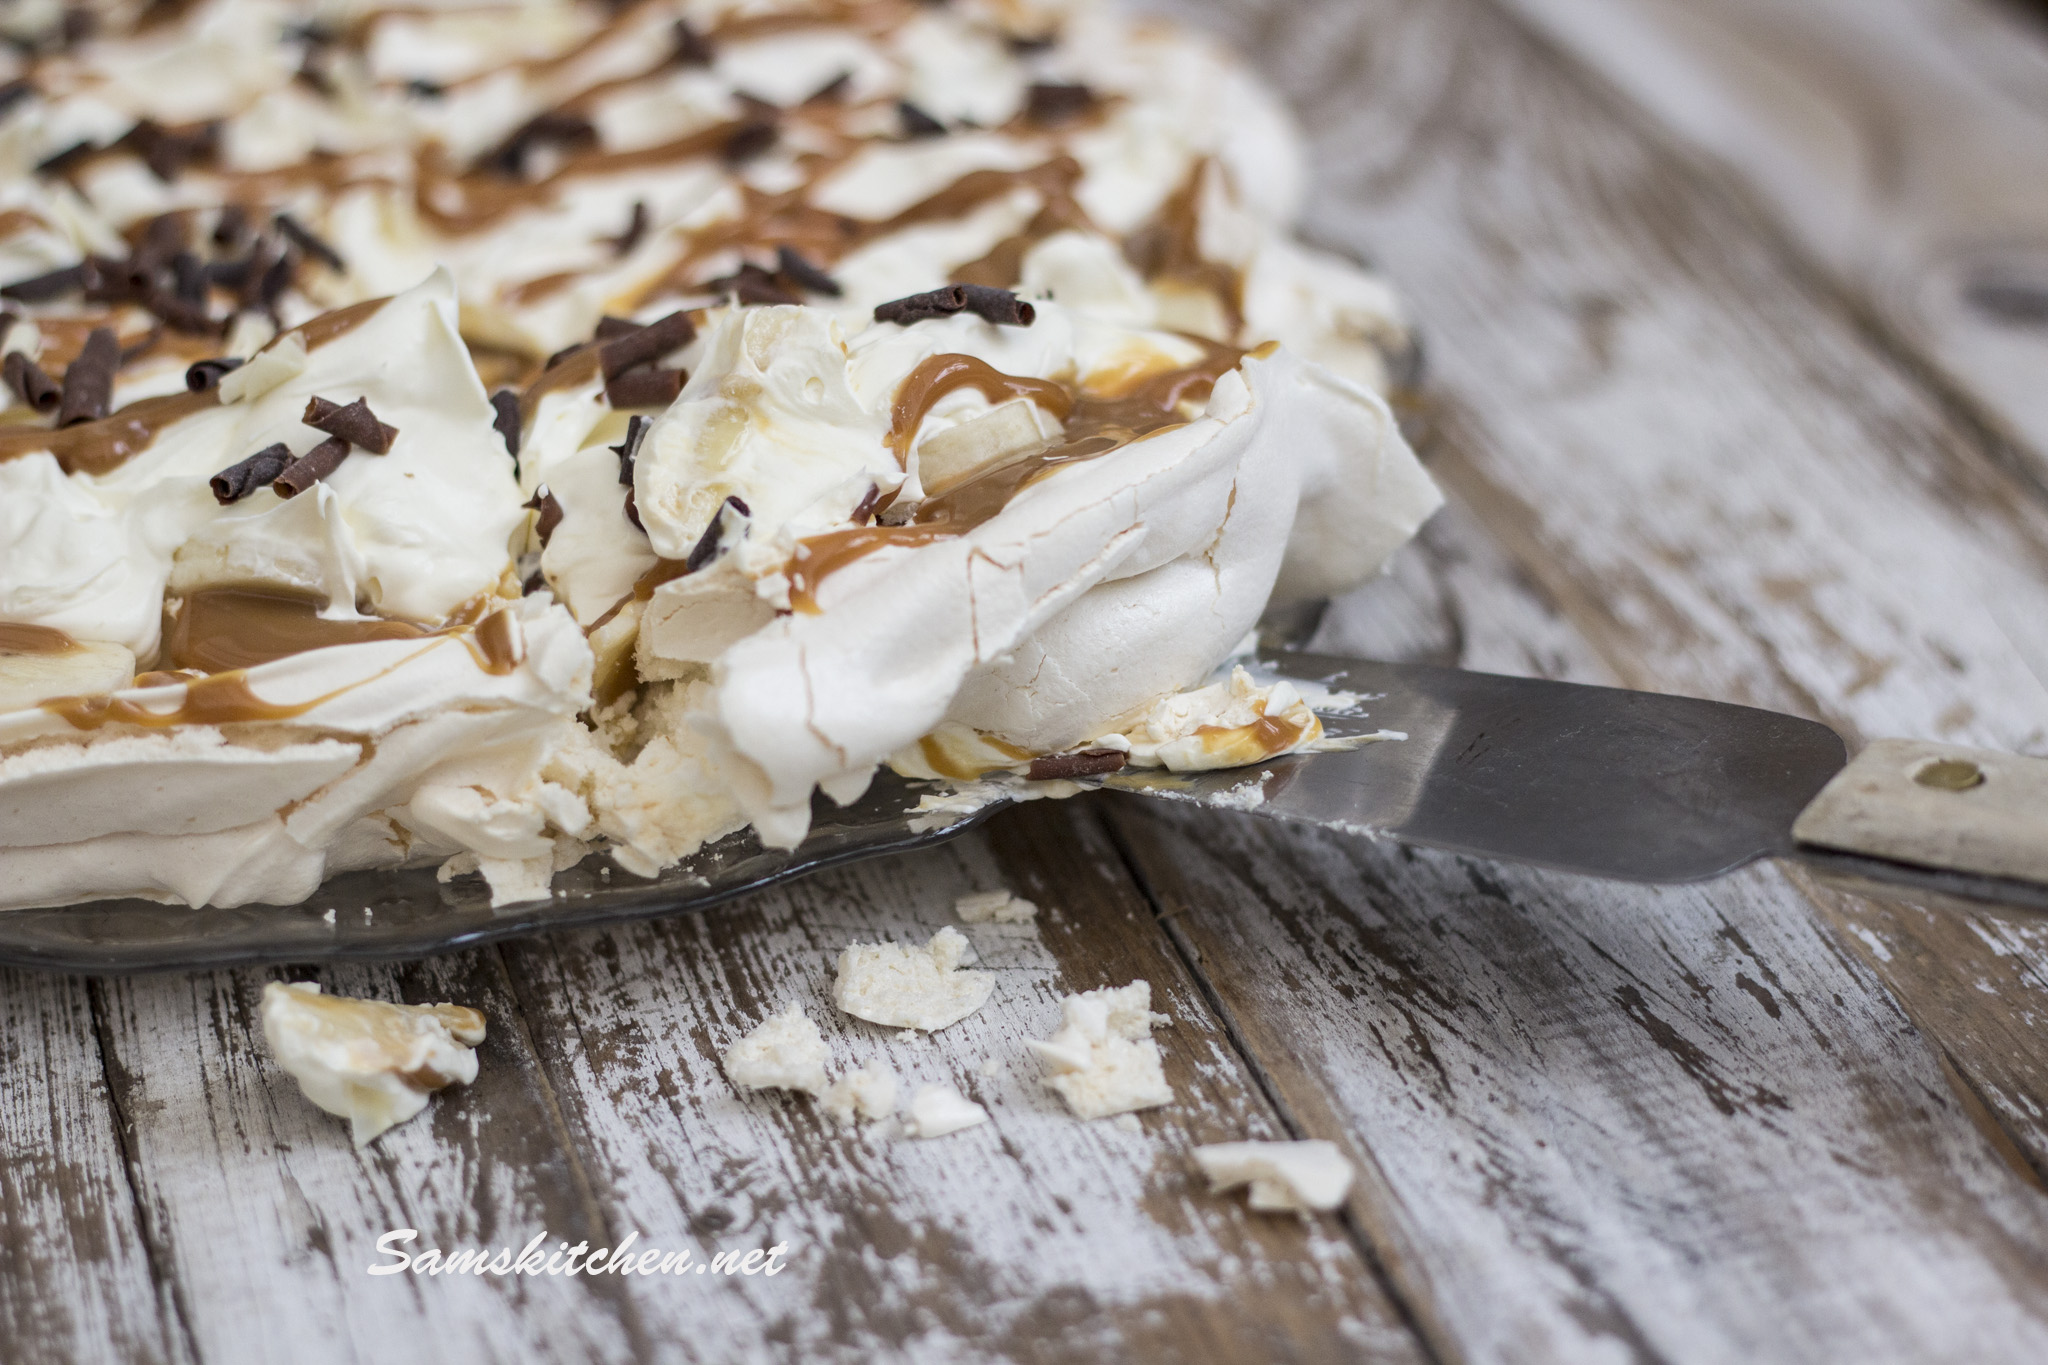
Easy Banoffee Pavlova

Banoffee pavlova close

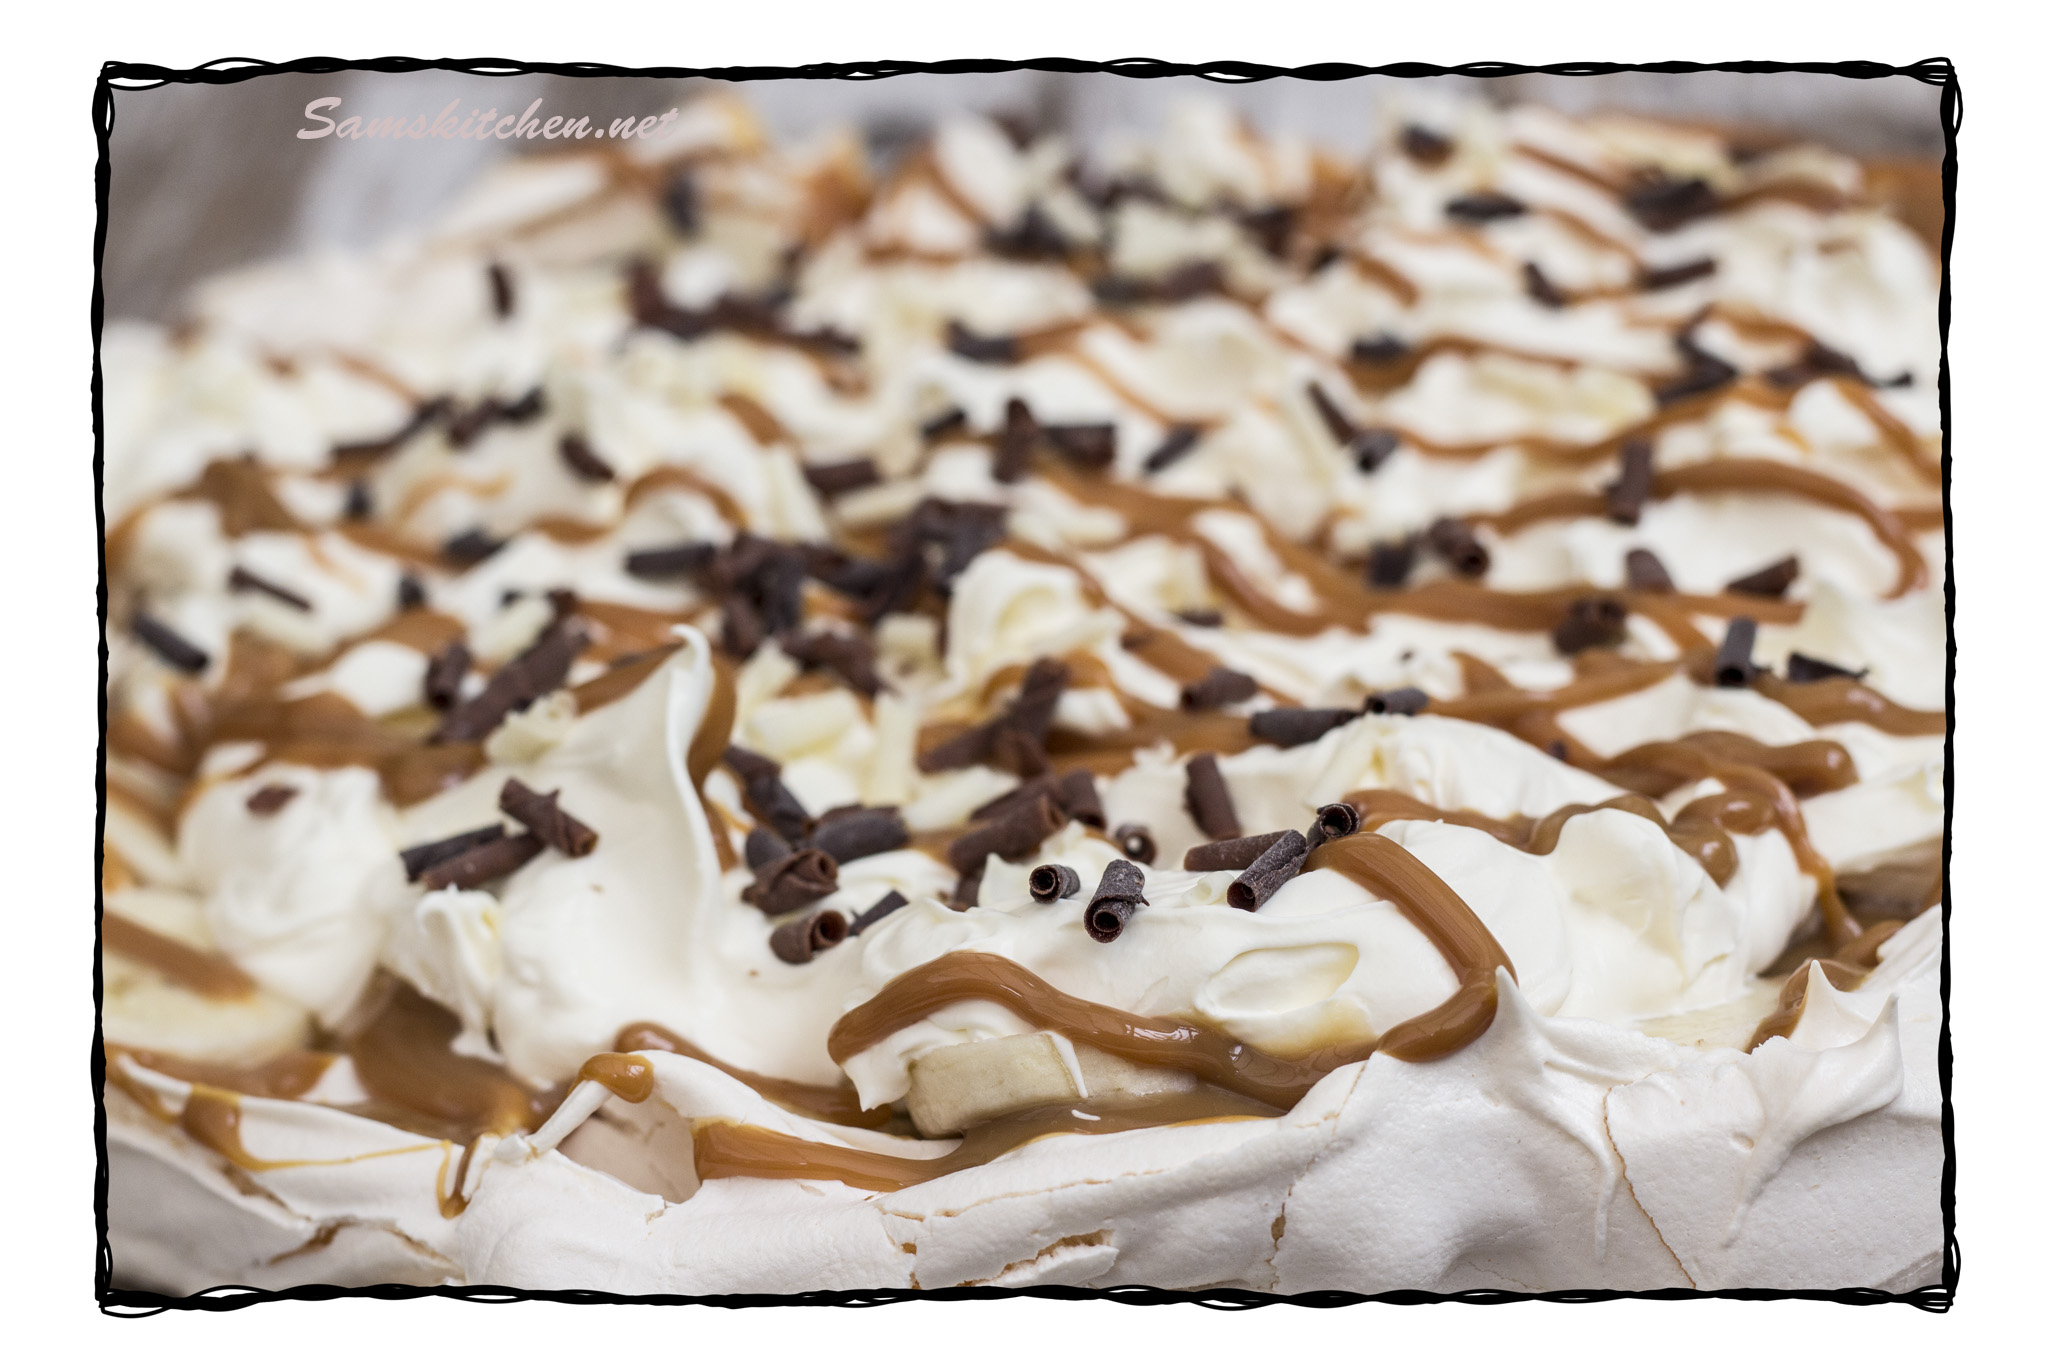
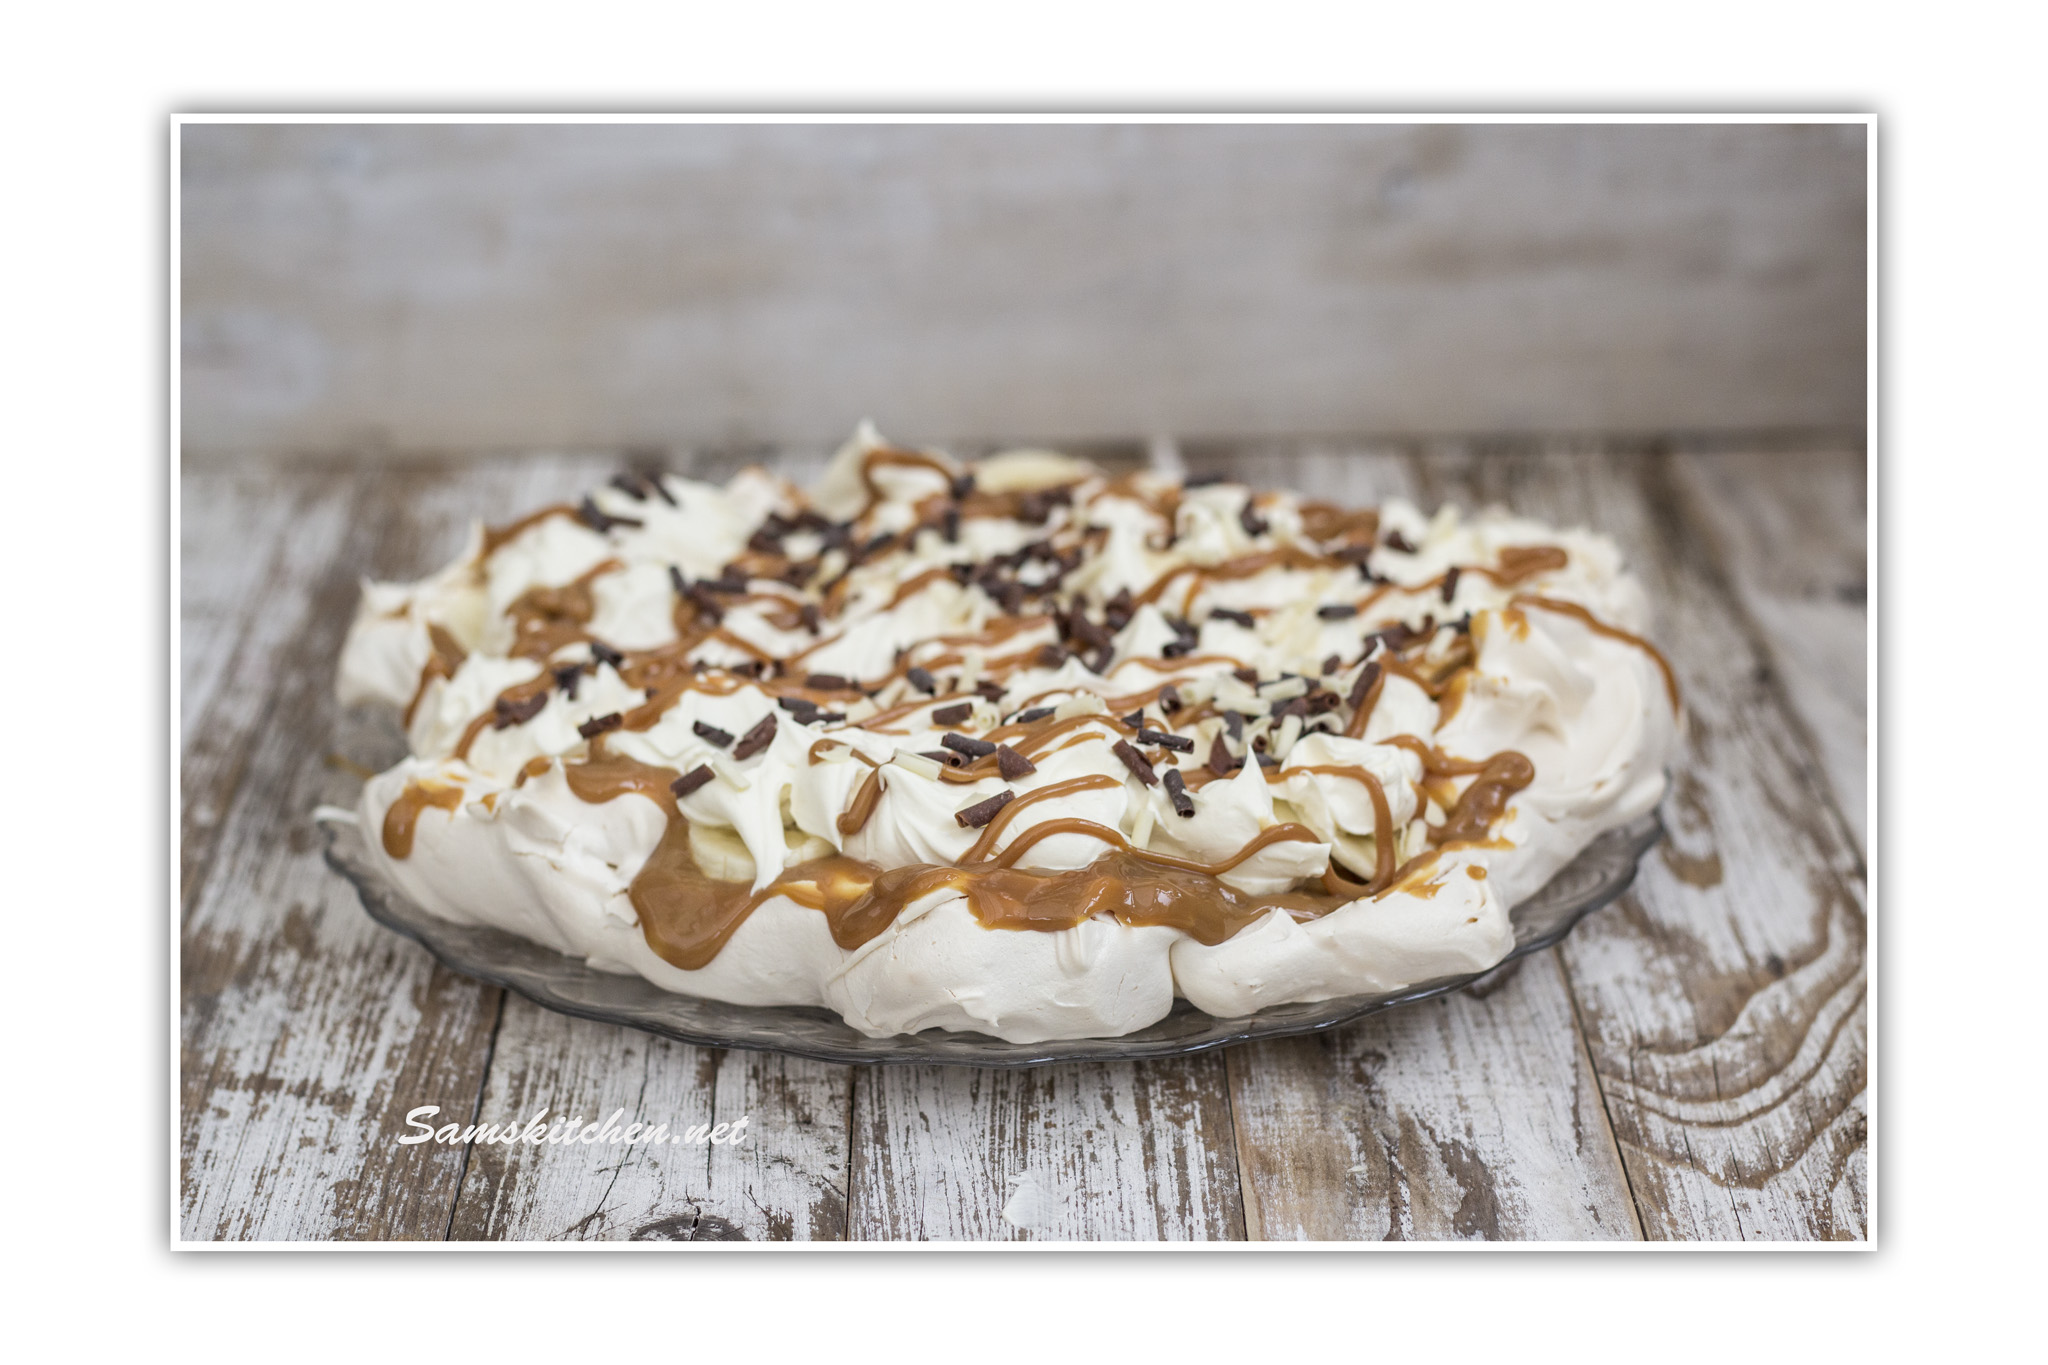
An easy pudding to satisfy that sweet tooth! I usually have a can or jar of caramel in the cupboard as well as double cream in the fridge and having chickens means eggs are always on hand too. Perfect, add bananas and we’re on our way! 🙂

Banoffee Pavlova (print)

Ingredients

Meringue

3 egg whites (at room temperature)

165g caster sugar

Topping and decoration

300ml double cream

1 can or jar of dulce de leche or caramel

1-2 bananas

25g grated dark chocolate or some chocolate curls or sprinkles to decorate

Preheat the oven to 140°C, 120°C Fan, GM1

Line a baking tray with parchment or a magic reuseable liner

Meringue

Place the egg whites in to the bowl of your mixer. Whisk the egg whites until fluffy and increased in volume. They should hold their shape.  Set the mixer running on medium and add the sugar about a tablespoon at a time, making sure it all gets well mixed. Once it’s all in the bowl give a faster whisk until it’s all light and fluffy. Don’t over beat as the mixture will split and go runny.

Spoon the meringue mixture on to a baking tray lined with a magic liner or parchment paper. Make a rough circle shape approximately 20 cm in diameter (8”). You can make it have peaks by lifting the spoon if you wish or make the outer edge deeper to create a dip for more filling in the centre. Bake for about an hour. I prefer to place mine on a lower level in the oven as my oven temperature varies, you want it to dry out rather then cook, so you end with a crunchy outer and chewy centre. The meringue surface will be crisp and just starting to colour. Once it’s cooked turn the oven off and leave the meringue inside until the oven is completely cool. You can make a few days ahead and store in an airtight container.

Topping and decoration

Place the meringue on a serving plate or tray. Whip the double cream until thick. Spread about ¾ of the caramel across the surface, you can drizzle or pipe if you find it is cracking the meringue by spreading it. Slice the banana and dot across the top. Then dollop cream on top of this. Drizzle with more caramel and sprinkle with chocolate to decorate. Slice and enjoy!  Best assembled on the day of serving.

banoffee pavlova

To help get a lovely fluffy result with your egg whites make sure your bowl is very clean by wiping it with a little lemon juice before starting, this will help remove any grease or detergent left behind.

Banoffee pavlova slice

Passionate love of baking & eating.