Category Archives: Recipes

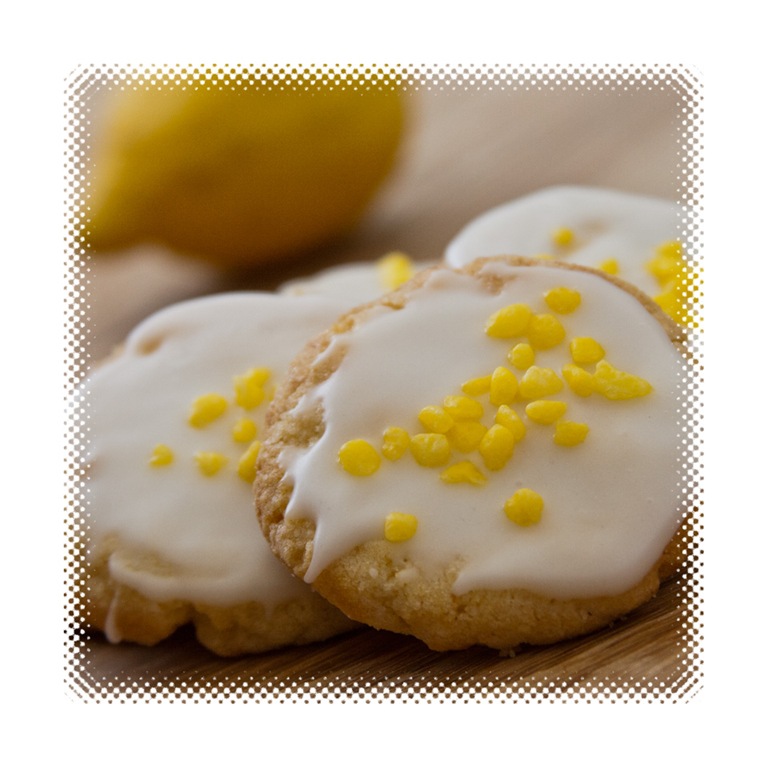
Almond & Lemon Crunch Top Biscuits

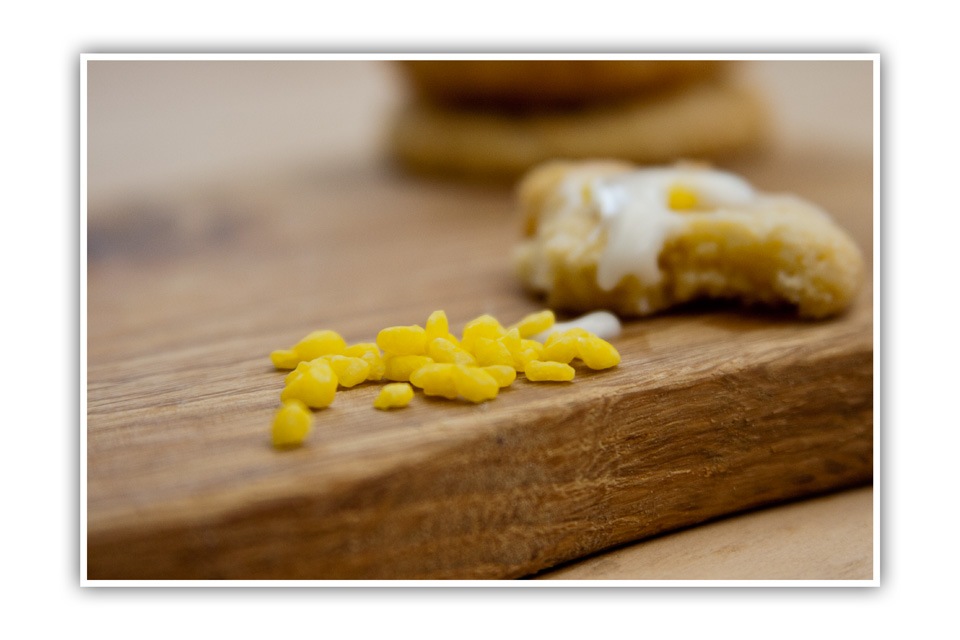
almond & lemon biscuits crunchI love citrus flavoured cakes & biscuits. Here’s a really easy & delicious biscuit I made primarily because I wanted to try my lemon yellow crunch sprinkles I received from Jo at www.justbake.co.uk
Check out the discount offer at the bottom of this post!!!

They would look & taste equally as fab on cupcakes too!

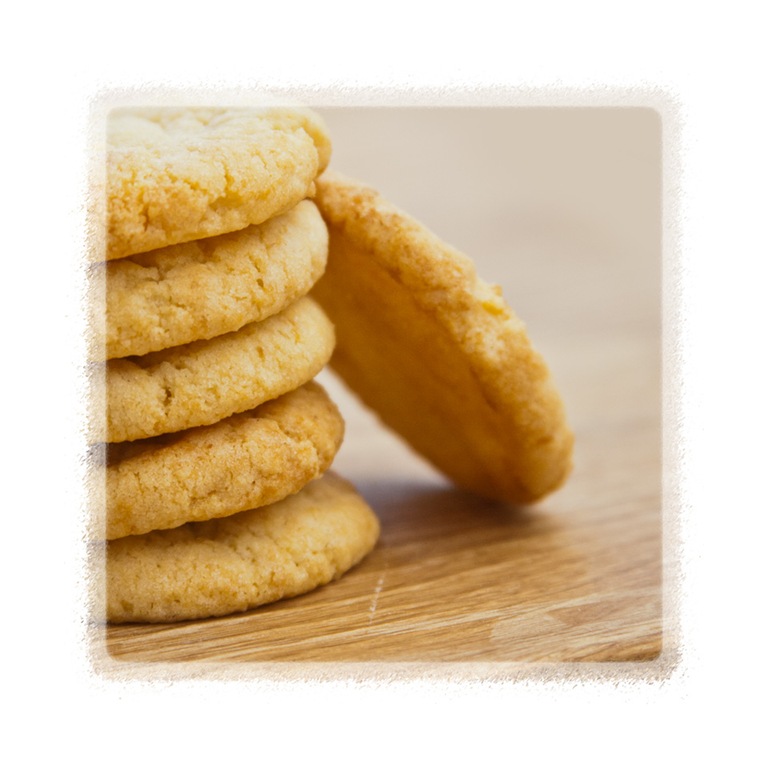
Gav is none too keen on lemon flavoured things (although strangely he loves lemon meringue pie…..) so I iced most but left a few un-iced for him, he really liked the naked biscuits he said they were a great texture and only a hint of lemon.

To print the recipe open the link below
almond & lemon biscuits

Almond & Lemon Crunch Top Biscuits

Makes about 24

Biscuit bit

100g soft butter/spread

150g Caster sugar

100g plain flour

100g ground almonds

½ tsp baking powder

Zest of one large lemon

1½ tbsp lemon juice


Icing bit

100g icing sugar

1½ tbsp lemon juice

Lemon yellow crunch sprinkles http://www.justbake.co.uk/product/lemon-yellow-crunch-cupcake-sprinkles-559

Preheat the oven 170°C (fan 150°C)

Grease/line 2 baking sheets

almond & lemon biscuits coolingBiscuit bit

Cream the butter & sugar until light & fluffy. Add the rest of the biscuit ingredients and mix to a stiff dough.

Take heaped teaspoonful’s of the mix and roll into balls and place on the baking tray. Flatten slightly.

Bake for about 20 minutes until light golden. The longer you bake the crunchier the end biscuit. Personally I prefer crunch on the outside and a slight chewy texture in the centre with these.

Leave on the baking tray for a few minutes to firm up then transfer to a cooling rack.
almond & lemon biscuits icingIcing

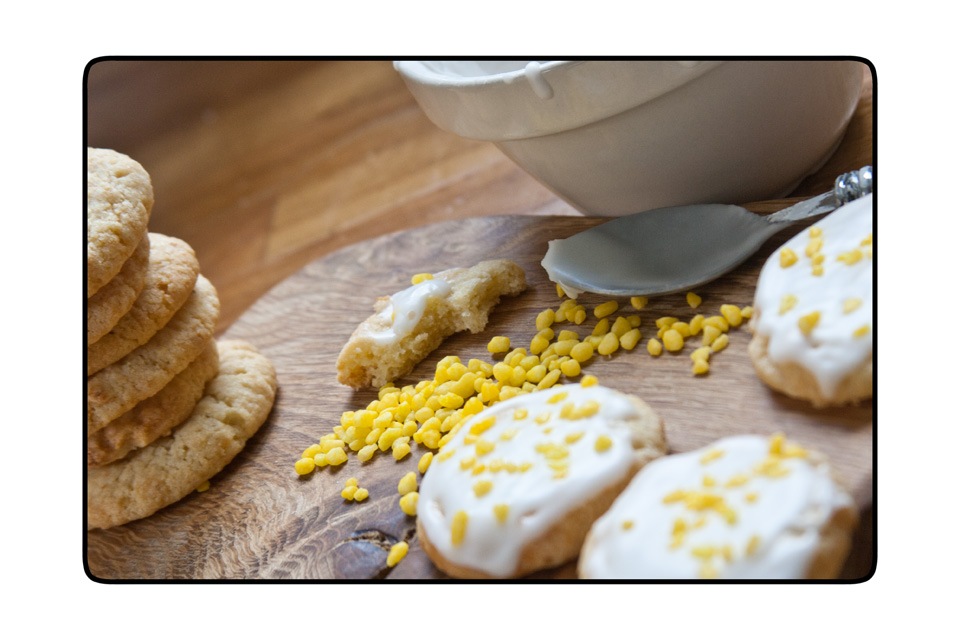
Once the biscuits are cool make the icing. Sieve the icing sugar into a small bowl add the lemon juice and mix well to form a smooth icing. It needs to be runny enough to spread but not too runny that it oozes everywhere! Add more icing sugar if it’s too runny or more lemon juice if it’s too stiff until you reach the right consistency.

Spoon on the biscuits and spread around, then sprinkle with sprinkles! Allow to set and then store in a tin. They will keep for about a week.

I have now tried a few sprinkles from www.justbake.co.uk love them all. Pop by and take a look at their range of sprinkles, cases & loads more!

*Jo at Just Bake has kindly arranged a discount to Sams Kitchen viewers, if you spend £10 or more you will receive a 10% discount on your purchase. Just enter SAMS into the voucher code field on the payment screen to make the most of the offer.* www.justbake.co.uk
sprinkles

Rice Crispie Cakes

ric crispiecakesThese are always a welcome sight at home and so easy to make. They are, in my opinion, much nicer then the chocolate ones.

But you can be the judge of that…….


This is pretty much the original 1970’s Kelloggs recipe I think, apart from the extract & not essence bit!


Rice Crispie Cakes

100g rice crispies

80g golden syrup

15g sugar

15g butter

a few drops of vanilla or almond extract

Put the syrup, sugar & butter in a large saucepan and melt then bring to the boil for one minute, stirring continually.

Remove from the heat and add the extract & rice crispies. Mix well. Divide into cake cases or in one large tin. Place in the fridge until set. I have pushed a cake pop/lolly stick into a mound of sticky rice crispie mix while in a cake case so that they can be picked up that way, seems to work quite well, until they fall off the stick!

They will keep in a tin for a few days if they don’t all disappear ♥

rice crispie cakes

Biscuit Necklaces (perfect for rainy days)

necklace bics2It was Frey’s birthday this week and she wanted a sleepover with a few of her closest friends.

I thought she may like a few things to keep them amused (and stop them texting for a few brief moments!) So I asked if she thought they would enjoy decorating some small biscuits to make a necklace.


I know it seems a little “young” for a bunch of 14 year olds but also know they like to do fun “kitsch” thing too. It got a big thumbs up and it proved to be a real hit.

necklace bics3


Remember those rock hard candy necklaces you used to get (and probably still can)? These are way better and actually properly edible!

cuttersI made a chocolate biscuit dough and then cut out smallish cookies from the fab set of cutters that Gav got me for Christmas (so useful for all sorts of things!) I then a small cut out for the centre.

On some I used the smallest cutter to do this, others I used a drinking straw.


necklace bics makingBaked as normal. Then stacked on plates ready to be decorated.

I laid out plates with cookies and then put loads of sprinkles & glitter in the centre of the table, also some ribbons for threading later.


They had a few bags of icing to act as “glue” and away they went.


necklace bics

Out of the 4 only 2 got made into a necklace of sorts as the other 2 managed to scoff them as they made them! But whatever the end result was, they had fun & giggles as the rain lashed down outside!

necklace bics4

Coconut Scones

coconut sconesI love scones and I love coconut so what not to like with these!

This is based on the fab Delia Smith Scone recipe I always use.

I recently made some Lime Curd which I found went perfectly with the scones.
I’ll add that recipe to the bottom so you can give that a whirl too.


Coconut scones

Ingredients

225g self raising flour

Pinch of salt

75g soft butter (cut into lumps)

40g caster sugar

40g desiccated coconut

1 medium egg beaten

2 tbsp coconut milk

A little extra coconut milk & for brushing the top and some coconut for sprinkling

Preheat oven 220°C (fan 200°C)

Grease/line a baking tray.

coconut scones2Makes 9 regular sized scones (2”/5cm) or 15 smaller ones (1.5”/4cm)

Sift the flour into a large bowl. Add the salt and stir through. Add the butter and rub with your fingertips until evenly distributed and like breadcrumbs. Add in the sugar and coconut then mix.

Next you need to add the wet ingredients, the egg & coconut milk. Scone mix is best handled as little as possible so I use a palette knife to cut/mix through and then bring all together with my hands. It will smell very sweetly of coconut, it tastes great too at this stage (errm it’s all part of the testing process!).

Roll out on a lightly floured work surface to about 1” (2.5cm) thickness.

Cut out with your chosen cutter and place on the baking tray. Re-roll the leftovers and repeat until you’ve used all the dough. Brush the tops with coconut milk and sprinkle with coconut.

coconut scones rawBake until risen & golden (about 10 minutes). Cool on a rack or enjoy warm.

coconut scones1They freeze really well if you have any left.


coconut scones3Lime curd

Juice & zest of 2 large limes

2 medium eggs

175g caster sugar

110g soft butter

1 tsp cornflour

Makes about 2 medium sized jam jars (I like to use small ones and give a few away to stop me eating the lot!)

Whisk the eggs in a saucepan with a balloon whisk. Then add the other ingredients and place over a low/medium heat until all melted while continuing to whisk. Turn the heat up and bring to a gentle simmer still whisking. When the mix has thickened remove from the heat and transfer to a jug. Pour into sterilised & warmed jars then place a waxed disc on top and seal. Will keep for a few weeks in a cool place. Once opened keep in the fridge.

lime curd

Easter Cupcakes

easter cupcakeHere’s my take on a simnel cake in cupcake form. I’m not a huge marzipan fan, unlike Frey & Gav! But these were fruity and not overpowered by it.

Printable recipe here

Ingredients

225g self raising flour

1 tsp cinnamon

1 tsp mixed spice

1 tsp baking powder

115g soft brown sugar

115g soft butter or spread

225g dried fruit (I used 50g cranberries & 175g mixed dried fruit)

2 medium eggs

2 tbsp milk

225g marzipan

chocolate eggs to decorate

A little apricot jam

Makes 12 large cupcakes.

Line a muffin tray with cases. Preheat the oven to 180°C/fan 160°C/350°F/GM4

Roll out the marzipan to an even thickness of about 2-3 mm. Cut out 12 rounds of about 6cm wide, these will be going in the centre of the cakes. Also cut out 12 to go on the top of the finished cakes. I liked the look of the flower cutters so used those for mine.

marzipan topsPlace all the ingredients except the marzipan, jam & chocolate eggs in a bowl and beat well, either with a mixer or by hand, until the ingredient are well mixed and creamy. Spoon some mix into the cases so it’s approx 2cm deep. Then lay a marzipan round on top and flatten down slightly then continue spooning the mix on top of the marzipan layer until evenly distributed.

simnel muffinsBake for 25-30 minutes until golden & firm to the touch. An inserted skewer should come out clean (just remember you have marzipan in there too!)


easter cupcakes above


Transfer to a cooling rack. When cooled brush the tops with a little apricot jam and place on the marzipan discs, add further decorations as required.

They will keep for a few days, if they last that long! Enjoy.


cupcake 2

Raspberry & Almond Mini Macaroons

raspberry & Almond mini macaroons6This recipe is being donated to the Save the Children & the Hidden Hunger campaign, Name the Day Challenge details here, via Ruth Clemens (The Pink Whisk).

An incredibly worthwhile cause, I am thrilled to do something to help.

I decided that I wanted to make something along the lines of the old teatime favourite macaroons. Remember those almondy treats on rice paper?

Well add some jam & flaked almonds and make the raspberry & Almond mini macaroons7size a little smaller and you get these!

They are a huge hit at my house now, so much so my daughter Frey has made them twice! I hope you like them too.

Raspberry & Almond Mini Macaroons

Ingredients

Rice paper

50g caster sugar

60g ground almonds

10g plain flour

1 egg white

½ tsp vanilla or almond extract

50g raspberry jam

small amount of flaked almonds slightly crushed to decorate with

Preheat the oven to 170 C (fan 150 C)

Line a baking sheet with rice paper. I used 2 sheets measuring 14 x 18 cm.

raspberry & Almond mini macaroonsMix together the sugar, ground almonds & flour.

In a small bowl lightly beat together the egg white, vanilla or almond extract & 25g of the jam.

Stir the wet into the dry and mix well.

Drop teaspoonfuls of the mix onto the rice paper. Press down slightly into the centre of each to make a dent and add a little of the remaining jam and then sprinkle with crushed almonds.

Bake for about 15 minutes until golden brown. When they cool, tear away the rice paper leaving just the bottoms covered. raspberry & Almond mini macaroons4


Makes about 15 small macaroons. Cute treat or as petit fours with coffee.


They keep for a few days in a tin if you have any left.

Enjoy ♥

Flavour variations

I’ve tried out a couple of different fillings, just a straight replacement for the jam, both work really well. Nutella and Lemon curd, with the lemon ones I used some chopped pistachio nuts on the top.

Nutella Macaroonslemon & pistachio macaroons


raspberry & Almond mini macaroons3

Jammie Dodgers

Jammie dodger2We were trying out a few photography techniques recently using some digestives as a prop.

Gav said Jammie Dodgers would be good to use, firstly as red is always a plus for him in a photo, but secondly (probably most importantly) he loves them!


So I reckoned I should have a go at making my own. Really simple to make & they taste fab.


Printable recipe here


Jammie Dodgers

Ingredients

125g butter

55g caster sugar

180g plain flour

Jam of your choice

Preheat oven 190 C (fan 170 C)

jammie tea

Cream the butter and sugar together until light & fluffy. Sieve in the flour and mix well, bring together to form a ball of dough. Cover and place in the fridge for 30 minutes to chill.

Roll out on a well floured surface to about ½ cm thick. Use cutters, I used hearts & circles. If you have a smaller heart or circle cutter (or something else that will do the job!) use that to cut out on half the biscuits. They look great with a little ‘window’ so you can see the jam.


Place them on greased or lined baking sheets and bake for 10-15 minutes unjamtil cooked through & starting to turn a golden colour.

Allow to cool on a rack.

Spoon onto the complete half a generous helping of jam, then sandwich the window biscuit on top.


They are a bit oozy & sticky but delicious. We did find that the second day they’d stuck a little firmer, so less jam down the chin!

Jammie dodger1


Bakewell Jammie Dodgers

For a Bakewell twist on these add a little almond extract or essence to the dough (I love the Waitrose Cooks Homebaking extract) Make sure you add a little and then taste and add more if needed, it needs to be quite flavoured as the baking mutes the flavour a bit.

Fill with cherry, strawberry or raspberry jam (or whatever you have in the cupboard). I drizzled mine with a runny icing of sieved 100g icing sugar mixed with a few drops of almond extract and enough water to get a good consistency to either pipe or drizzle with a little spoon. I also scattered over some crushed flaked almonds that I had toasted in a moderate oven until golden. Enjoy ♥

Jammy Dodger Bakewell above

Jammy dodgers bakewell

Millionaires Mousse Pud

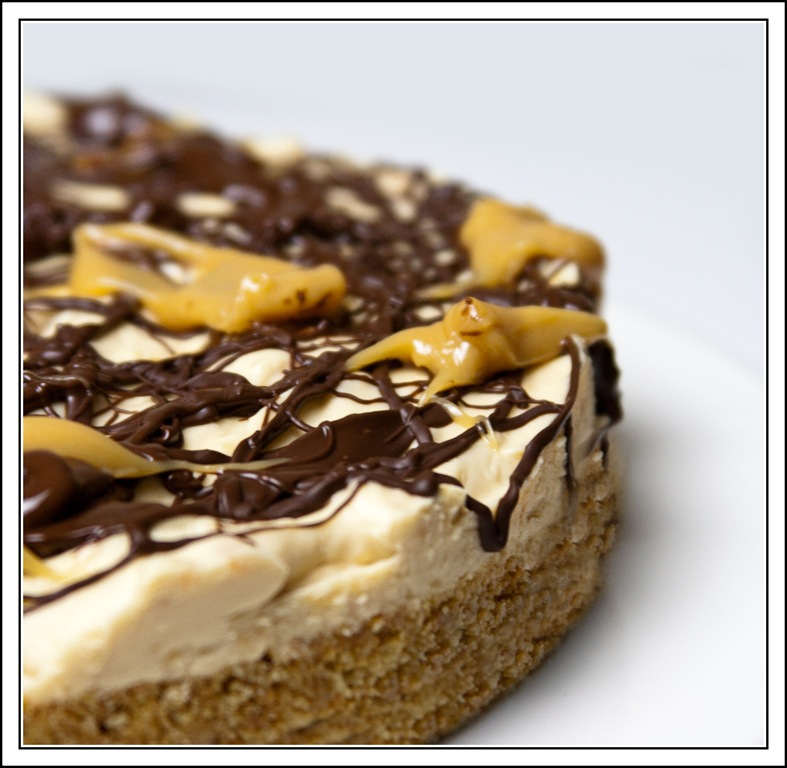
millionaires mousse 5I just lurve millionaires shortbread. If you’re follower on my Facebook page you’ll know that I have a little stack of them as my profile pic! (Facebook link on the right of the page)

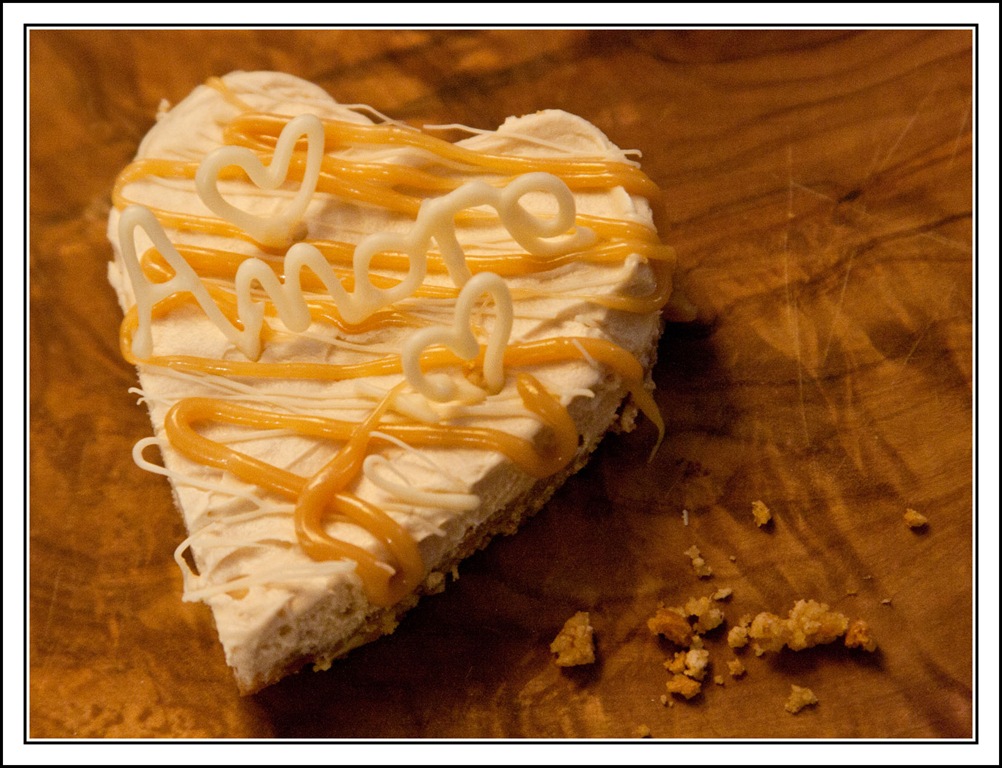
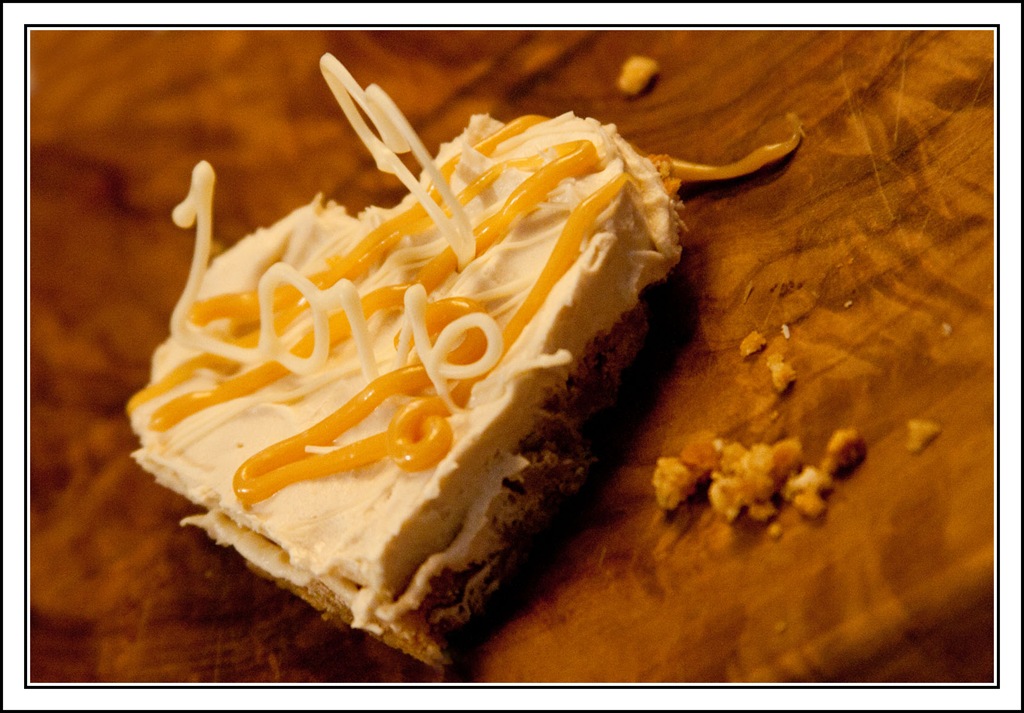
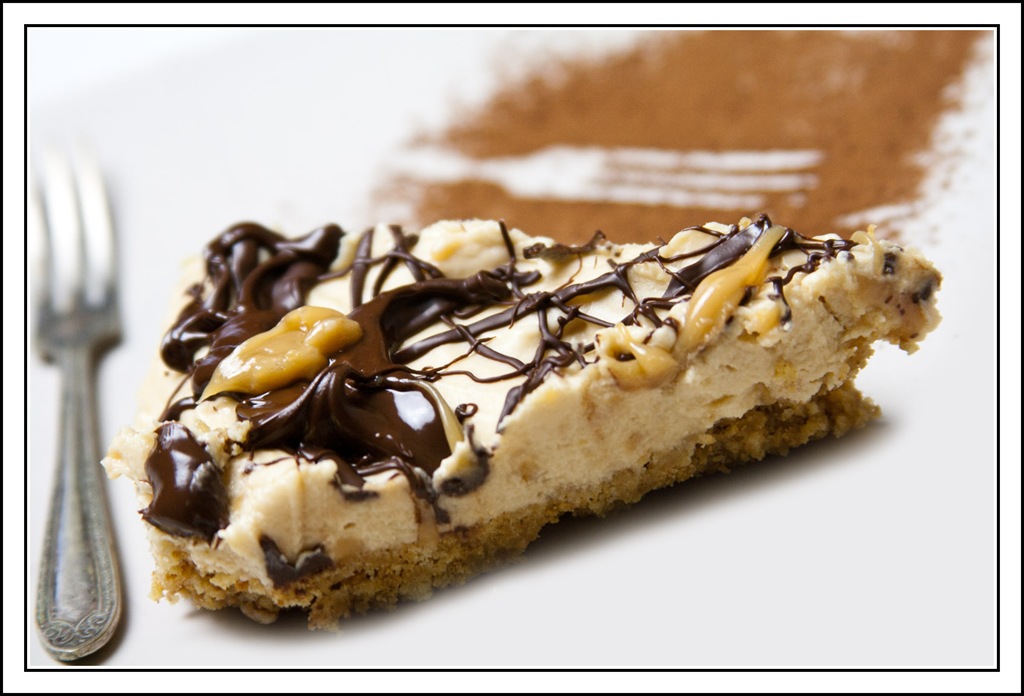
I decided to turn that concept into more of a dessert and this is the result. It’s a lovely buttery biscuit base, with a mousse textured caramel topping with chocolate drizzle. We all loved it and best of all, you can eat more then one slice as it’s not too sickly sweet!

Printable recipe here

Millionaire Mousse Puds

Base

125g crushed digestive biscuits

60g melted butter

Mousse bit

65g butter

25g soft brown sugar

1 tbsp golden syrup

½ a can of condensed milk about 200g

150 ml Whipped cream, whipped

Drizzle topping

50g melted chocolate

millionaires mousse4Mix the crushed biscuits and butter together and then press them into your greased/lined tin/container. Place in the fridge.

I used a 7” loose bottomed round tin but it’s also possible to use all manner of random containers. Think heart shapes & small circles.

In a saucepan gently melt all the mousse ingredients except the cream. Once the butter & sugar have melted and the mix is smooth, turn the heat up to bring to the boil. I used a balloon whisk to keep it moving while it bubbles gently away for about 4-5 minutes when it goes a little darker and becomes thicker. Beware it is red hot and splashes are very painful. Remove from the heat and allow to cool for 10 minutes, stirring a few times.

millionaires mousse2Now I’m sure you can use dulce de leche or caramel condensed milk for the same effect if you want to cut the time or washing up. I haven’t used that so can’t say how it compares.

Transfer the caramel into the bowl of your mixer. I kept back a spoonful so I could artfully (ahem) use this on top. Mix for a few minutes until the mix has started to cool, add the (already whipped) cream and mix briefly until combined. Give it all a good stir with a wooden spoon.

I’ve made this a few times and sometimes it’s smooth and sometimes it has little strands and bits of caramel, both are wonderful it depends how thick the caramel has gone. millionaires mousse3Spoon on to the biscuit base and place in the fridge to cool completely.

Remove from the tin and place on a serving plate. Drizzle with the melted chocolate (whatever you have or fancy) and warmed caramel if you kept a little back. Allow to cool back in the fridge and serve. Keeps for a few days covered in the fridge, if you have any left!


millionaires mousse 6

Vanilla Genoise sponge


dads vanilla genoise big

One of the things I wanted to try out this year was a Genoise Sponge. Heard about them but never had a go.

When I did I absolutely loved the texture, so light and moreish. I am now a big fan!

This is my recipe for a vanilla flavoured sponge. I had chosen to use 3 tins as I wanted 3 tiers and am just no good at cutting the cakes across, the sponge is so light I thought I’d end up crushing it! So you could just as easily use a deeper pan and put all the mix in one. Then slice it later. It’s your call.


Vanilla Genoise Sponge

I made 3 x 8” cakes with this.

3 tbsp melted butter in a small bowl

100g plain flour

1 tsp vanilla essence

pinch of salt

5 medium eggs

135g granulated sugar

Preheat oven to 180 C (fan 160 C)


Sieve the flour & salt into a bowl and set aside.

In a heatproof bowl whisk the eggs & sugar. Place over a pan of simmering water and continue to whisk until the mix is just warm, approx 3-5 minutes.

Remove the egg mix from the heat and place in your mixer bowl and beat on high until it has cooled and also tripled in volume about 4-5 minutes. This is intense beating so a mixer is highly recommended. The batter will leave a ribbon like trail when lifted out of the bowl with a spoon. Beat in the vanilla.

Then sieve in about a third of the flour and fold in. Repeat with half of the remaining flour and then repeat again with the rest of the flour until just mixed. Try not to over mix as this will knock all the air out.

Take a large spoonful of the mix and add to the melted butter and beat, then add this to the rest of the whisked mixture and fold through, it’s easier to incorporate this way.

Spoon into the tins and bake for about 15-20 minutes, until they are slightly shrinking away from the tin or until a skewer comes out clear. Cool for 5 mins in the tin then loosen the edges with a knife and transfer to a cooling rack.

The Genoise sponge is supposed to be drier then your average sponge, you are best to bruvanilla genoisesh the tops of the cakes with a sugar syrup solution.

I remove a thin layer of the cake from the top when they’re completely cold and brush with the syrup.

To make the vanilla syrup place 75ml water with 75g of caster sugar in a saucepan and slowing bring to the boil, giving it a stir to help dissolve the sugar. Once it’s reached a boil remove from the heat and allow to cool then add 1 tsp vanilla extract stir through. This will keep for a couple of weeks in an airtight container in the fridge and can be used to brush the tops of cupcakes too.


To fill my sponges I used 284ml carton of whipping cream which I whipped up and added 1 tsp vanilla extract and a tbsp of icing sugar.

I used a cherry pie filling but you can use whatever you fancy or have available at the time. Keeps in the fridge covered for a few days.

I recently made one and had to freeze it as the occasion was postponed so have great hopes that this will be just as wonderful when defrosted. Enjoy! Smile

dads vanilla genoise

Heart Centre Cupcakes

heart cakeI saw this lovely idea a while back and thought they would be great for Valentines Day. I really should have had a look at how they were made, but thought ‘hey it can’t be that hard’!


It was just a little bit time consuming with a bit of planning needed but I was pleased with the results overall.


pink cakeI decided I would make the centre coloured cake and bake it almost all the way through. Allowed it to cool. I should have placed it on grease proof paper on the cooling rack, as it sunk into the tram lines on as it was slightly under done!


I then cut the heart shape with a cutter, I really could’ve done with red heartsone in between the sizes I had (always the way) but I also thought I’d hedge my bets and make a few different sized ones to experiment with. I had made 2 8” sponges of slightly different degrees of pinkness, so made a few to fit inside of each other, just to try stuff out. I had loads of rather pink cake left and made some cake pops & cake balls by adding buttercream and squishing them together, nice!


heart cakesI whipped up a vanilla cake mix and then put a blob in the cupcake cases I stood the hearts upright in the blob. I made sure they were all positioned the same way. Then filled in around them with cake mix. I thought I’d make some higher then others and see which worked best. I baked them as normal until firm.


I made sure when they were transferred to the cooling rack that they all were removed and placed the same way round to ensure the heart was in the right way for slicing through. This was fine with some as the heart was poking up still (good job I was planning on icing them then!) I made a sign indicating which way round they were (I know sad……)

heart cake pre cutI then used a buttercream icing making sure I put a dab either side where the knife should cut through the cake to expose the heart in all it’s glory!

I used a vanilla cupcake recipe, here’s the one I used
https://www.samskitchen.net/?p=132 
just leave out the Dulce de Leche (or not, up to you!)

For the pink/red cake I used 115g sr flour, caster sugar & butter, 2 eggs, 3/4 tsp vanilla extract & red food paste gel baked in 2 8” round pans.

Smaller heart used in this one, ooops a tad wonky!

small heart