All posts by Sam

Vanilla Genoise sponge


dads vanilla genoise big

One of the things I wanted to try out this year was a Genoise Sponge. Heard about them but never had a go.

When I did I absolutely loved the texture, so light and moreish. I am now a big fan!

This is my recipe for a vanilla flavoured sponge. I had chosen to use 3 tins as I wanted 3 tiers and am just no good at cutting the cakes across, the sponge is so light I thought I’d end up crushing it! So you could just as easily use a deeper pan and put all the mix in one. Then slice it later. It’s your call.


Vanilla Genoise Sponge

I made 3 x 8” cakes with this.

3 tbsp melted butter in a small bowl

100g plain flour

1 tsp vanilla essence

pinch of salt

5 medium eggs

135g granulated sugar

Preheat oven to 180 C (fan 160 C)


Sieve the flour & salt into a bowl and set aside.

In a heatproof bowl whisk the eggs & sugar. Place over a pan of simmering water and continue to whisk until the mix is just warm, approx 3-5 minutes.

Remove the egg mix from the heat and place in your mixer bowl and beat on high until it has cooled and also tripled in volume about 4-5 minutes. This is intense beating so a mixer is highly recommended. The batter will leave a ribbon like trail when lifted out of the bowl with a spoon. Beat in the vanilla.

Then sieve in about a third of the flour and fold in. Repeat with half of the remaining flour and then repeat again with the rest of the flour until just mixed. Try not to over mix as this will knock all the air out.

Take a large spoonful of the mix and add to the melted butter and beat, then add this to the rest of the whisked mixture and fold through, it’s easier to incorporate this way.

Spoon into the tins and bake for about 15-20 minutes, until they are slightly shrinking away from the tin or until a skewer comes out clear. Cool for 5 mins in the tin then loosen the edges with a knife and transfer to a cooling rack.

The Genoise sponge is supposed to be drier then your average sponge, you are best to bruvanilla genoisesh the tops of the cakes with a sugar syrup solution.

I remove a thin layer of the cake from the top when they’re completely cold and brush with the syrup.

To make the vanilla syrup place 75ml water with 75g of caster sugar in a saucepan and slowing bring to the boil, giving it a stir to help dissolve the sugar. Once it’s reached a boil remove from the heat and allow to cool then add 1 tsp vanilla extract stir through. This will keep for a couple of weeks in an airtight container in the fridge and can be used to brush the tops of cupcakes too.


To fill my sponges I used 284ml carton of whipping cream which I whipped up and added 1 tsp vanilla extract and a tbsp of icing sugar.

I used a cherry pie filling but you can use whatever you fancy or have available at the time. Keeps in the fridge covered for a few days.

I recently made one and had to freeze it as the occasion was postponed so have great hopes that this will be just as wonderful when defrosted. Enjoy! Smile

dads vanilla genoise

Heart Centre Cupcakes

heart cakeI saw this lovely idea a while back and thought they would be great for Valentines Day. I really should have had a look at how they were made, but thought ‘hey it can’t be that hard’!


It was just a little bit time consuming with a bit of planning needed but I was pleased with the results overall.


pink cakeI decided I would make the centre coloured cake and bake it almost all the way through. Allowed it to cool. I should have placed it on grease proof paper on the cooling rack, as it sunk into the tram lines on as it was slightly under done!


I then cut the heart shape with a cutter, I really could’ve done with red heartsone in between the sizes I had (always the way) but I also thought I’d hedge my bets and make a few different sized ones to experiment with. I had made 2 8” sponges of slightly different degrees of pinkness, so made a few to fit inside of each other, just to try stuff out. I had loads of rather pink cake left and made some cake pops & cake balls by adding buttercream and squishing them together, nice!


heart cakesI whipped up a vanilla cake mix and then put a blob in the cupcake cases I stood the hearts upright in the blob. I made sure they were all positioned the same way. Then filled in around them with cake mix. I thought I’d make some higher then others and see which worked best. I baked them as normal until firm.


I made sure when they were transferred to the cooling rack that they all were removed and placed the same way round to ensure the heart was in the right way for slicing through. This was fine with some as the heart was poking up still (good job I was planning on icing them then!) I made a sign indicating which way round they were (I know sad……)

heart cake pre cutI then used a buttercream icing making sure I put a dab either side where the knife should cut through the cake to expose the heart in all it’s glory!

I used a vanilla cupcake recipe, here’s the one I used
https://www.samskitchen.net/?p=132 
just leave out the Dulce de Leche (or not, up to you!)

For the pink/red cake I used 115g sr flour, caster sugar & butter, 2 eggs, 3/4 tsp vanilla extract & red food paste gel baked in 2 8” round pans.

Smaller heart used in this one, ooops a tad wonky!

small heart

Coconut Dream Creams

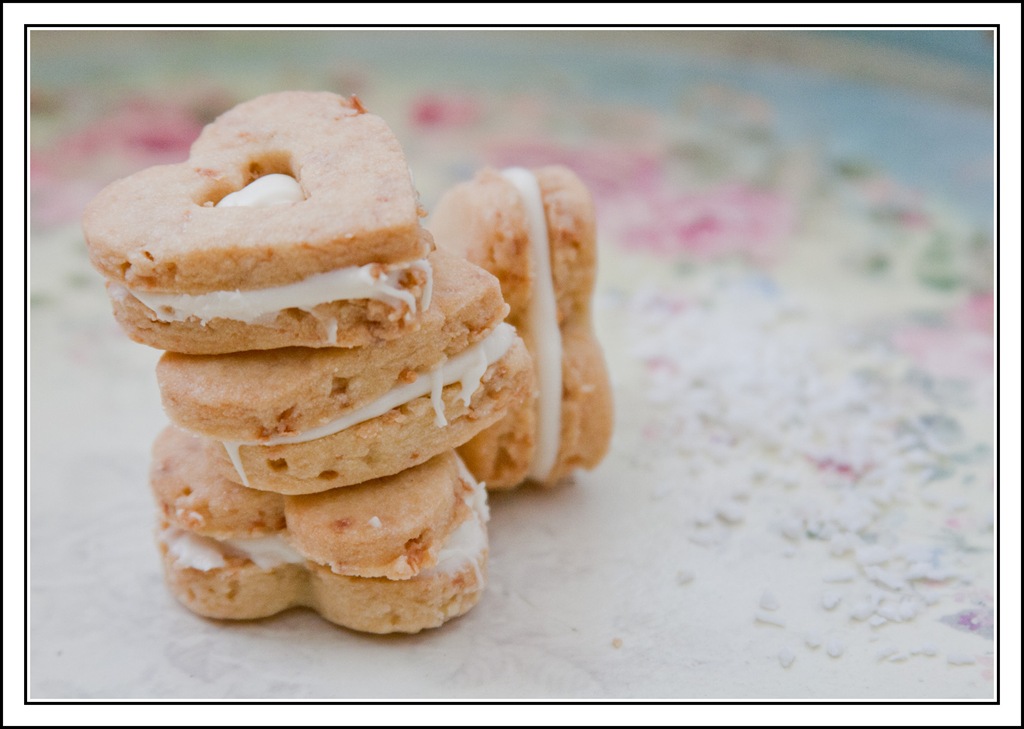
coconut creamsI love coconut, sometimes I forget just how delicious it is. My yearning for something with coconut was made more so by a friends pictures of their baking using coconut!


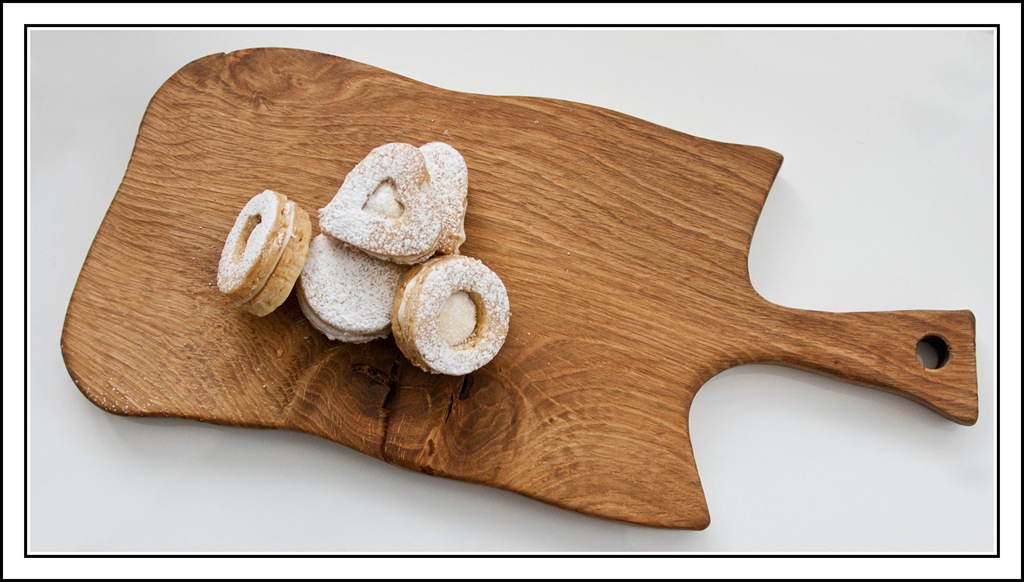
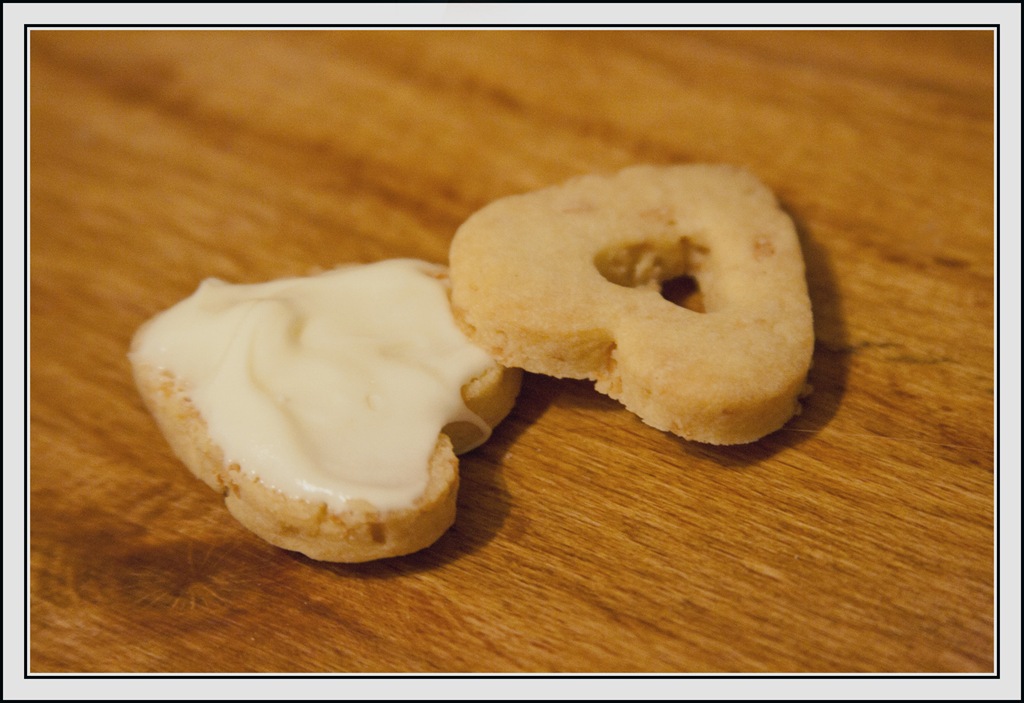
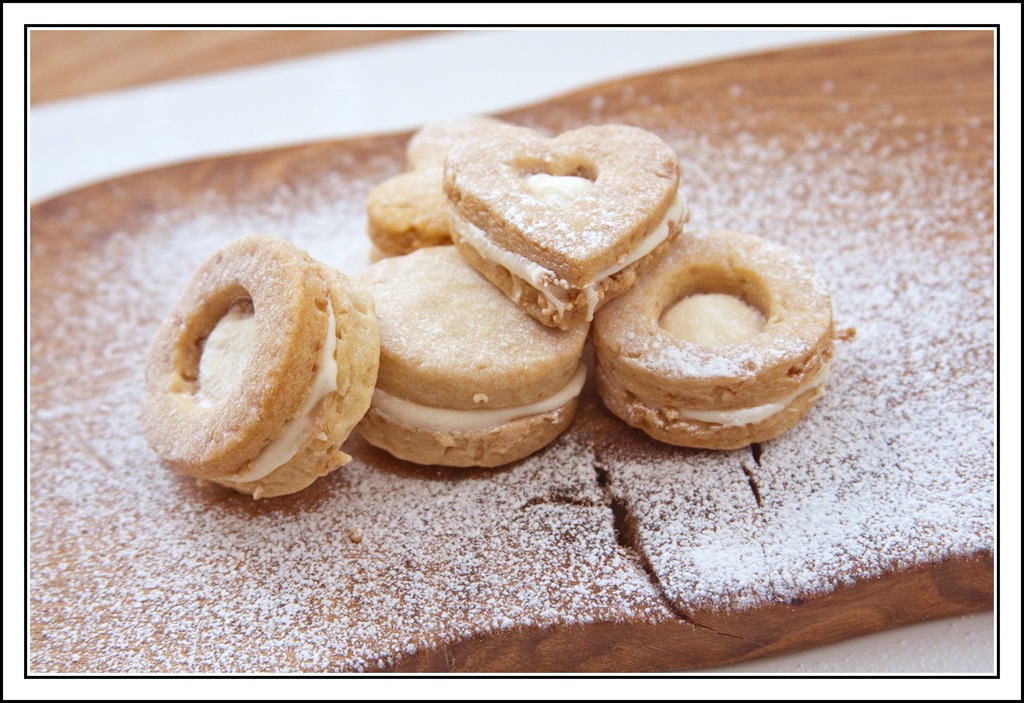
I decided to have a go at making a sandwich biscuit. The biscuit is like shortbread the filling is sweet, creamy & coconutty, perfect!


Printable recipe here


Coconut Dream Creams

Biscuits

125g butter

55g caster sugar

1 tsp vanilla extractcoconut creams board

180g plain flour

30g dessicated coconut

Filling

50g butter

2tbsp coconut cream

200g Icing sugar


Making the biscuits.

coconut dream creams fillingCream butter, vanilla extract & sugar together until fluffy & light.


Add the sieved flour & coconut, mix together to form a ball of dough. Place in the fridge for at least 30 minutes.


Preheat the oven to 190 C (170 C fan).coconut dream creams 1

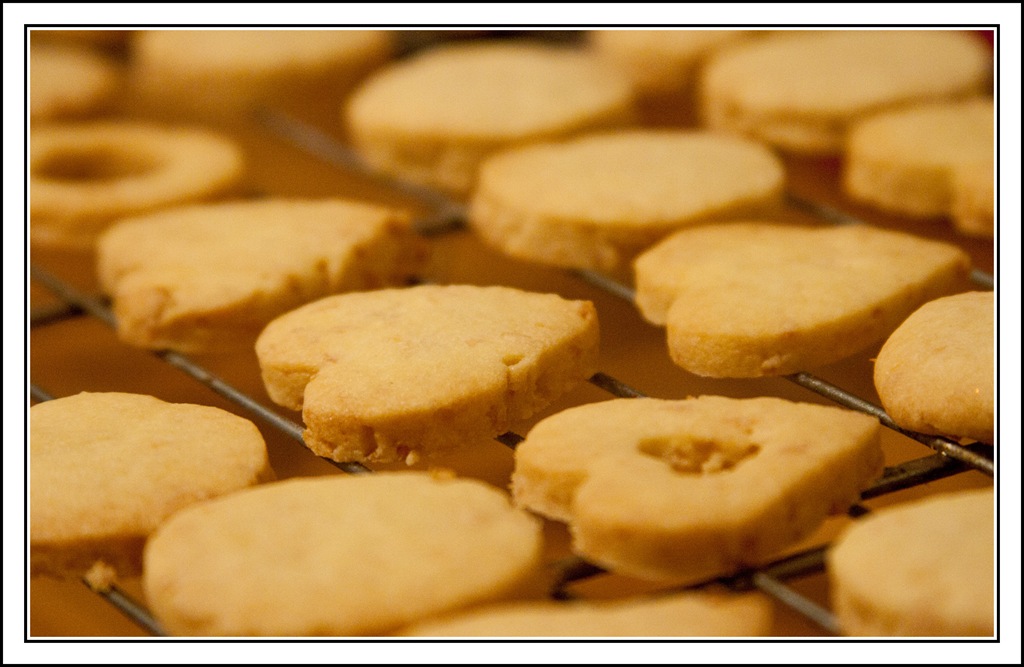
Roll out the dough on a lightly floured surface and use cutters to form the shapes you want. I used smaller hearts or circle cutters on one side of some of the biscuits just to look pretty!

Place on a lined baking sheet and bake for 10-15 minutes until starting to turn light golden.

Transfer to a cooling rack.

Making the icing

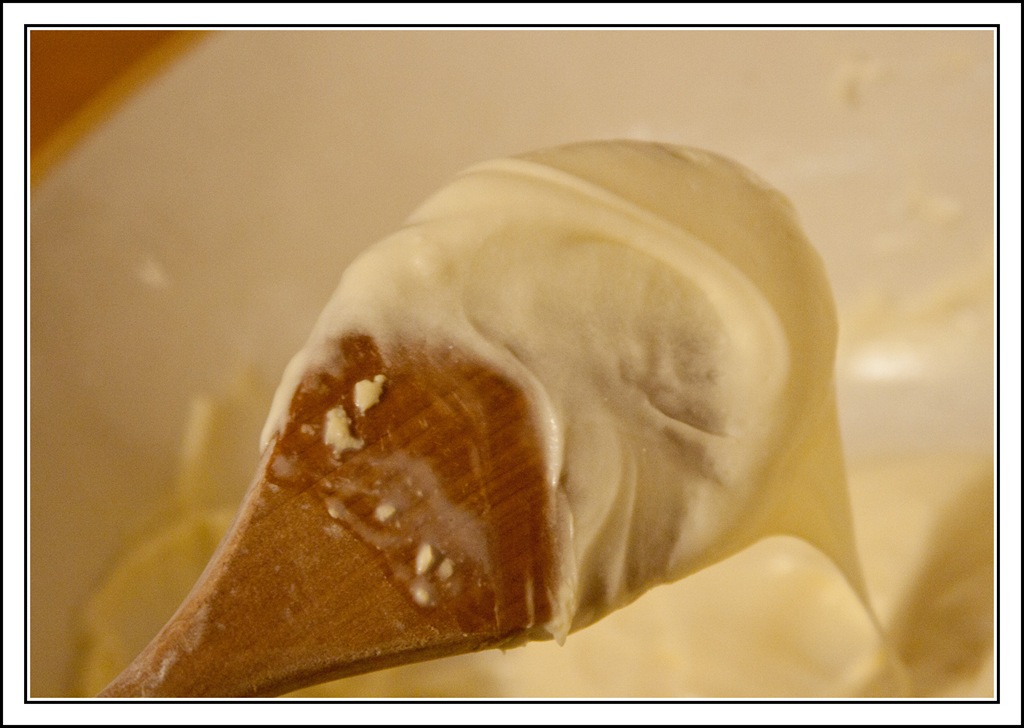
Cream the butter & coconut cream together then gradually add the icing sugar and beat until smooth & fluffy.

coconut dream creams 2Spread or pipe the filling onto one side of the biscuit and sandwich together.

I placed them in the fridge for 30 minutes just to harden up the filling a little. Enjoy!


coconut dream creams 3

Compost Cookies & Pear Shaped by Stella Newman

bookI love reading almost as much as I love eating….almost. So what could be better then a book with food things in!

Pear Shaped by Stella Newman is a great read. I was hooked from the start and loved the rollercoaster journey through the story right to the end.

Girl meets boy, boy seems too good to be true, girl goes a little crazy, and lots of food gets eaten, great combination.

One of the treats that were mentioned in the book was Compost Cookies. I know the name does not sound particularly appetising but bare with me.

The recipe is here https://www.facebook.com/notes/pear-shaped/compost-cookie-recipe/322897261074406

You get to vary the ingredients according to what you have in the cupboard or fancy at the time. So each time you bake these they will be different. The mix of crisps & chocolate I thought sounded strange but it actually works so well. The salt/sweet yin & yang is perfect!

compost cookie doughcompost cookies 2

I made one batch but made them a lot smaller so I got way more then the suggested 12.

This meant I had loads to give out as samples.

I found it best to let people try them first before revealing the name & the contents.

My daughter Frey, who apparently has gone off cakes & biscuits, ate 3 and almost had to be removed from the biscuit tin. So these were very popular!

I highly recommend the book and also trying out the cookie recipe :o)

compost cookies 1

Veggie Curry Soup

veggie curry spices

I just love to make soups during the chilly UK winters. They are forgiving, versatile & tasty. They use up what you have at the time and freeze well. Nutritious, packed full of goodness, do you get the idea I love soup!

Here was a quick soup I made the other night. It’s got a nice little kick but it’s not too spicy. The hardest bit is peeling the veg!


Veggie Curry Soup

Ingredients

2 large potatoes peeled & cubed

2 small onions peeled & diced

½ red pepper diced

1 large carrot diced

2 tomatoes chopped

3 mushrooms sliced

½ tsp garam masalaveggie curry veggies

½ tsp turmeric

½ tsp cumin seeds

¼ tsp chilli powder

½ tsp mild curry powder

oil for frying

1-1.5 pints vegetable stock or water

Makes enough for 4 small bowls or 2 very decent sized in our house!

Heat oil in a saucepan to medium heat add the onions & red pepper cook for a few minutes then add all the spices & the mushrooms cook for a further few minutes then add the rest of the vegetables & tomatoes and a pint of the stock.

Bring to a simmer and leave to simmer for about 20 minutes or until the potatoes & carrots are cooked through.

Blitz all or part of the soup with a blender, depending how smooth or rustic you want it. Add more stock/water as required if it’s too thick. Season as required. Reheat and serve with bread or croutons.

Feel free to use the vegetables you like or have available at the time. Add more spice if that’s your thing!

veg curry soup

Cinnamon Tear & Share Mini Rolls

cinnamon Tear & Share4We are a cinnamon & bread loving household, bring the 2 together and it can only be brilliant!


These lasted literally about 5 minutes, amazing I managed to get any photos at all.

Print out recipe here


Ingredients

250g strong white flour

1 tsp salt

1 tbsp sugar

1 tsp cinnamon

½ tsp mixed spice

75ml milk

75ml water

1 tsp fast acting dried yeast

In a large bowl add the flour, salt, sugar, cinnamon & mixed spice. Stir.

Put the water & milk in to a jug, stir in the yeast.

Make a well in the centre of the flour mix and add the wet ingredients.

Bring together with your hands (sticky work!).

When you’ve pretty much got it all as a big lump place on the work surface & knead well until smooth & elastic. Takes about 10 minutes. Try & avoid adding more flour if you get sticky put a drizzle of olive oil on the worksurface, or your hands instead.

Leave to double in size in an oiled bowl covered with oiled clingfilm. Takes 1-2 hours depending on how warm it is. When it’s ready preheat the oven 200 C (fan 180 C).

Get the dough out the bowl and ‘slap’ it on your worksurface a couple of times then shape into balls. I made 16 (I actually weighed the dough and worked out how much each one should be to make them equal sized, I know very sad!), then placed them in a greased 8” square cake tin.

cinnamon Tear & Share1


cinnamon Tear & Share3Leave to rest for 30 mins covered with cling. Then cook for about 15 minutes until firm and just starting to colour. Serve straight out the oven with butter or nutella or jam or honey……….you get the idea! We dunked them and ate, no messing with buttering & knives etc!


cinnamon Tear & Share2

Baileys Truffles

trufflesI was recently given a truffle recipe by the lovely lady running a marzipan shaping day I attended. She had made a batch for us to eat and gave out the recipe. The thing that I liked (apart from the taste of course) was that they do not contain fresh cream, when they have cream in them they have to be kept in the fridge. This is fine most of the time but can be a problem when giving them as a gift.

Easy peasy to make and you can make them with the kids, just swap the alcohol for something else (maybe a few drops of vanilla essence). I used Baileys in mine but of course you can use whatever you have or fancy.

baileysTruffles

100g dark chocolate

100g butter

100g ground almonds

100g caster sugar

4 tsp Baileys (or your choice)

Decorations or dustings of your choice ie: vermicelli, cocoa, icing sugar, coconut.

Makes 30 large truffles.

In a saucepan gently melt the chocolate & butter together. Remove from the heat and stir in the rest of the ingredients until well mixed.

Place in a bowl allow to cool then cover and put into the fridge until firm.

When you’re ready to make the truffles take teaspoons of the mix and quickly roll into a ball and cover in your choice of topping then place in a petit four case or loose on a plate. I like to pop these back in the fridge to firm up again after shaping. Then they’re ready to give as a gift or eat! Because they have no cream in them they do not need to be kept in the fridge all the time, store in a cool place. Keep for up to a week.

Baileys truffles1Blinged up real nice with gold lustre & red glitter!

bailey truffles

Cinnamon Biscuits

yoga bics 2I use this recipe absolutely loads. It is based on one from a childrens cook book of Freys. You can leave them plain or decorate to your hearts content!

We love cinnamon so have these all year round but they’re especially good at Christmas.

Printable recipe here


Cinnamon Biscuits

Ingredients

275g plain flour

1 tbsp cinnamon (we like a lot of cinnamon in our house feel free to rein it in to your own taste)

1 tsp baking powder

100g soft light brown sugar

75g butter/spread

1 egg

50g golden syrup

Icing sugar, cinnamon to dust or icing & decorations.

Sift the flour, cinnamon & baking powder in a large bowl. Add the sugar and mix well. Add the butter in small chunks and mix in with your finger tips to make the mixture like breadcrumbs.

In a small bowl break the egg and beat with a fork, add the syrup and beat until it’s smooth & well mixed.

Add the wet mix to the dry and bring everything together with your hands. Place the ball of dough in a bag and put in the fridge for at least an hour. You can make the dough the night before it’s needed which works really well.

Preheat the oven before you are starting to cut out the shapes 170 C (fan 150 C).

Line baking trays ready.cinnamon angels

Place the dough on a floured surface and knead together briefly.

Roll out to about ½ cm thickness and use cutters to make your biscuit shapes.


Place on the baking trays and bake for about 15 minutes until they start to darken at the edges.

Leave for 5 minutes before transferring to a cooling rack to allow to cool completely before decorating.

You can ice the biscuits or dip them in chocolate or just dust with icing sugar & cinnamon. They keep in a tin for about a week.

yoga bics 3Angel & tree decorations

I made hearts out of fondant and then used small letters from a set to add the names to personalise these little cuties. The little balls are pearls of sugar then I dusted the hearts with gold lustre dust. ‘Glued’ on with royal icing.

TIP

*If you would like to thread ribbon through your biscuits for hanging on a tree or using as a gift tag, then make a hole with a skewer before they are cooked.

yoga bics 1

Double Chocolate Chip Cookie Jar

chocchip1Here’s a chocolate version of the cookie jar I posted recently. They make fab gifts & are also great to have on ‘stand by’ in the cupboard.

I like to use the Bonne Maman jars, not only is it a great way to recycle but they hold a good amount of ingredients, so work well. The size of the jar is 370g so any jar that size will be fine. Make sure they are sterilised & dried before using.

I will list the ingredients in the order I usually place them in the jar. It’s nice to separate the colours to give a pretty look to the finished jar. You will also need to press down firmly to get it all in and if it’s nice & tight it’s less likely to move and get messy.

This is one jars worth and makes about 8 decent size cookies.

Double Chocolate Chip Cookie Jar Mix

75g S R flour

1/2 tsp baking powder

45g soft brown sugar

25g caster sugar

15g cocoa powder

115g choc chips

To the jar you will need to attach a label or card with the instructions. I normally add a brown parcel label with a sticky address label on with the info. Here is a link to the label I use

Alternatively design your own here’s the info you will need:

Double Chocolate Chip Cookies

  1. Preheat oven to Gas Mark 4 / 180°C/ 350°F
  2. Grease & line a baking tray
  3. Place all dry ingredients into a bowl and add ½ a beaten egg (approx 3 desert spoons) & 2 oz / 55g of softened butter or margarine
  4. Mix well with a wooden spoon
  5. Divide mixture into 8 and roll into balls using fingertips (add more flour if too sticky)
  6. Place onto baking tray, spacing well apart. Flatten slightly with palm

Bake for 15-20 minutes until firm. Cool for 5 minutes on baking tray then transfer to a cooling rack or enjoy warm!

xmas cookie jarsmall

The Bonne Maman jar lids are great but you can also add a circle of fabric held on with a band.

You can also add some extras to go with the jar like nice ribbon/raffia, a wooden spoon even a mixing bowl!


chocchip