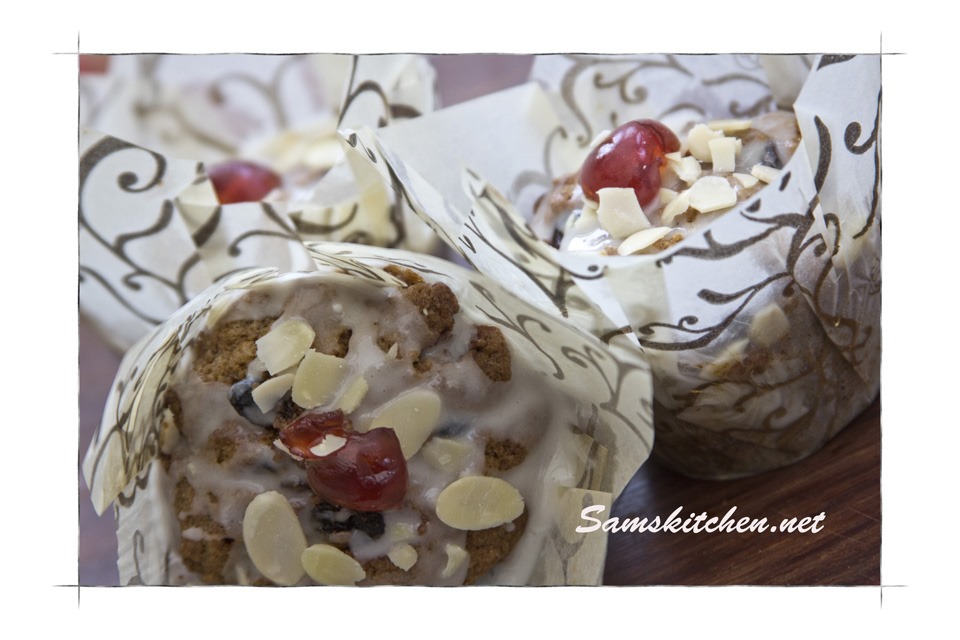
Christmas Muffins

Christmas muffins closeI decided to make some muffins with a Christmas inspired taste. The smell of spices will fill your kitchen and then you get to scoff the labours of your hard work, perfect!

You can vary the spices and fruit to your taste or what you have available.


Conversion chart via Delia here http://www.deliaonline.com/home/conversion-tables.html

Click here to download the recipe

Muffins bit

300g plain flour

180g soft brown sugar

3 tsp baking powder

1 1/2 tsp mixed spice (or pumpkin spice or your favourite blend of spices)

1 tsp cinnamon

3/4 tsp salt

3 large eggs

190g vegetable or sunflower oil (I like to weigh this for a more accurate measurement)

200g dried fruit, your choice (I used sultanas and cranberries)

Grated zest of one orange

Christmas muffins fruit

Glaze bit

100g sieved icing sugar

1/2 tsp vanilla extract/bean paste

1-2 tbsp milk

To decorate I used some sliced almonds and glacé cherries

Preheat oven to 200°C (fan 180°C) 400°F Gas mark 6

Makes 12 muffins

Line a muffin tin with 12 muffin cases
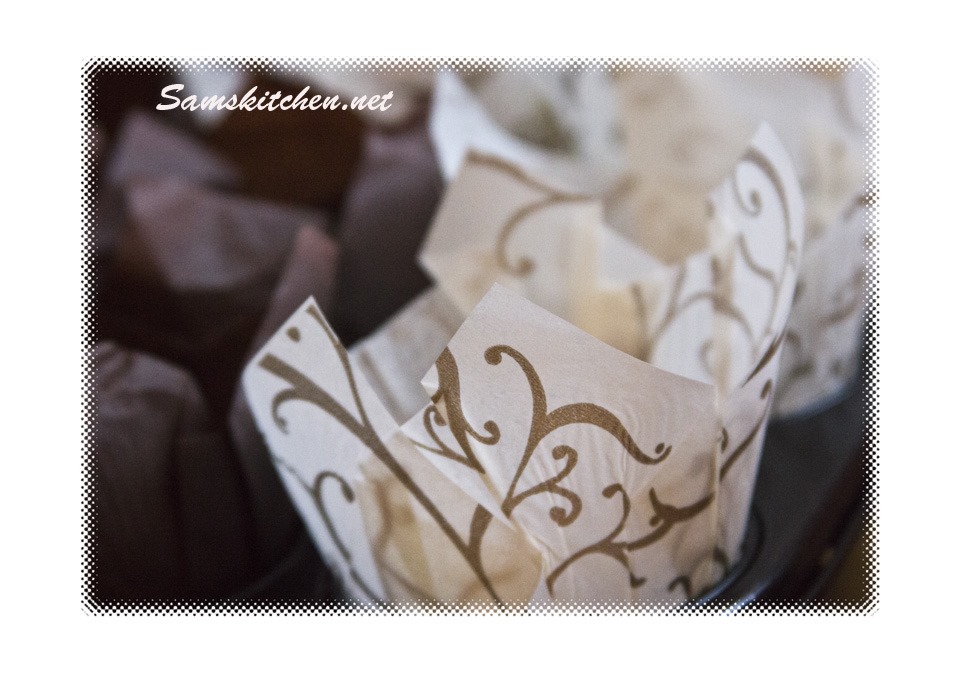
muffin cases

The muffin bit

In a large mixing bowl sieve the flour, baking powder, salt and spices. Add the sugar and stir to combine. I like to use a balloon whisk to do this. Add in the dried fruit and orange zest, mix with a wooden spoon.
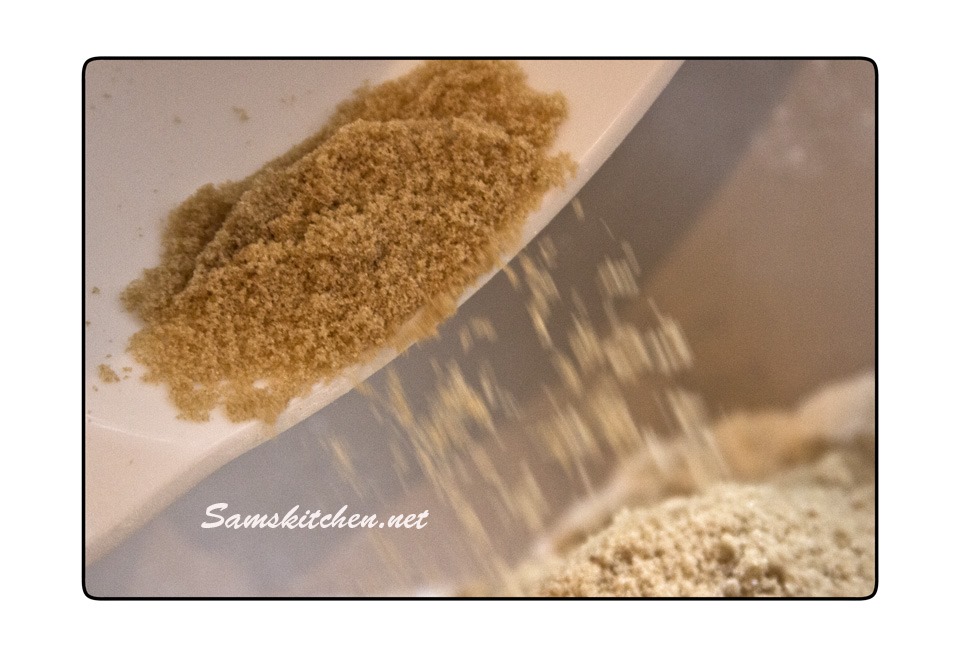
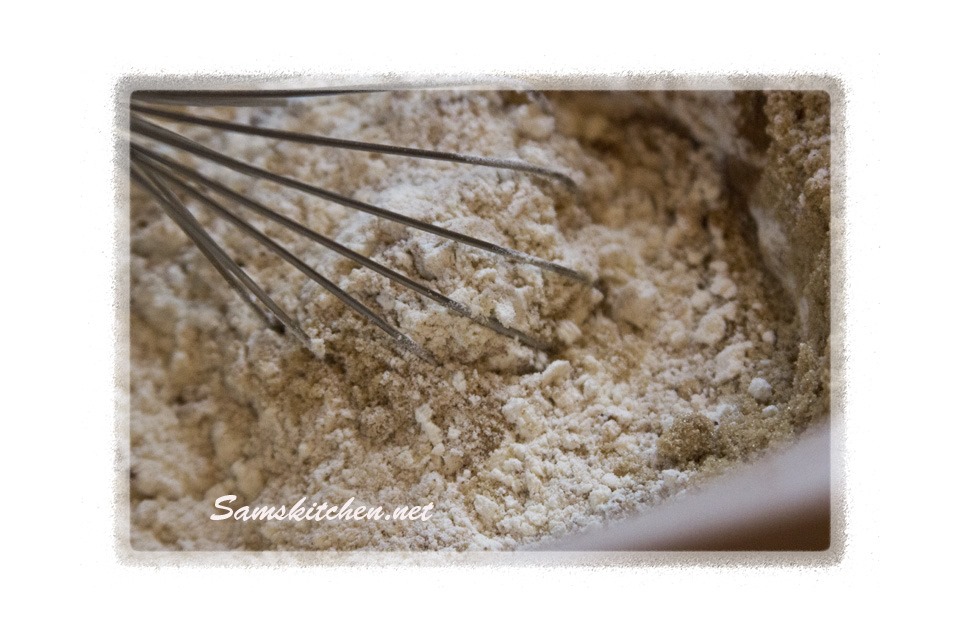
Sugar

Christmas muffins bowl mix


In a small bowl crack the eggs and briefly beat then add the oil and beat until mixed and creamy.

Add the wet to the dry and mix firmly and quickly until just combined. The mixture will be fairly stiff. Do not over mix as this makes the muffins heavy. Spoon in to the muffin cases and bake until just firm and skewer entered will come out clean, about 23-28 minutes.

Allow to cool completely.
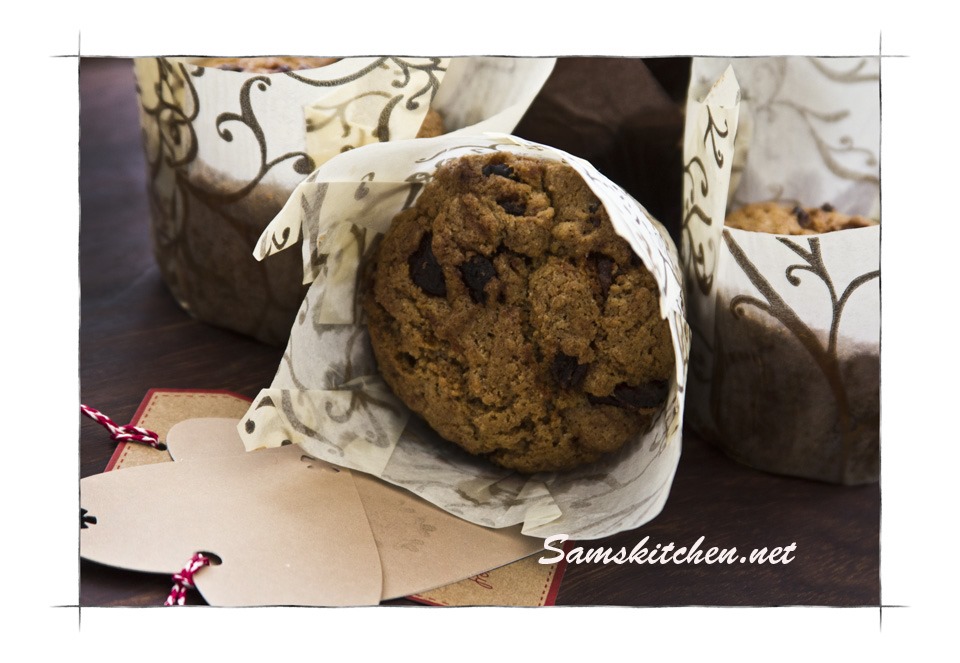
Christmas muffins no glaze

The Icing glaze bit

Place the sieved icing sugar in a small bowl add the vanilla and 1 tbsp milk, mix well, a small whisk is helpful for this. You may need to add a little more milk to get a smooth, drizzling consistency but not too much that it’s really runny.

Drizzle with a teaspoon over the muffins and then, if you wish, add some sliced almonds and a glacé half. Enjoy ♥
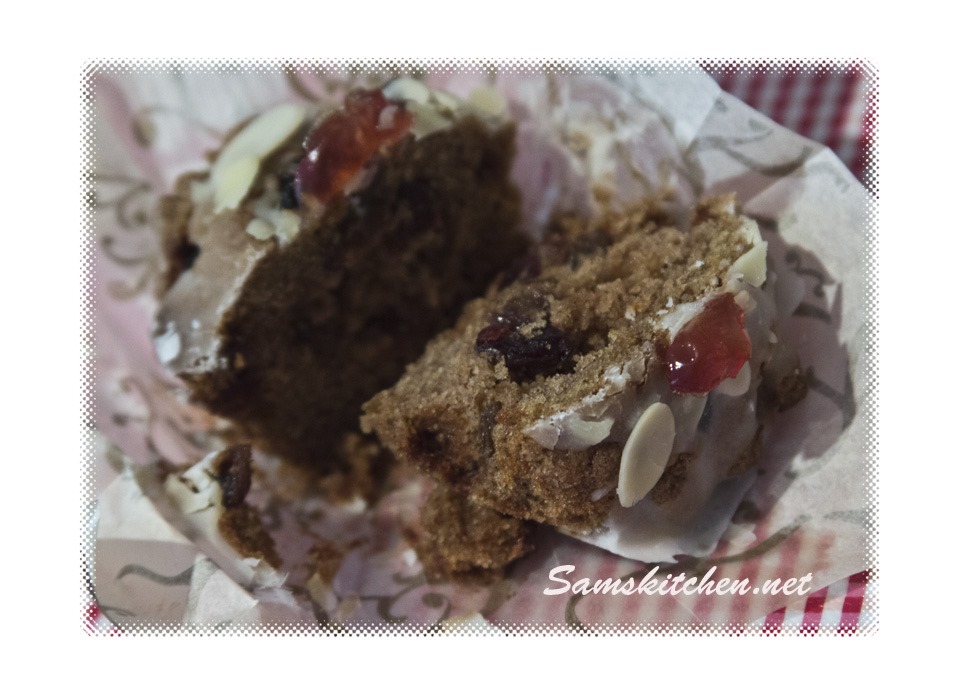
Christmas muffins open

Pecan and Maple Shortbread Hearts

Pecan and maple shortbread above


I just love pecan nuts and maple syrup together. Always reminds me of Autumn for some reason……

I decided to add the flavours to shortbread, perfect with my cuppa!


Conversion chart if you’re not metric via Delia http://www.deliaonline.com/home/conversion-tables.html

Printable recipe

Pecan and Maple Shortbread Hearts

Shortbread bit

125g soft butter

50g caster sugar (or soft brown)

180g plain flour

25g pecan nuts finely chopped, I used my mini processor

1 tbsp maple syrup

Pecan halves (20) to decorate the top, optional

Pecans

Glaze bit

35g icing sugar, sieved

1 tbsp maple syrup

1 tbsp milk

I made 20 using a heart cutter that was 5 cm across at the widest point

Making the shortbread bit

Cream butter and sugar together until light and fluffy. Add the rest of the shortbread ingredients and mix until combined. Wrap in clingfilm and rest in the fridge for 20 minutes.

Preheat the oven to 190°C (fan 170°) gas mark 5

Line/grease some baking trays.

The dough will be firm so give it a quick knead to soften slightly, it’s a fairly sticky dough so I used 2 large sheets of baking paper and rolled the dough out between them. This way it was less messy and I didn’t have to add loads of flour.

Rolling pin

Cookie cutting


Roll out to a thickness of 4-5 mm, then use your cutter (dip in flour to help stop it sticking) carefully lift the biscuits on to a baking tray. Allow room for expansion so leave a space around each one. If using the pecan halves to decorate then gently place on top, giving a little pressure but not squashing down hard.


Bake until starting to turn golden, about 10 minutes. Allow to cool on the tray for about 5 minutes (otherwise they are very fragile when first out the oven) then transfer to a cooling rack.

The glaze bit

Maple glaze


Mix the 3 ingredients together, I used a fork to help get a smooth icing. Then drizzle over the top of the cooled shortbread hearts. Placing kitchen towel underneath helps catch the drips and means less clearing up afterwards. The icing will harden and then you can store the shortbread in a tin. ♥


Pecan and maple shortbread glaze above

Maple & pecan shortbread glaze on rack


Pecan and maple shortbread  hearts

Tiffin Cupcakes

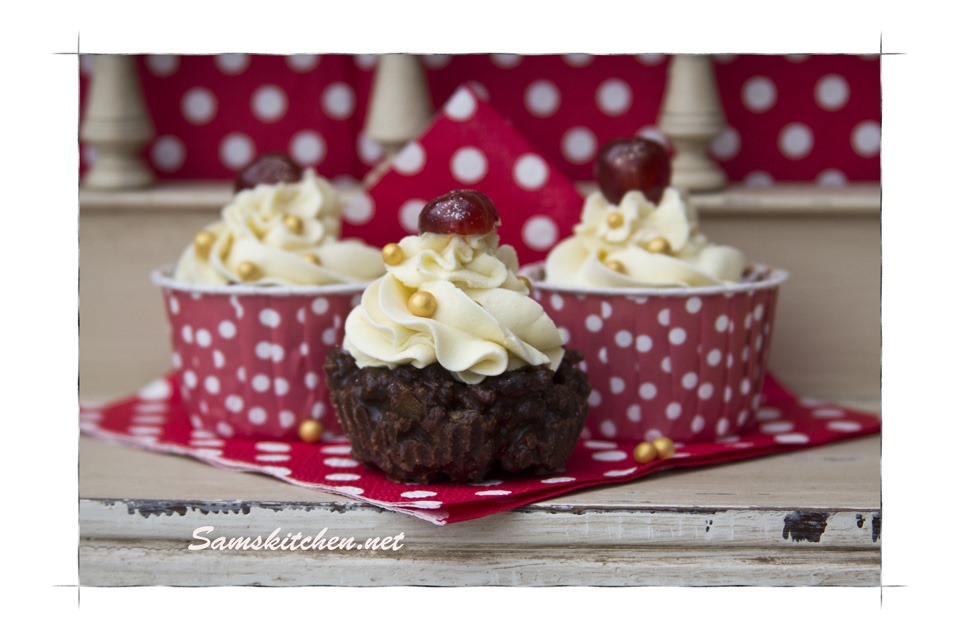
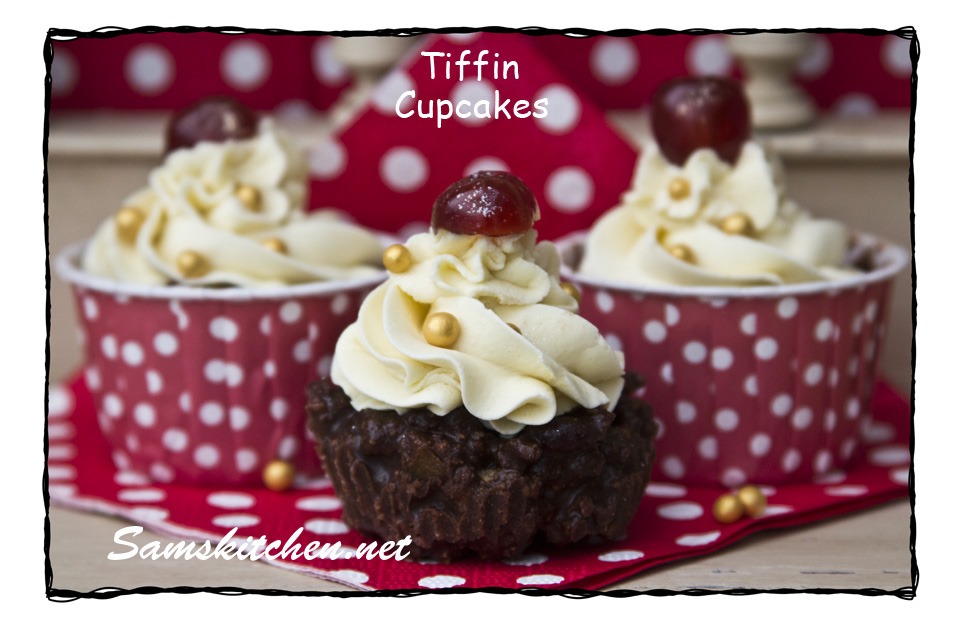
Cupcake tiffin largeEasy to make and delicious to eat, tiffin is perfect for an afternoon perk up with a cuppa.

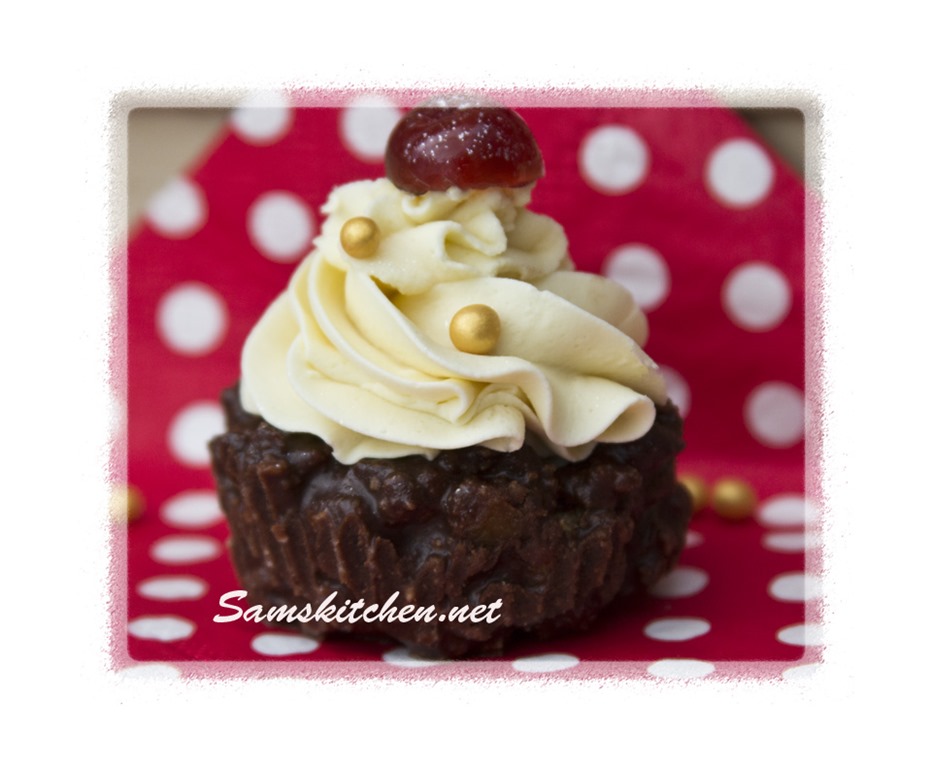
I decided to make an individual sized portion, no cutting and they look like cupcakes too!

The mixed spice is an optional extra which makes them a bit of a Christmas taste, you could always soak the fruit in a little alcohol for a grown up boozy twist.

This is also a great way to use up any left over dried fruit after the festive season and all those spare chocolate bars we have (hahahaha not many of those here sadly!)

Printable

recipe here

Cupcake tiffin single

Tiffin Cupcakes

The cake bit

250g milk and dark chocolate (your choice but I used half of each) broken into pieces

150g butter

250g biscuits, I used amaretti biscuits and digestives

150g mixed dried fruit, I used cranberries, chopped apricots and sultanas

1 tsp mixed spice (optional, adds a Christmas taste)

50g soft brown sugar

2 tbsp golden syrup

The white chocolate ganache whipped frosting bit

200g white chocolate broken into pieces

85g double cream (I used Elmlea)

To decorateCupcake tiffin cherries

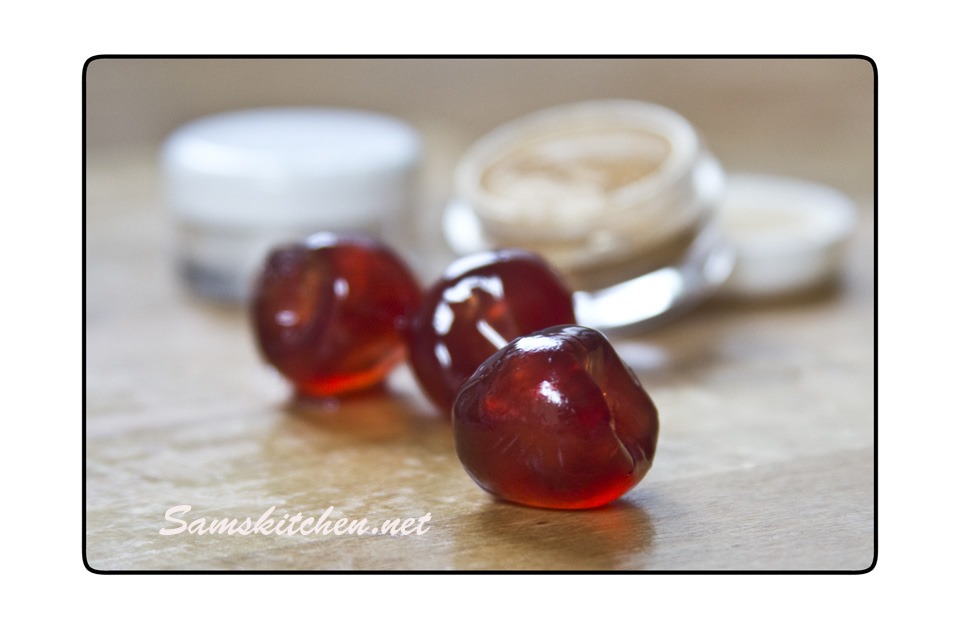
12 glacé cherries

Edible sprinkles/glitter

Ingredients conversion chart here courtesy of Delia http://www.deliaonline.com/home/conversion-tables.html

Makes 12

Line a muffin pan with 12 cupcake cases or cake cups.

Ideally make the frosting first so it has time to cool.

Frosting bit

In a small saucepan heat the cream to a gentle boil. Remove from the heat and throw in the chocolate and quickly stir through. You want all the chocolate to melt in to the cream. If there’s still a few unmelted lumps place the saucepan over a very low heat and stir until all melted. Tip into a bowl and allow to cool completely.

The cupcake bit

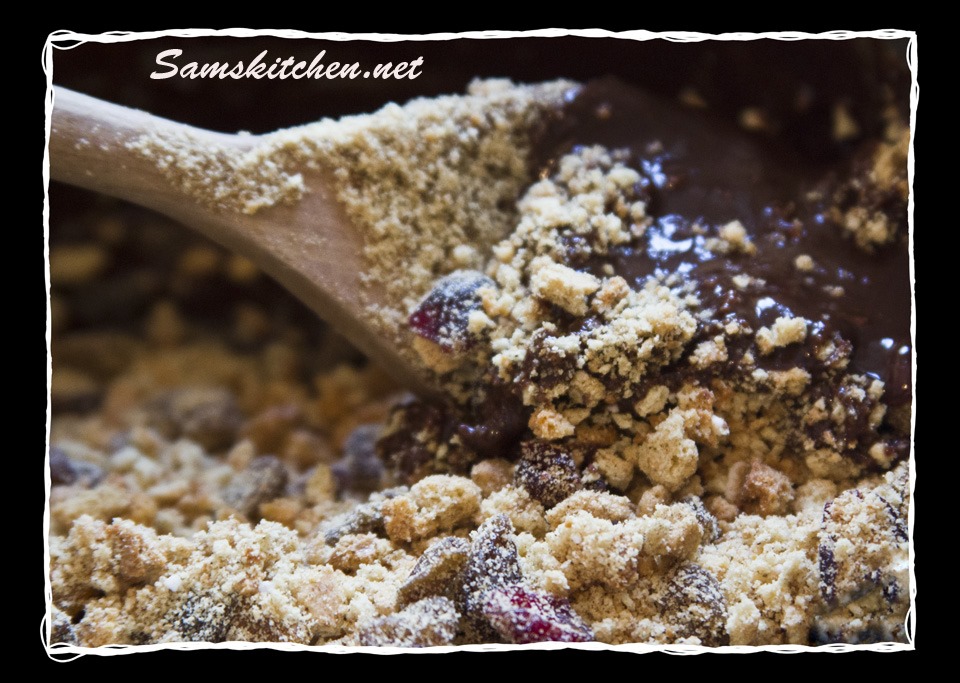
In a large mixing bowl place the biscuits and carefully crush using the end of a rolling pin (messy but fun!). It’s up to you how crushed you want them, I like a mix of bits and crumbs. Add in the dried fruit and mixed spice, then give it a stir.

Place the dark and milk chocolate in a large saucepan with the butter, brown sugar and golden syrup. Place over a low heat, stir occasionally, until all melted and mixed together.

Cupcake tiffin mix

Remove from the heat and add the fruit and biscuit mix and stir well so it all gets covered in the chocolatey mix.

Spoon equally in to the cases, pressing down but not squashing too hard. Allow to cool completely, you can pop them in the fridge to help them set once cooled.

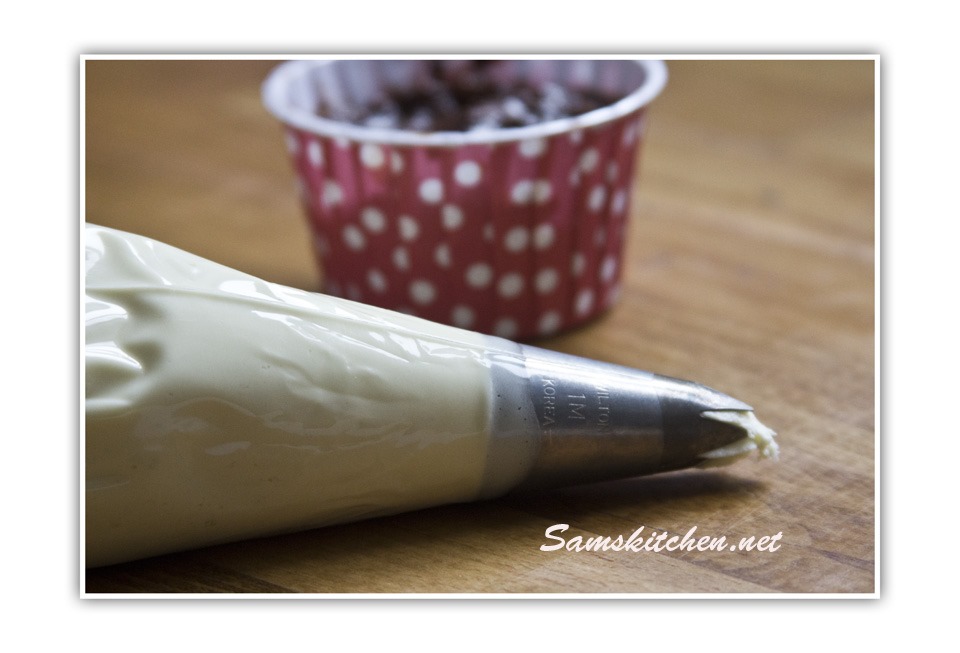
Cupcake tiffin frosting bag

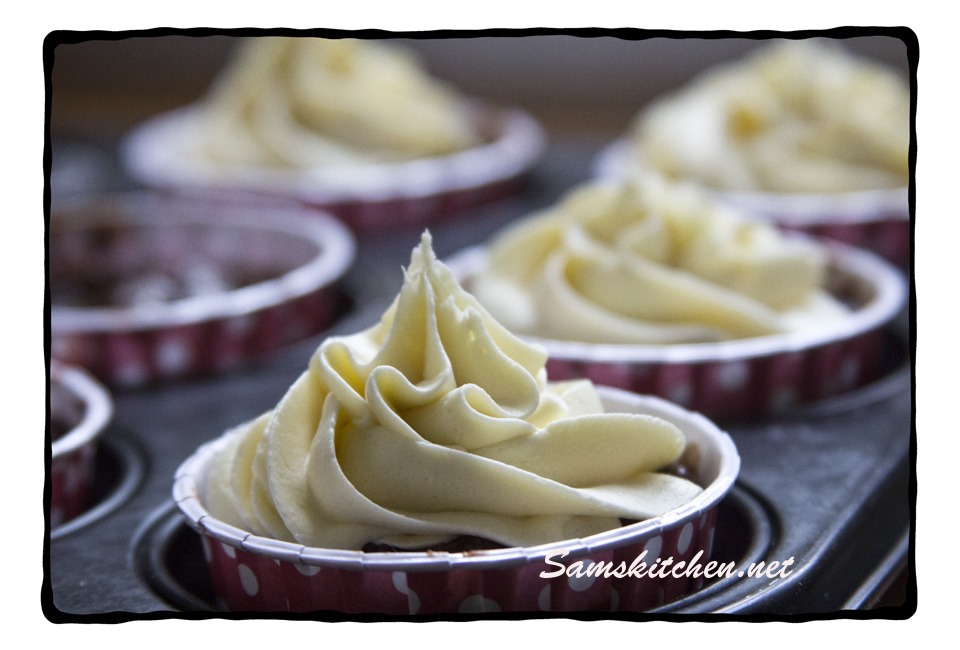
Cupcake tiffin topping


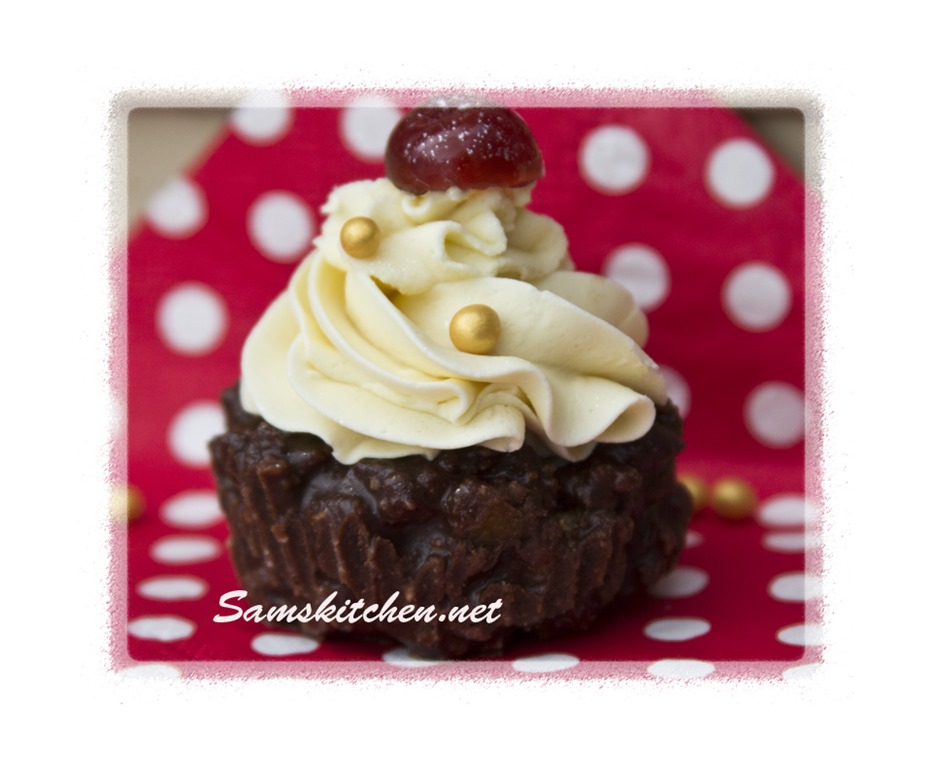
The white chocolate ganache frosting should be cold before you whip it. Ideally use your mixer, it will only take a minute or so and you’ll see it lighten in colour and get a much fluffier texture. Then either pipe for a fancier look or just spread across the top of each tiffin cake. Decorate as you wish with glitter and cherries then enjoy.

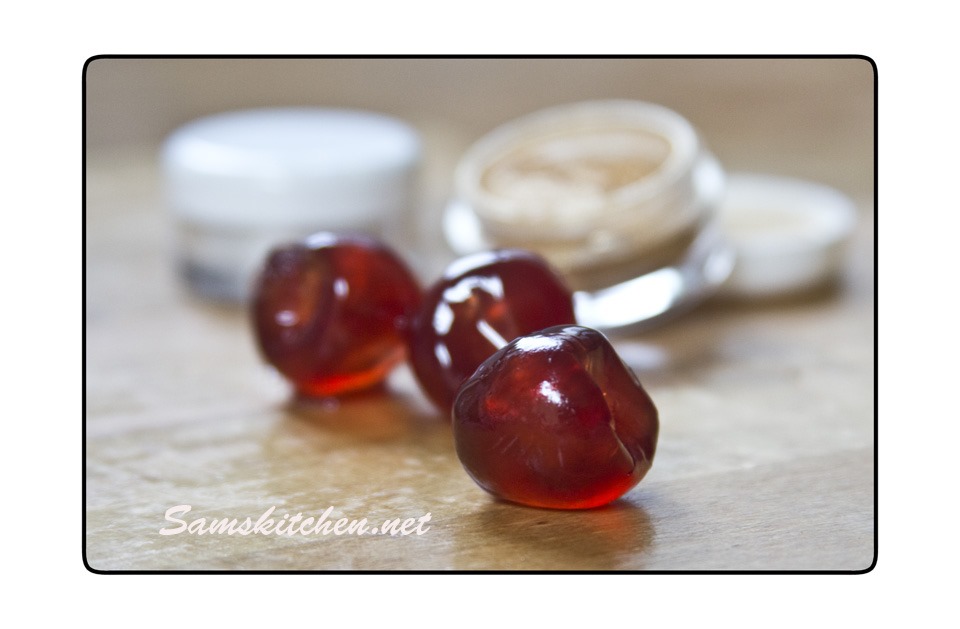
Cupcake tiffin cherries

Cupcake tiffin single


If you like them quite solid, store in the fridge, if not just keep boxed at room temperature.

Enjoy ♥

Tiffin cupcakes

Brainies!

Brains skull closeHave been meaning to make these for about a week, ready for Halloween and by the skin of my teeth I managed to get them ready before the doorbell rings with trick and treaters!

You could add these brains to cupcakes, biscuits or traybakes. I thought brownies worked well and then you can call them Brainies!

Brains shaping

I used Fudge and Chomp bars as the dome for the icing to go on. Shaped slightly so they are more like a lozenge shape. using the fat end of a piping nozzle works well to shape the ends. Mine were about 2.5 cm long, you can make them whatever size suits your project.


Using a vanilla buttercream coloured pink attach the chocolate to the brownie.Brains attached I used a round piping nozzle with a diameter of about 3-4 mm, change the size to suit you. Then pipe a slightly wiggly line down the centre.

Brains stem

Next pipe in a continuous line up and down the side, then the other side like a long wiggly worm!

brain above

To add some blood I used jam with a little water added to make it a runnier consistency. Sieve it to get a gel, then for an added zing I put in some red colour gel.

Brains jam

Brains skull closeDrizzle with a small spoon or pipe over the brains randomly. Enjoy!


Brains skull plate

Oaty Coconut Crunch Cookies

Oat coconut crunchies close stackI had a bit of a craving recently for a crunchy cookie with oats and coconut, I seem to remember years and years ago making something scrummy with oil and not butter so felt the need to create them again!


I had some wheatgerm in the cupboard so decided to add some, it is a great source of vitamin E and Folic Acid too. I got mine from Waitrose in the UK and I’m sure you can buy it at health food shops.

They are delicious, sweet with a lovely oat bite and a fab crunch (fairly delicate, although I did manage to transport them without many breakages)

These are perfect with a cuppa of course and will keep in an airtight container for several days if they don’t get munched straightaway.

Recipe can be printed

Oaty Coconut Crunch Cookies

125g porridge oats

25g wheatgerm

25g dessicated coconut

150g soft light brown sugar

120 ml sunflower or vegetable oil

1 egg lightly beaten

1/2 tsp vanilla bean paste or extract

Makes about 30

In a large bowl place the oats, wheatgerm, coconut and sugar. Stir in the oil. Leave for about an hour.

Preheat the oven 160°C (fan 140°C)

To the oat mixture add the egg and vanilla, stir until well combined.

Oat coconut crunchies trayOat coconut crunchies flatten

Place heaped teaspoonfuls of mixture on a lined baking tray (I love using the magic reusable liners), they need room to spread so 6 on a standard sized baking tray is plenty. Press them flat with a fork that’s been dipped in water (this stops it sticking too much to the mixture). Shape them in to rounds if you wish.

Oat coconut crunchies large


This is what happens when they are baked too close together, they get a little friendly in the oven! Of course I only did that to show you *ahem*.


Oat coconut crunchies plateOat coconut crunchies stack

Bake for 14-18 minutes until evenly golden. Allow to cool slightly on the tray until they harden up enough to transfer to a cooling rack. Enjoy ♥

Oat coconut crunchies above

Chickens! Here come the girls……………..

We used to keep chickens when I was young, lots in a large run. I’ve always wanted to have a few but after seeing that a local farm was rehoming a large batch, the decision was made.

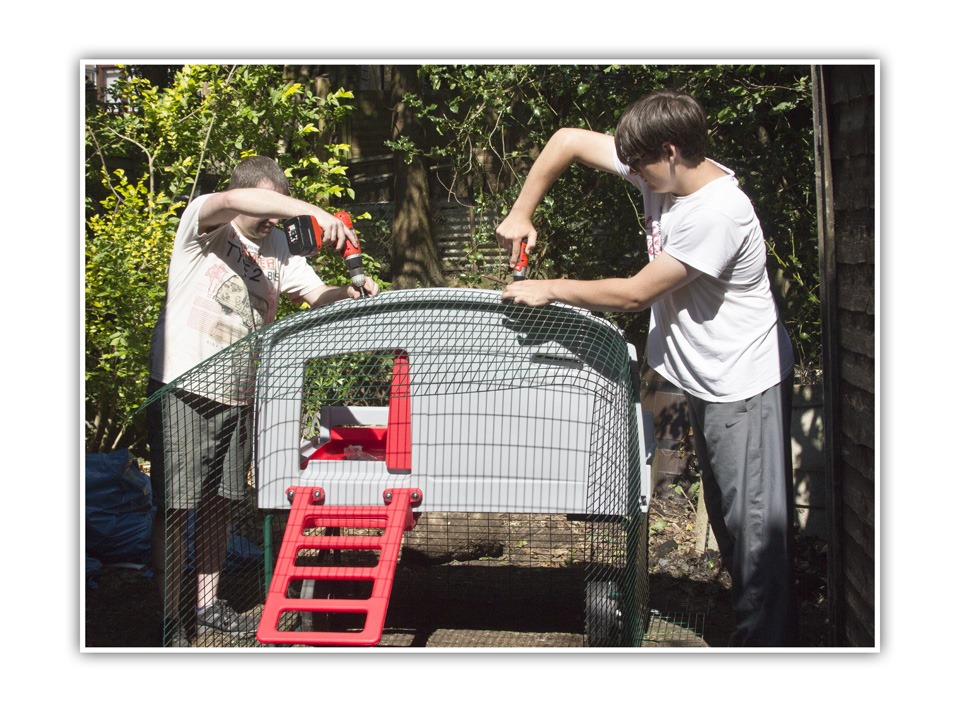
Now our garden is by no means large, but we thought with some clearing and careful planning we’d be able to fit in a small house and run. A massive consideration for the housing type was something that Mr Fox will find too much of a challenge to reach the chickens. I’m hoping this fits the bill as we do have foxes visiting us on occasion.

Chicken run in progress

We collected them on Saturday 31st August. The poor things were rather unceremoniously boxed up and driven home.

Check out the “unboxing” here.

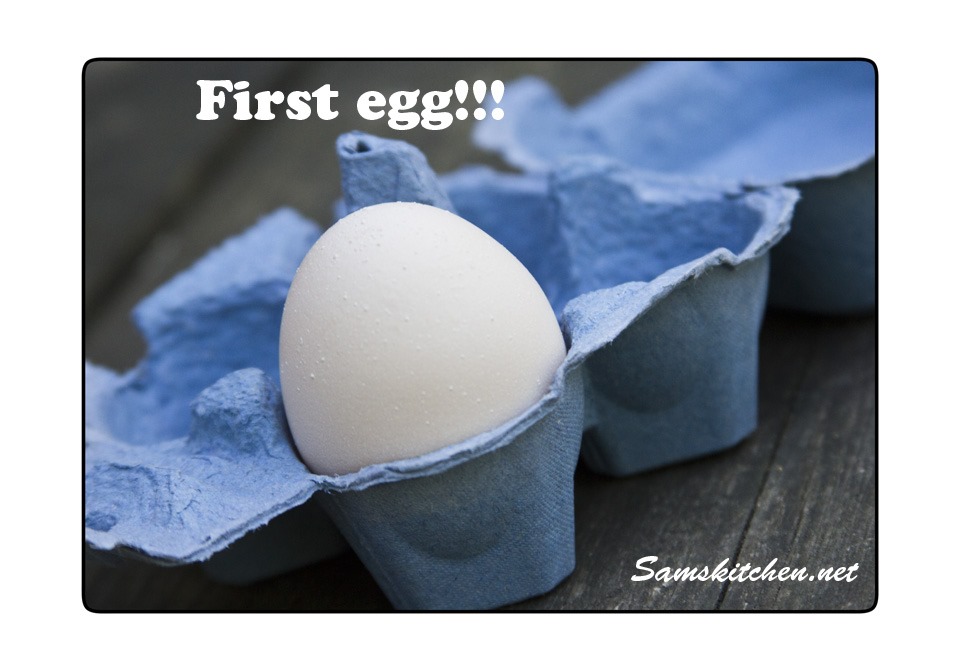
We had our first egg the same day and have had a steady supply since. We have egg boxes for 4 eggs which is perfect.

First egg4 eggs

The internet has been a constant source of information and advice and it’s great to read tips from people with backyard chickens too!

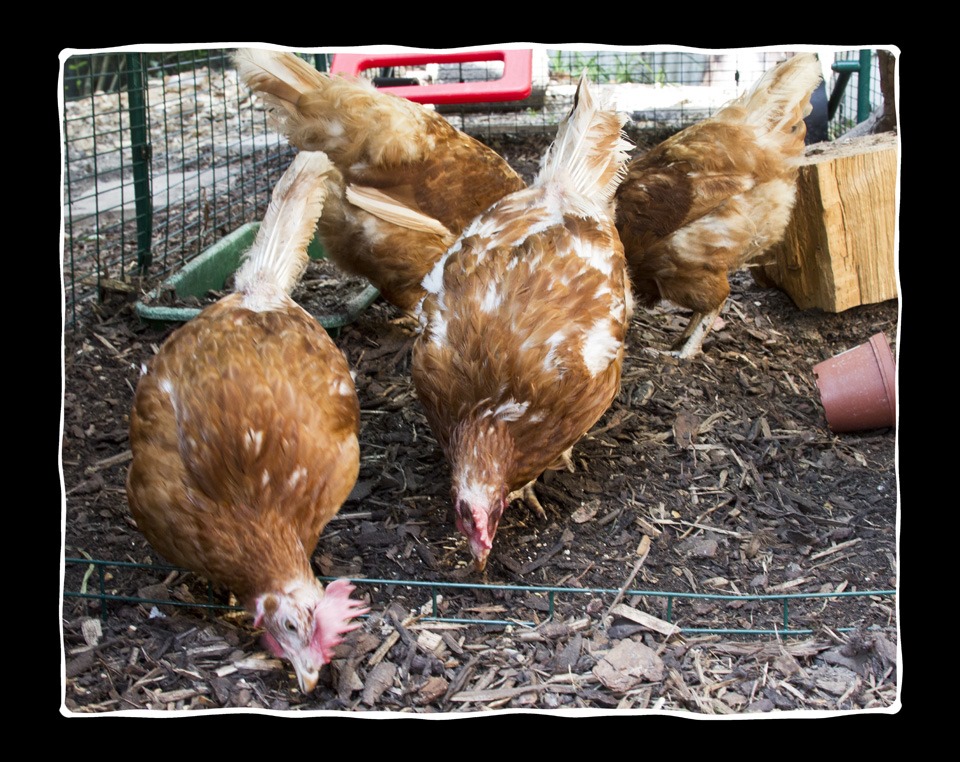
Chickens

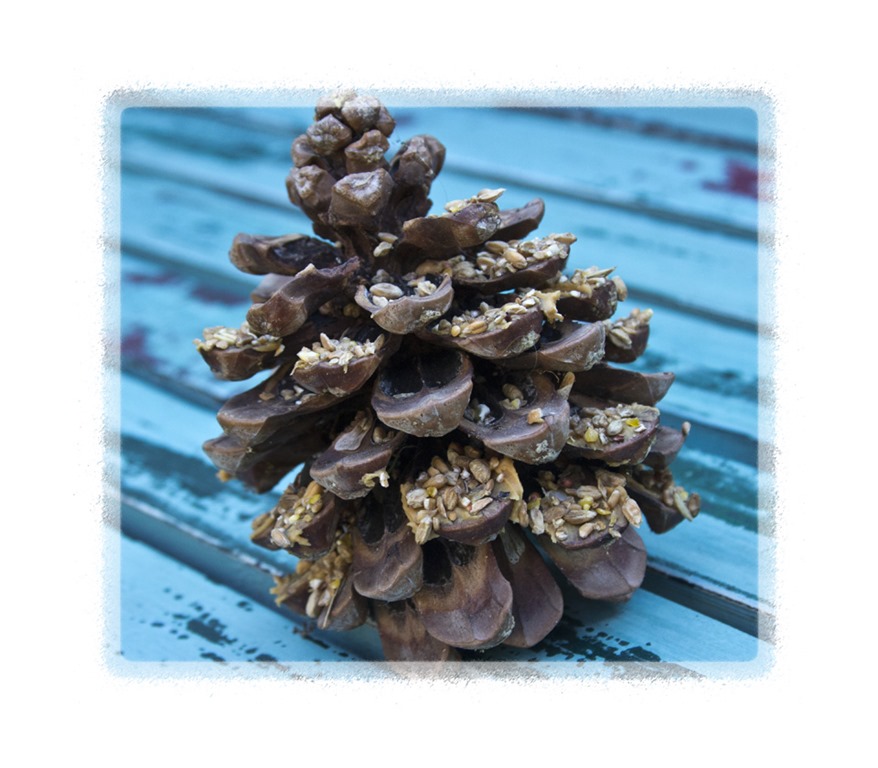
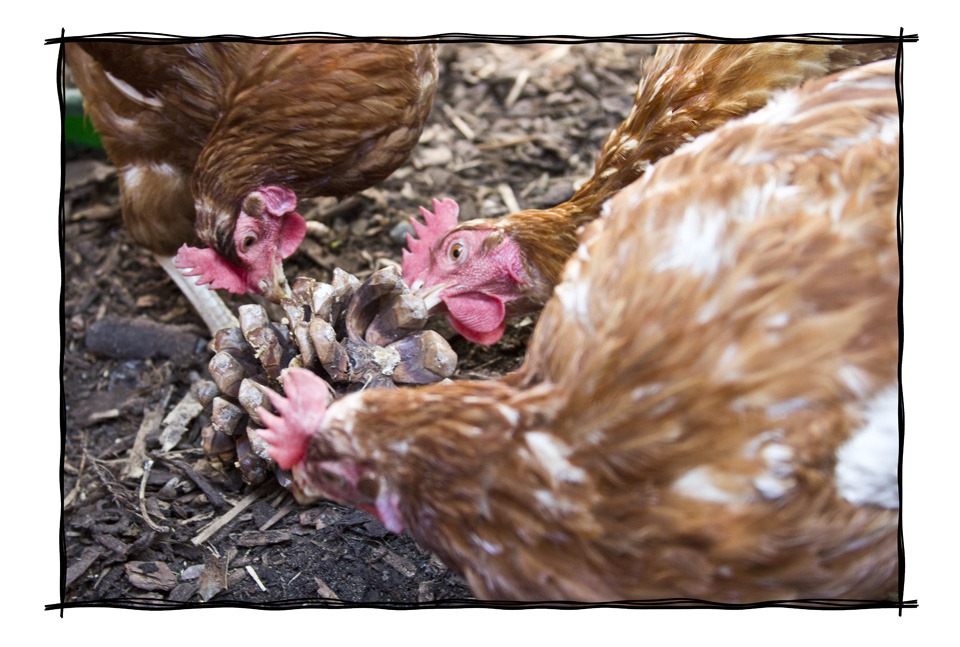
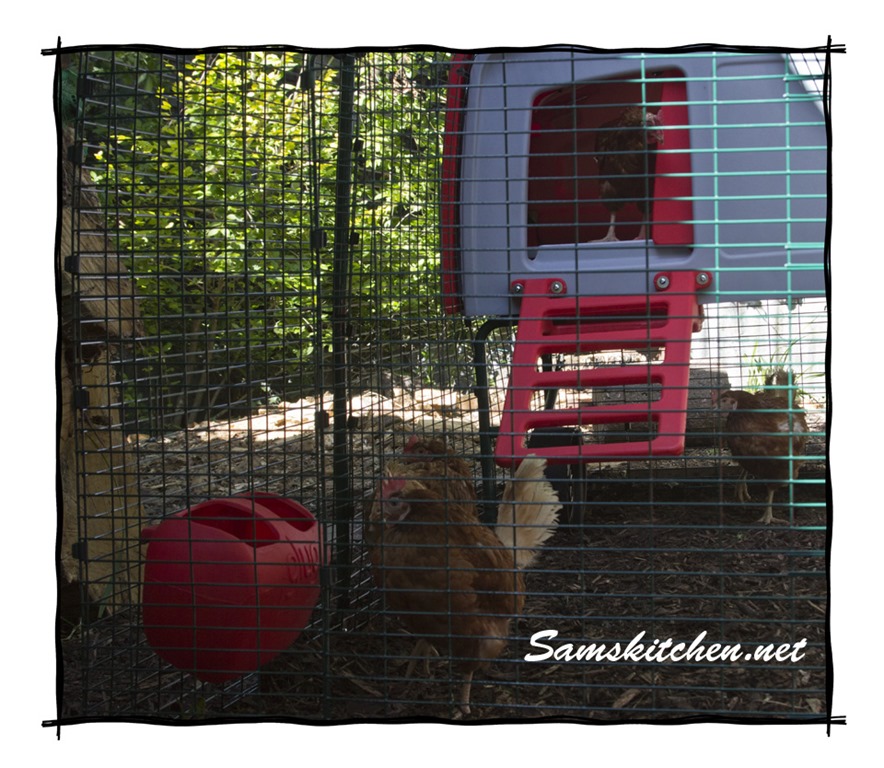
I am trying to find things to keep them entertained, we have a ball which is filled with food and as they roll it round it come out. Once they got the hang of that it was great! I’ve dabbed a large pine cone with peanut butter and sprinkled on bird seed, huge hit! Hung things inside the run for them to reach, all good fun.

ConeChucks pinecone

I love that they are eager to come out in the morning but not making a row, I love that they get their PJ’s on and take themselves to bed when it’s getting dark!

They’re entertaining and real characters. Not shy of us at all and always on the look out for tasty treats.

So say hello to Rusty Russett, Speckle Hen, Terra Cotta & Ginger Spice ♥

The girls

Nectarine & Amaretto Sorbet

Amaretto bottleSome things just remind you of summer and care free times, or may be it’s just the alcohol in this that does it!

This bottle of Amaretto was brought on our first wedding anniversary in Sorrento, total bliss and after several (!) years we still haven’t drunk it all, quite amazing really!

We just happened to have some nectarines ripe and I thought they would go perfectly together, and they did………

Nectarine & Amaretto Sorbet

6 just ripe nectarines

150g caster sugar

750 ml water

4 tbsp. Amaretto

Bring the sugar & water slowly to a gentle boil. Allow to boil for 5-10 minutes stirring occasionally, until the water starts to turn slightly syrupy. Remove from the heat.

Chop the nectarines into chunks (either with or without the skin, the skin gives a pretty fleck to the sorbet, without means a more smooth finish). Add the flesh and the Amaretto to the slightly cooled sugar water and blitz in a processor until smooth.

Place in the fridge until completely cold. Use an ice cream maker to churn until the freezing process is under way (the sorbet will be starting to freeze but will still be slushy) then quickly transfer into a sandwich container and freeze.

If you don’t have an ice cream maker just make sure you give it a good stir round once it’s been in the freezer for 2 hours and again after another 2.

Works well as a light pudding or between meal courses. I like it best whilst sitting in sunshine in the garden! Enjoy ♥

Nectarine Amaretto sorbet

Lemon & Elderflower Sandwich Biscuits

Lemon & Elderflower trioThese little cuties used some of the Elderflower Cordial I made recently. They really do taste like summer to me. Of course you can use brought cordial, which means you can taste and dream of summer all year (which I do…..)

Perfect in the garden with a cuppa!

Printable recipe:


Lemon & Elderflower Sandwich Biscuits

125g soft spread/butter

60g golden caster sugarElderflower cut lemon

180g plain flour

Grated zest of 1 lemon

Filling

50g soft butter

200g icing sugar, sieved

2 tbsp Elderflower Cordial

Preheat oven 190°C (fan 170°C)

Makes 12-16 complete biscuits depending on your cutter size

Cream the butter and sugar together until light & fluffy. Sieve in the flour and add the zest, mix well, bring together to form a ball of dough. Cover and place in the fridge for at least 30 minutes to chill.Lemon & Elderflower dough

Roll out on a well floured surface to about ½ cm thick. I pressed an impression mat gently on top of my dough so after baking their was a slight hint of texture (it was a flower pattern) this is of course optional. Use cutters, I used flowers that are about 4 cm at the widest. Place the cut out biscuits on a baking tray and bake for 10-15 minutes until starting to turn golden, the bottoms should be golden too so you know they’re baked through.

Lemon & Elderflower cooling

Leave on the baking tray for 5 minutes then transfer to a cooling rack.

To make the filling, beat the butter until very soft and fluffy. Add half the icing sugar and beat, then add the rest and the cordial and beat until creamy and smooth.

Lemon & Elderflower aboveLemon & Elderflower filled

Fill a piping bag (with a nozzle of your choice) with buttercream, pipe a generous amount on the underside of one biscuit, top with another biscuit squeezing them gently together. Enjoy! ♥

Lemon & Elderflower biscuits

Elderflower Cordial, Summer Picnic Party!

Elderflower cordial bottles glassElderflower, the smell & taste always reminds me of summer. Perfect for alfresco dining & picnics! So I thought that it would be ideal to join in the blog Summer Picnic Party that Hani & Beth have organised.

All the other picnic peeps lovely posts are further down the page and are so inspiring and summery. There’s also a competition to enter with some lovely prizes, so scroll down for more details.


Elderflower Cordial is also a brilliant ingredient to add that beautiful flavour to other things, cocktails, cookies, cakes etc

I’m lucky enough to have an elderberry tree in my garden so make things from the flowers & berries most years. They flower between May-July in the UK.

This is my recipe, I’ve tweaked it over the years & this years is the best ever! Sometimes the flower flavour can be overpowering but with the citrus notes this is balanced in total harmony for me.

Elderflower picked

Check out all the other fantastic recipes from my blogging pals, links below ♥
recipe here


Elderflower aboveElderflower Cordial

Ingredients

875g sugar (caster or granulated is fine)

25 elderflower heads

Zest of 3 lemons

Zest of 1 lime

Juice of 1 lemon

Juice of 1 lime

45g citric acid (available from chemists or online)

1.3 litres of boiling water

Place the sugar in a large saucepan or heat resistant bowl. Pour the boiling water over and stir gently until all the sugar has melted.

Elderflower cut lemon

Add the zest & juice. Slice the remaining 2 lemons and add this too. Stir and add the citric acid. Lastly place in the elderflower heads* and gently stir through. Cover the bowl/pan with a clean tea towel and leave somewhere cool (not in the fridge) for 48 hours, try and remember to give it a stir after 24 hours.

Elderflower citrus in bowlElderflower in bowl

Next, strain through a sieve, I line mine with muslin to make sure the little bits don’t get in the cordial. Then pour into some sterilized bottles**. Seal and keep somewhere cool, it can keep for several months but I prefer to use mine within a month. Once opened store in the fridge and use within a week. Use as you would a cordial, dilute with water to taste. Or lemonade or tonic or add a drop of vodka for a kick!

Elderflower pouringElderflower juicing

Lemon & Elderflower biscuits* Give them a shake and remove any dead bits, insects etc. I don’t wash mine but they are from a tree in my garden so know where they’ve been!

** I sterilize my bottles and jars in the dishwasher or in the oven for 15 minutes on a medium heat.

These are Lemon & Elderflower Sandwich Biscuits, recipe here https://www.samskitchen.net/?p=1269………..♥


Giveaway…

GiveawayPicnicBlogParty

GIVEAWAY SPONSORS

Thank you to all the amazing Giveaway Sponsors. Be sure to check out their websites below.

The Marshmallow Studio

Restaurant Ware

The Cookie Cutter Company

Wilton

Mary Had a Little Party

King Arthur Flour
To enter giveaway please use the Rafflecopter link below. Giveaway will run from July 20th, 2013 till July 27th, 2013. 6 Winners will be picked using the Rafflecopter widget. Prizes will be picked in the order of sponsors you see above, starting with The Marshmallow Studio and ending with King Arthur Flour. Winners will receive one email from hanielas@yahoo.com. Winners will  have 48 hours to respond. New winner(s) will be picked if we don’t hear from you. Thank you and good luck.
Rafflecopter giveaway

June Foodie Parcel

June foodie parcel


Well it’s that time again, so exciting to receive such a lovely thing through the post!


This is a scheme where you send out a parcel to your foodie “penpal” and receive one back from someone else, details here


This fabulous box of goodies came from Alison, who clearly knows me so well!

Cup & flapjack

The contents were a great mix of things including crunchy mustard powder (looking forward to finding some things to use this in) some chocolate (always welcome) homemade strawberry jam (that I have hidden from Gav as it’s his favourite thing!) and a cookie mix ready to be made (hoping my teen will do the honours this weekend).

homemade strawberry jam

I love the mix of things and the thoughtful homemade goodies which I appreciate so much. ♥

June penpal box

Passionate love of baking & eating.