A little bit of fun to mark the end of the year and the beginning of 2012. A short foodie quiz to keep you on your toes! Good luck, let me know what you score 
[mtouchquiz id=1]
A little bit of fun to mark the end of the year and the beginning of 2012. A short foodie quiz to keep you on your toes! Good luck, let me know what you score
[mtouchquiz id=1]
 I was recently given a truffle recipe by the lovely lady running a marzipan shaping day I attended. She had made a batch for us to eat and gave out the recipe. The thing that I liked (apart from the taste of course) was that they do not contain fresh cream, when they have cream in them they have to be kept in the fridge. This is fine most of the time but can be a problem when giving them as a gift.
Easy peasy to make and you can make them with the kids, just swap the alcohol for something else (maybe a few drops of vanilla essence). I used Baileys in mine but of course you can use whatever you have or fancy.
 Truffles
100g dark chocolate
100g butter
100g ground almonds
100g caster sugar
4 tsp Baileys (or your choice)
Decorations or dustings of your choice ie: vermicelli, cocoa, icing sugar, coconut.
Makes 30 large truffles.
In a saucepan gently melt the chocolate & butter together. Remove from the heat and stir in the rest of the ingredients until well mixed.
Place in a bowl allow to cool then cover and put into the fridge until firm.
When you’re ready to make the truffles take teaspoons of the mix and quickly roll into a ball and cover in your choice of topping then place in a petit four case or loose on a plate. I like to pop these back in the fridge to firm up again after shaping. Then they’re ready to give as a gift or eat! Because they have no cream in them they do not need to be kept in the fridge all the time, store in a cool place. Keep for up to a week.
 Blinged up real nice with gold lustre & red glitter!

 I use this recipe absolutely loads. It is based on one from a childrens cook book of Freys. You can leave them plain or decorate to your hearts content!
We love cinnamon so have these all year round but they’re especially good at Christmas.
Printable recipe here
Cinnamon Biscuits
Ingredients
275g plain flour
1 tbsp cinnamon (we like a lot of cinnamon in our house feel free to rein it in to your own taste)
1 tsp baking powder
100g soft light brown sugar
75g butter/spread
1 egg
50g golden syrup
Icing sugar, cinnamon to dust or icing & decorations.
Sift the flour, cinnamon & baking powder in a large bowl. Add the sugar and mix well. Add the butter in small chunks and mix in with your finger tips to make the mixture like breadcrumbs.
In a small bowl break the egg and beat with a fork, add the syrup and beat until it’s smooth & well mixed.
Add the wet mix to the dry and bring everything together with your hands. Place the ball of dough in a bag and put in the fridge for at least an hour. You can make the dough the night before it’s needed which works really well.
Preheat the oven before you are starting to cut out the shapes 170 C (fan 150 C).
Line baking trays ready.
Place the dough on a floured surface and knead together briefly.
Roll out to about ½ cm thickness and use cutters to make your biscuit shapes.
Place on the baking trays and bake for about 15 minutes until they start to darken at the edges.
Leave for 5 minutes before transferring to a cooling rack to allow to cool completely before decorating.
You can ice the biscuits or dip them in chocolate or just dust with icing sugar & cinnamon. They keep in a tin for about a week.
 Angel & tree decorations
I made hearts out of fondant and then used small letters from a set to add the names to personalise these little cuties. The little balls are pearls of sugar then I dusted the hearts with gold lustre dust. ‘Glued’ on with royal icing.
TIP
*If you would like to thread ribbon through your biscuits for hanging on a tree or using as a gift tag, then make a hole with a skewer before they are cooked.

 Here’s a chocolate version of the cookie jar I posted recently. They make fab gifts & are also great to have on ‘stand by’ in the cupboard.
I like to use the Bonne Maman jars, not only is it a great way to recycle but they hold a good amount of ingredients, so work well. The size of the jar is 370g so any jar that size will be fine. Make sure they are sterilised & dried before using.
I will list the ingredients in the order I usually place them in the jar. It’s nice to separate the colours to give a pretty look to the finished jar. You will also need to press down firmly to get it all in and if it’s nice & tight it’s less likely to move and get messy.
This is one jars worth and makes about 8 decent size cookies.
Double Chocolate Chip Cookie Jar Mix
75g S R flour
1/2 tsp baking powder
45g soft brown sugar
25g caster sugar
15g cocoa powder
115g choc chips
To the jar you will need to attach a label or card with the instructions. I normally add a brown parcel label with a sticky address label on with the info. Here is a link to the label I use
Alternatively design your own here’s the info you will need:
Double Chocolate Chip Cookies
Bake for 15-20 minutes until firm. Cool for 5 minutes on baking tray then transfer to a cooling rack or enjoy warm!

The Bonne Maman jar lids are great but you can also add a circle of fabric held on with a band.
You can also add some extras to go with the jar like nice ribbon/raffia, a wooden spoon even a mixing bowl!

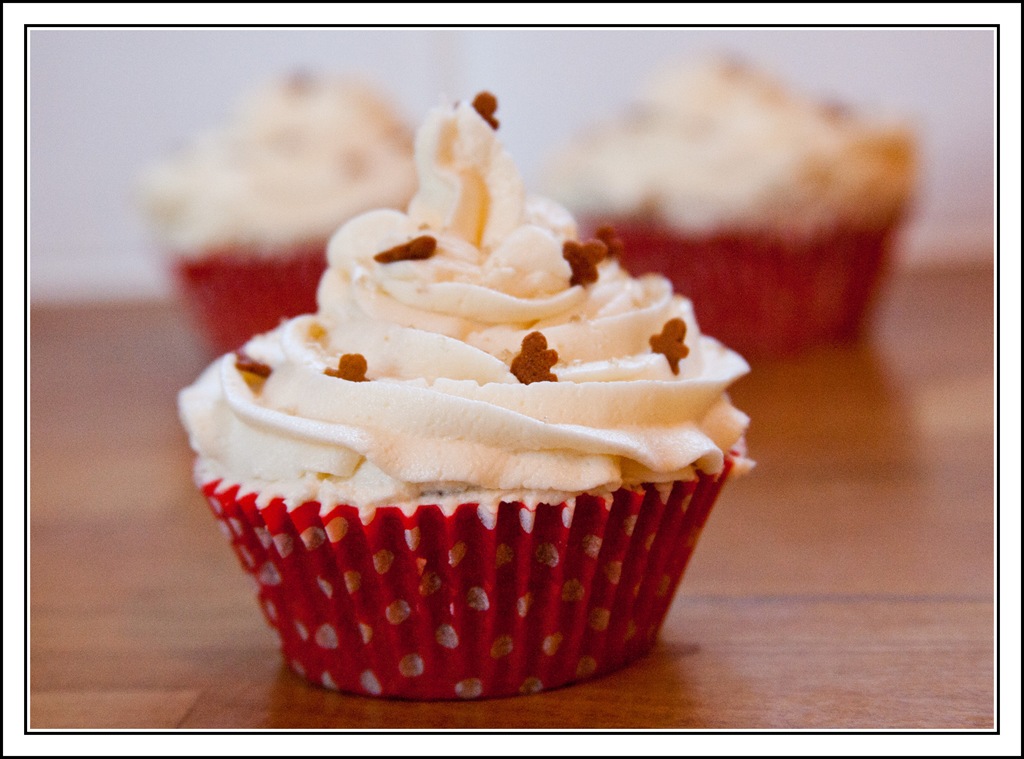 We all love the delicious wintery smell & taste of ginger in our house. So I thought I’d have a bash at making a light gingery cupcake.
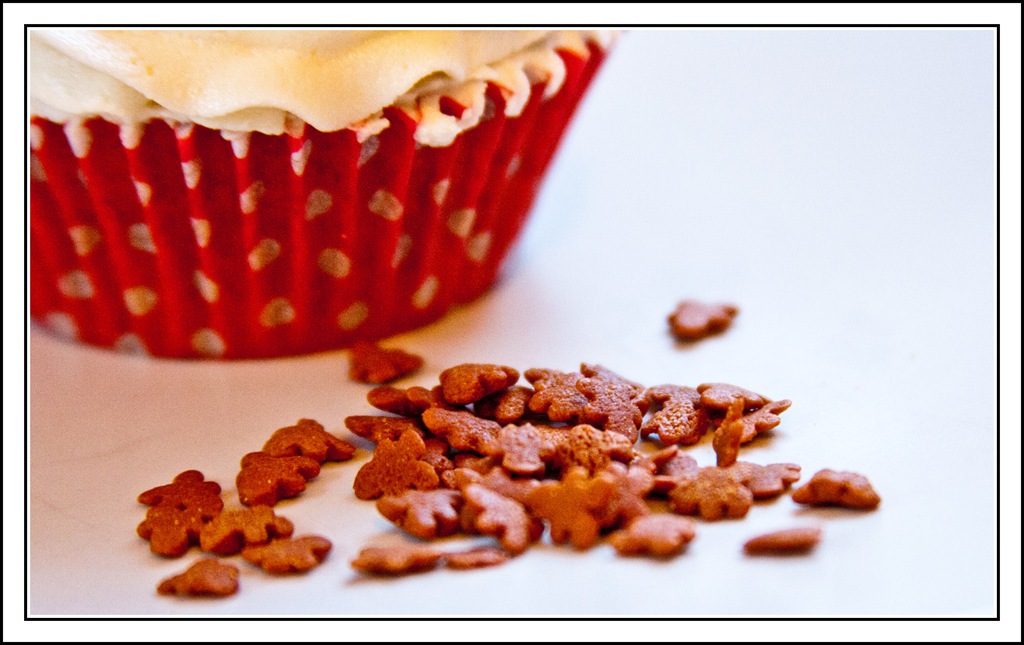
So easy to make and they taste scrummy. I used vanilla buttercream but for a double whammy you could add some ground ginger or decorate with stem ginger. I’m just a sucker for these little gingerbread men! They are available here https://www.facebook.com/TheCupcakeCompany1?fref=ts or in bulk here http://www.cakescookiesandcraftsshop.co.uk/acatalog/Gingerbread-Men-Sprinkles.html
Printable recipe here
Ginger Spice Cupcakes
Ingredients
125g butter/spread
125g dark soft brown sugar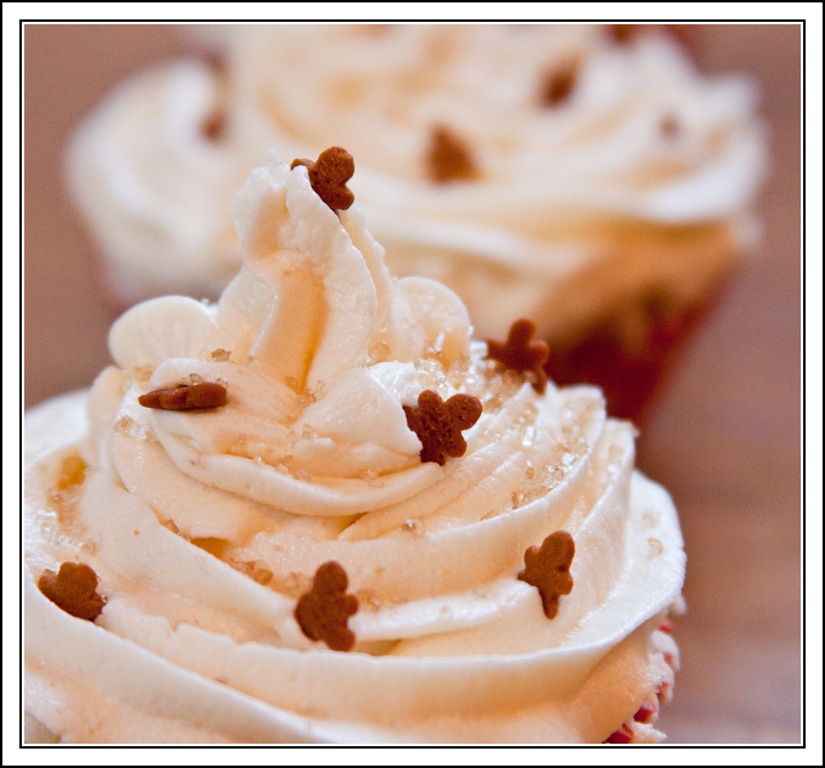
125g s r flour
2 eggs
1-2 tsp ginger depending how spicy you like!
½ tsp cinnamon
a good grating of nutmeg
Vanilla Buttercream
75g butter/spread
225g icing sugar
1 tsp vanilla extract
Sprinkling of demerara sugar & sprinkles to decorate
 Makes 12
Preheat oven to 180 C (fan 160 C)
Lay out cupcake cases ready.
Cream/mix the butter & sugar until light & fluffy add the sieved flour, spices & eggs and beat again until well mixed and fluffy.
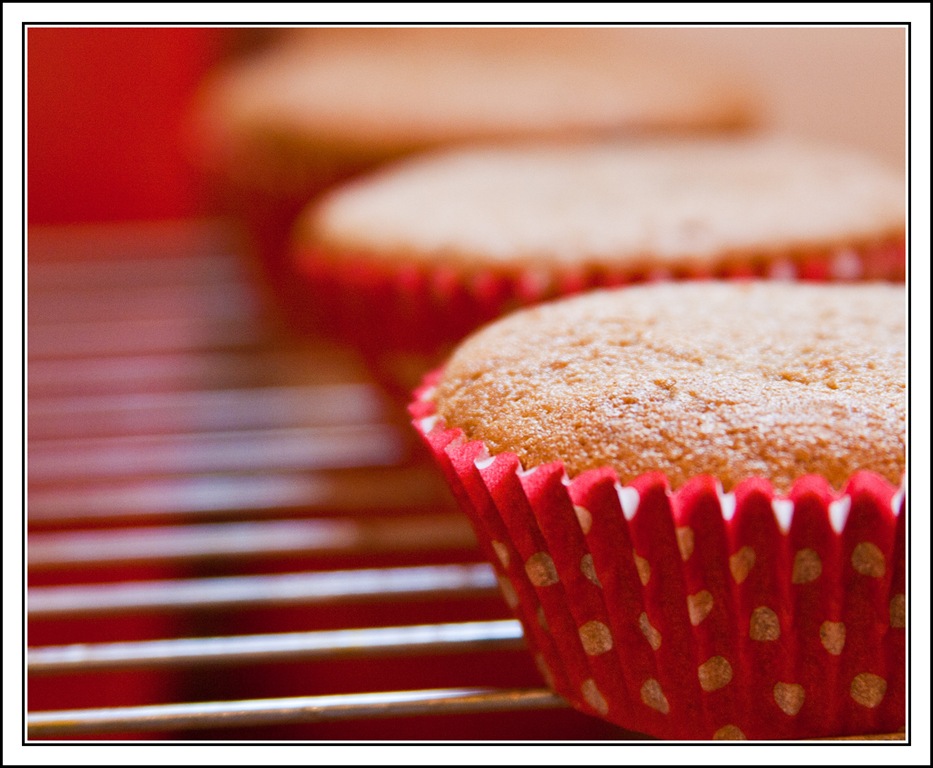
Divide between cases and bake for about 15-20 mins until a skewer comes out clean or they are just firm to the touch.
Allow to cool on a rack.
 For the icing gently mix the butter & icing sugar until safe to turn the mixer higher and not be covered in a mist of icing sugar! Add the vanilla, mix until light & fluffy.
Pipe or spread onto the cooled cakes and decorate as you wish. Iused little gingerbread men & a sprinkling of demerara sugar
Enjoy!
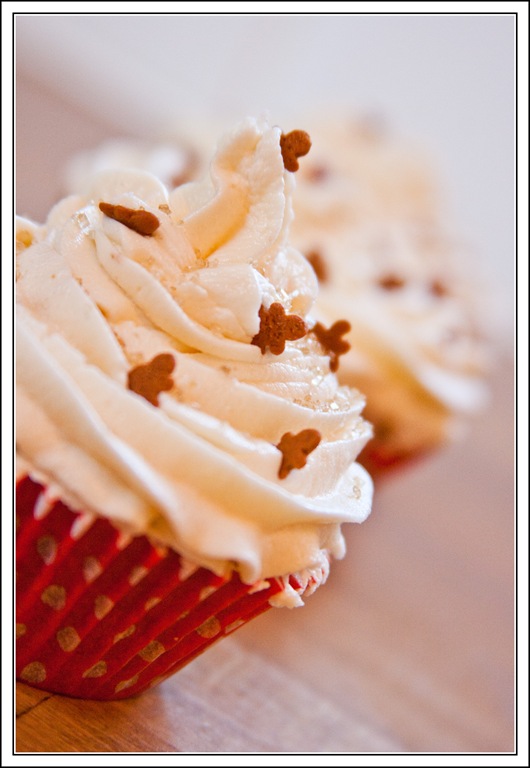
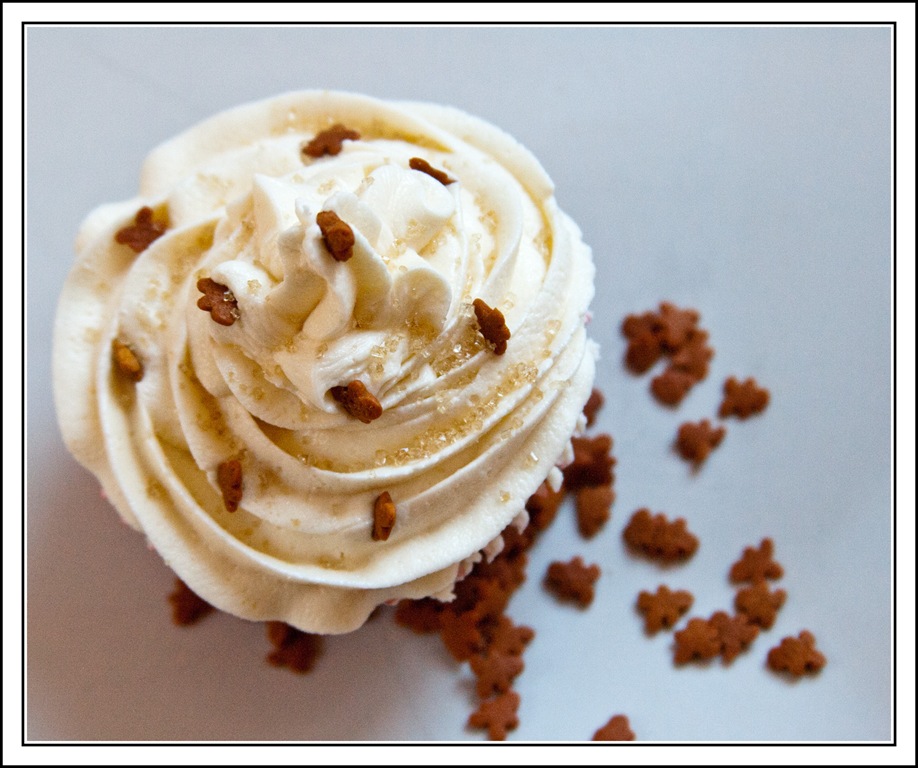
 These are a biscuit with a real crunch. Using polenta adds a grainy texture & I think it works really well with the citrus flavours.
Easy peasy to make and doesn’t take long at all. Strangely they are much nicer when they are cold and not warm out the oven as I usually like biscuits!
Printable recipe here
Citrus Polenta Crunchies
Ingredients
85g polenta
50g s r flour
45g caster sugar
1 egg yolk
Zest 0f 1 orange & 1 lemon
50g melted butter
1 tbsp honey
Icing sugar for dusting
Preheat oven 180 C (fan 160 C)
Makes 12
Line a baking tray.
In a bowl place the polenta, flour & caster sugar and stir.
Stir the honey into the melted butter.
Add the butter mix, zest & egg yolk to the dry mix and bring together.

Form into balls (mine weighed about 20g each) squeeze the mix slightly so it sticks & stays together.
Place on the tray & bake for about 15 minutes until golden.


Allow to cool completely and dust with icing sugar.
They will last about a week in an airtight container.

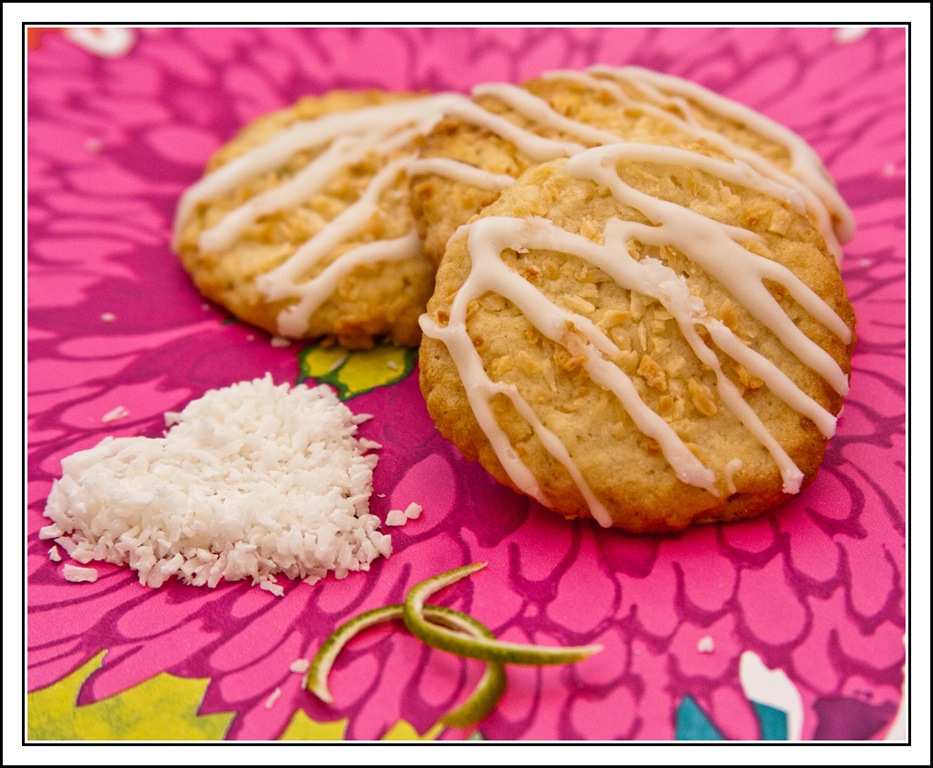
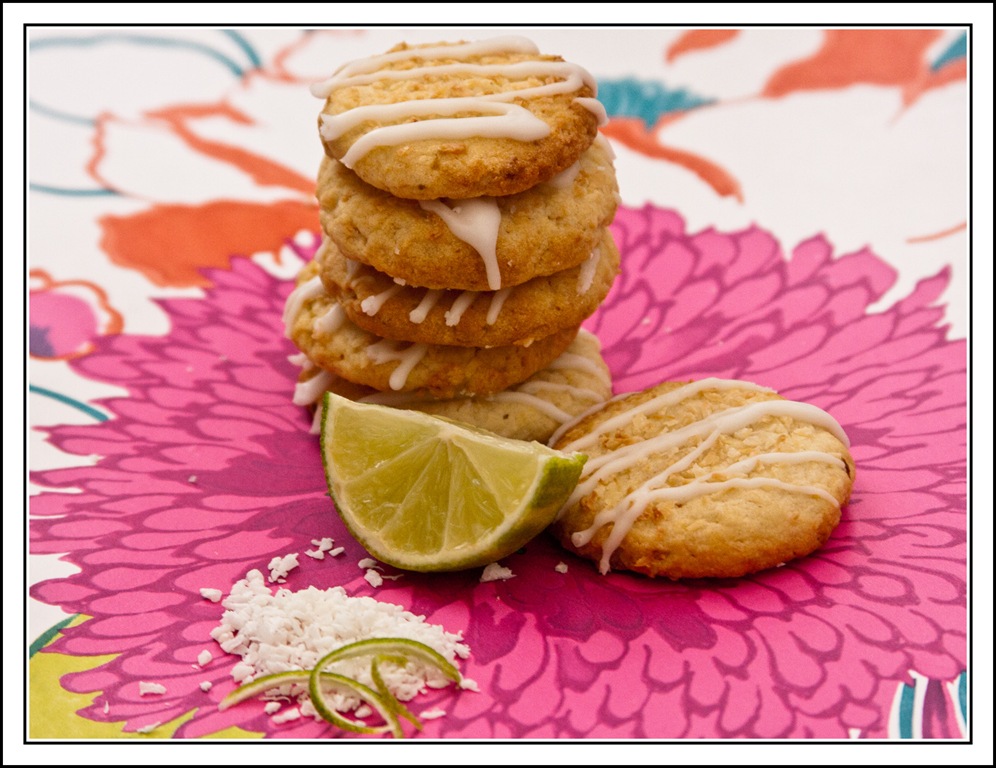 I just love the flavours of zingy lime and sweet coconut together and these biscuits are quick & easy to make and so tasty.
They store well in a tin for a week, if they stick around that long!
Perfect with a cup of tea or coffee and with fruit in them a great excuse for breakfast!
Coconut & Lime Biscuits
100g soft butter/spread
150g caster sugar
Juice & zest of 2 limes
200g plain flour
½ tsp baking powder
100g desiccated coconut (reserved a few tbsps for sprinkling)
Icing (optional but yummy)
100g icing sugar
2 tbsp lime juice
Makes about 24
Preheat oven 170 C (fan 150 C)
Cream the butter & sugar until fluffy. Stir in the coconut (remember to keep a little for sprinkling) & lime juice (keep back 2 tbsp for the icing) & zest.

Fold in the flour & baking powder. Roll the mix into balls place on a lined baking tray and flatten with the palm of your hand, sprinkle with the reserved coconut and bake for about 15 minutes until golden.
Leave on the baking tray for about 5 mins until firm enough to transfer to a cooling rack.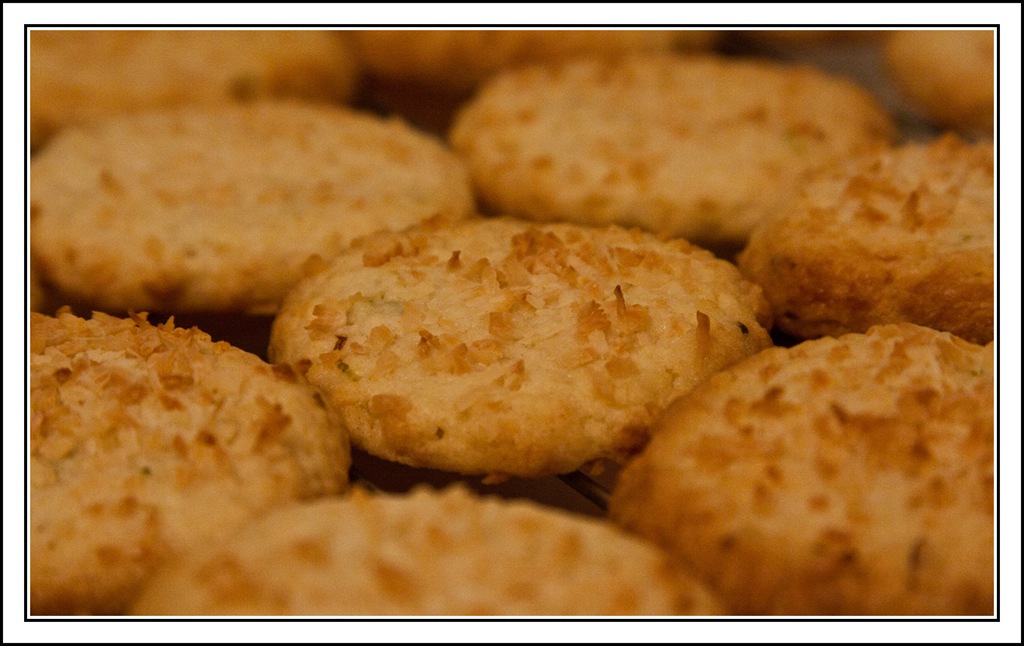
Icing

Mix the icing sugar with the lime juice to get a good drizzling consistency. Then either drizzle from the spoon or use a piping bag to drizzle it over the cookies. Enjoy!
 I was recently one of the extremely lucky winners of a recipe competition.
The amazing prize was to have a baking session with Paul Hollywood in London, where I would bake my recipe and he would share baking tips & tricks with the attendees!
I headed up to London with my lovely pal Lucy, both rather bleary eyed as it was early (we both said this was the earliest either of us has been in full make up!)
We arrived at Divertimenti in Marylebone High Street, the shop is totally amazing. Full of everything you could ever possibly need or want in the kitchen and a whole lot more besides.
We were taken down to the cookery school and introduced to the lovely people who sponsored and organised the day. Paul was already there and was chatty and relaxed. There were 4 recipe winners and their pals, so a lovely gaggle of baking girls.

We were given refreshments and then a brief run down of the day, then Paul gave us a demo on dough kneading and shaping. Very impressive and yes he is as speedy and muscular as you would expect!
 We then set about making our own winning recipes, we each had a work station with all the ingredients weighed out and ready to go. While we were working Paul came over and chatted about what we were making and was more then happy to answer questions (baking related or not!).
We had some photos taken with the finished bakes. Paul tried everything and was very complimentary.
 Lucy & my biscotti on the TV!
It was pure bliss having someone else clear up after me, no washing up or wiping down, wonderful!
Paul showed us some fabulous shaping techniques for bread, using different plaits, he is so good at these and makes it look easy, which it most definitely wasn’t! We all had a play with the dough with varying degrees of success but lots of fun.
 We then had a little shopping trip around the store (we were given a discount on purchases, like I needed an excuse!). Lunch was a very grand affair, with beautiful sandwiches, quiches & the most amazing bread. Lunch time wine, wonderful! So many cakes and sweet treats, lots of ‘doggy bags’ went home with us.
Paul joined us for lunch he was friendly, approachable, funny & an all round lovely guy. He chatted about other celebrity chefs & also about the Great British Bake Off & Mary Berry, who he calls ‘Bezzer’!
I had previously asked if anyone had any questions for Paul, here are the few (cleaner) ones that he happily answered.
Paul is married with a 10 year old son (sorry ladies!)
His hair is not dyed, he started to turn grey from about age 15.
He uses the all in one method for some recipes (Victoria sandwich being one) & creaming for others depending on the recipe and whether they would benefit from having the flour folded in to keep it airy.
That is his real surname, cool!
He & Mary recently filmed a celebrity version of the bake off, hence the filming a month or so ago at the same venue as the GBBO.
He doesn’t mind the nickname ‘Silver Fox’.
Paul was being interviewed by Good To Know Recipes after we left, they were lovely ladies, very chatty & friendly. If you haven’t already, check out there Facebook page https://www.facebook.com/goodtoknowrecipes

We all left with our bakes (in brilliant storage boxes), some dough to make bread when we got home, our aprons, lots of cooking bits (cases, sprinkles) and some books, including one of Pauls, which he signed.
A truly wonderful, memorable day. Wonderfully organised by The Flour Advisory Bureau http://www.fabflour.co.uk/, Good To Know Recipes & the lovely Mars who coordinated with us all and helped in the smooth running of the day.
I would like to thank all involved, all of the above plus the lovely girls who prepared our ingredients and cleared & baked, the venue & staff and of course the Silver Fox himself!

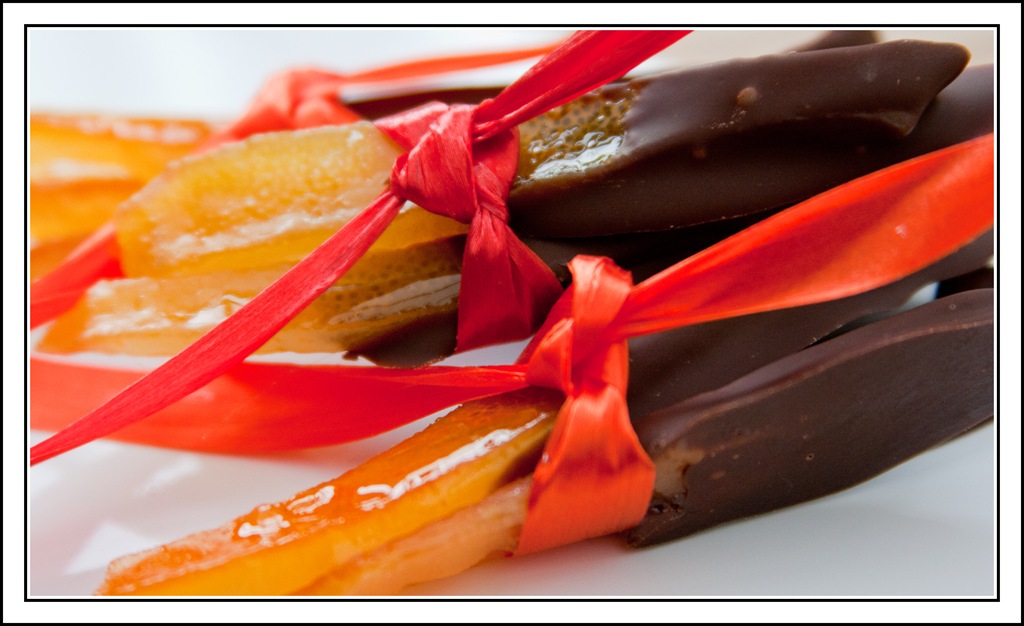 I thought I’d give this a go as I haven’t tried to make them before and they make nice little gifts or after dinner treats.
It’s pretty straightforward just a little time consuming.
They’re really moreish, so be warned!
Candied Peel
2 large oranges or the equivalent (I used 1 orange & 2 lemons)
140g caster sugar
½ litre water
50g chocolate whatever type you fancy
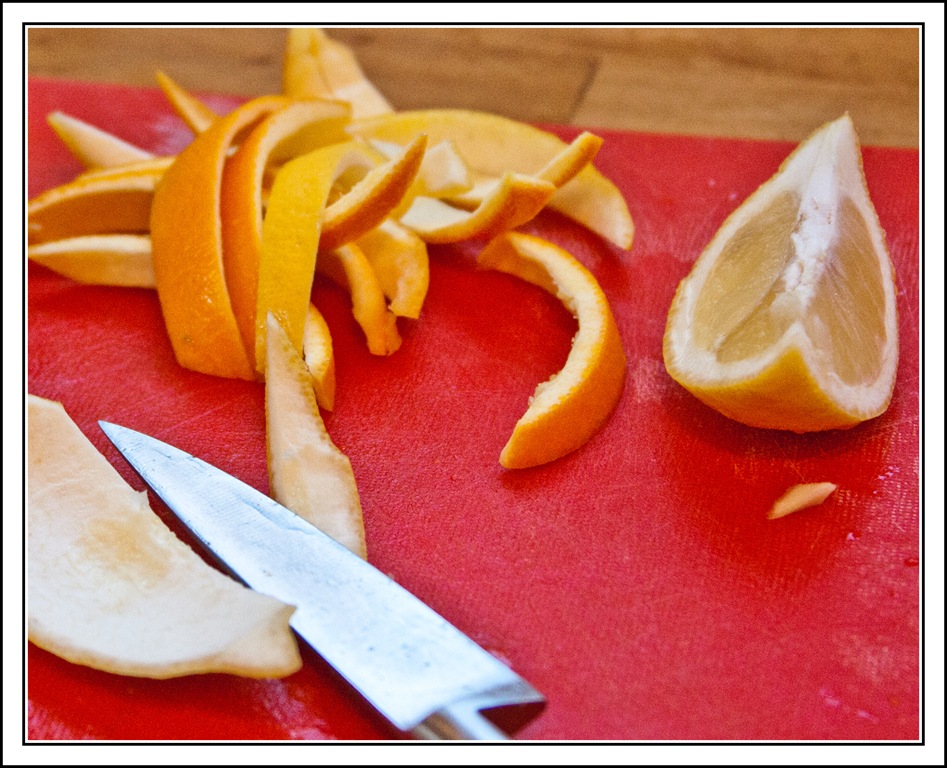
Cut the fruit into quarters, then remove the juicy flesh and as much of the pith as you can without ruining the peel.
Cut into ½ “ wide strips.
Place the water in a pan and the sugar and place on a medium heat until the sugar melts. Then boil for 5 minutes. Turn the heat down and add the peel, the pan should be simmering. Leave to simmer gently for about 1 ½ hours, stirring occasionally until the peel is very soft & the sugar water syrupy.

Remove the peel, dripping off the excess syrup and leave to cool on baking paper.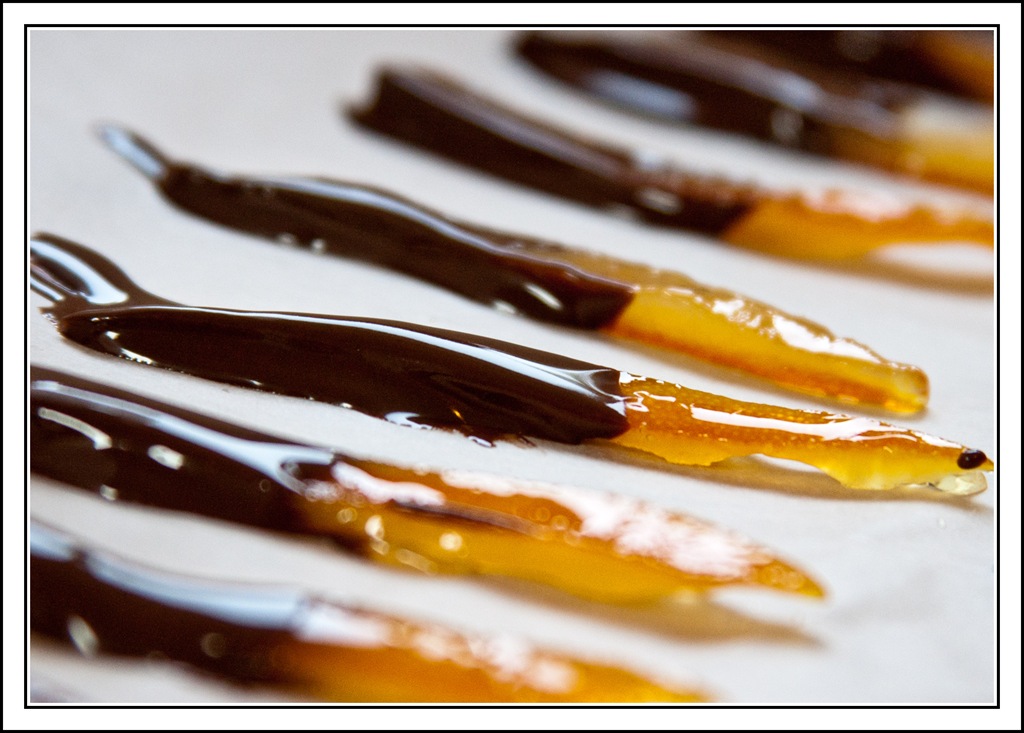
Melt the chocolate in your preferred way then dip one end of the peel in and place on baking paper until set.
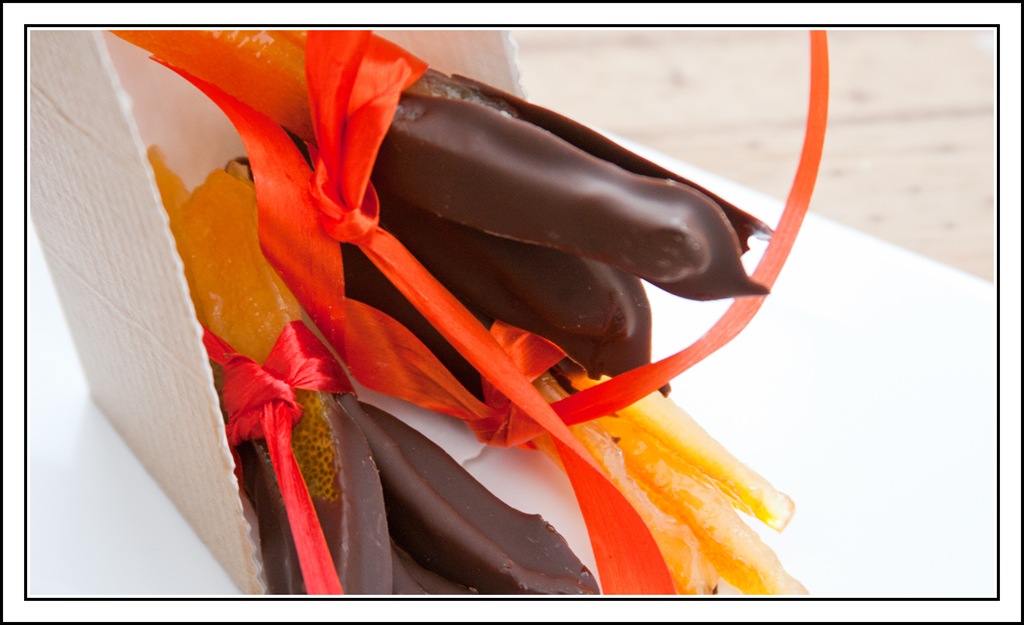
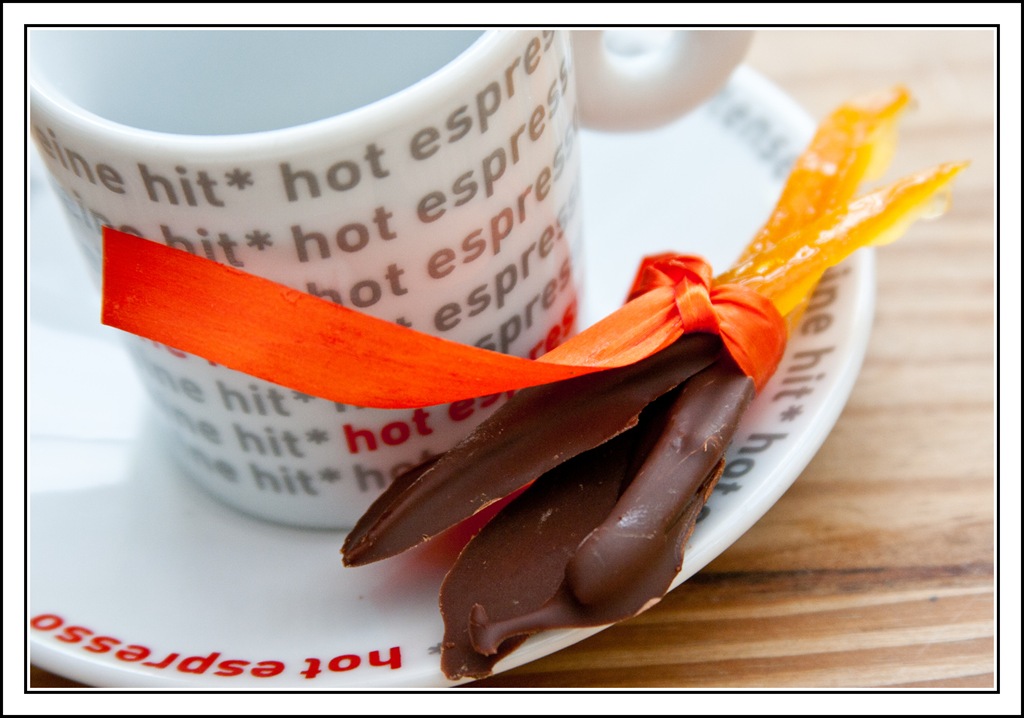
These make great after dinner treats or gifts. My only problem with them was they’re VERY sticky!
 Although we will eat it, no-one at my house is that keen on the heavy rich fruit cake you have at Christmas time.
We’ll all happily tuck into a lighter version, so I thought I’d add a bit of a wintery feel by using a mulled wine soak to the fruit.
It’s not as moist or rich as your traditional fruit cake but goes down very well especially with a cup of tea (or glass of mulled wine!).
Spicy wine-soaked fruit cake
Mulled wine soak bit
1 cinnamon stick
¼ teaspoon freshly ground nutmeg
4 cloves
Zest of 1 orange
¼ cup red wine
Cake bit
225g self raising flour
1 tsp cinnamon
1 tsp mixed spice
1 tsp baking powder
115g soft brown sugar
115g soft butter or spread
225g dried fruit (I used 50g cranberries & 175g mixed dried fruit)
2 medium eggs
2 tbsp milk
Crusty topping bit
65g demerara sugar
65g butter/spread
The tin I used was a loaf tin measuring 22cm x 13cm (height 6.5 cm) you could also use a 7” round tin.
Preferably the night before you want to bake the cake, place all the mulled wine ingredients into a small saucepan. Gently heat until hot but not boiling. Then turn off the heat and leave covered until ready to use.
About an hour before you want to bake place the dried fruit into a bowl. From the wine mix remove the cloves & cinnamon stick (you could use these in real mulled wine after!)
Pour the wine mix over the fruit and stir then leave to infuse.
Preheat the oven 160 C (fan 140C gm3)
In a bowl sieve the flour, spices & baking powder & stir. Then add the soft brown sugar, butter, eggs & milk. Mix well either with a wooden spoon or using a mixer. Add the fruit and fold throu gh.
Place in the tin, smooth the top to even.
Melt the butter for the topping then sprinkle the top of the cake with the demerara & drizzle over the melted butter.
Bake with a baking tray on the shelf below (I had butter spillage!) for 45min- 1 hour until firm to the touch and a skewer comes out clear. Cool for 5-10 mins in the tin then turn out on a wire rack to cool. Fab warm with a cuppa!


You can vary the fruit & spices to your taste and make a different loaf every time you bake it. The crunchy topping is lovely but not essential. Makes it harder to slice but easier to keep eating! Enjoy ♥
