Category Archives: Biscuits

Oaty Coconut Crunch Cookies

Oat coconut crunchies close stackI had a bit of a craving recently for a crunchy cookie with oats and coconut, I seem to remember years and years ago making something scrummy with oil and not butter so felt the need to create them again!


I had some wheatgerm in the cupboard so decided to add some, it is a great source of vitamin E and Folic Acid too. I got mine from Waitrose in the UK and I’m sure you can buy it at health food shops.

They are delicious, sweet with a lovely oat bite and a fab crunch (fairly delicate, although I did manage to transport them without many breakages)

These are perfect with a cuppa of course and will keep in an airtight container for several days if they don’t get munched straightaway.

Recipe can be printed

Oaty Coconut Crunch Cookies

125g porridge oats

25g wheatgerm

25g dessicated coconut

150g soft light brown sugar

120 ml sunflower or vegetable oil

1 egg lightly beaten

1/2 tsp vanilla bean paste or extract

Makes about 30

In a large bowl place the oats, wheatgerm, coconut and sugar. Stir in the oil. Leave for about an hour.

Preheat the oven 160°C (fan 140°C)

To the oat mixture add the egg and vanilla, stir until well combined.

Oat coconut crunchies trayOat coconut crunchies flatten

Place heaped teaspoonfuls of mixture on a lined baking tray (I love using the magic reusable liners), they need room to spread so 6 on a standard sized baking tray is plenty. Press them flat with a fork that’s been dipped in water (this stops it sticking too much to the mixture). Shape them in to rounds if you wish.

Oat coconut crunchies large


This is what happens when they are baked too close together, they get a little friendly in the oven! Of course I only did that to show you *ahem*.


Oat coconut crunchies plateOat coconut crunchies stack

Bake for 14-18 minutes until evenly golden. Allow to cool slightly on the tray until they harden up enough to transfer to a cooling rack. Enjoy ♥

Oat coconut crunchies above

Lemon & Elderflower Sandwich Biscuits

Lemon & Elderflower trioThese little cuties used some of the Elderflower Cordial I made recently. They really do taste like summer to me. Of course you can use brought cordial, which means you can taste and dream of summer all year (which I do…..)

Perfect in the garden with a cuppa!

Printable recipe:


Lemon & Elderflower Sandwich Biscuits

125g soft spread/butter

60g golden caster sugarElderflower cut lemon

180g plain flour

Grated zest of 1 lemon

Filling

50g soft butter

200g icing sugar, sieved

2 tbsp Elderflower Cordial

Preheat oven 190°C (fan 170°C)

Makes 12-16 complete biscuits depending on your cutter size

Cream the butter and sugar together until light & fluffy. Sieve in the flour and add the zest, mix well, bring together to form a ball of dough. Cover and place in the fridge for at least 30 minutes to chill.Lemon & Elderflower dough

Roll out on a well floured surface to about ½ cm thick. I pressed an impression mat gently on top of my dough so after baking their was a slight hint of texture (it was a flower pattern) this is of course optional. Use cutters, I used flowers that are about 4 cm at the widest. Place the cut out biscuits on a baking tray and bake for 10-15 minutes until starting to turn golden, the bottoms should be golden too so you know they’re baked through.

Lemon & Elderflower cooling

Leave on the baking tray for 5 minutes then transfer to a cooling rack.

To make the filling, beat the butter until very soft and fluffy. Add half the icing sugar and beat, then add the rest and the cordial and beat until creamy and smooth.

Lemon & Elderflower aboveLemon & Elderflower filled

Fill a piping bag (with a nozzle of your choice) with buttercream, pipe a generous amount on the underside of one biscuit, top with another biscuit squeezing them gently together. Enjoy! ♥

Lemon & Elderflower biscuits

Cappuccino Biscuits

Cappuccino biscuits cocoaI love coffee but rarely make coffee flavoured things as I am surrounded by tea drinkers (I love tea too!) I suppose that is the perfect excuse to make something and scoff the lot really!

Anyway, in need of a coffee fix I made these which to my surprise were rather liked by Gav (darn must add more coffee next time!).

They are not overpowering in flavour but strong enough to know it’s coffee with a creamy centre, perfect with a cup of coffee of course!

Cappuccino Biscuits

For the biscuit bitCappuccino biscuit tray

125g soft spread or butter

55g Soft brown sugar

155g plain flour sieved

1 tsp Instant coffee ground finely (I used my pestle & mortar)

For the filling bit

40g soft butter

80g icing sugar, sieved

1/4 tsp finely ground instant coffeeCappuccino biscuit fillingl

1/2 tbsp milk

1/4 tsp vanilla bean paste or vanilla extract

Makes 18 complete sandwich biscuits (1.5″/3.5cm diameter cookie cutter)

Biscuits

Cream the butter & sugar together until light & fluffy.

Add the flour & coffee and mix through until combined and smooth. Place the ball of dough in clingfilm in the fridge for at least 30 minutes.

Preheat the oven to 190°C fan 170°C gm5

Line/grease 2 baking sheets.

Roll out the dough on a floured surface (add flour as needed because the dough can be quite sticky). Once evenly at a thickness of about 0.5cm then cut out the cookies, I used 1.5″/3.5cm diameter cookie cutter. Continue to re roll all the dough and cutting cookies until all used.

Place on the baking tray with a little space around them and bake for about 12 minutes until they start to turn a light golden colour. Remove from the oven and cool on a rack.

Cappuccino biscuit cool

Filling

Beat the butter until soft & creamy. Add the other ingredients and slowly beat together. Once combined increase the speed until the frosting is smooth & creamy.

Cappuccino biscuits 

Once the biscuits are cool spread or pipe the filling into the centre and top with another biscuit. Sprinkling of cocoa optional! ♥

Cappuccino Biscuits love

Chilli Chocolate Cookies

chillichoc cupThought I’d add a little chilli to my cookies to see what a kick you’d get!

Well I like it, tried them out on quite a few peeps and it’s a bit of a Marmite effect (you either love it or hate it!) For me the kick comes at the end and is a good thing so if you fancy seeing if you’re hot stuff too, give them a go!

I found a 1/4 tsp was enough for me but hey if you’re made of tougher stuff add a bit more!


Chill choc cool

I received some Pink Mini Chocolate Heart Dragees from Jo at Just Bake so thought with Valentines day just around the corner I’d incorporate them in the bake. They’d be good for cupcake decorations too.

Chillichoc hearts

Chilli Chocolate Cookies

100g self raising flour

20g cocoa

1 tsp bicarbonate of soda

1/4 tsp chilli powder (vary to your taste)

50g soft brown sugar

50g soft butter/spread

50g golden syrup

Dragees or Smarties to decorate (optional)

Makes 18-20 small cookies

Preheat the oven 180°C (fan 160°C) GM4

Line/grease 2 baking trays.

In a large bowl sieve the flour, cocoa, bicarbonate of soda & chilli. Stir.

Add in the butter chopped into lumps. Rub through with your fingertips so it’s evenly mixed and like breadcrumbs in texture. Stir through the sugar. Add the golden syrup, here’s the messy bit! Mix well, I found this best done with my hands (and of course this will be the exact time when the phone rings/door bell rings etc!)

Chillichoc dough

You’ll end up with a lovely sticky lump of dough. Break into small pieces (I am a sad puppy and weigh mine so they are equal, mine were 12 or 13g each) roll into ball and place on the baking tray. Flatten slightly and add the dragees or Smarties if using to the centre and make sure you press them down so they are about halfway into the cookie.

Bake for 10-12 minutes until all cracked on the surface (really keep an eye on them because they do catch quickly and it’s hard to see as they’re already chocolate coloured) leave to firm up on the tray then for about 5 minutes then transfer to a cooling rack.

chilli chocCocoa chilli above

They will keep for a few days in a tin or freeze well too. Although I’m sure they’ll disappear quick! ♥

Chilli choc cookiesabove

Dog Biscuits

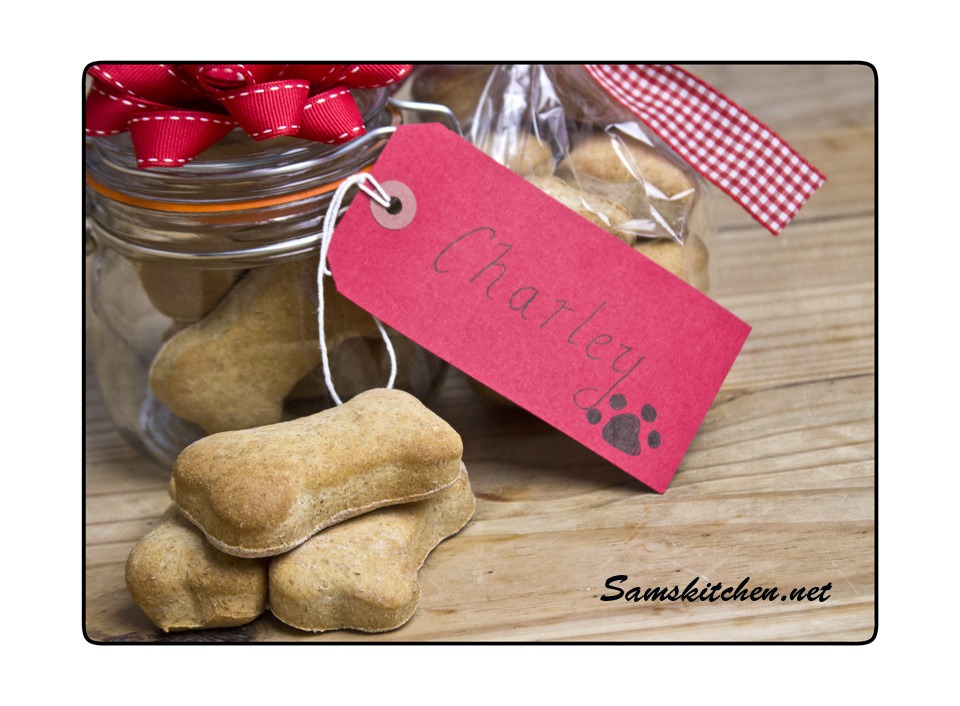
dog bics1For the last few years I’ve been making these biscuits for my parents dog Charley for Christmas. He’s a fussy little beggar but he seems to really like these! I usually put them in a jar and they will last for several weeks that way.

Dog Biscuits

200ml Very hot water (not boiling or you may burn yourself)

80g soft butter or spread

65g milk powder

1/2 tsp salt

2 tsp granulated sugar

1 beaten egg

435g wholewheat flour

Preheat your oven to 170°C (fan 150°C) GM3

Conversion chart courtesy of Delia http://www.deliaonline.com/home/conversion-tables.html

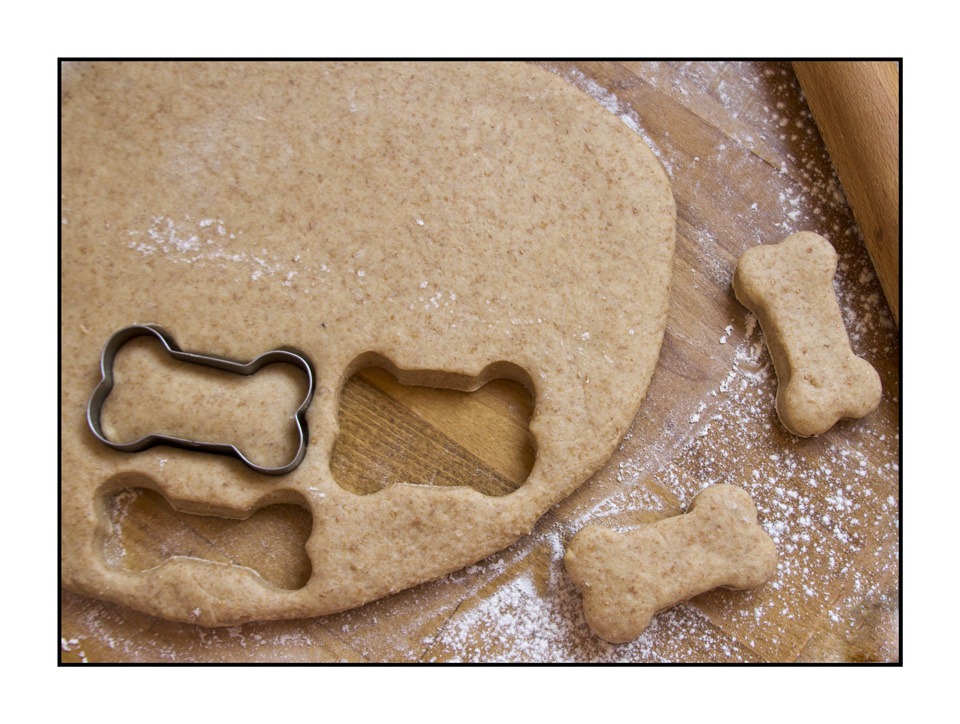
Dog bics cutoutsPlace the butter in a large bowl pour over the water and stir briefly with a wooden spoon. Add the milk powder, salt, sugar & egg. Then add about a third of the flour mix well, then add half of the remaining flour and mix again, then the rest of the flour. Bring the mixture together with your hands and knead for 3-4 minutes on the work surface.

Shape into a ball then flour your work surface and roll out the dough until it’s 1cm-1.5cm in thickness. Cut out the shapes with cookie cutters and place on a greased/lined baking tray.


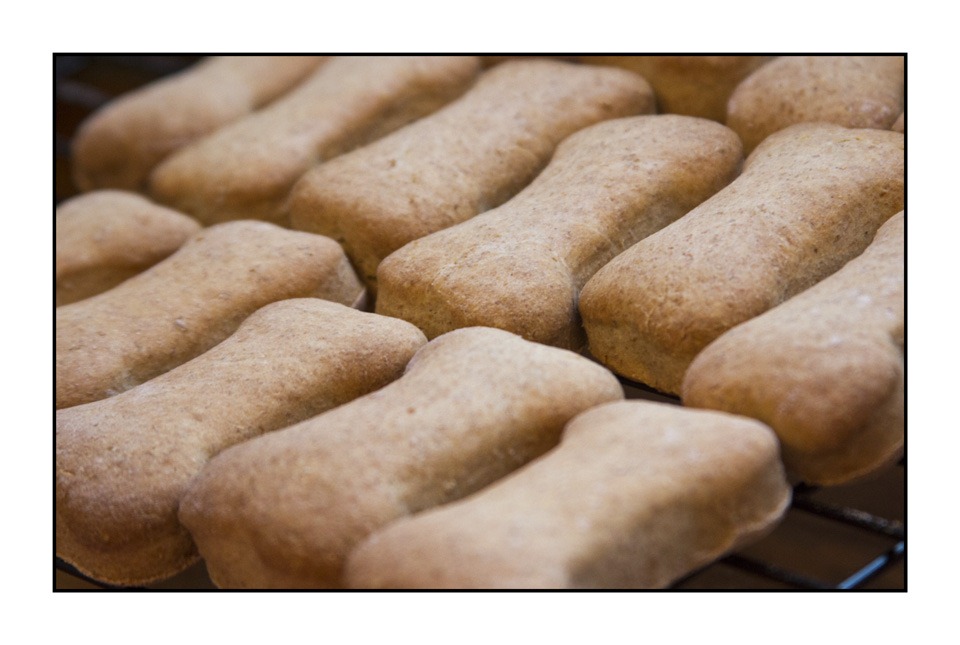
Bake for 30-40 minutes (depending on the size you cut) until they are firm to the touch and starting to turn golden.

Dog bics cool


Cool on a rack then bag up or place in a jar. The bone shaped cookie cutter I used was approx 7cm at the widest part and I made 18 biscuits with this quantity of dough. Hope your dog enjoys them! ♥

Dog bics

Lemony Whirls

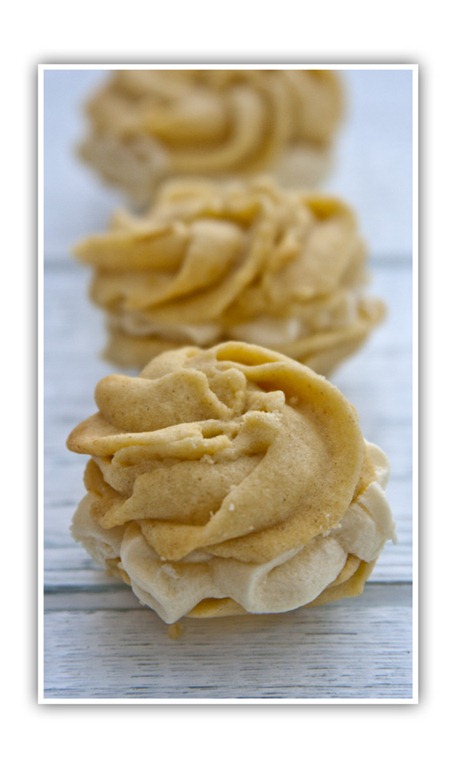
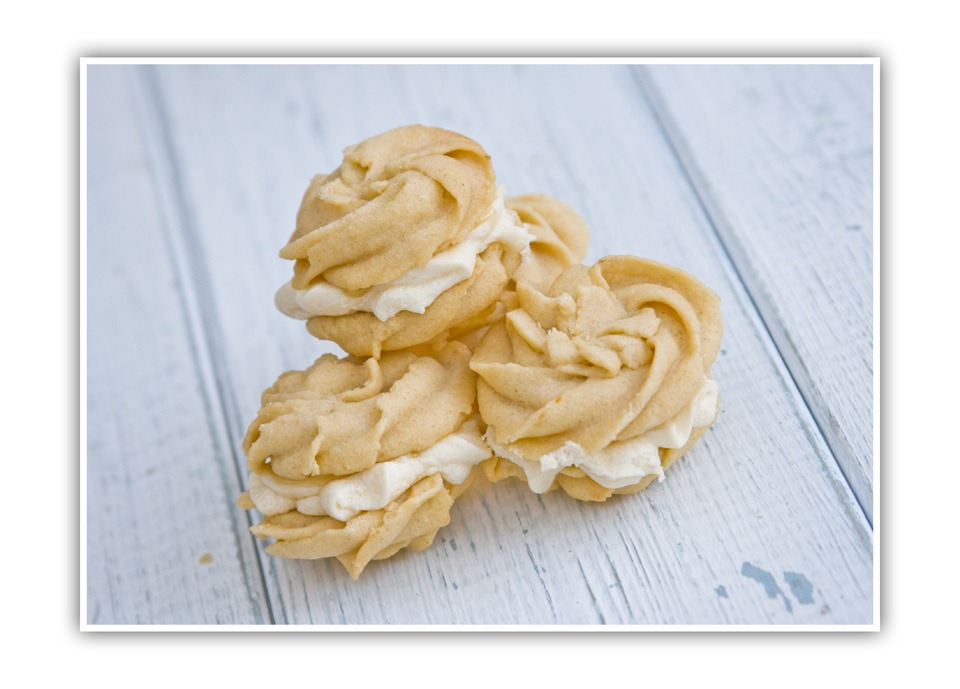
lemony whirls3I love the citrus zing of lemon or lime in cakes & biscuits, so decided to use my last lemon up on something special before it got that tired look in my fruit bowl!

They kind of melt in the mouth and are rather moreish as they’re not overly sweet.

I quite like the idea of making really tiny ones to sit on the side of a cup and saucer for after a meal, think they’d go nicely with a cuppa!

Print off the recipe HERE

Lemony Whirls

Biscuit bit

125g soft butter/spread

25g icing sugar

1/2 tsp baking powder

130g plain flour

Finely grated zest of 1 lemon

1 tbsp lemon juice

Filling bit

50g soft butter/spread

125g Icing sugar

1 tbsp lemon juice

Lemon curd (about 3 tbsp)

Makes 10 sandwiched whirls

Preheat oven to 170°C (fan 150°C)

Grease/line a baking sheet or 2 ready.

Biscuit bit

Beat the butter & sugar until light and fluffy. Add the rest of the biscuit ingredients and beat together well.

Fit a large rose or star piping nozzle into your piping bag and spoon in the mixture.

Pipe whirls about an inch/2.5 cm in diameter, be warned it’s a really stiff mixture so requires some muscles! Bake for about 15 minutes until they are just starting to turn a golden colour. Allow to cool completely on a rack.

lemony whirls

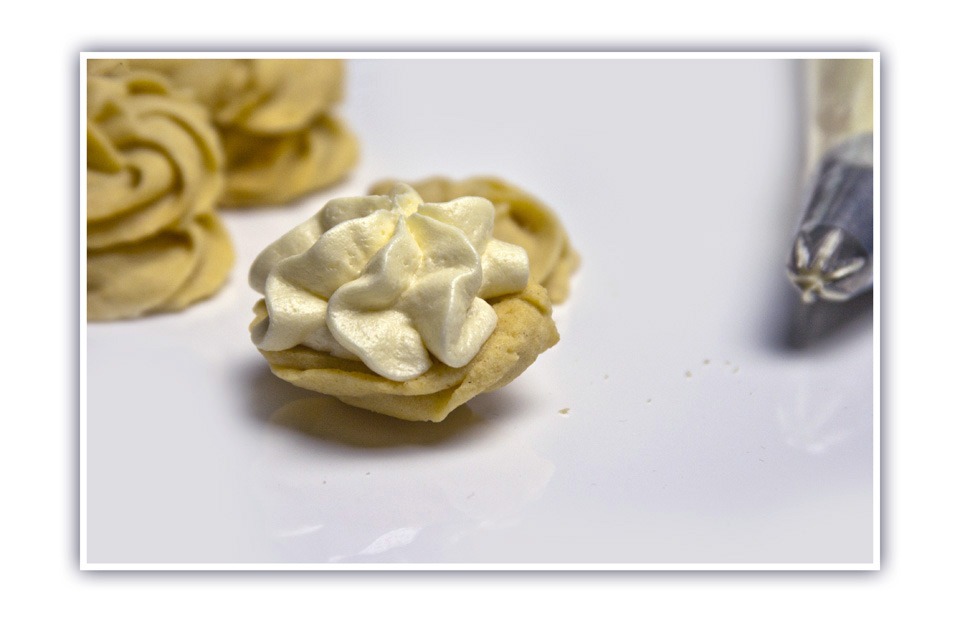
lemony whirls1Filling bit

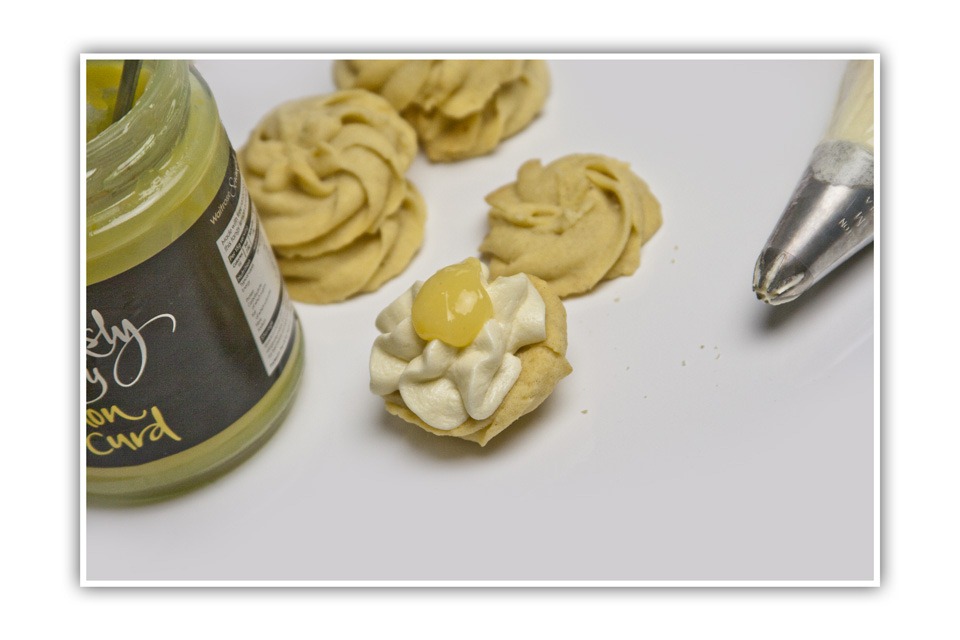
This is a lemon butter icing. Place the butter, icing sugar and juice together and beat until light and fluffy. Either spread on one side of the whirl with a knife or pipe a lovely dollop in the middle, add a blob of lemon curd and place the top on, put in the fridge to set slightly. Will keep for a few days in a tin.

Enjoy ♥


lemony whirls2

Sams Kitchen Bourbon Biscuits

Bourbons Biscuits

bourbons1jpgI love biscuits, they are the perfect accompaniment with a cuppa, great for a mid afternoon pep and handy for snacks & picnics.

Here’s my take on that fab chocolatey classic, the bourbon. I hope you love it as much as we do.

Download the recipe here

Ingredients

Biscuit bit

125g soft butter

55g soft brown sugar

155g plain flour

25g cocoa

Filling bit

40g soft butter

80g icing sugar

15g cocoa

A little milk

choc biscuit doughFor the biscuits

Cream the butter & sugar until light & fluffy, sieve in the flour & cocoa and mix well until you form a ball of dough. Place the dough in a bag in the fridge for at least 30 minutes.

When you’re ready to shape the biscuits preheat your oven 190°C (fan 170°C) GM 5

Roll out the dough gently on a lightly floured work surface to about 4 mm in thickness. Press out the shapes you would like and place on a greased/lined baking tray. If you’d like to add the little holes to the top then prick these (with a skewer or fork) on half the biscuits before they are baked. I sometimes use my small letter set to add text too.

bourbons2Bake for about 10 minutes so they are evenly baked top & bottom, they will be firm to the touch and a little darker at the edges. Keep a close eye on them as they can burn easily. Remove from the oven, allow to cool for a minute or 2 then transfer to a cooling rack.


For the icing

Place all the ingredients in the bowl of your mixer apart from the milk(or beat by hand) and combine, then beat until light and fluffy, add a little milk to create a spreadable consistency.

Spread on one of the biscuit bottoms and sandwich together with a top.  Will last several days in a tin if they don’t all get eaten straight away! Enjoy ♥

Bourbons & Tea


bourbons2    

T

Millionaire Shortbread

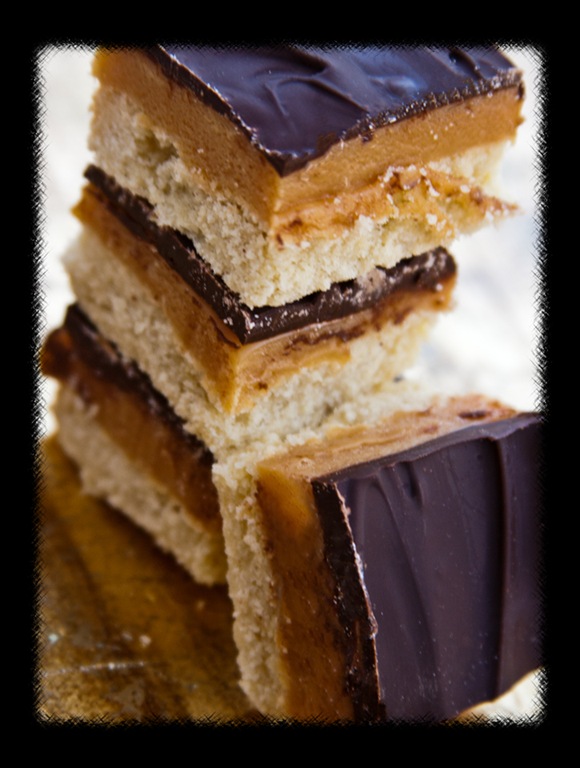
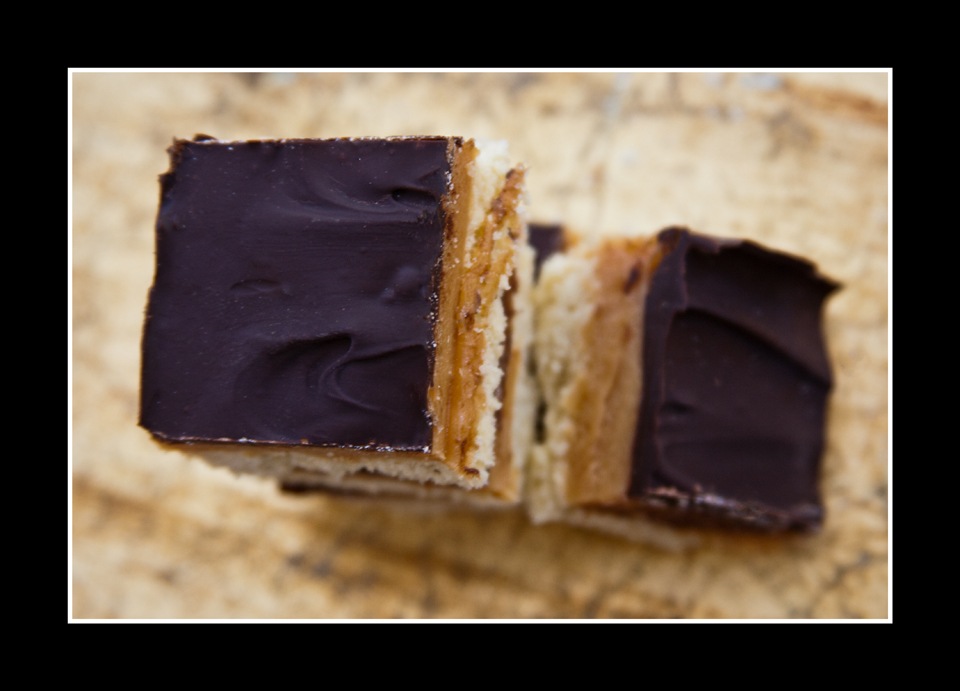
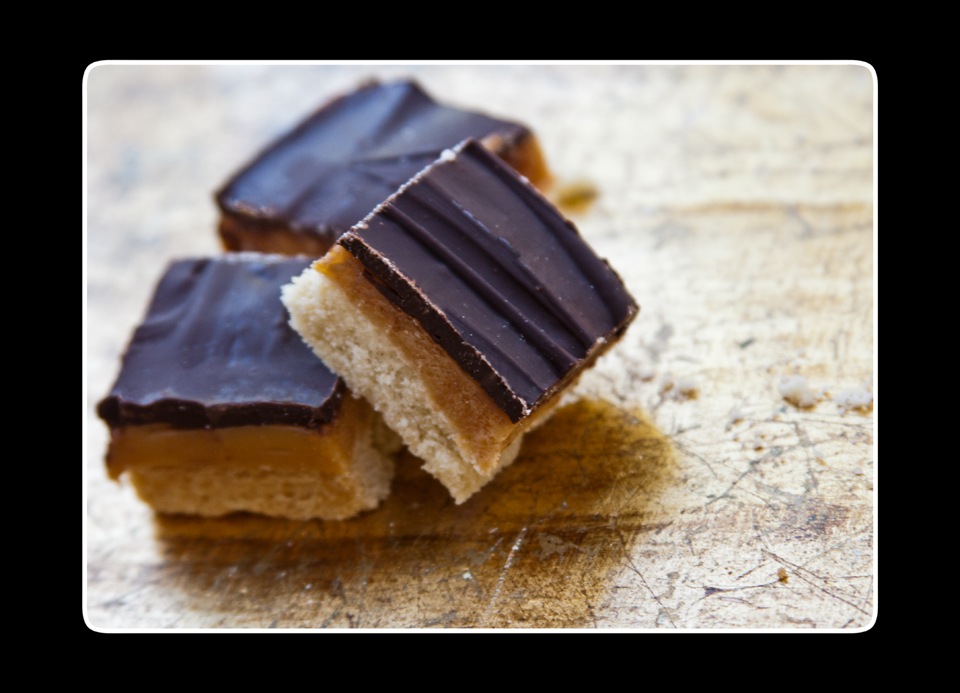
Millionaires shortbread3I absolutely love these, they always disappear double quick at home. They seem perfectly matched with a cuppa for me.

Out of all the photos I put on Facebook these seem to get the most positive response so here’s the recipe I use if you fancy giving them a whirl yourself.

Downloadable recipe here

Millionaires Shortbread (or chocolate caramel fingers)

Base

125g butter, 50g caster sugar, 175g plain flour

Caramel

125g butter, 50g caster sugar, 2tbsp golden syrup, 150ml condensed milk

Topping

150g plain choc

Preheat oven to 180°C (160°C fan)GM4. Makes 25 bite sized pieces or 12 greedy yummy slices!

The Base Bit
Cream butter & sugar until fluffy. Add flour mix well. Knead briefly until smooth. Press evenly into a 20cm square (8”) tin, prick well with a fork. Bake for about 25mins until just light golden. Set aside on a cooling rack.

The Caramel Bit

Millionaires shortbread2Place all ingredients into a saucepan and stir over a low heat until all melted. Bring to the boil slowly, stirring all the time to prevent it “catching” & ending up with burnt patches. Keep on a gentle rolling boil until it starts to darken slightly & thicken usually takes about 15 minutes. Remove from the heat and continue to stir until it’s cooled slightly then spread over the biscuit base.

Topping

Melt choc then spread over the cooling caramel. Leave to set, try to cut into squares before completely set so you have less chance of cracking the chocolate. Will keep in a tin for about a week (apparently!) Enjoy ♥

Millionaires shortbread

Recipe Challenge eBook

A few months ago I sent off one of my recipes to the lovely Ruth Clemens http://www.thepinkwhisk.co.uk/ to be put with a collection of delicious recipes from other amazing food bloggers in her eBook for Save the Children who Ruth has been working closely with.


Well, the eBook looks fabulous and is ready to be download for a donation of £2 (or more of course!)

Download from here http://www.savethechildren.org.uk/recipe-challenge-cookbook


recipe-cookbook235

Wonderful recipes, donations all going to a very worthy cause, thanks for your support ♥

raspberry-Almond-mini-macaroons3

Rhubarb Flapjack Slices

rhubarb flapjack slicesI grow a few rhubarb plants in one of my raised beds. Last year the poor things had all their light pinched by my grapevine so we had a very small crop, this year they have fared a lot better albeit a tad later then most!


I decided to give them a whirl with a flapjack style bake, well they are scrummy!


The idea was really that they are portable unlike the usual crumbles, ice cream etc I make with rhubarb, as we are out and about a bit this weekend. I have another recipe that is great too, Rhubarb Crumble Muffins, my recipe for those is here http://www.goodtoknow.co.uk/recipes/530429/rhubarb-crumble-muffins


Printable recipe here

Rhubarb Flapjack Slices

Ingredients

375g oats

50g ground almonds

1 tsp ground ginger

250g rhubarb washed, peeled (if needed) & chopped to approx 0.5cm cubed

85g soft brown sugar

150g butter

60g golden syrup

rhubarb flapjack slices2Preheat oven to 190°C (fan 170°C)

Grease a traybake tin, mine was 29cm x 21cm

In a bowl place the oats, almonds & ginger.

Add the butter, sugar, syrup & rhubarb to a large saucepan. Place over a medium heat and stir occasionally, remove from the heat when the butter has melted. Add the oats mix into the butter mix and stir through well.

Place in the traybake tin and press the mix down evenly. Bake for about 20 minutes until golden all over. Place the tray on a cooling rack and mark out where you want to cut the slices with a knife while they still warm. Leave to cool in the tin then enjoy! Will keep for a few days in a tin.


rhubarb flapjack slice