Category Archives: Foodie Chat

Bakewell Heart Biscuits

Bakewell hearts 4

A nice biscuit recipe for any time but as it’s Valentine’s day soon I think I’ll be making these for someone……..♥
The texture is light, crumbly and melt in the mouth. Add the jam of your choice, my honey likes strawberry, so I used some homemade strawberry jam in mine.

I did try and make them heart shaped but as they do their own thing while baking it didn’t really work! So I did place one in a heart shaped cookie cutter before baking and that worked nicely.

Bakewell hearts 6


Bakewell Heart Biscuits

Ingredients

125g soft butter

60g caster sugar

1 egg, separated

½ tsp almond extract/flavour

135g plain flour

¼ tsp baking powder

Pinch of salt

50g sliced almonds broken up in to smaller pieces

A few tablespoons of jam (strawberry, raspberry, cherry etc.

Makes about 15

Line or grease baking trays ready. Beat the soft butter and caster sugar together until light and fluffy. Add the egg yolk (make sure you keep the egg white set aside). Add vanilla and beat again until combined.

Mix the flour, salt and baking powder together then add this to the egg and sugar mix. Beat or stir together until it forms a dough. Place the egg white in a small bowl and the chopped nuts on a plate or in a shallow bowl. Take about a tablespoonful of dough, and roll in to a ball. Dip in the egg white and then roll in the nuts. Place on a baking tray and press down in the middle with your thumb to make a well in the centre.

Bakewell hearts 1


Bakewell hearts 2

Add about ½ a teaspoon of jam in the hole, make sure it’s only about half filled or the jam will ooze out when you bake it. Repeat with the rest of the dough. Allow a little space around each for spreading. Six to a normal sized baking tray is good. Bake until starting to turn golden and the jam is bubbling, 10-15 minutes. Allow to cool on the tray. Scoff or store in an airtight container. Enjoy ♥

Bakewell hearts 5 Bakewell hearts 3

Food Photography Workshop

Great food deserves some great photos and that’s what you’ll be taking on this food photography workshop. If you’re a home baker, food blogger or just like to share your best bakes on social media then this workshop is for you. High quality photography is also the backbone of any business and if that sounds like you, you’ll be right at home on this workshop.

Of course it’s not as simple as pointing your camera at good looking food and as you’ll discover during the workshop, props, backgrounds and camera settings all play their part in creating a photo that looks amazing. The role of post processing or editing your photos is vital too and you’ll learn some simple tricks to improve your images using Photoshop Elements software.

Food-Workshop-Banner

This is a “hands on” workshop with lots of learning by doing rather then watching. We’ll be photographing various baked goods during the day, all of which will be provided by us. All you need to do is bring your camera and get involved.


Saturday 9th May 2015

£99.00 per person

This workshop is subject to our Terms and Conditions

The workshop will cover…

  • What camera settings will work to get the best out of your camera
  • How light plays a vital part in good pictures
  • What makes a good photo and what doesn’t
  • How to create easy backgrounds out of things you have at home
  • Styling tips and tricks to make the best of your baked goods
  • Post processing to enhance your images ready for social media and websites

Places Available – There will be a maximum of 9 spaces available
Location – Copthorne, West Sussex
Duration – Approximately 5 Hours including a lunch break (10:30 am Start Time)
More information – please Contact us stating your interested in the Food Photography Workshop
Other Information –  You’ll need a DSLR style camera to get the most from this workshop. A mobile phone or basic compact camera is NOT suitable.

This workshop is subject to our Terms and Conditions

F.A.Q.’s about this workshop.
Before you decide to book take a look at the questions and answers below to help give you a little bit more of an insight into what to expect.

Who will be running the workshop?
Sam Hoey (www.samskitchen.net) and Gavin Hoey (www.gavtrain.com) will be leading the workshops.

Who is the workshop aimed at?
This workshop is suitable for anyone who takes photos for their food blog, baking business, Facebook or social media and wants their photos to stand out from the crowd. We’ll be working with baking and bread items which will all be provided for you.

Where is the workshop located?
This workshop will in Copthorne, West Sussex. The hall is located a few minutes from the M23 motorway and has plenty of free parking.

What time does the workshop start?
We suggest arriving at around 10.15 for a 10.30 start.

Are refreshments included?
Tea or coffee will be available. You’ll need to bring you’re own lunch as there are no shops or restaurants in the near vicinity.

What will I need to bring?
For this workshop a Digital SLR style camera and a standard zoom lens (e.g 18-70mm) is ideal. If you are unsure if your camera is suitable please contact sales@gavtrain.com
We are unable to loan out cameras and lenses.

Can I just use my mobile phone?
iPhones and the like have great cameras but when it comes to food photography they’re not up to the job. DSLR style camera have interchangeable lenses and large sensors which all help to achieve those lovely blurry backgrounds you see in food photos.

Can I contact you?
If you would like to speak to Sam to book or ask a question then you are welcome to call 01342 717428. If no one is available to take your call please leave a message and we will get back to you as soon as we can. Alternatively you can send Sam an email sales@gavtrain.com

Can you recommend somewhere to stay?
We have many people who travel long distances to be with us. The nearest large town is Crawley but the venue is also fairly close to Gatwick airport, which means there’s no shortage of places to stay and a wide variety of prices to choose from. If you would like to include an overnight stay with your visit please take a look at the excellent information provided by Trip Advisor. London: Gatwick Hotels

Do you have any tips to get the most from the workshop?
Tip 1: Make sure you bring plenty of spare memory cards and batteries (or charger)
Tip 2: Don’t buy a new piece of equipment just to attend the course, you may not need it.
Tip 3: Don’t panic if you get held up. Just give a call and let us know.
Tip 4: Don’t expect every shot to be perfect. The workshop is all about learning and that means making mistakes
Tip 5: Do have an open mind, everyone’s taste in photography is different.

cake-camp-1_1

Healthy Fruit & Seed Muffins

With lots of people trying to lesson the sugar intake in their diet I thought I’d try and come up with something tasty and healthy in the form of a muffin.Fruit and seed muffins2This took a couple of attempts but the final result is tasty and would be great as a breakfast muffin (perfect on the go!). You can easily change the ingredients to your preference or what’s in the cupboard, which I do often and this was no exception.

Seeds

Printable recipe Fruit and Seed Muffins

Healthy Fruit & Seed Muffins

Ingredients

Dry

150g plain flour

150g stoneground wholemeal flour

1 tbsp baking powder

Pinch of salt

2-3 tsp of mixed spice (depends how spiced you like things)

50g oats

50g mixed seeds (pumpkin, pine nuts, sunflower work well) plus a little extra to sprinkle on top before baking

100g dried fruit, chopped (I used apricots and prunes)

65g sultanas or raisins

Wet

225 ml sunflower or vegetable oil

65 ml milk

2 eggs

3 tbsp maple syrup

Zest and juice of one medium sized orange

Fruit & Seed muffin open

Makes 12 muffins

Oven preheat 190°C 170°C fan GM5

Fruit and seed muffins1

  1. Place all the dry ingredients in a large mixing bowl and stir to combine.
  2. Place all the wet ingredients in a bowl and whisk until all creamy and combined.
  3. Tip the wet bowl ingredients in to the dry and fold through until just combined, don’t over mix or the muffins will be stodgy in texture.
  4. Divide between muffin cases, sprinkle a few seeds on top, and bake for 18-22 minutes until starting to turn golden and just firm to the touch. Allow to cool or enjoy warm. ♥

Fruit and seed muffins above


Snowy Pie

I recently made a Mississippi Mud Pie for a magazine commission, it was total heaven on a plate (if a little calorific!!!) I decided a white chocolate version would be worth a try, let’s just say it was!

Snowy Pie slicePrint recipe Snowy Pie

Biscuit base

150g digestive biscuits, crushed (Grahams crackers)

150g custard creams biscuits, crushed

125g melted butter

Filling

75g white chocolate

75g butter

2 eggs

65g caster sugar

100ml double cream

Chocolate Sauce

125g white chocolate

50ml double cream

25ml milk

25g butter

1 tbsp. golden syrup

Cream top

150 ml double cream

½ tbsp. icing sugar

25g white chocolate, grated


20” round (8”) deep cake tin with a loose bottom, greased

Oven preheat 180°C,  160°C Fan,  GM4Snowy pie base

Biscuit base

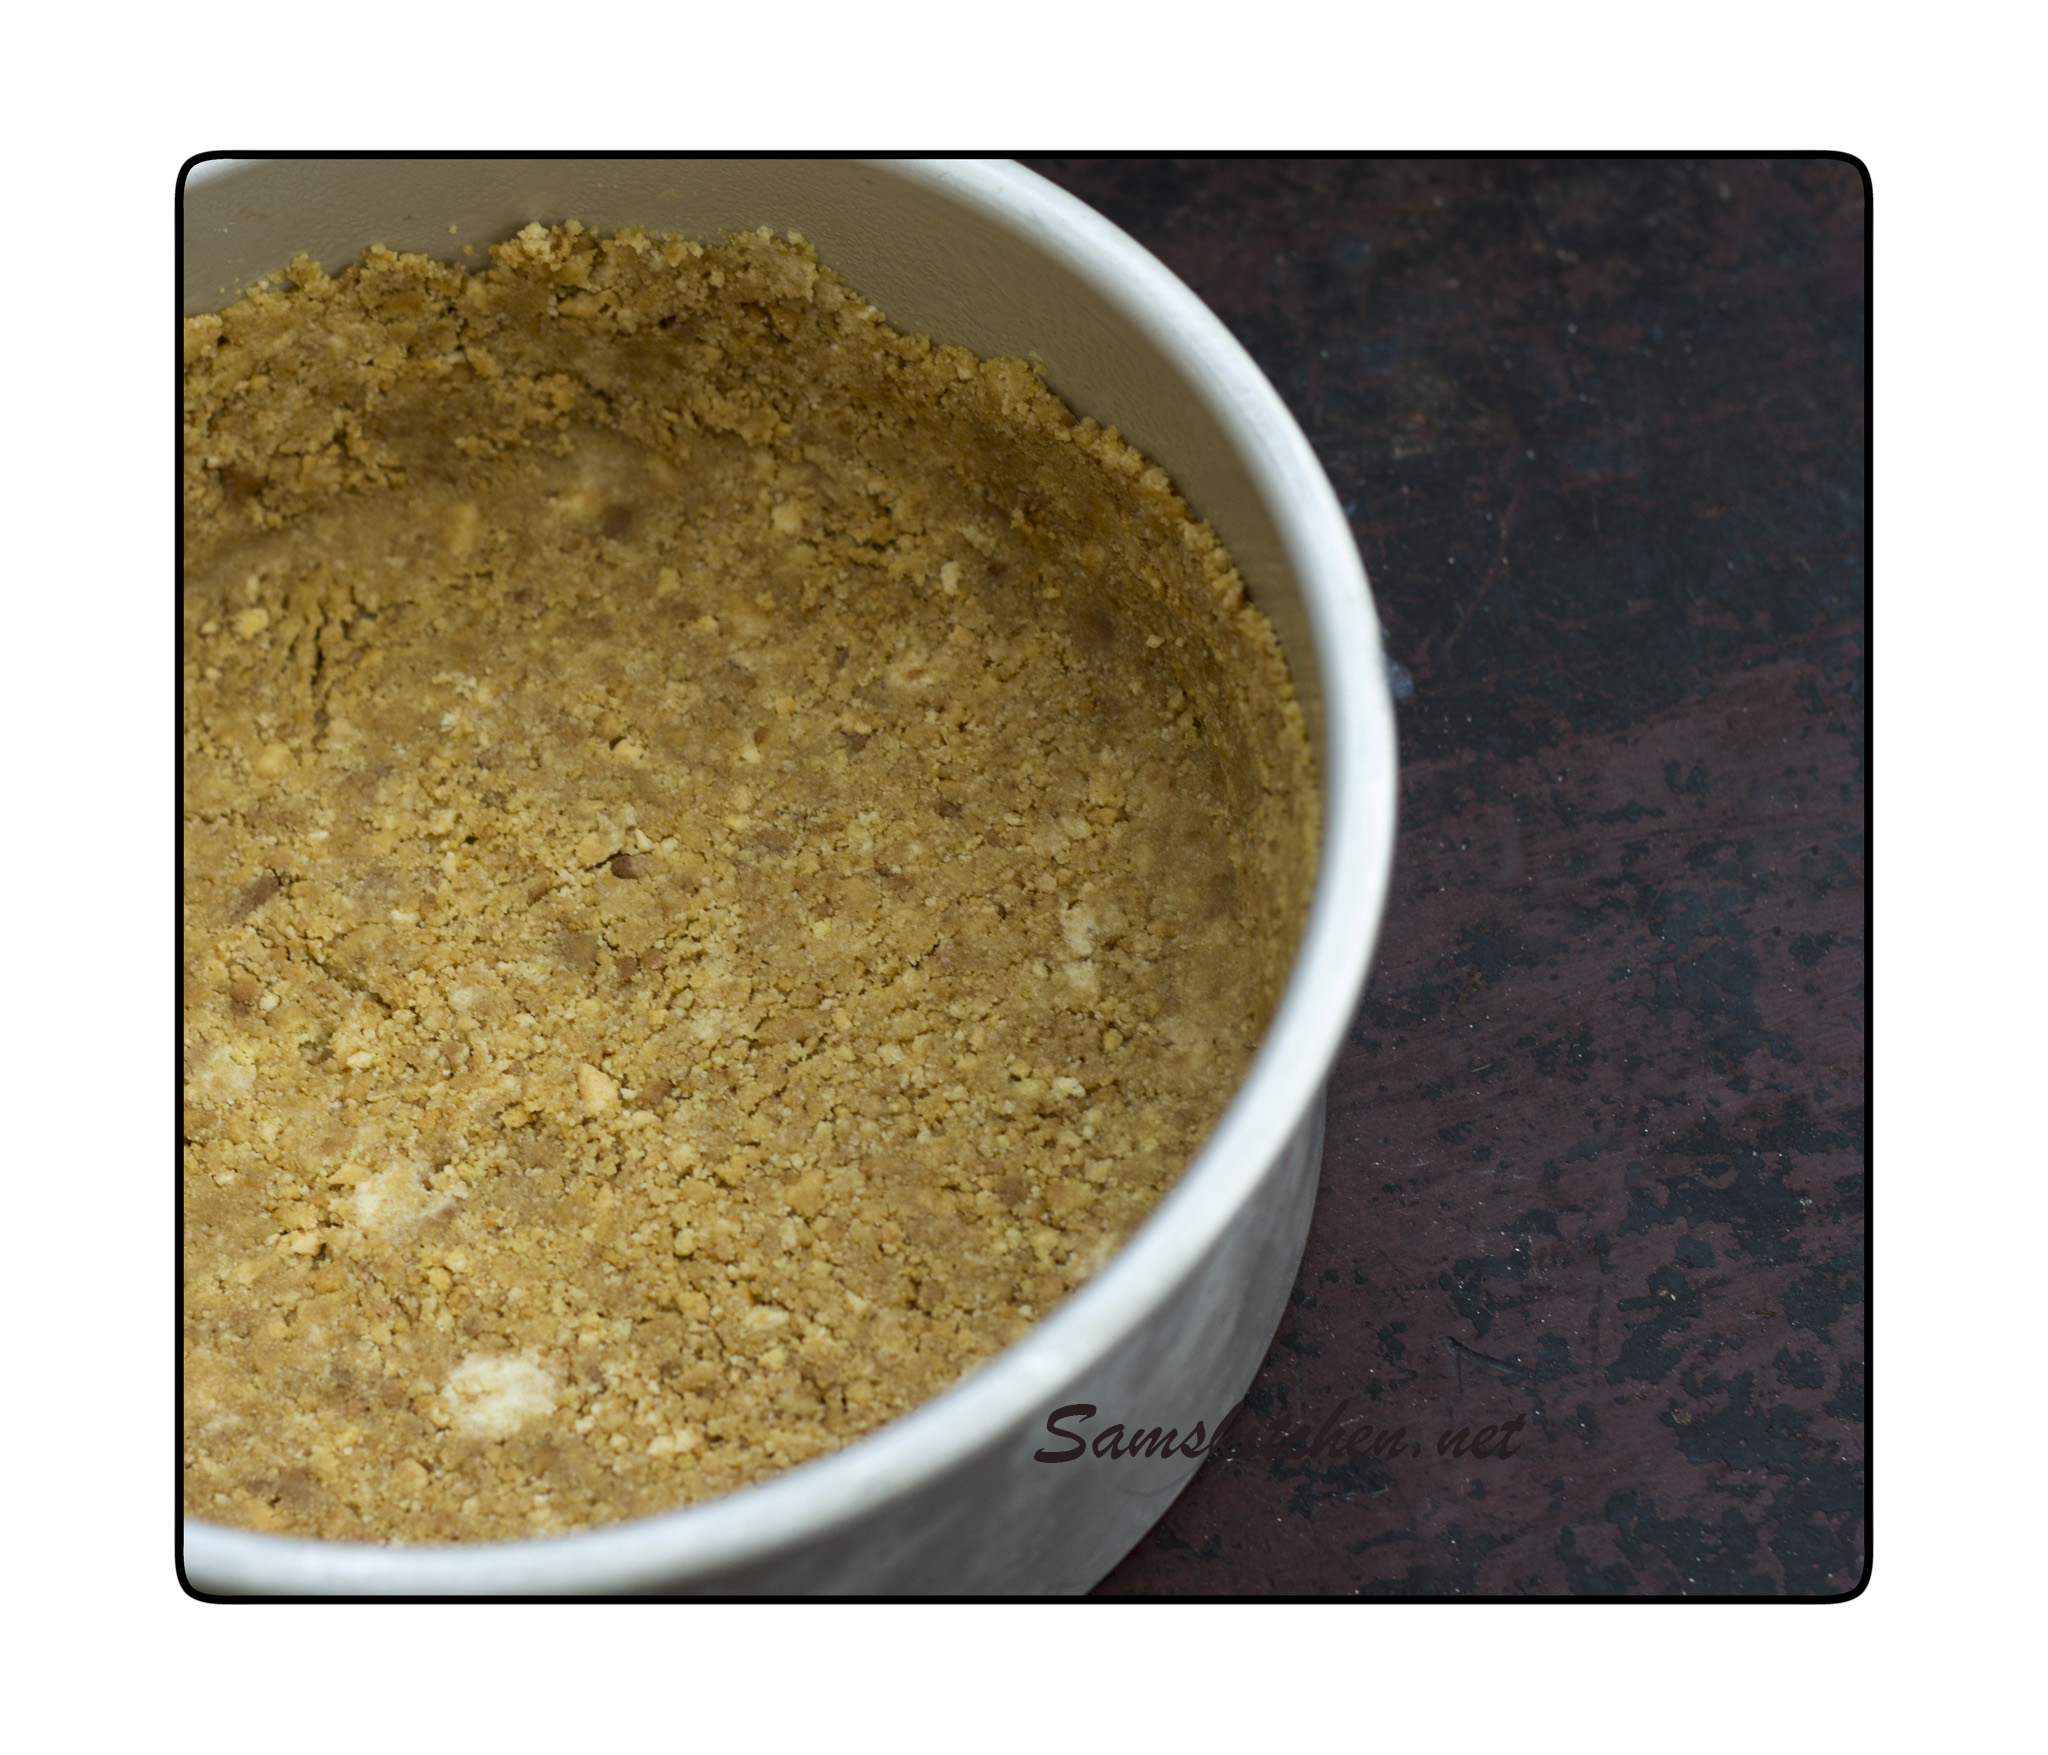
  1. Place the crushed biscuits in a large bowl, add the melted butter and mix to combine. Tip into the prepared cake tin and press in to the base and up the sides (about 2.5 cm/1” up) use a metal spoon to help do this. Place in the fridge for 30 minutes to set.Snowy pie filling

Filling

  1. Gently melt the butter and chocolate together in a saucepan. Once melted remove from the heat. Don’t worry if the mixture is separated and doesn’t look very appealing!
  2. Whisk the eggs and caster sugar together in your mixer for about 5 minutes, after that time the volume would have doubled and the mixture will be creamy. Leave the mixer running on low and slowly pour in the melted chocolate mixture, then pour in the cream. Whisk to combine, then pour onto the chilled biscuit base and bake for 25-30 minutes. It’s cooked when the mix is set and doesn’t wobble any more. Ideally check on it at about 20 minutes, if there is still a wobble and the top is starting to darken in colour, cover lightly with a piece of foil and continue to bake.
  3. Remove from the oven and allow to cool for 10 minutes in the tin on a cooling rack. Then carefully remove the tin and cool completely.

Chocolate Sauce

  1. Place all of the sauce ingredients in to a small saucepan and heat on medium until all melted, stir to combine as it heats. Remove from the heat and allow to stand for a few minutes, then pour over the top of the cooled filling. Cool completely, then chill in the fridge.Snowy Pie

Cream top

  1. Place the double cream and icing sugar in your mixer and whisk until it forms stiff peaks that hold their shape, spoon on top of the sauce and sprinkle with grated chocolate. Chill for at least an hour before serving

Snowy pie1Snowypie slice2

Neapolitan Sandwich Biscuits

Neapolitan biscuitsNeapolitan ice cream (well any ice cream) always reminds me of summer.

Sometimes I think it’s fun to make something in a slightly different way, so here are some Neapolitan Biscuits!

The flavours of the ice cream chocolate, vanilla and strawberry in a biscuit.


print here


Neapolitan Sandwich Biscuits

Chocolate biscuit bit

125g soft butter/spread

55g soft brown sugar

155g plain flour

25g cocoa

Vanilla biscuit bit

125g butter

55g caster sugar

180g plain flour

1/2 tsp vanilla bean paste

Strawberry buttercream

100g soft butter

200g icing sugar

100g strawberries (hulled and chopped)

15g caster sugar

1/2 tsp lemon juice

Makes about 30-35 complete biscuits (I used a rectangle cutter 5cm x 3cm)

Vanilla biscuit bit

Cream the butter and sugar together until light & fluffy. Sieve in the flour and vanilla, mix well, bring together to form a ball of dough. Place in a bag and in the fridge for at least 30 minutes to chill.

Roll out the dough (allowing it to warm slightly if it’s hard from the fridge rest) on a lightly floured work surface to about ¼ “ ( ½ cm) in thickness. Press out the shapes you would like and place on a greased/lined baking tray.

Place them on greased or lined baking sheets and bake for 10-15 minutes until cooked through & starting to turn a golden colour. Remove from the oven allow to cool for a few minutes so they firm, then transfer to a cooling rack

Chocolate biscuit bit

Cream the butter & sugar until light & fluffy, sieve in the flour & cocoa and mix well until you form a ball of dough. Place the dough in a bag in the fridge for at least 30 minutes.

When you’re ready to shape the biscuits preheat your oven 190°C (fan 170°C) GM 5

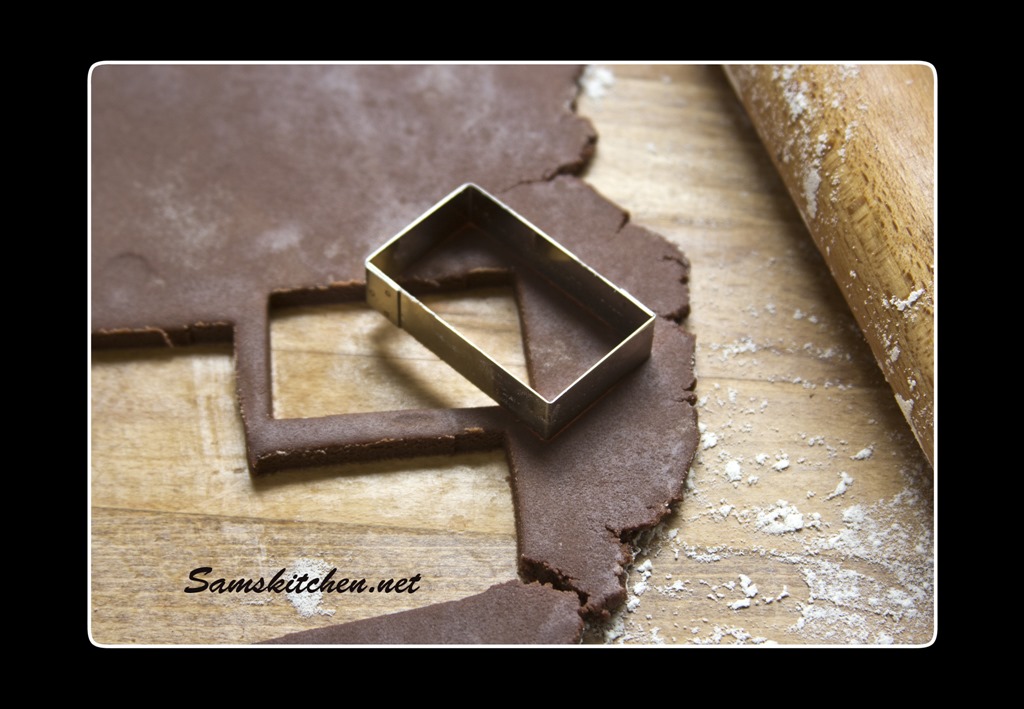
Roll out the dough (allowing it to warm slightly if it’s hard from the fridge rest) on a lightly floured work surface to about ¼ “ ( ½ cm) in thickness. Press out the shapes you would like and place on a greased/lined baking tray.

Bake for about 8-10 minutes so they are evenly baked top & bottom, keep a close eye on them as they can burn easily. Remove from the oven allow to cool for a few minutes so they firm up, then transfer to a cooling rack.

biscuits cut out

Strawberry buttercream bit

Mix together the strawberries, sugar and lemon juice in a small saucepan and bring to a gentle simmer for about 5-10 minutes until all soft and mushy and starting to thicken slightly. Remove from heat, mash with a fork or blend to a puree and allow to cool completely.

Beat the softened butter until light and fluffy. Add about half of the sieved icing sugar and beat slowly until combined. Add in the rest of the icing sugar and beat until soft and smooth. Add in 2 tbsp of the cooled strawberry puree and beat really well until mixed. Load into a piping bag fitted with a nozzle of your choice. You could spread on with a knife if you prefer.

Neapolitan line

Pipe on to one biscuit and top with the other. If the buttercream is a little soft pop in the fridge to firm up. Enjoy with a cuppa.

I also reckon that adding a dollop of strawberry (or raspberry) ice cream as a filling instead of the buttercream would be delicious too! ♥

Neapolitan stack

Easy Spicy Chilli Bean Burgers

Bean in bun chips

I am a veggie that lives with carnivores, having said that they don’t have meat every night, actually sometimes not every week. When they have something meaty I will try and adapt the meal for me or vice versa.

Recently they were having some rather fine looking Aberdeen Angus beef burgers so I rummaged in my not particularly well stocked cupboards (shopping was beckoning!) and made these. Delicious, with a lovely chilli kick.

I nearly always have beans in a tin of some description, cheese (a total must as I LOVE cheese so much) and bread, really easy and slightly messy to make.

I am sure you could adapt it to suit what you fancy and have in at home when you make them.

Easy Spicy Chilli Bean Veggie Burgers

Ingredients (yes there’s not many!)

1 tin of Kidney beans in chilli sauce (approx 400g) slightly drained

25g grated cheddar cheese

1 large slice of bread turned into bread crumbs

Makes 4 decent sized burgers

Start by draining some of the sauce from the beans, not all, just so the burgers don’t end up too wet and sticky.

Preheat your oven 200°C, 180°C fan, gas mark 6

Beans

Place the beans in a bowl, mash slightly with a fork or potato masher, I like some texture to them so don’t totally mash them. Add the cheese and breadcrumbs and mix.


Beans bowl

The mixture will be sticky but should come together. If it’s still very sticky and a bit runny and won’t hold it’s shape then add some more breadcrumbs.

Beans shapeBeans shaped 2

To shape I used a large circular cookie cutter (dusted with a little flour), placed on a lined baking sheet. The magic liners that you can wash and reuse are brilliant for this. You could use cooking rings or small cutters as a mould. The one I used was about 9.5 cm diameter. Press the mixture in, I made 4, so a quarter mixture if you’re using the same size ring. Bake for about 10 minutes until the top is hardening and starting to change colour then gently flip over and do the other side.

Beans in bun

Great served in a bun with ketchup and fries! I also had them with salad. I used 2 on the day and then froze the other 2. They cooked for a little longer from a half defrosted state and were just as lovely. ♥

Bean in bun chips

Scrabble tile letters Valentine toppers

scrabble tiles & ribbonI have a bag of Scrabble tiles that come out occasionally for adding to photo’s, which I really like the look of. Then the other day I saw a beautiful wedding cake that had used them, well a sugarpaste version, which looked amazing and I just had to give it a go.

You can use either sugarpaste or florist paste, the latter hardens quicker and as they need to be firm to write on, it works out a quicker way but either works well in the end.

Love tiles

I discovered that not all tiles are the cheapo plastic style of my childhood some are wooden, wow! So when I coloured the paste I added a little brown and did a lazy mix in to give a slight wood grain look. Next roll out, I used some tiles as spacers so I would get round about the same thickness for the paste.

scrabble tile colour       scrabble tiles rolling

cuttersI have a set of little shape cutters and the small square happens to be exactly the same size as a tile so I used that to cut out the squares, I then gently used a finger to smooth the corners a little so they were more rounded then angular.


Then you’ll need to leave them to dry to a fairly hard finish, somewhere they won’t stick to and somewhere flat so they keep their shape. Then, using an edible pen you can add the letters and number score of your choice. To achieve a nice dark black you may need to go over it a few times allowing it to dry in between additions.

Scrabble pen  scrabble tile

They are then ready to adorn your cakes or cookies or brownies or meringues or whatever your lovely creation is! ♥

scrabble love  scrabble sexy cup1

Scrabble cheeky

Chickens! Here come the girls……………..

We used to keep chickens when I was young, lots in a large run. I’ve always wanted to have a few but after seeing that a local farm was rehoming a large batch, the decision was made.

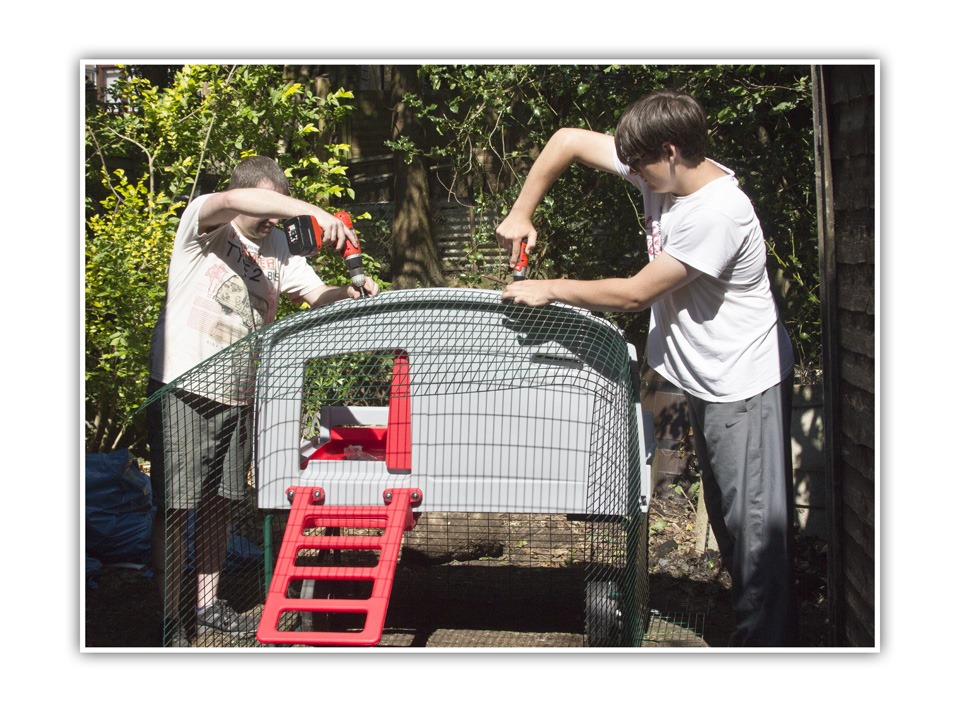
Now our garden is by no means large, but we thought with some clearing and careful planning we’d be able to fit in a small house and run. A massive consideration for the housing type was something that Mr Fox will find too much of a challenge to reach the chickens. I’m hoping this fits the bill as we do have foxes visiting us on occasion.

Chicken run in progress

We collected them on Saturday 31st August. The poor things were rather unceremoniously boxed up and driven home.

Check out the “unboxing” here.

We had our first egg the same day and have had a steady supply since. We have egg boxes for 4 eggs which is perfect.

First egg4 eggs

The internet has been a constant source of information and advice and it’s great to read tips from people with backyard chickens too!

Chickens

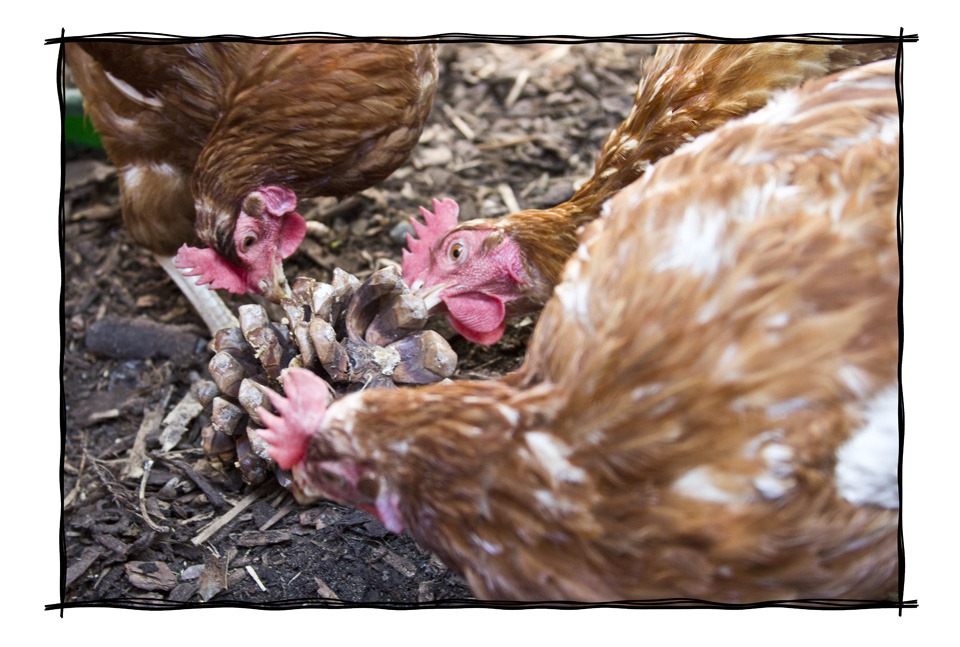
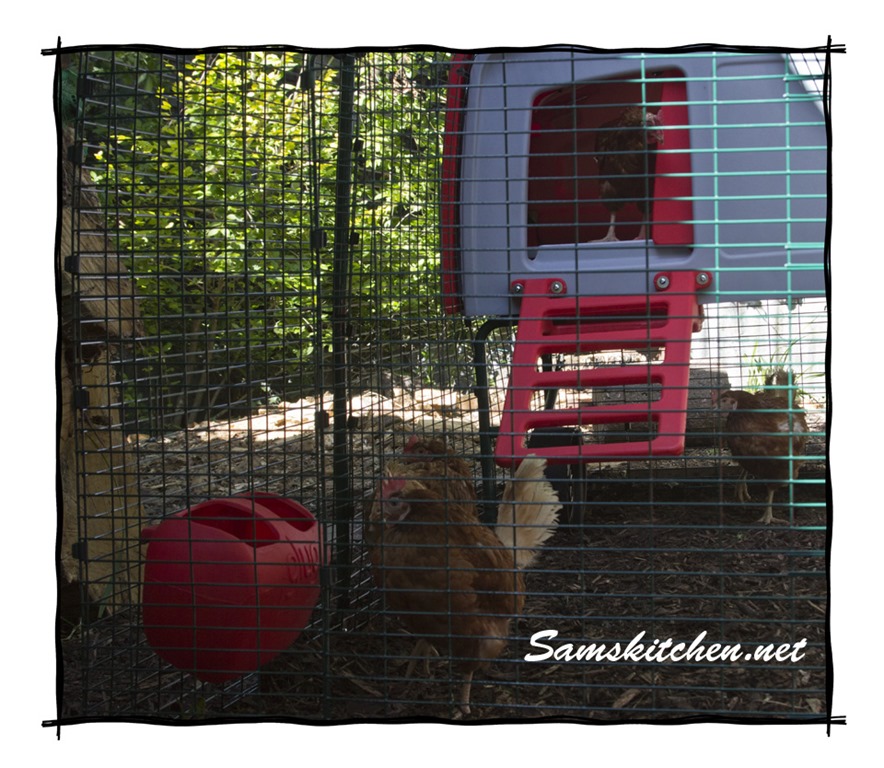
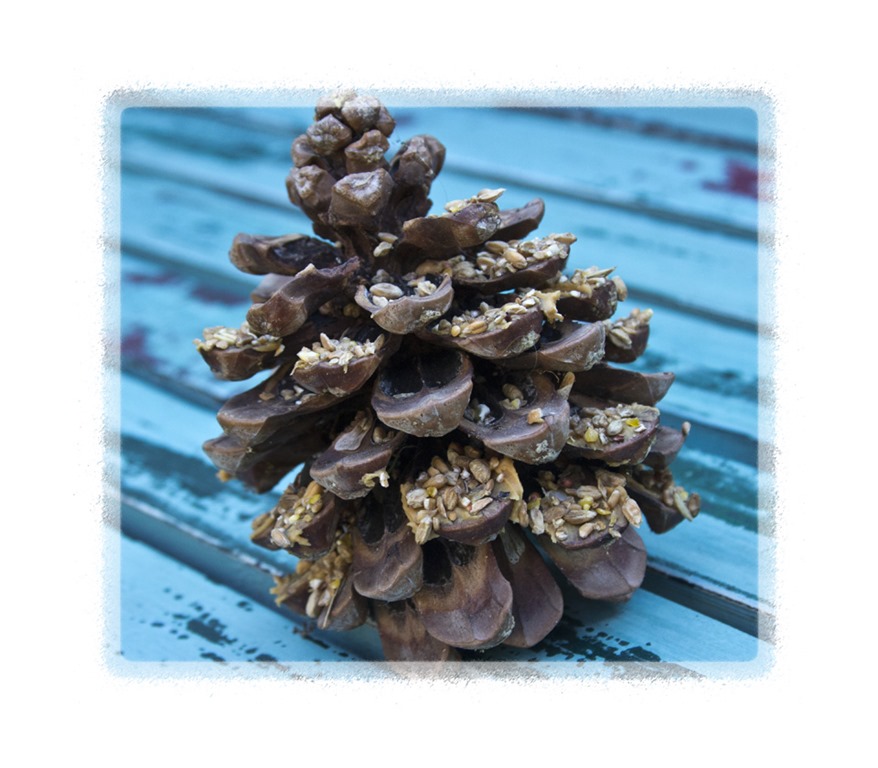
I am trying to find things to keep them entertained, we have a ball which is filled with food and as they roll it round it come out. Once they got the hang of that it was great! I’ve dabbed a large pine cone with peanut butter and sprinkled on bird seed, huge hit! Hung things inside the run for them to reach, all good fun.
ConeChucks pinecone

I love that they are eager to come out in the morning but not making a row, I love that they get their PJ’s on and take themselves to bed when it’s getting dark!

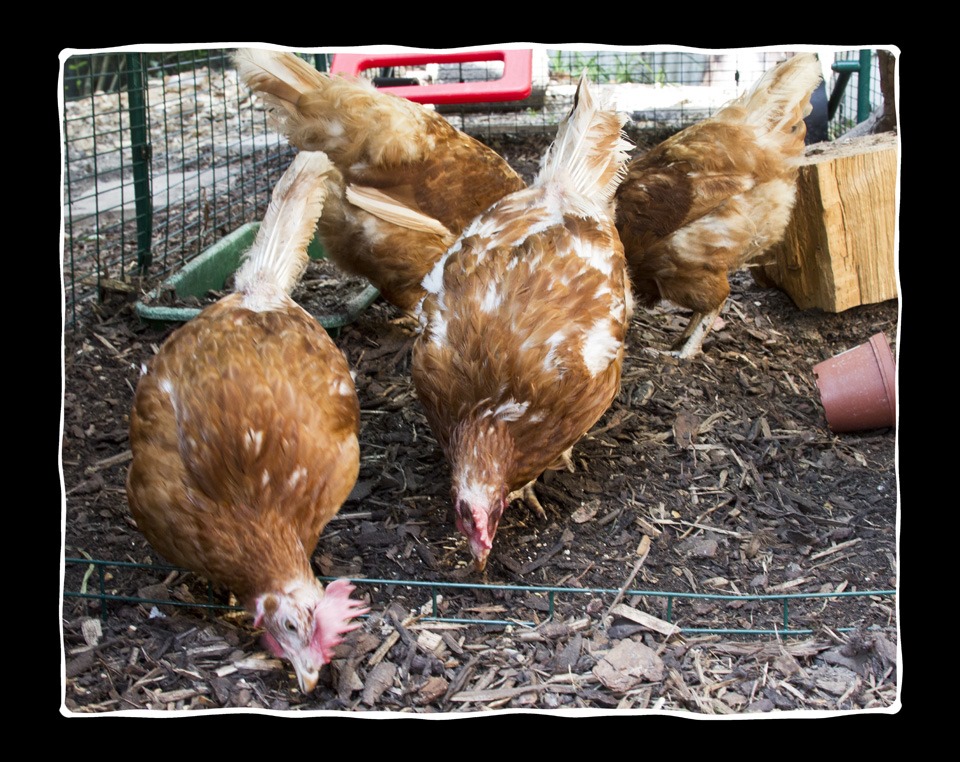
They’re entertaining and real characters. Not shy of us at all and always on the look out for tasty treats.
So say hello to Rusty Russett, Speckle Hen, Terra Cotta & Ginger Spice ♥

The girls

Elderflower Cordial, Summer Picnic Party!

Elderflower cordial bottles glassElderflower, the smell & taste always reminds me of summer. Perfect for alfresco dining & picnics! So I thought that it would be ideal to join in the blog Summer Picnic Party that Hani & Beth have organised.

All the other picnic peeps lovely posts are further down the page and are so inspiring and summery. There’s also a competition to enter with some lovely prizes, so scroll down for more details.


Elderflower Cordial is also a brilliant ingredient to add that beautiful flavour to other things, cocktails, cookies, cakes etc

I’m lucky enough to have an elderberry tree in my garden so make things from the flowers & berries most years. They flower between May-July in the UK.

This is my recipe, I’ve tweaked it over the years & this years is the best ever! Sometimes the flower flavour can be overpowering but with the citrus notes this is balanced in total harmony for me.

Elderflower picked

Check out all the other fantastic recipes from my blogging pals, links below ♥

recipe here


Elderflower aboveElderflower Cordial

Ingredients

875g sugar (caster or granulated is fine)

25 elderflower heads

Zest of 3 lemons

Zest of 1 lime

Juice of 1 lemon

Juice of 1 lime

45g citric acid (available from chemists or online)

1.3 litres of boiling water

Place the sugar in a large saucepan or heat resistant bowl. Pour the boiling water over and stir gently until all the sugar has melted.

Elderflower cut lemon

Add the zest & juice. Slice the remaining 2 lemons and add this too. Stir and add the citric acid. Lastly place in the elderflower heads* and gently stir through. Cover the bowl/pan with a clean tea towel and leave somewhere cool (not in the fridge) for 48 hours, try and remember to give it a stir after 24 hours.

Elderflower citrus in bowlElderflower in bowl

Next, strain through a sieve, I line mine with muslin to make sure the little bits don’t get in the cordial. Then pour into some sterilized bottles**. Seal and keep somewhere cool, it can keep for several months but I prefer to use mine within a month. Once opened store in the fridge and use within a week. Use as you would a cordial, dilute with water to taste. Or lemonade or tonic or add a drop of vodka for a kick!

Elderflower pouringElderflower juicing

Lemon & Elderflower biscuits* Give them a shake and remove any dead bits, insects etc. I don’t wash mine but they are from a tree in my garden so know where they’ve been!

** I sterilize my bottles and jars in the dishwasher or in the oven for 15 minutes on a medium heat.

These are Lemon & Elderflower Sandwich Biscuits, recipe here https://www.samskitchen.net/?p=1269………..♥


Giveaway…

GiveawayPicnicBlogParty

GIVEAWAY SPONSORS

Thank you to all the amazing Giveaway Sponsors. Be sure to check out their websites below.

The Marshmallow Studio

Restaurant Ware

The Cookie Cutter Company

Wilton

Mary Had a Little Party

King Arthur Flour
To enter giveaway please use the Rafflecopter link below. Giveaway will run from July 20th, 2013 till July 27th, 2013. 6 Winners will be picked using the Rafflecopter widget. Prizes will be picked in the order of sponsors you see above, starting with The Marshmallow Studio and ending with King Arthur Flour. Winners will receive one email from hanielas@yahoo.com. Winners will  have 48 hours to respond. New winner(s) will be picked if we don’t hear from you. Thank you and good luck.
Rafflecopter giveaway

June Foodie Parcel

June foodie parcel


Well it’s that time again, so exciting to receive such a lovely thing through the post!


This is a scheme where you send out a parcel to your foodie “penpal” and receive one back from someone else, details here


This fabulous box of goodies came from Alison, who clearly knows me so well!

Cup & flapjack

The contents were a great mix of things including crunchy mustard powder (looking forward to finding some things to use this in) some chocolate (always welcome) homemade strawberry jam (that I have hidden from Gav as it’s his favourite thing!) and a cookie mix ready to be made (hoping my teen will do the honours this weekend).

homemade strawberry jam

I love the mix of things and the thoughtful homemade goodies which I appreciate so much. ♥

June penpal box